
San Francisco · Residential Dryer Exhaust Cleaning Inspection
San Francisco Dryer Vent Cleaning & Exhaust Duct Repair
A San Francisco home's dryer exhaust system was fully cleaned and repaired, with a booster fan removed, duct rerouted, and worn sections replaced with fire-rated transition duct and a new wall vent collar.
Completed October 8, 2026
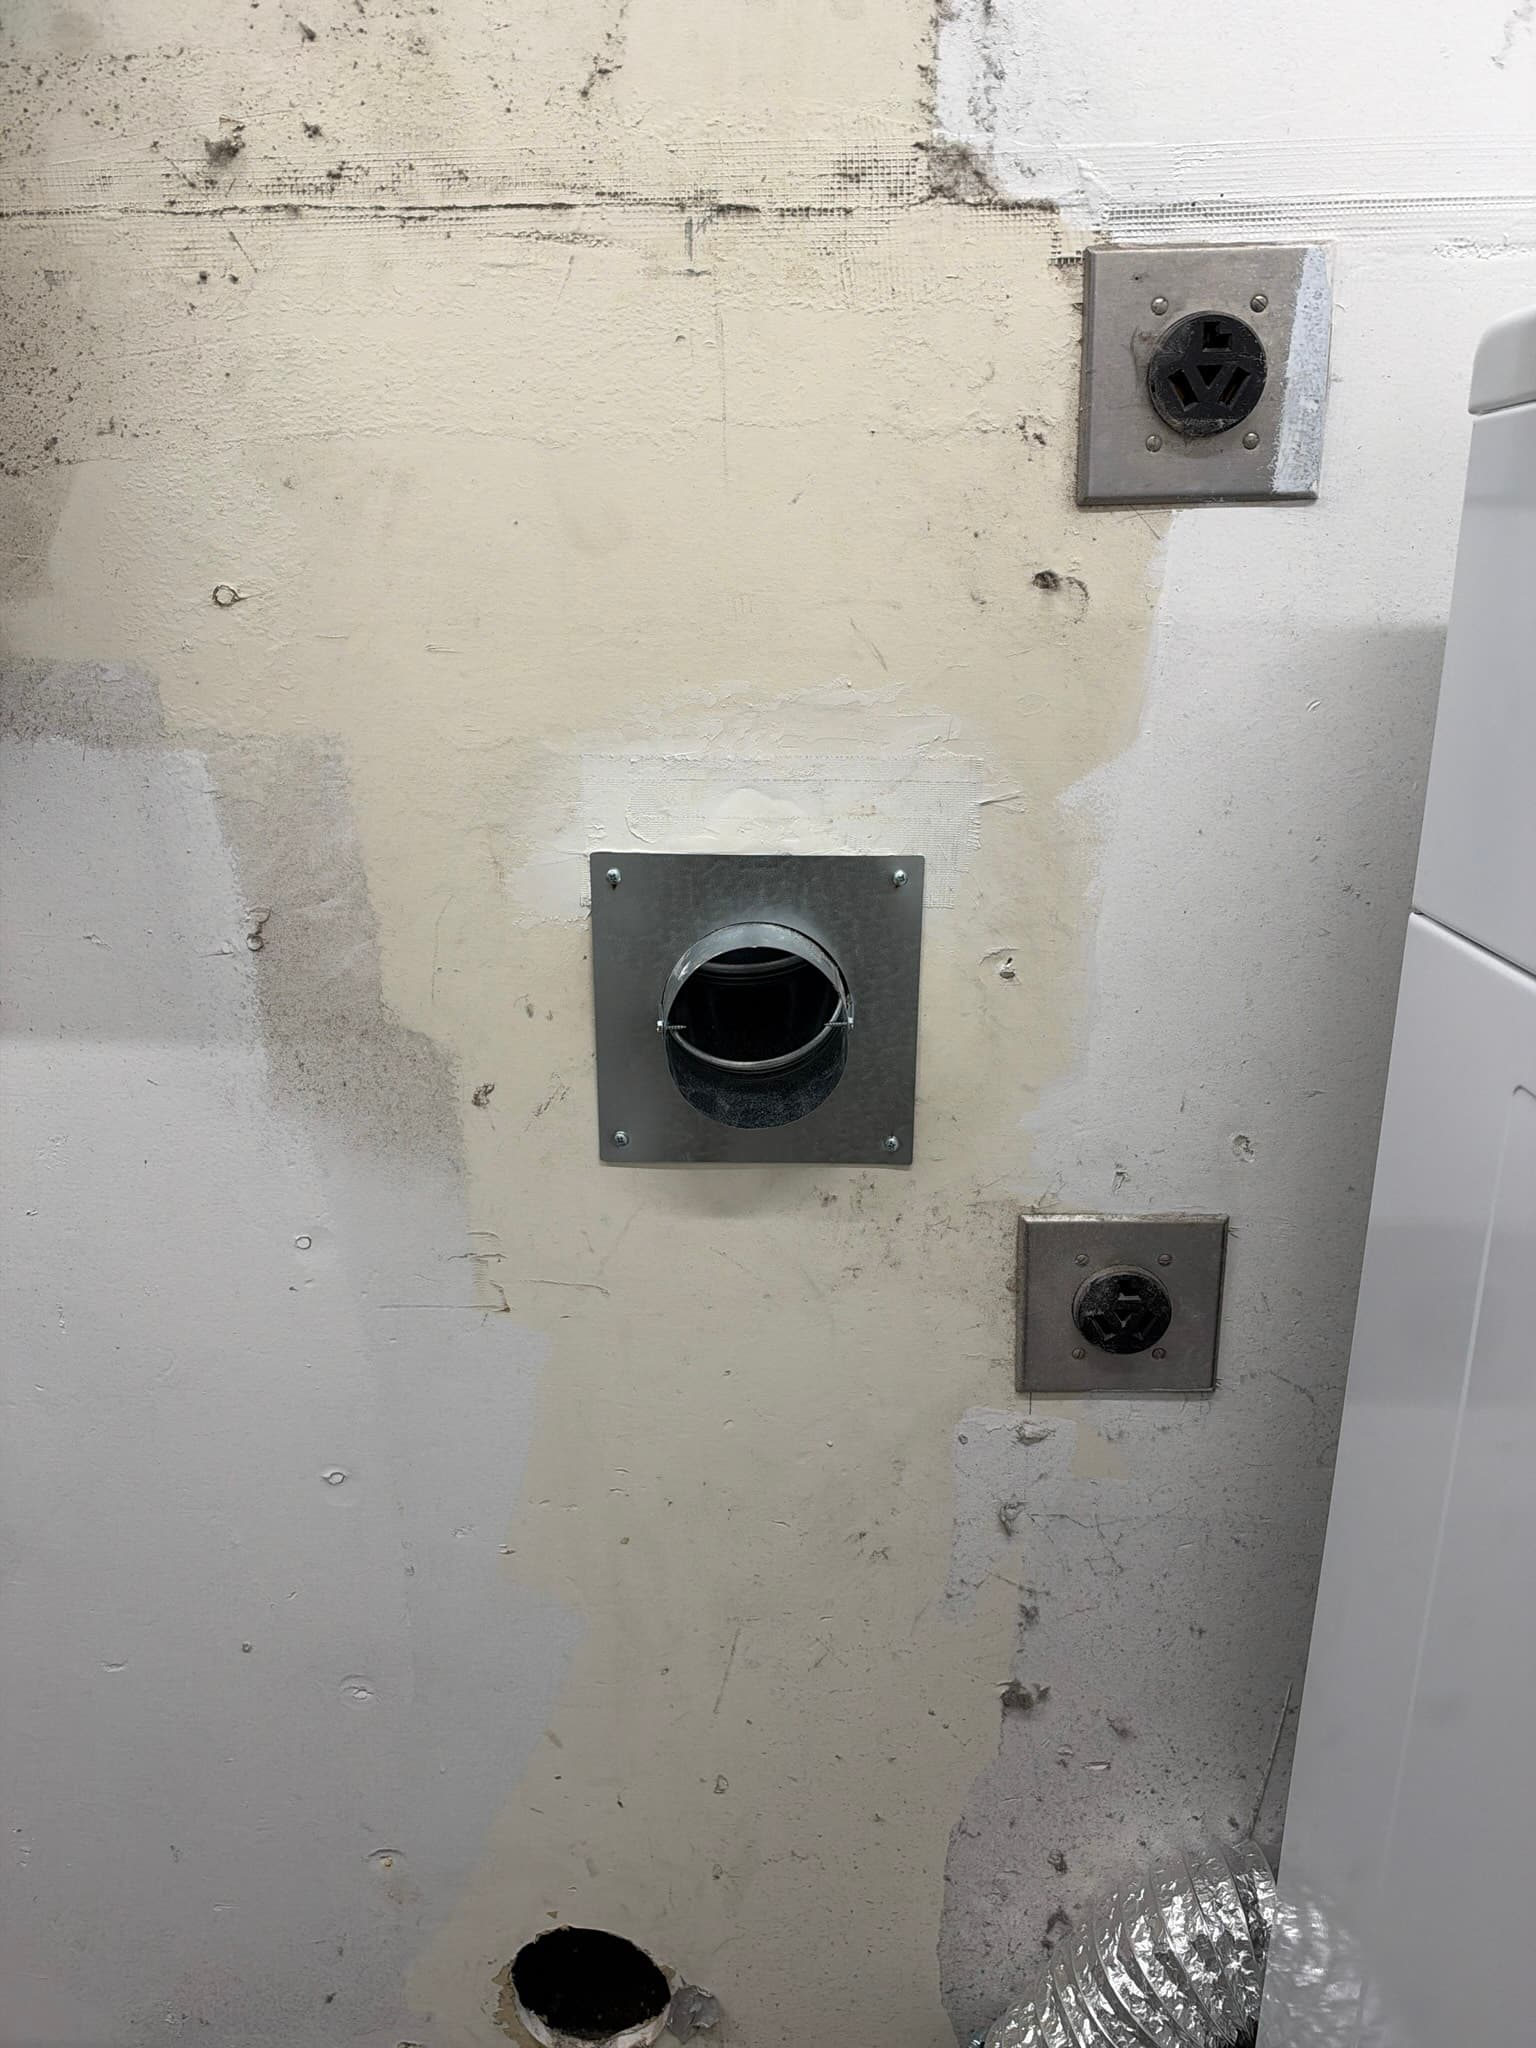
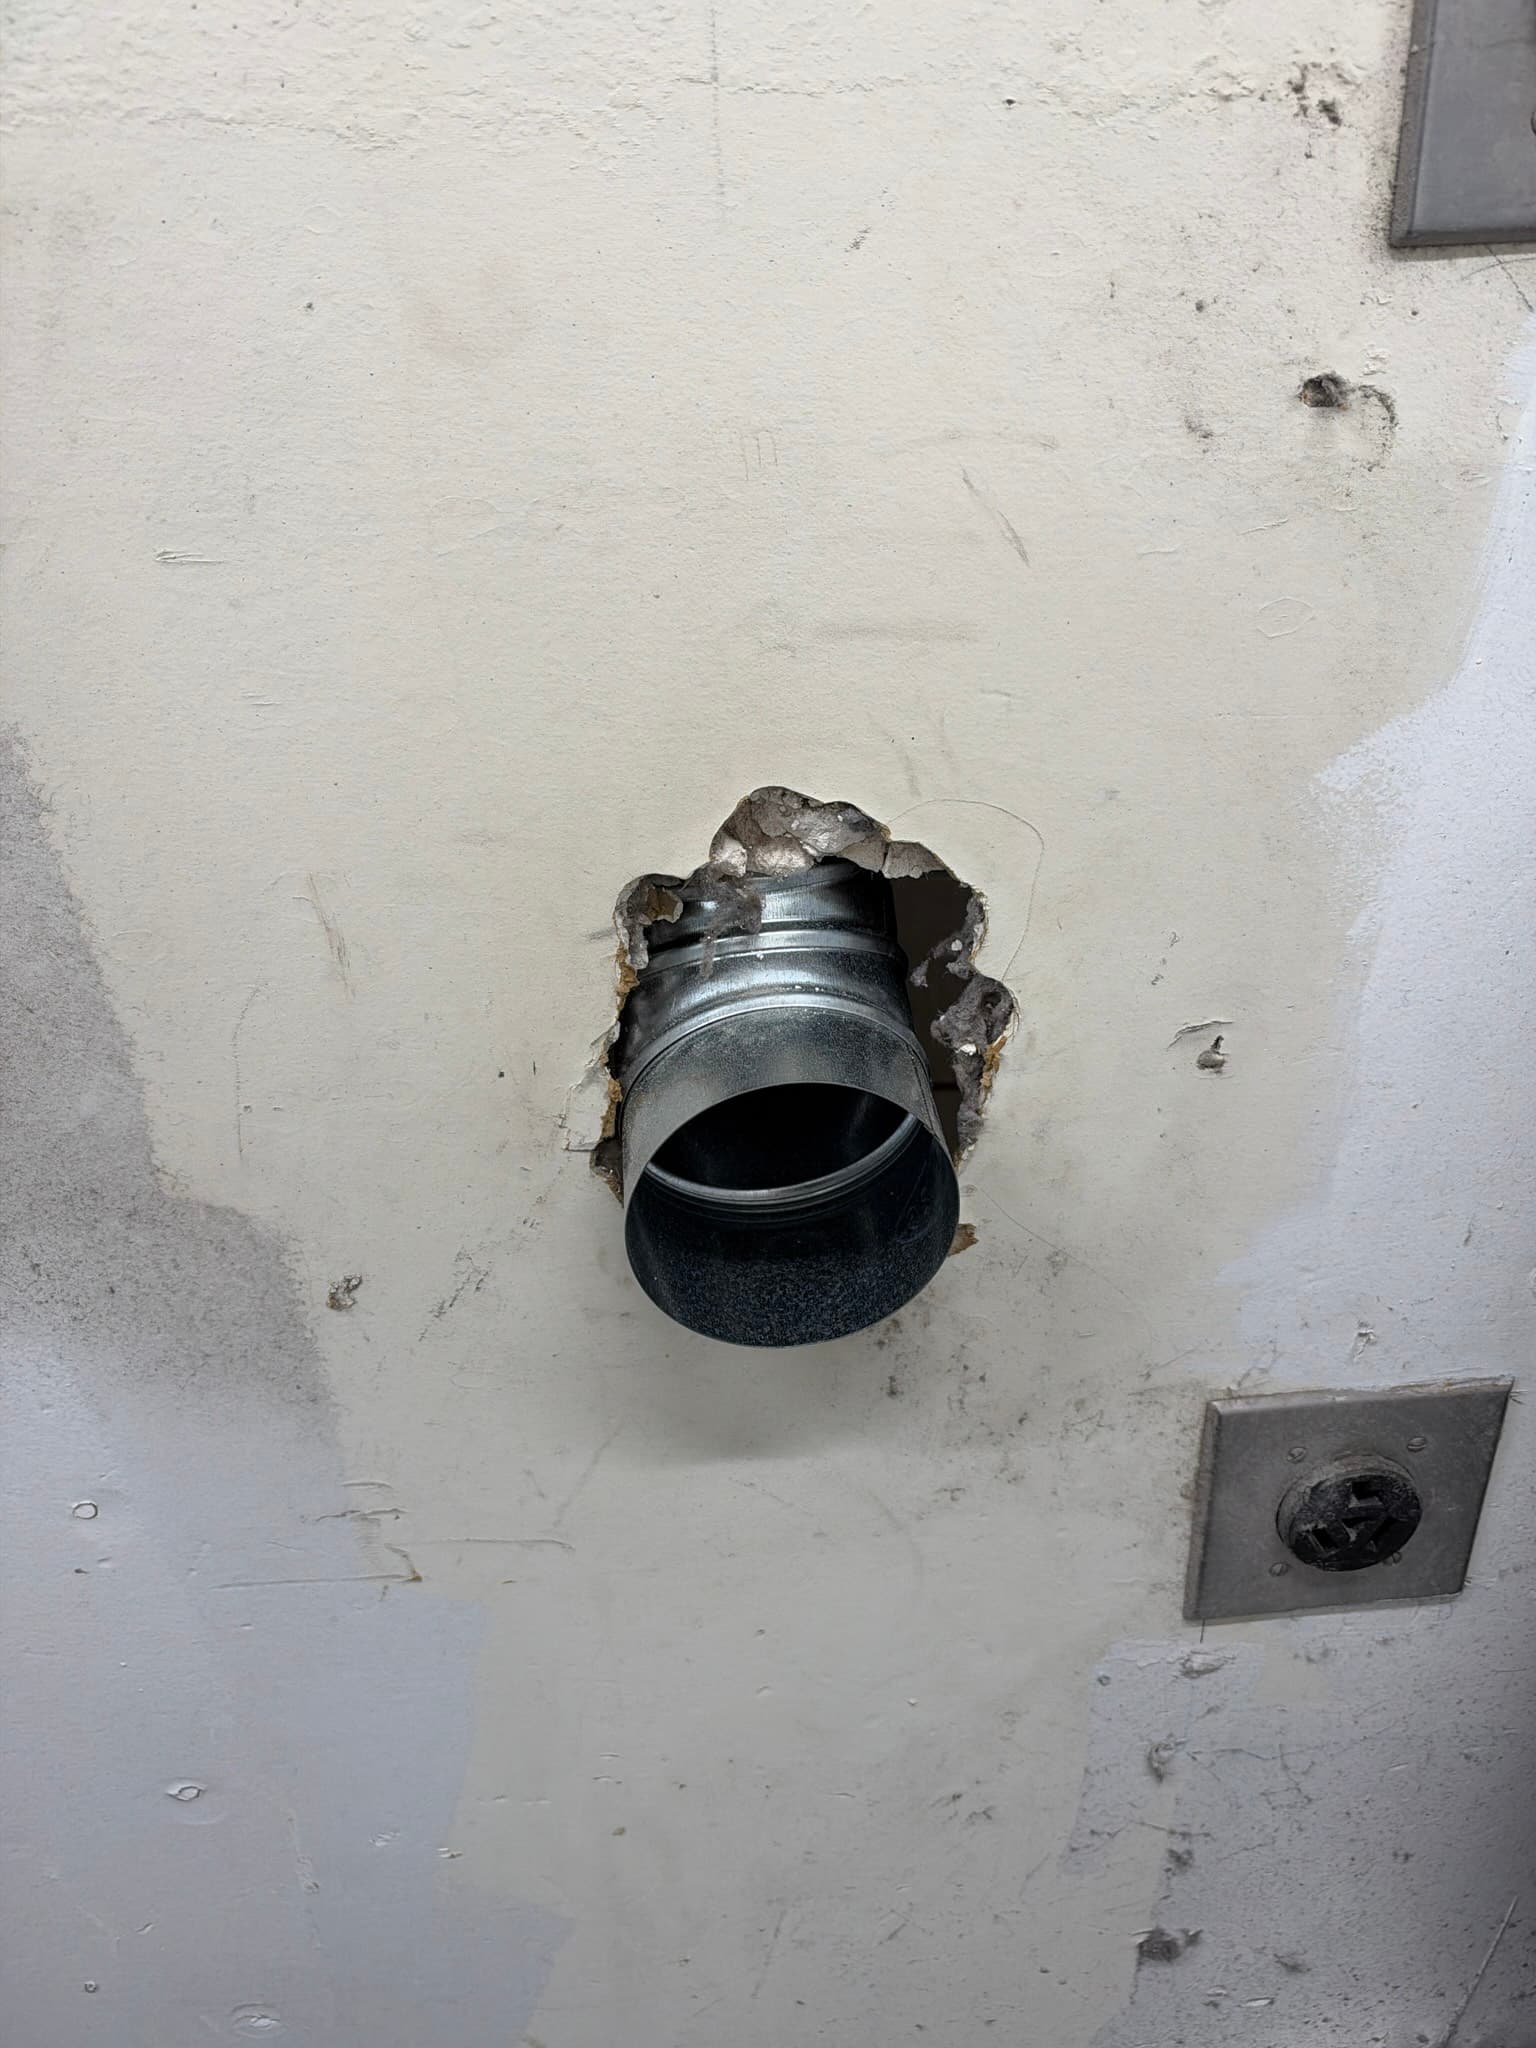
New wall vent collar installed as part of the duct repair
What We Found
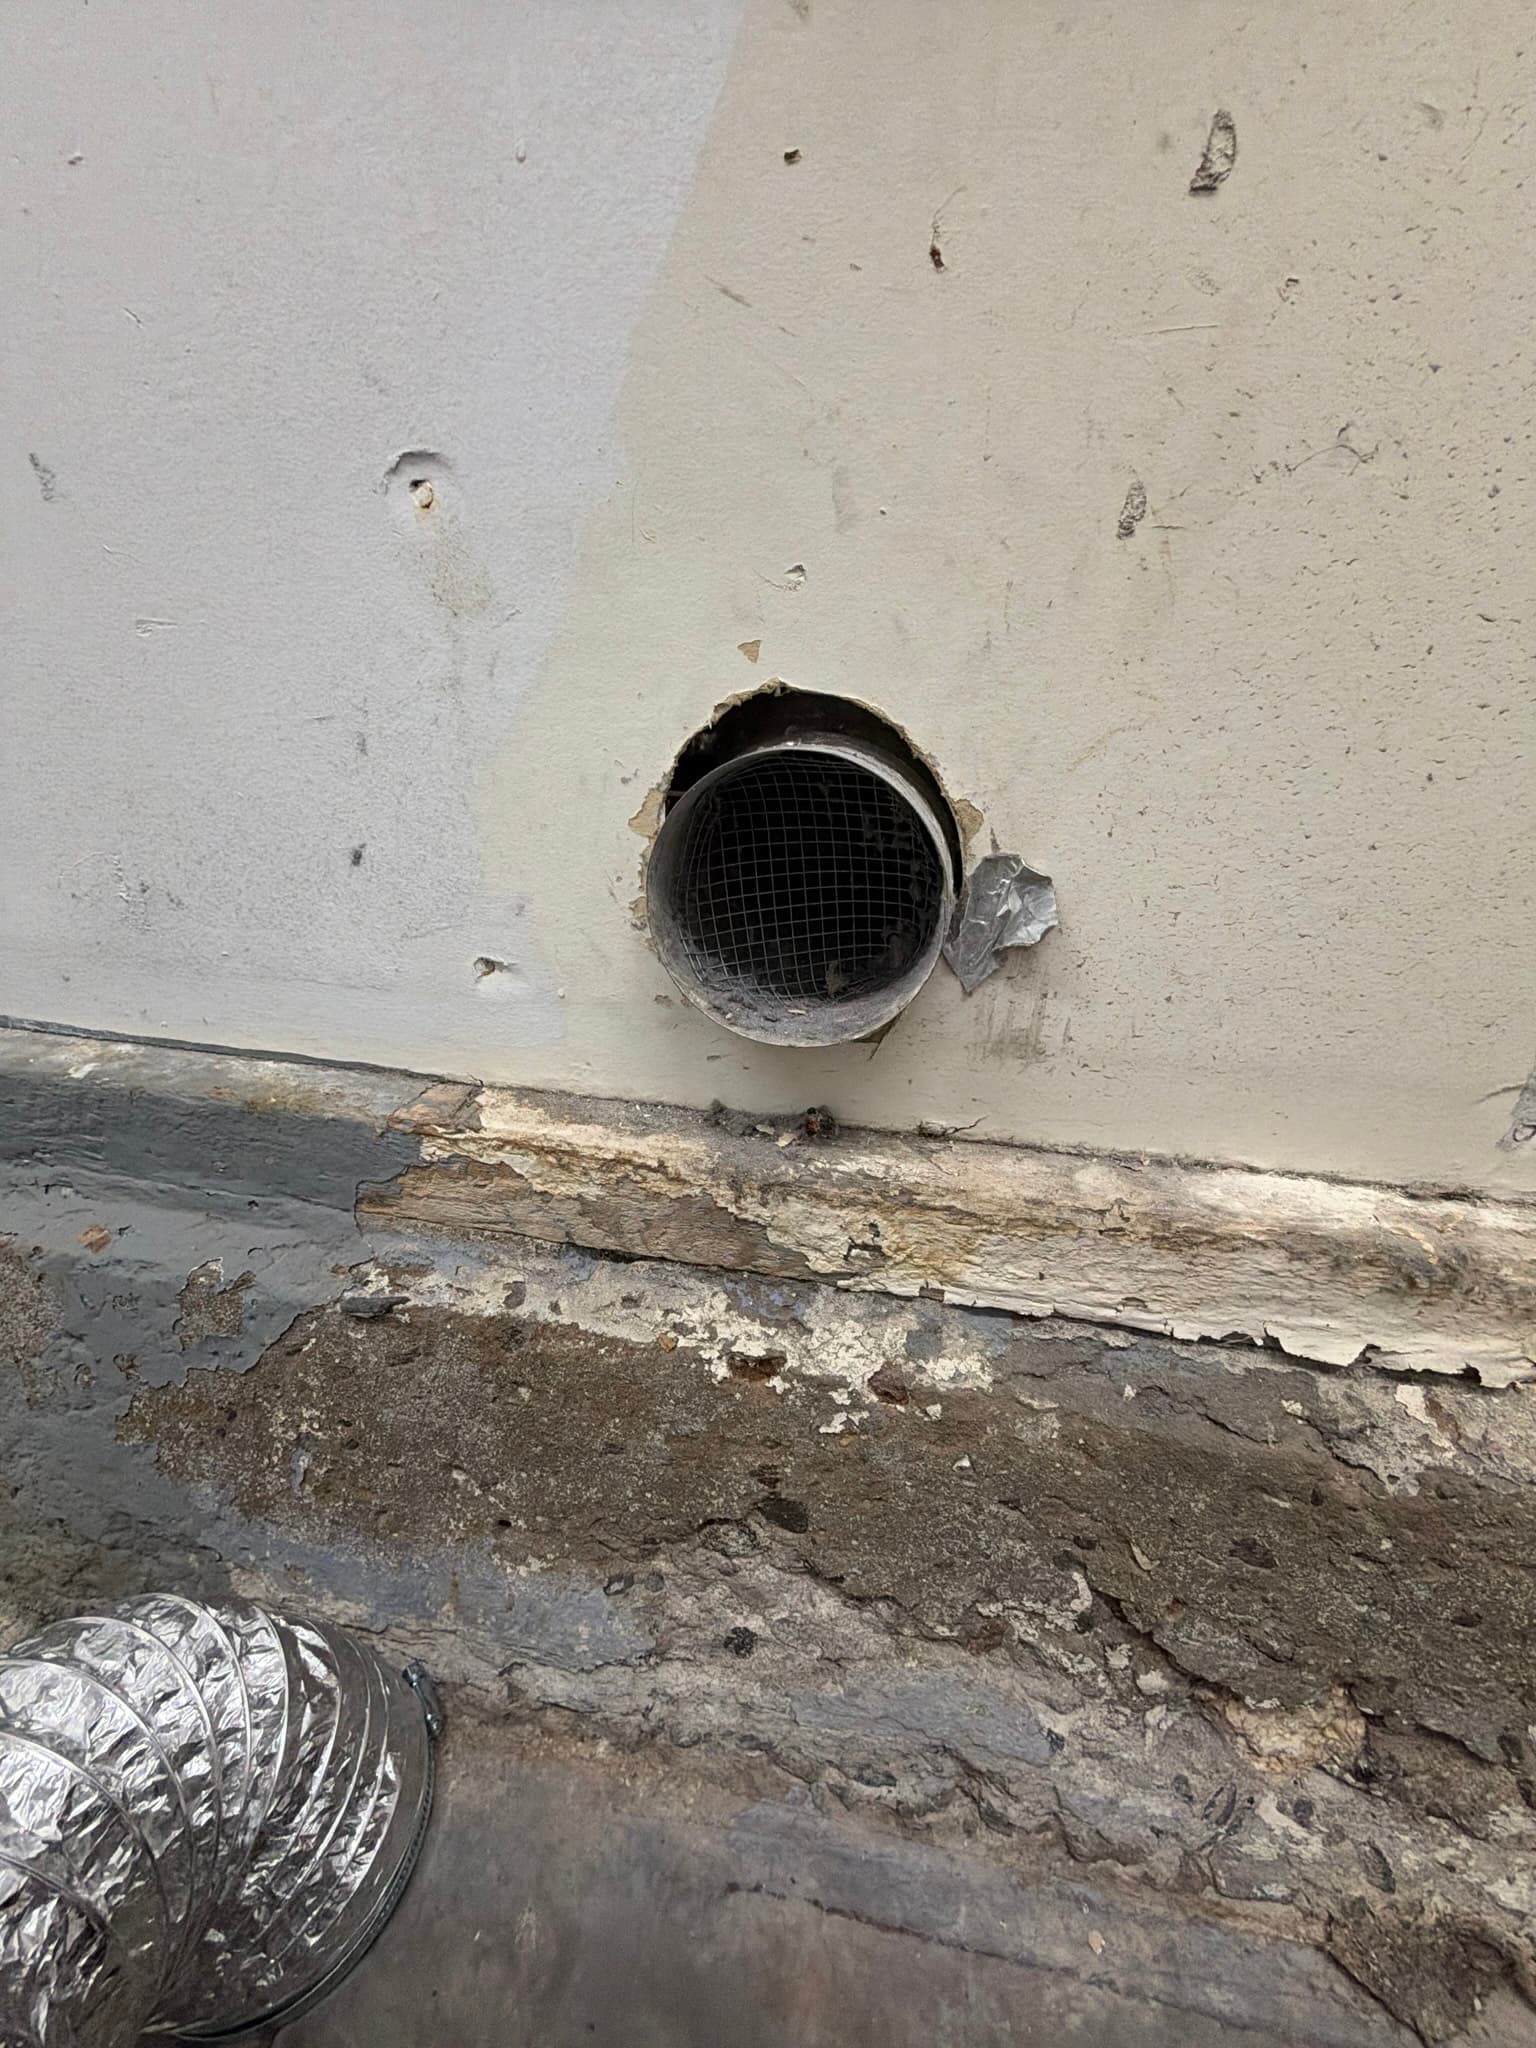
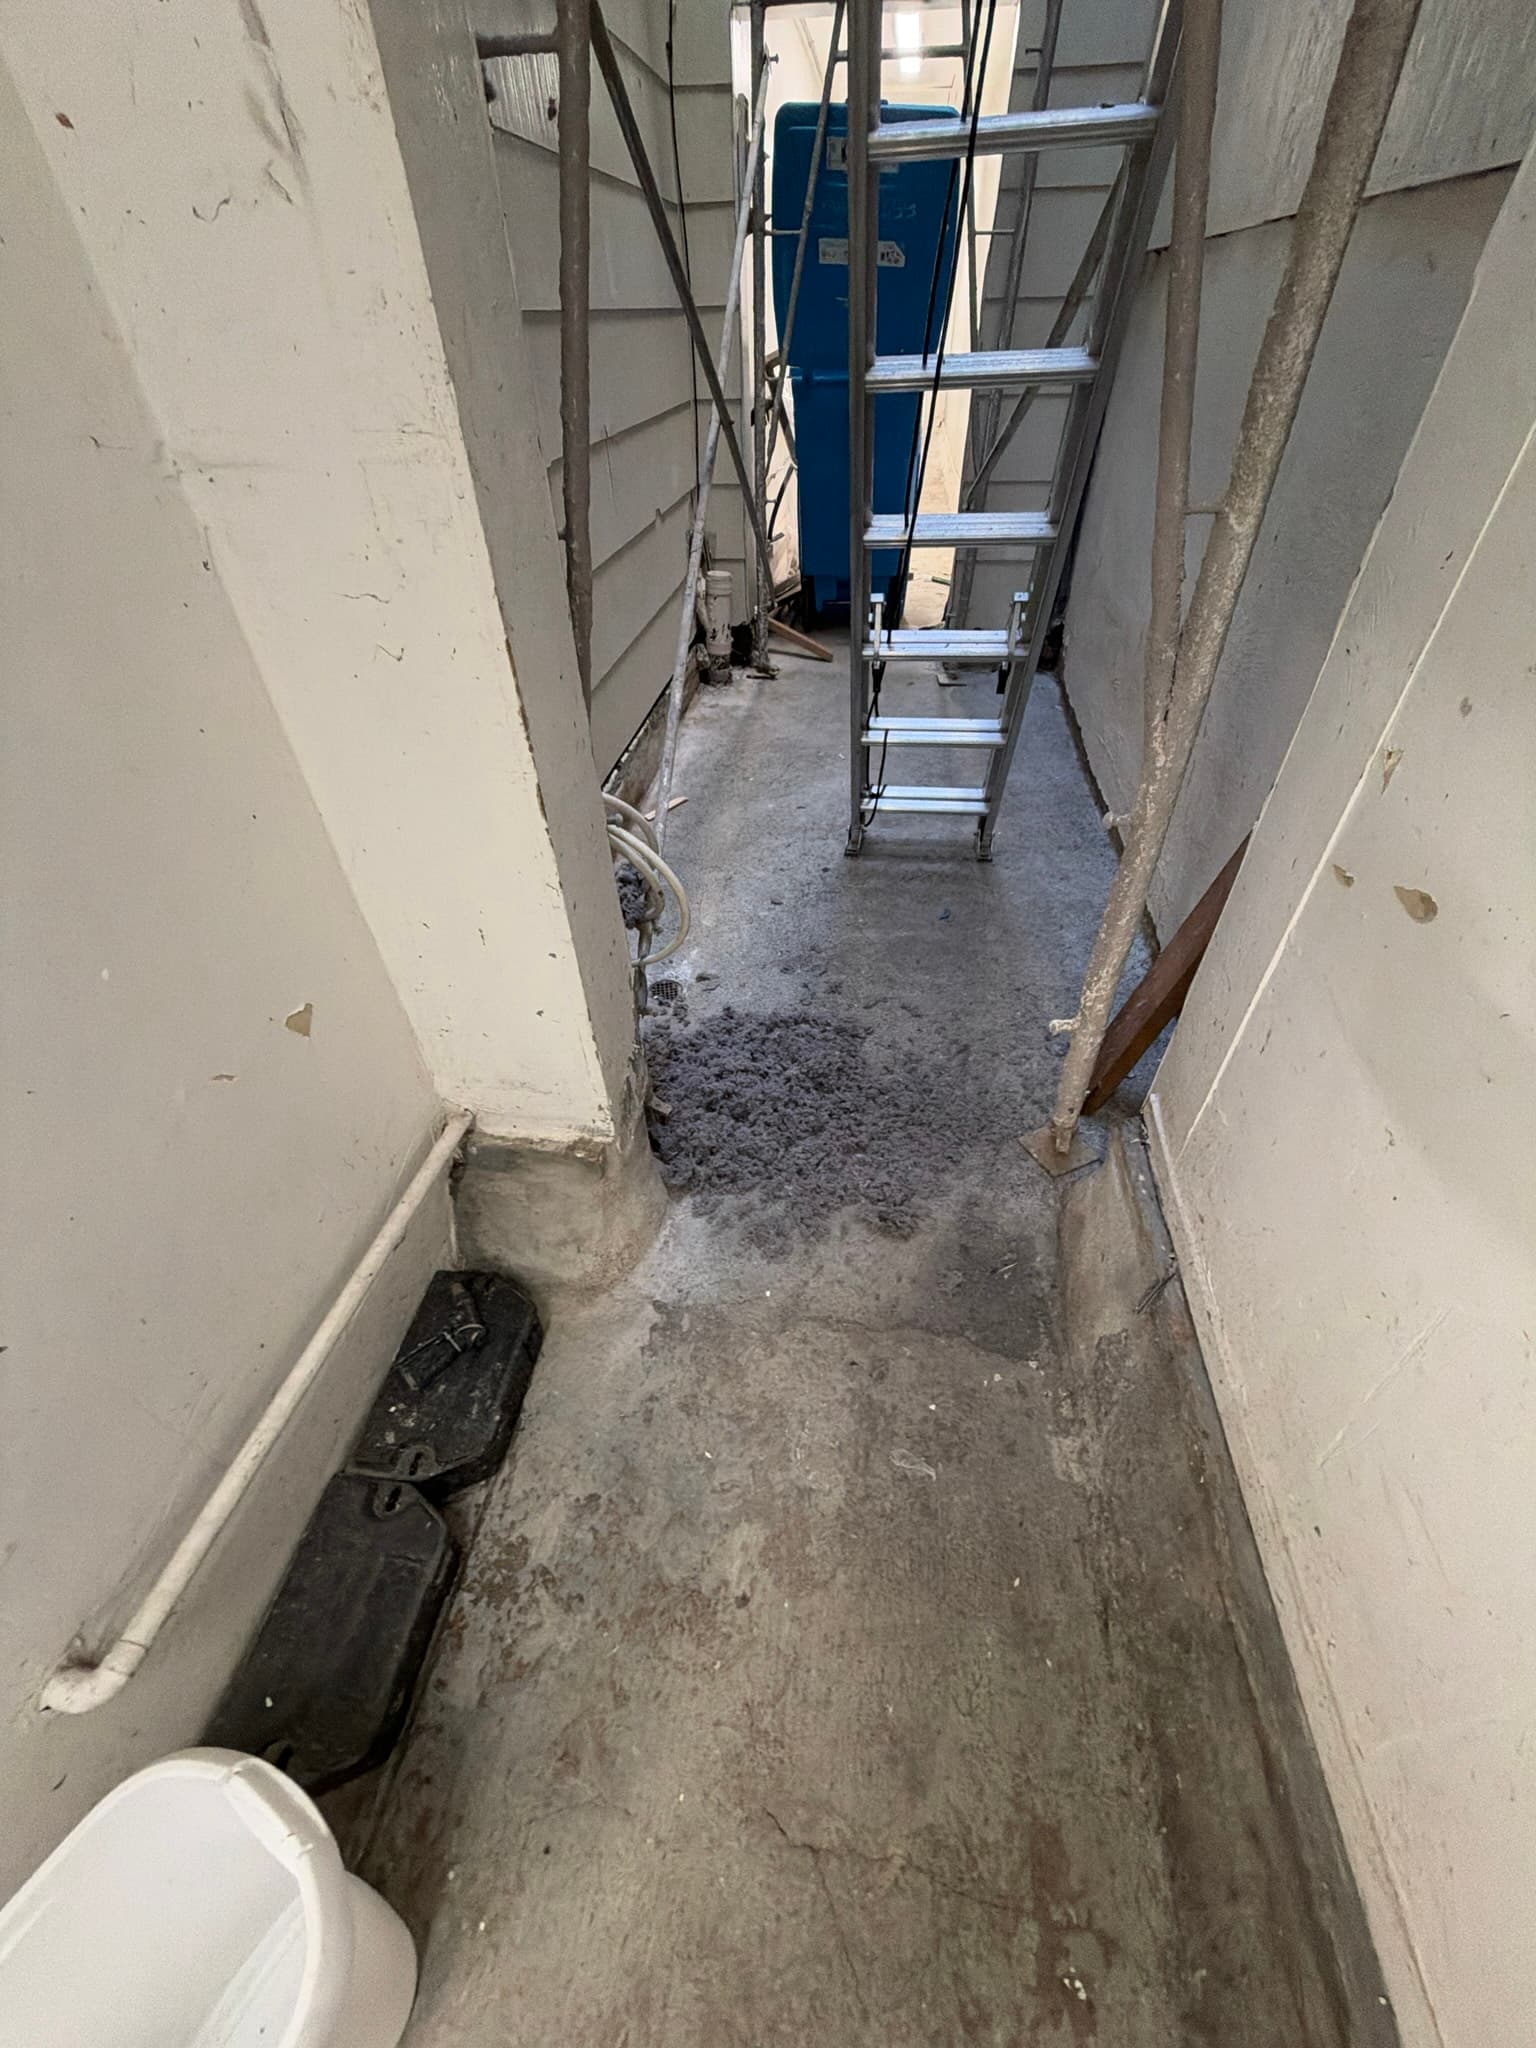
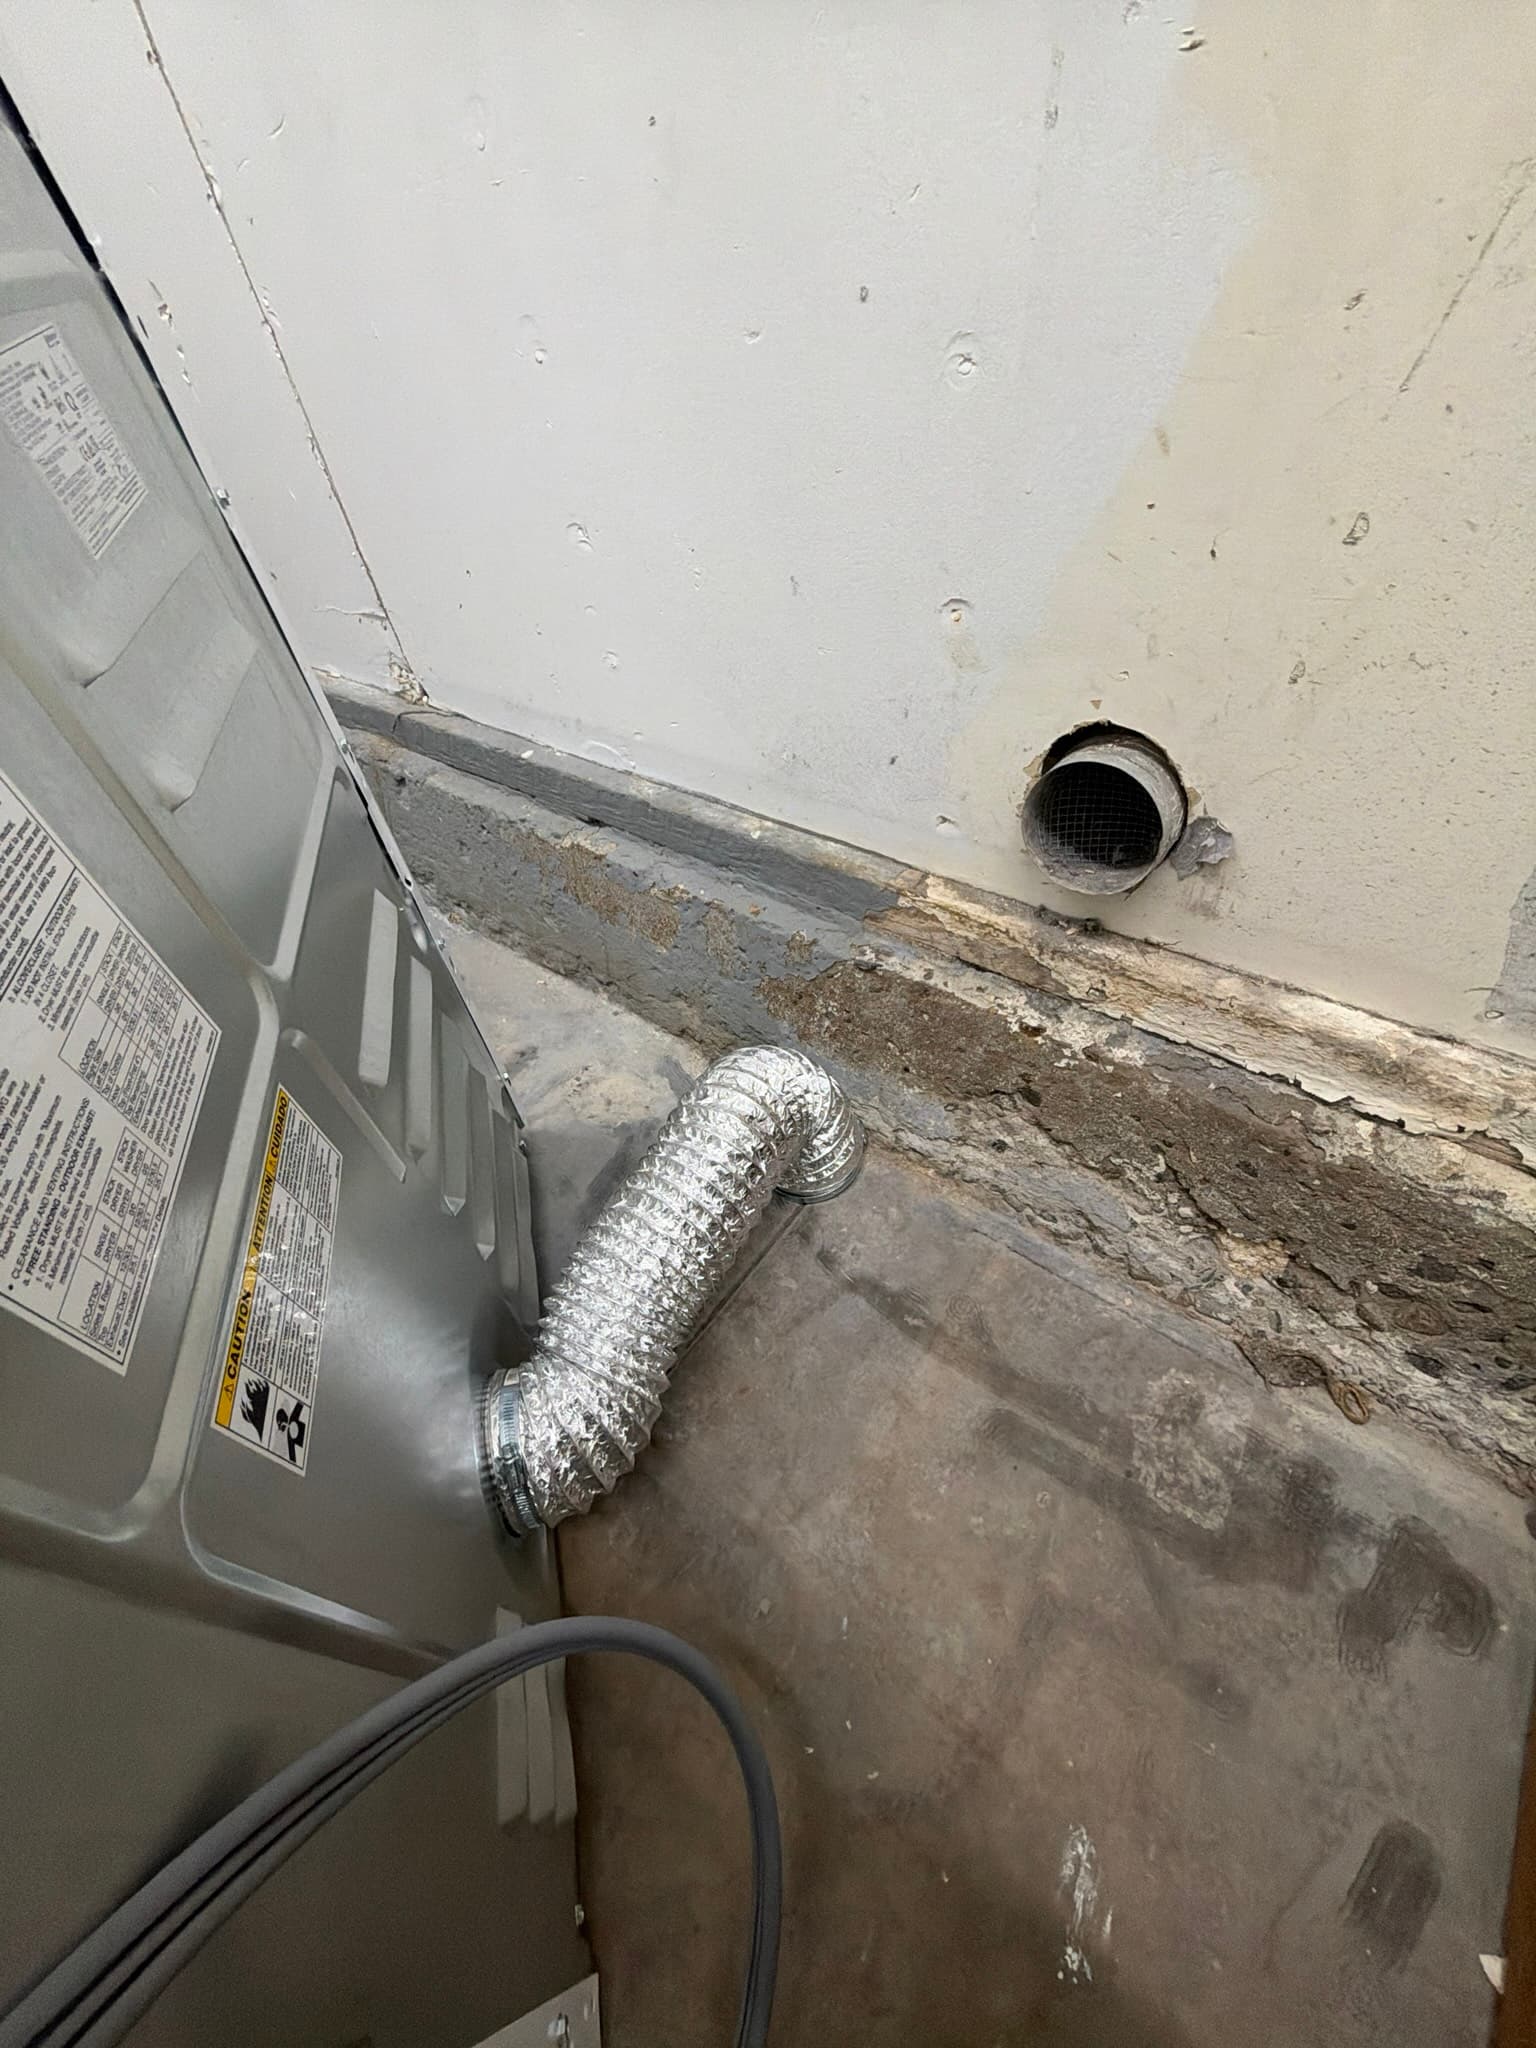
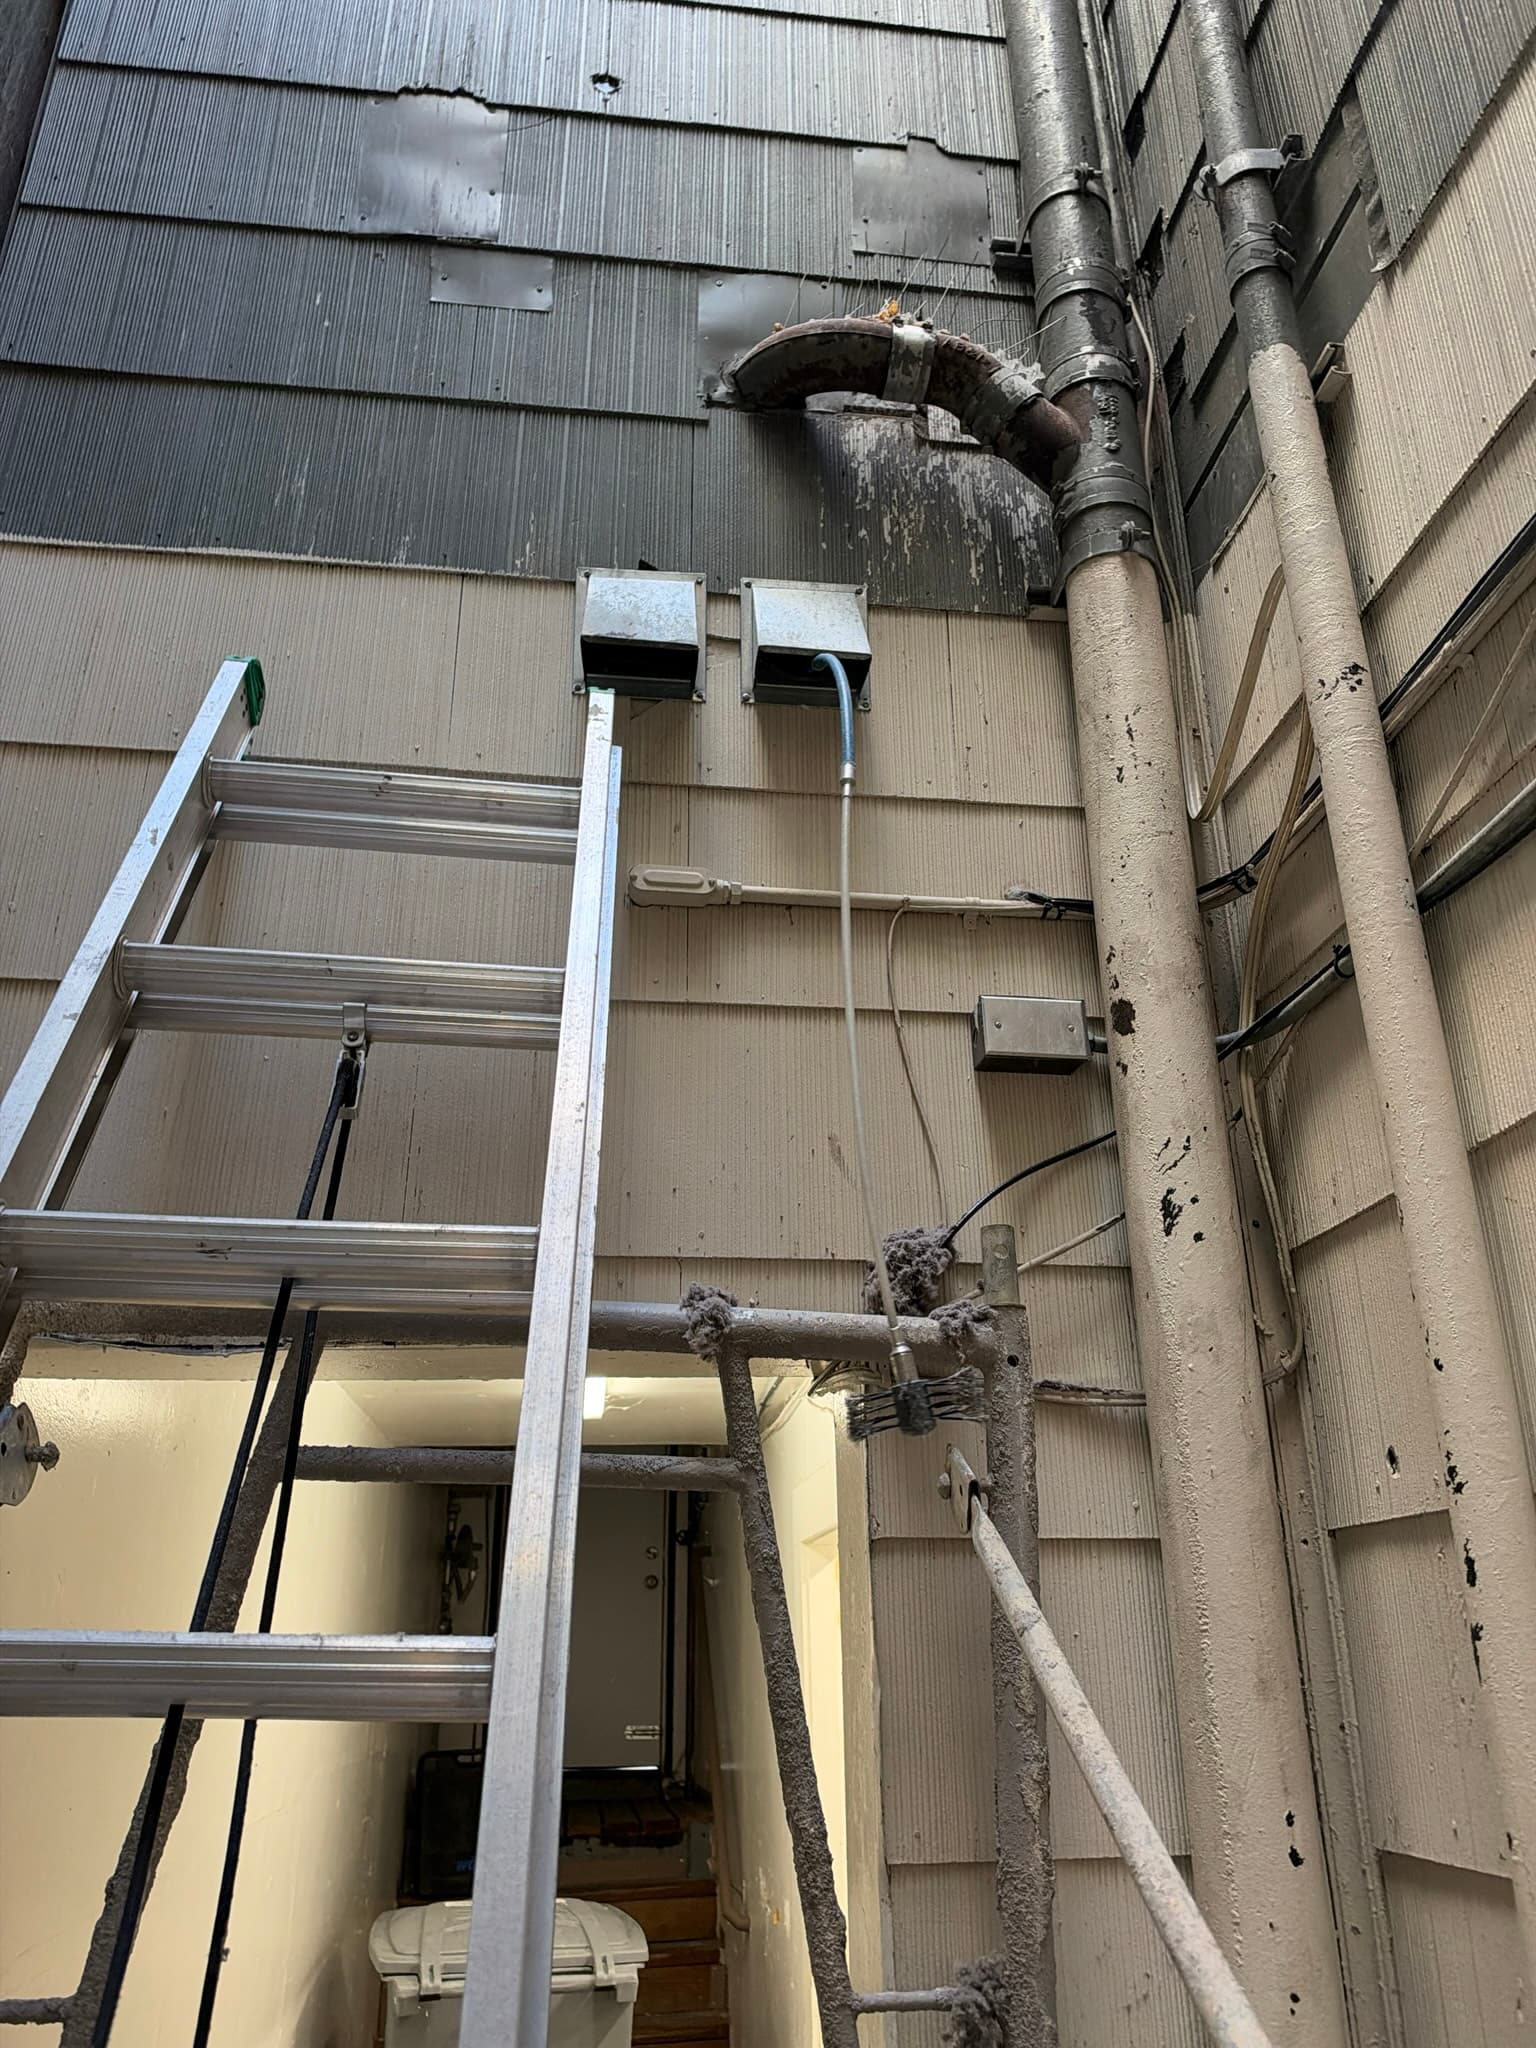
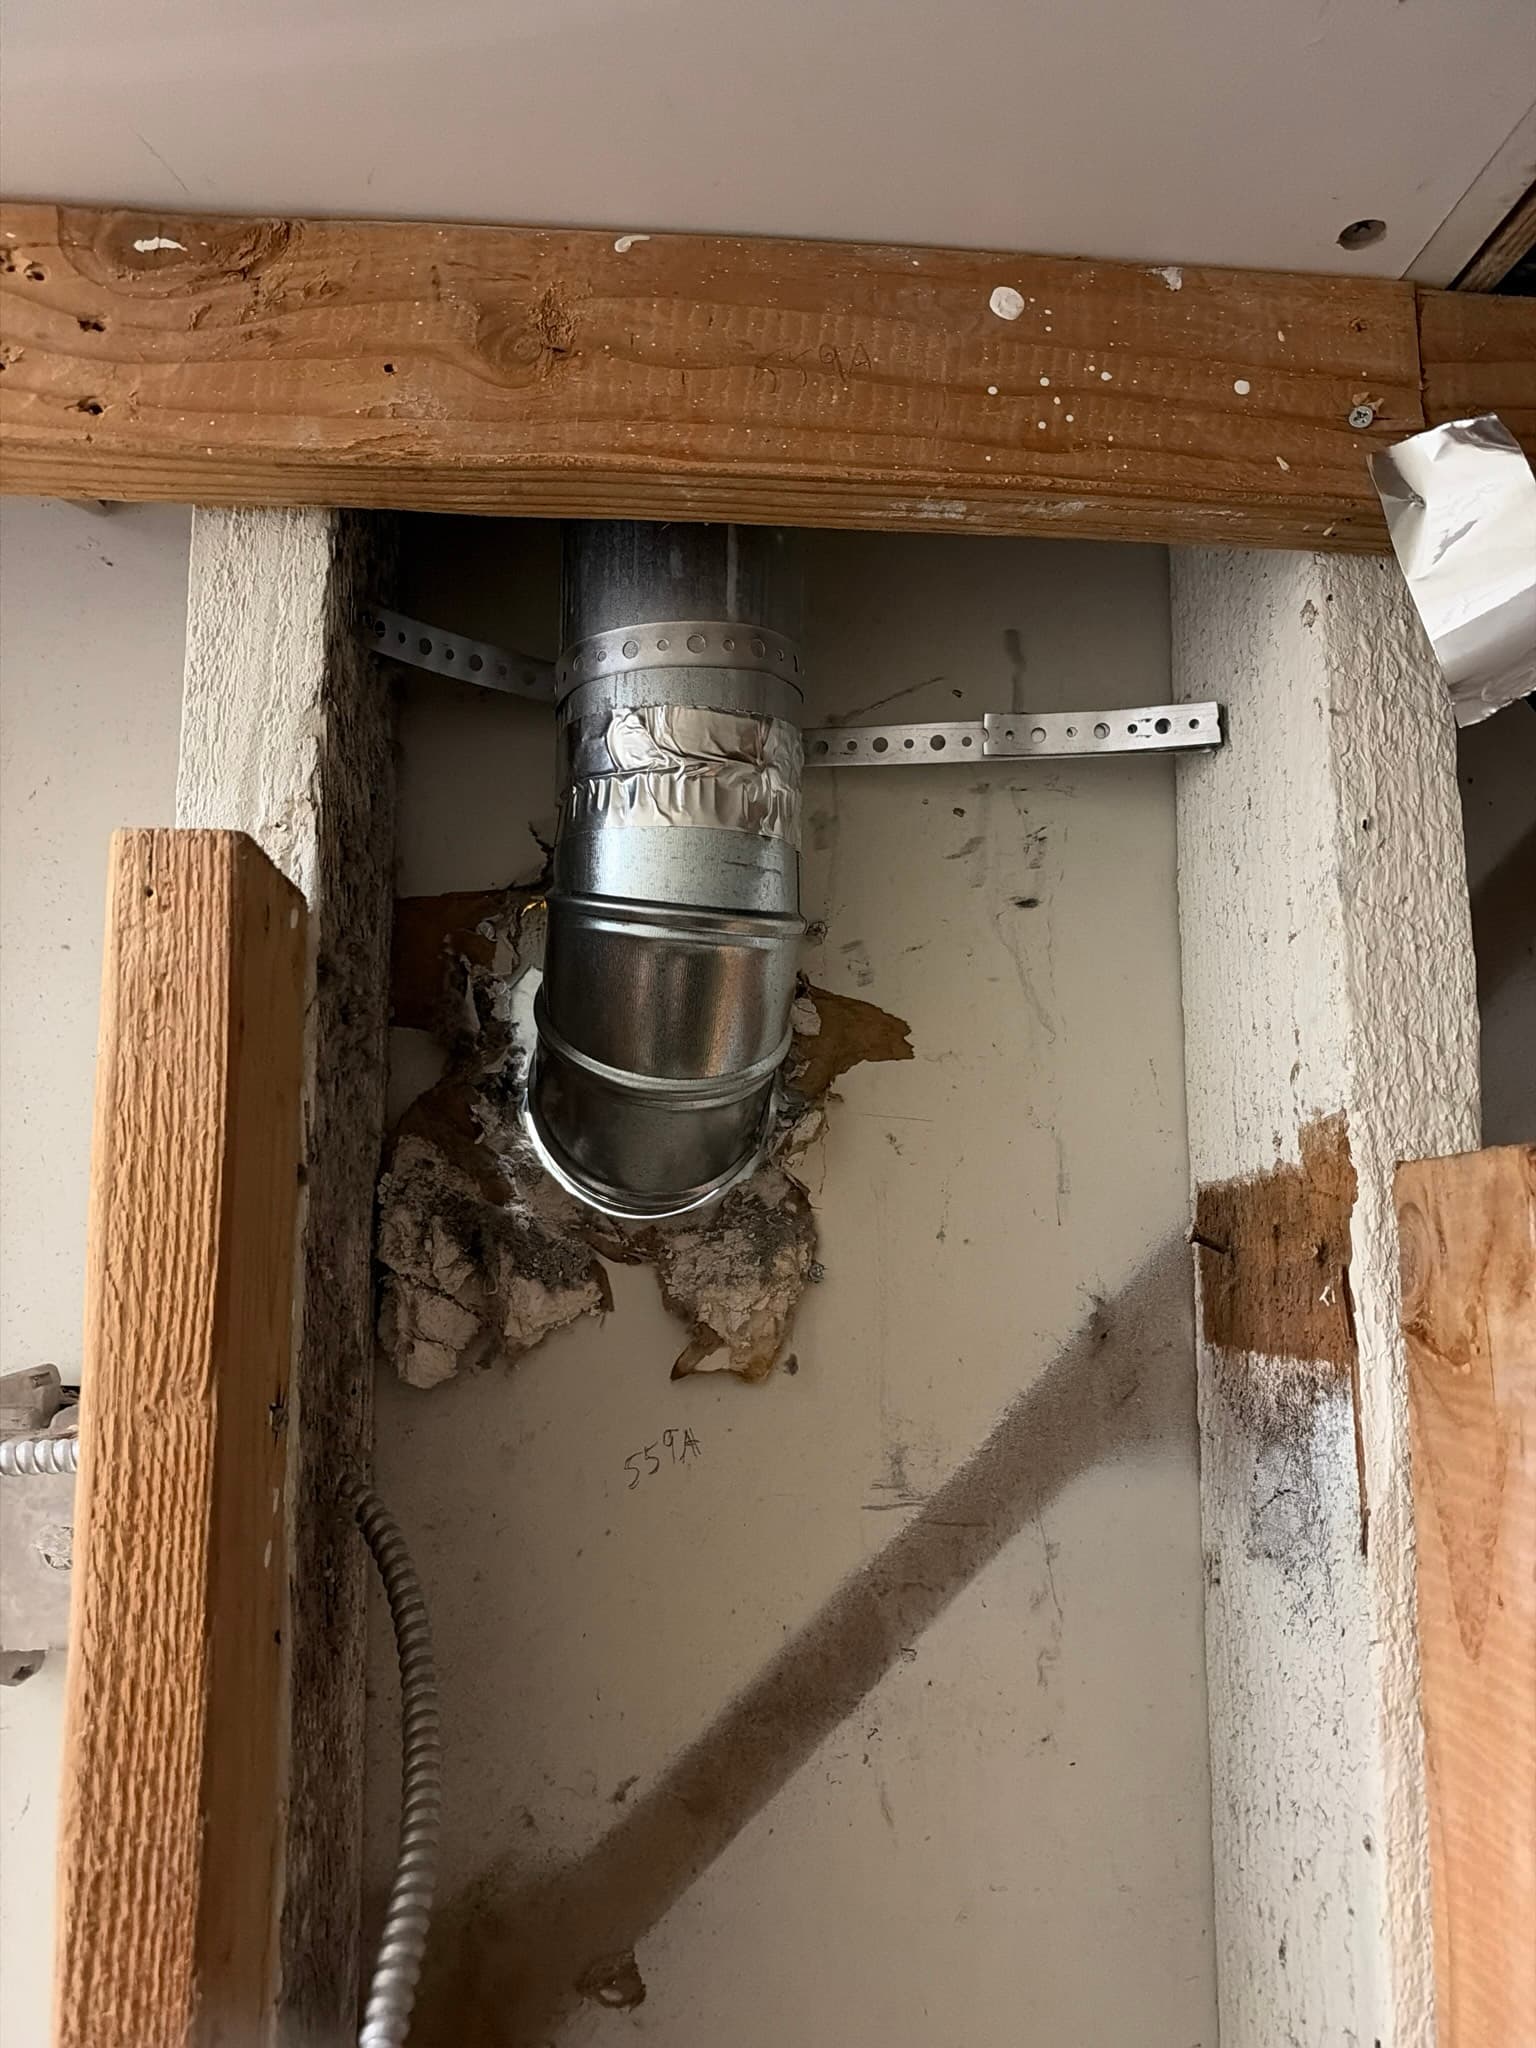
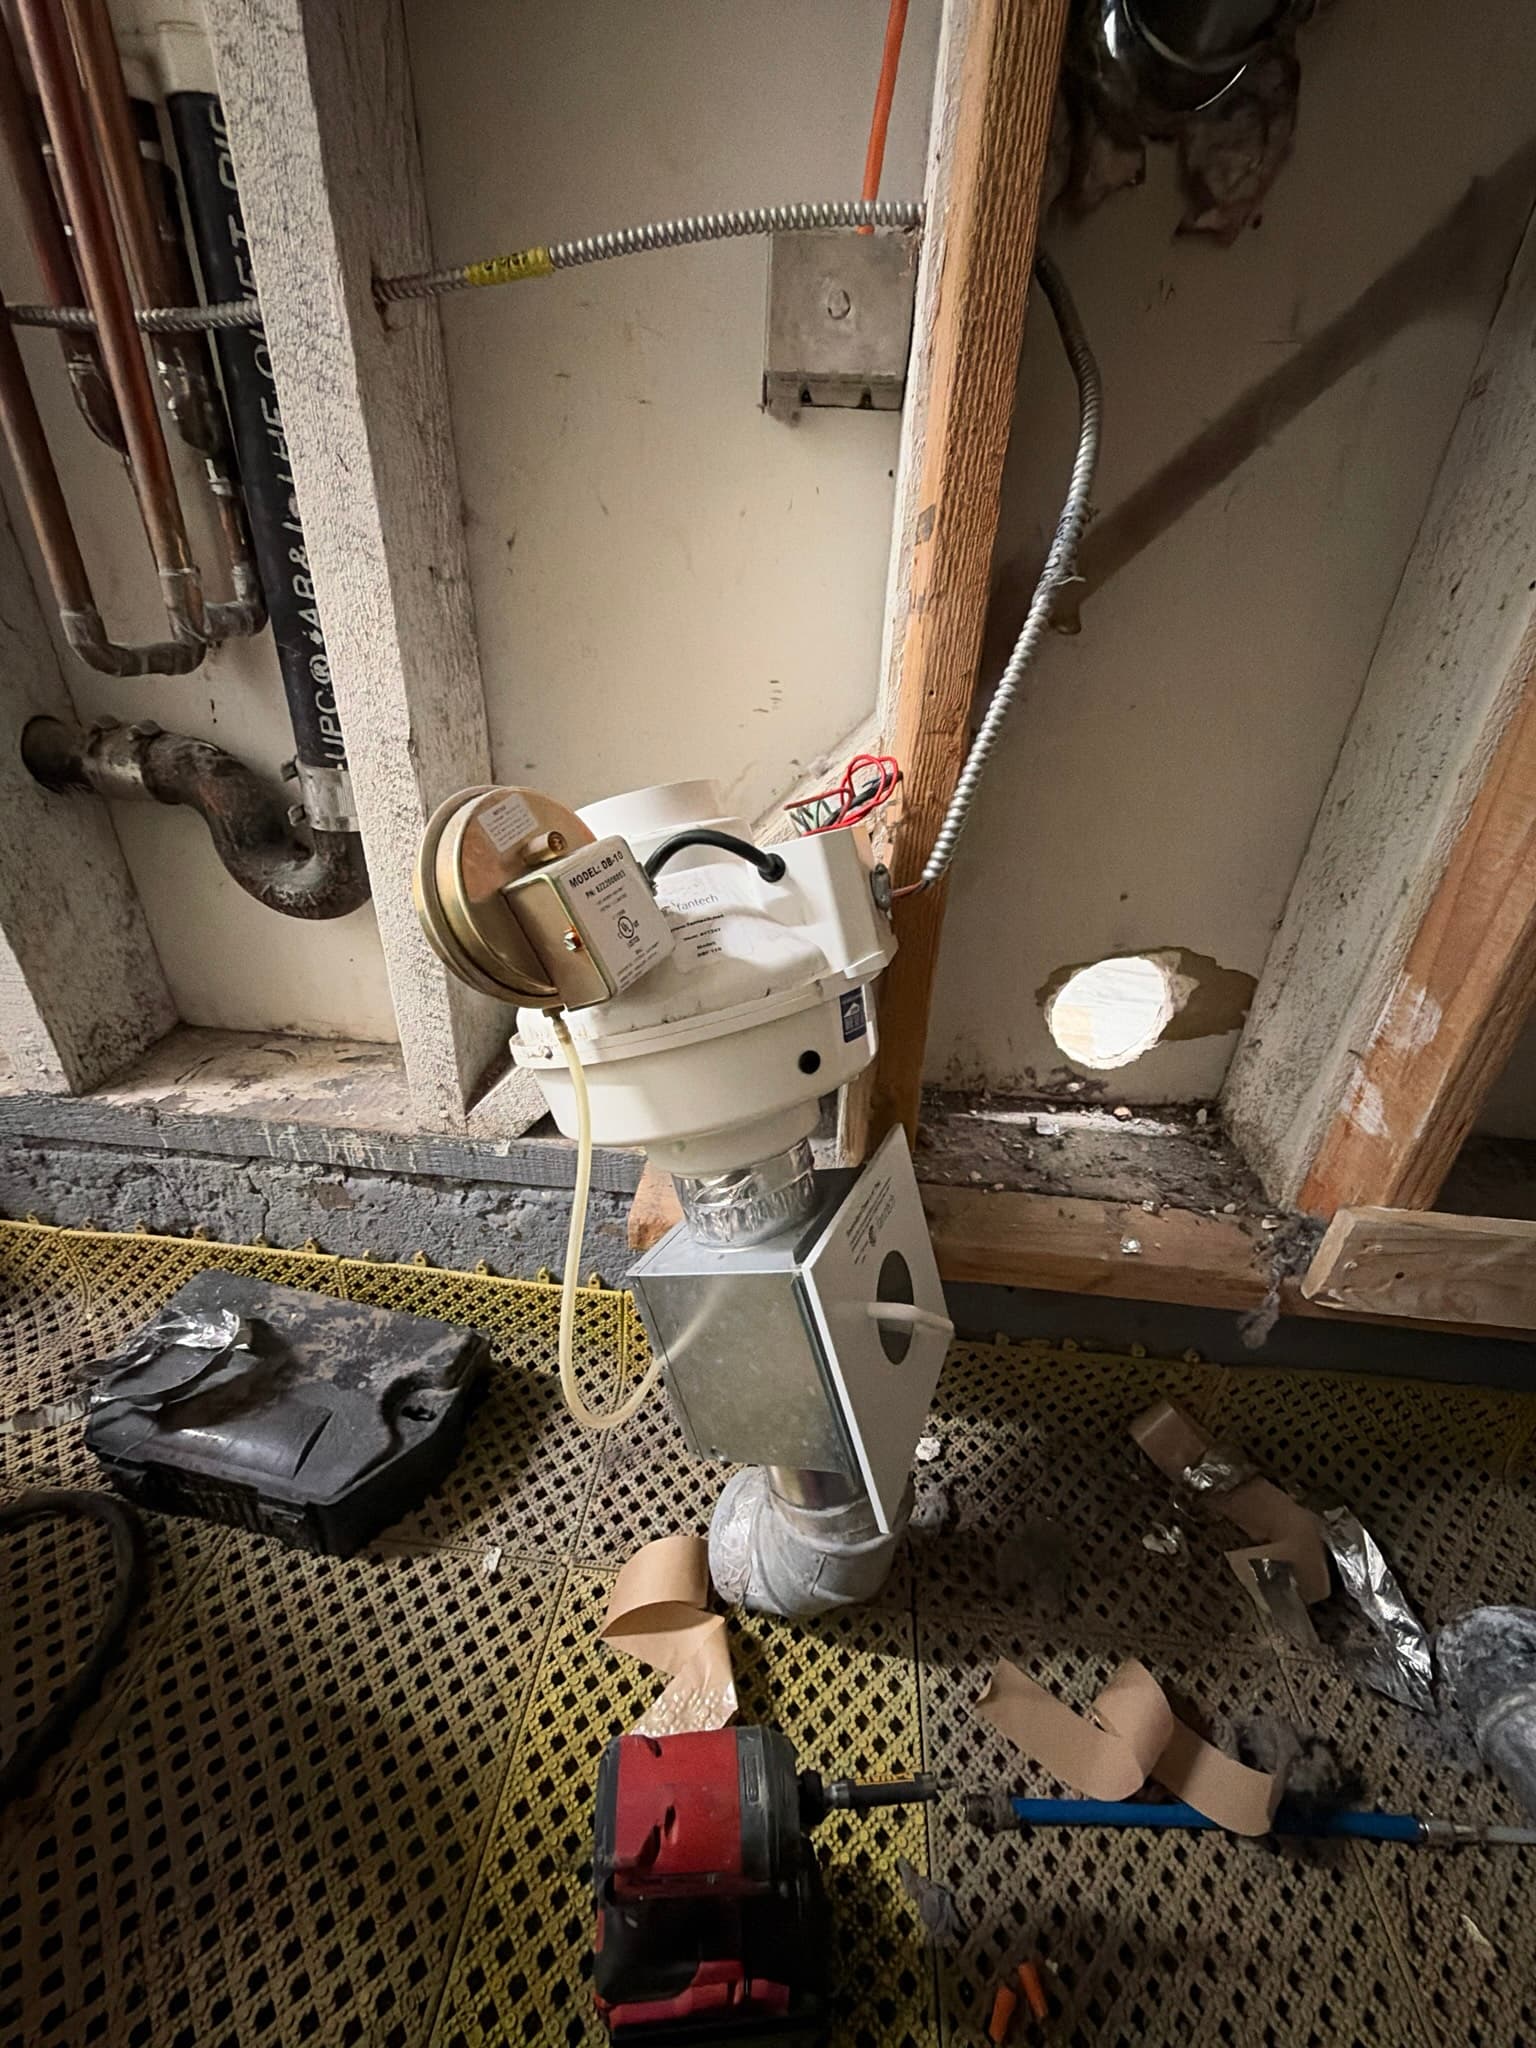
This San Francisco home's dryer exhaust system showed several of the classic warning signs we look for during a full inspection and airflow test. The duct connecting the dryer to the exterior relied on thin foil flexible duct rather than rigid metal, and the exterior termination was fitted with a makeshift wire mesh screen instead of a proper louvered cap, something that traps lint and restricts airflow rather than letting it escape. At the exterior termination the surrounding sill and wall showed cracking and deteriorated paint, and foil tape was found peeling away from the opening. Inside the exhaust path, we also found an inline booster fan wired into the duct run that was not a dedicated dryer exhaust power ventilator. Lower in the run, a significant pile of lint had accumulated on the concrete walkway near a floor drain outside the home, a clear sign that the exhaust system was not fully conveying air and lint to the outdoors as intended. Along the roofline, a corroded metal elbow was packed with heavy lint buildup, and interior wall cavities along the duct path were coated with dust, lint, and construction debris from the existing routing.
What We Did
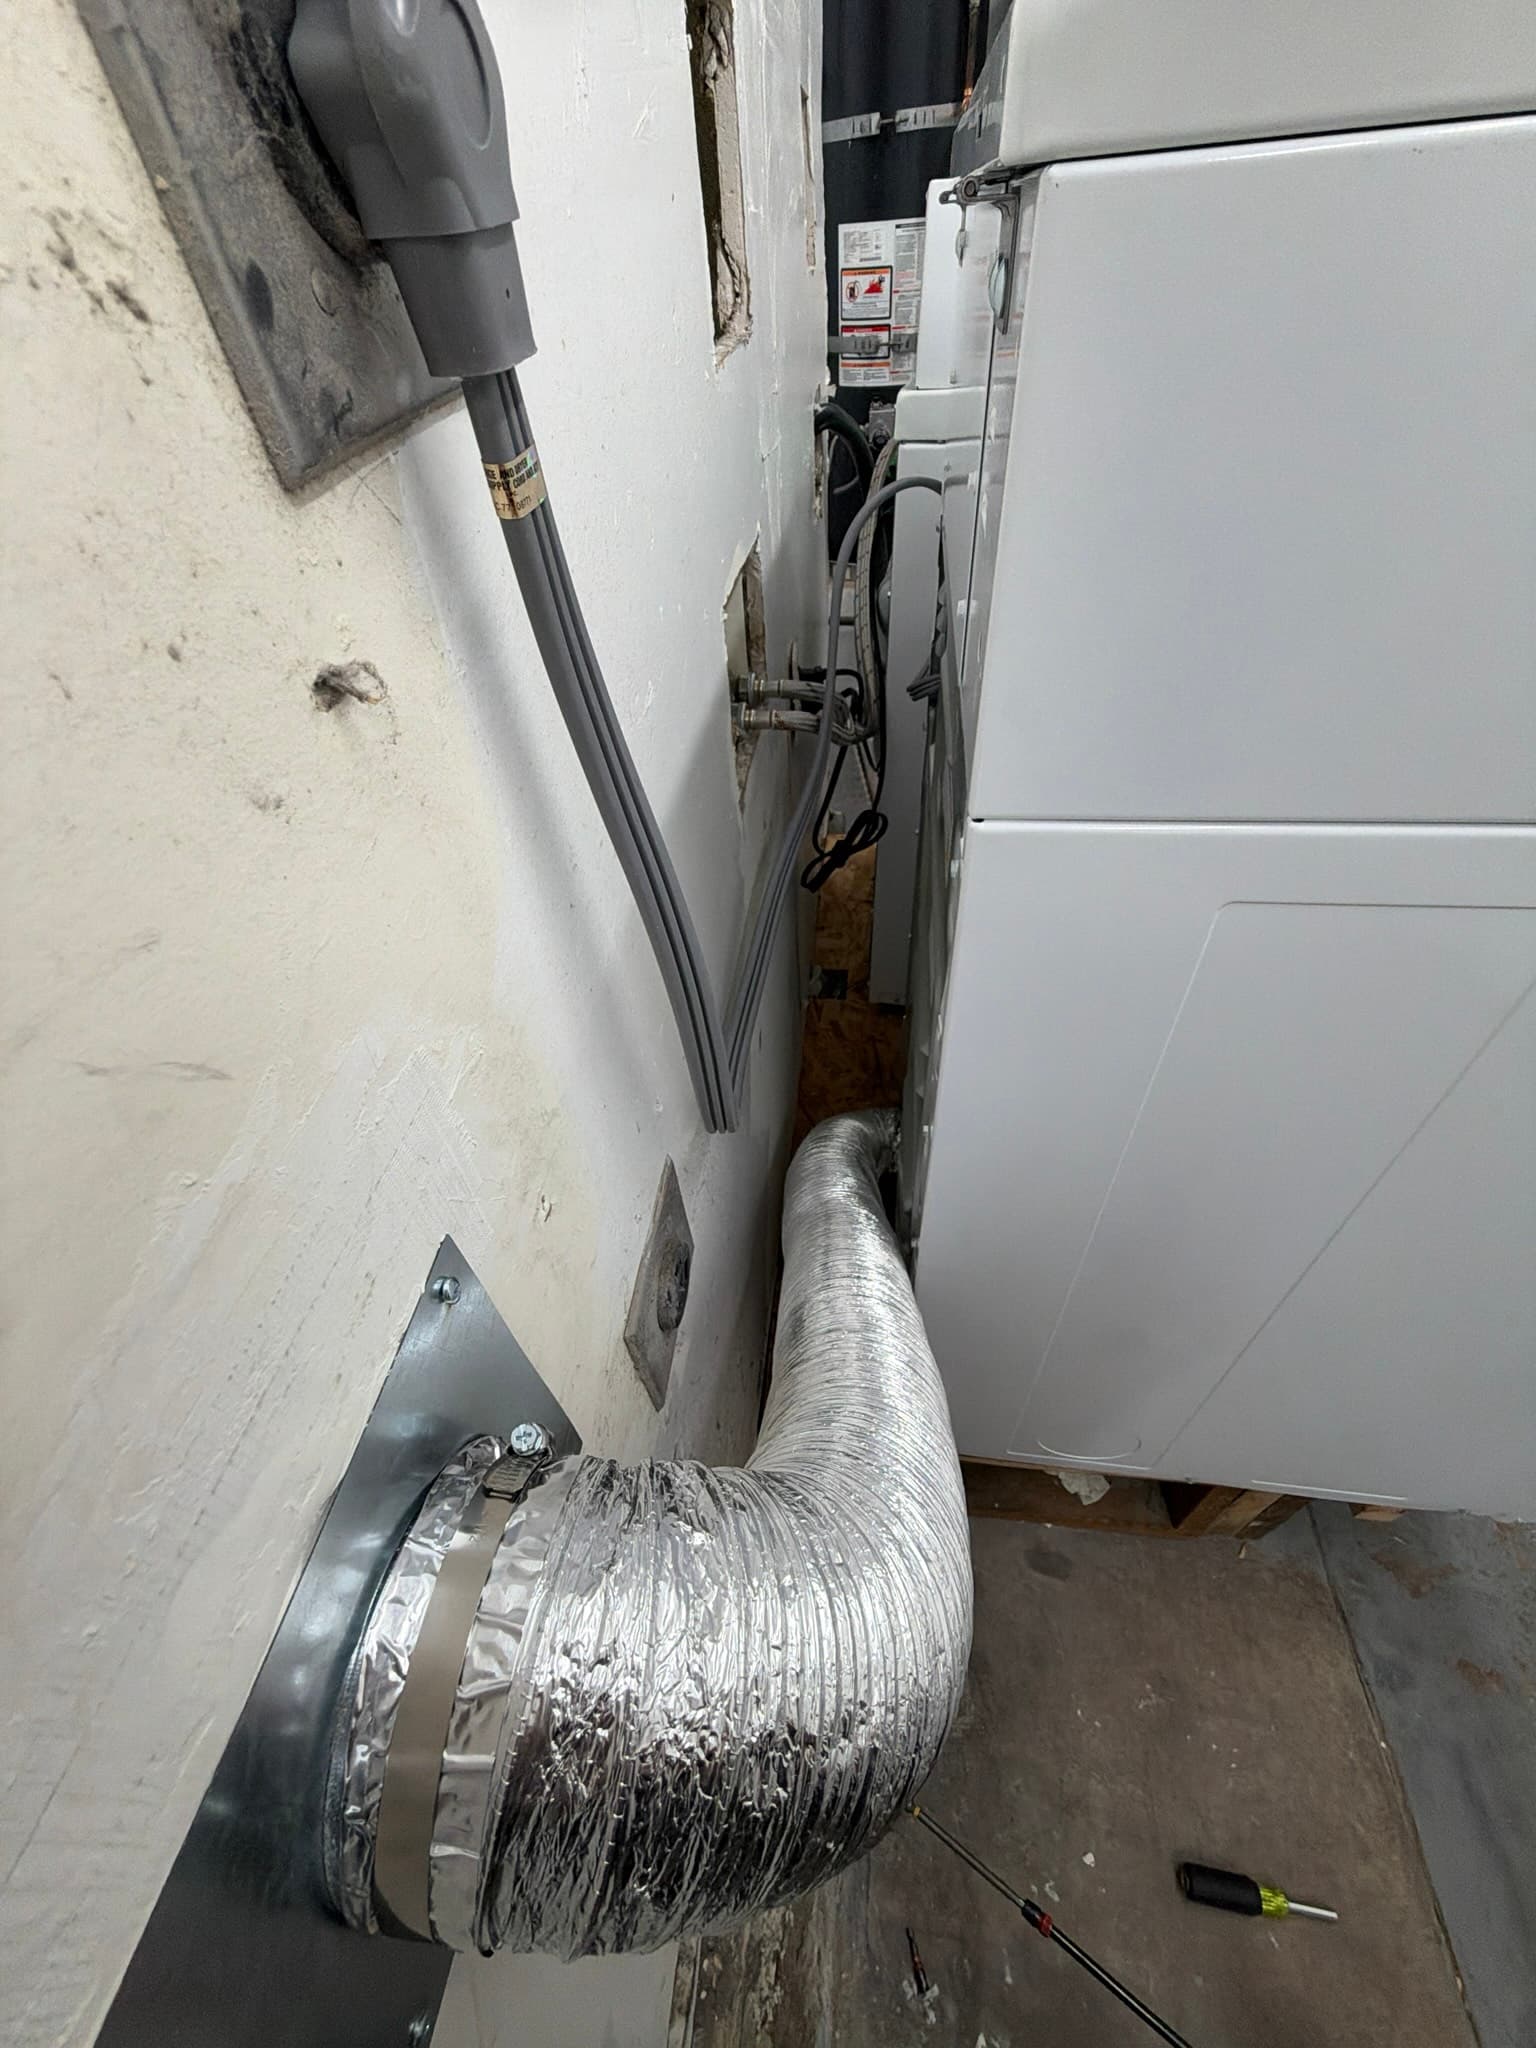
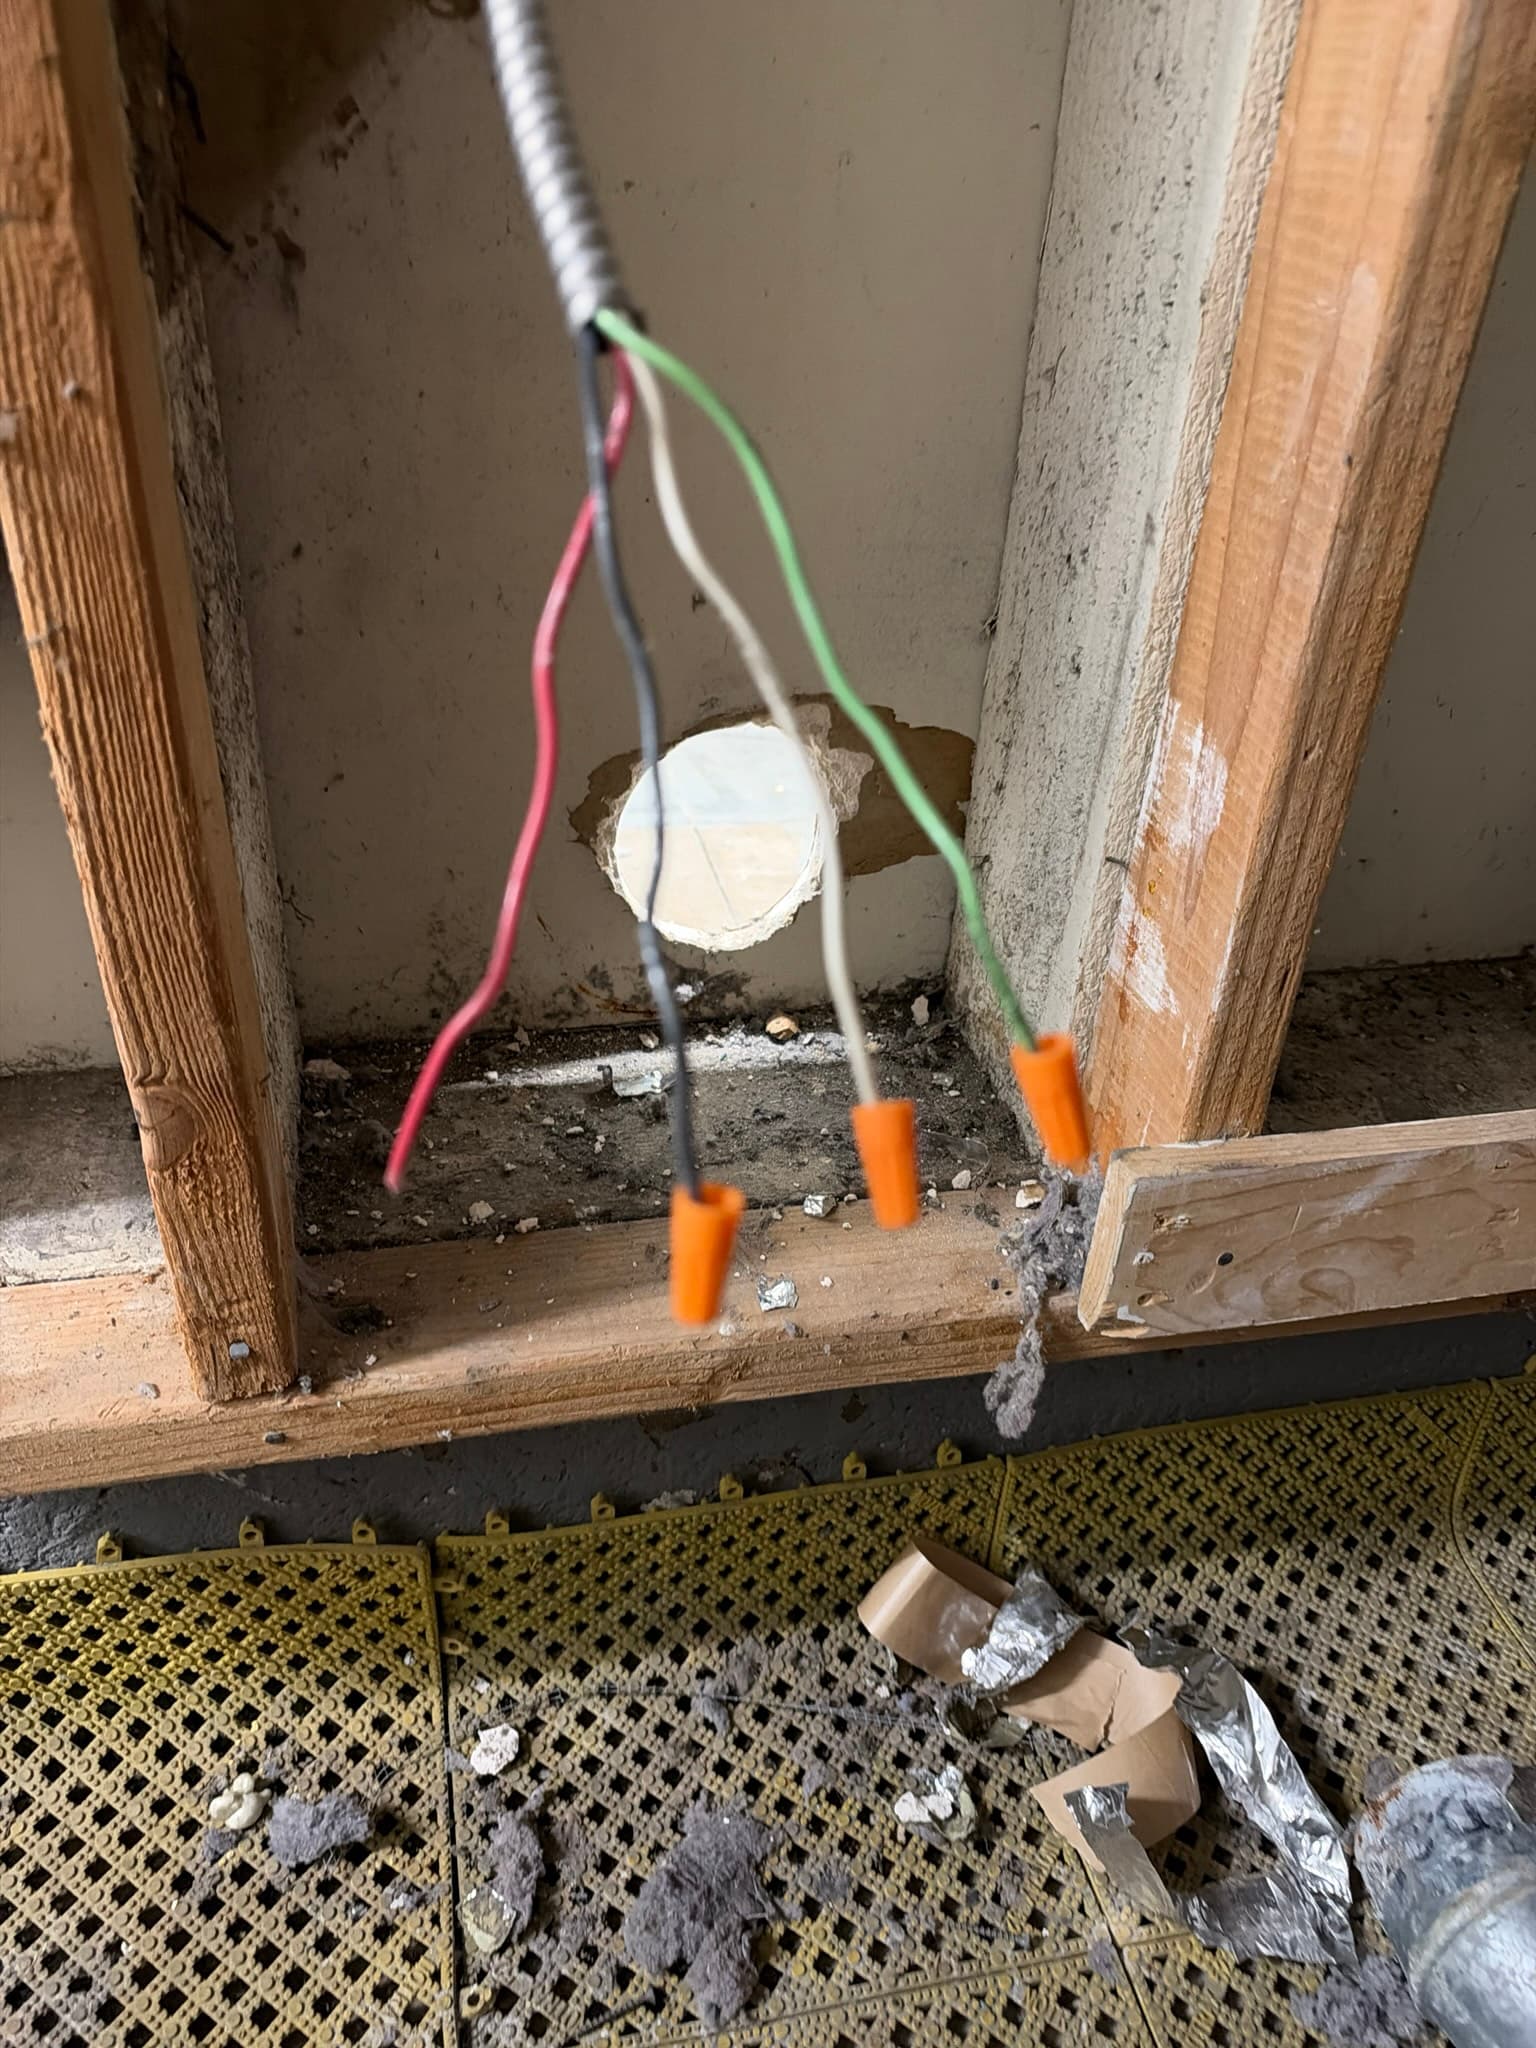
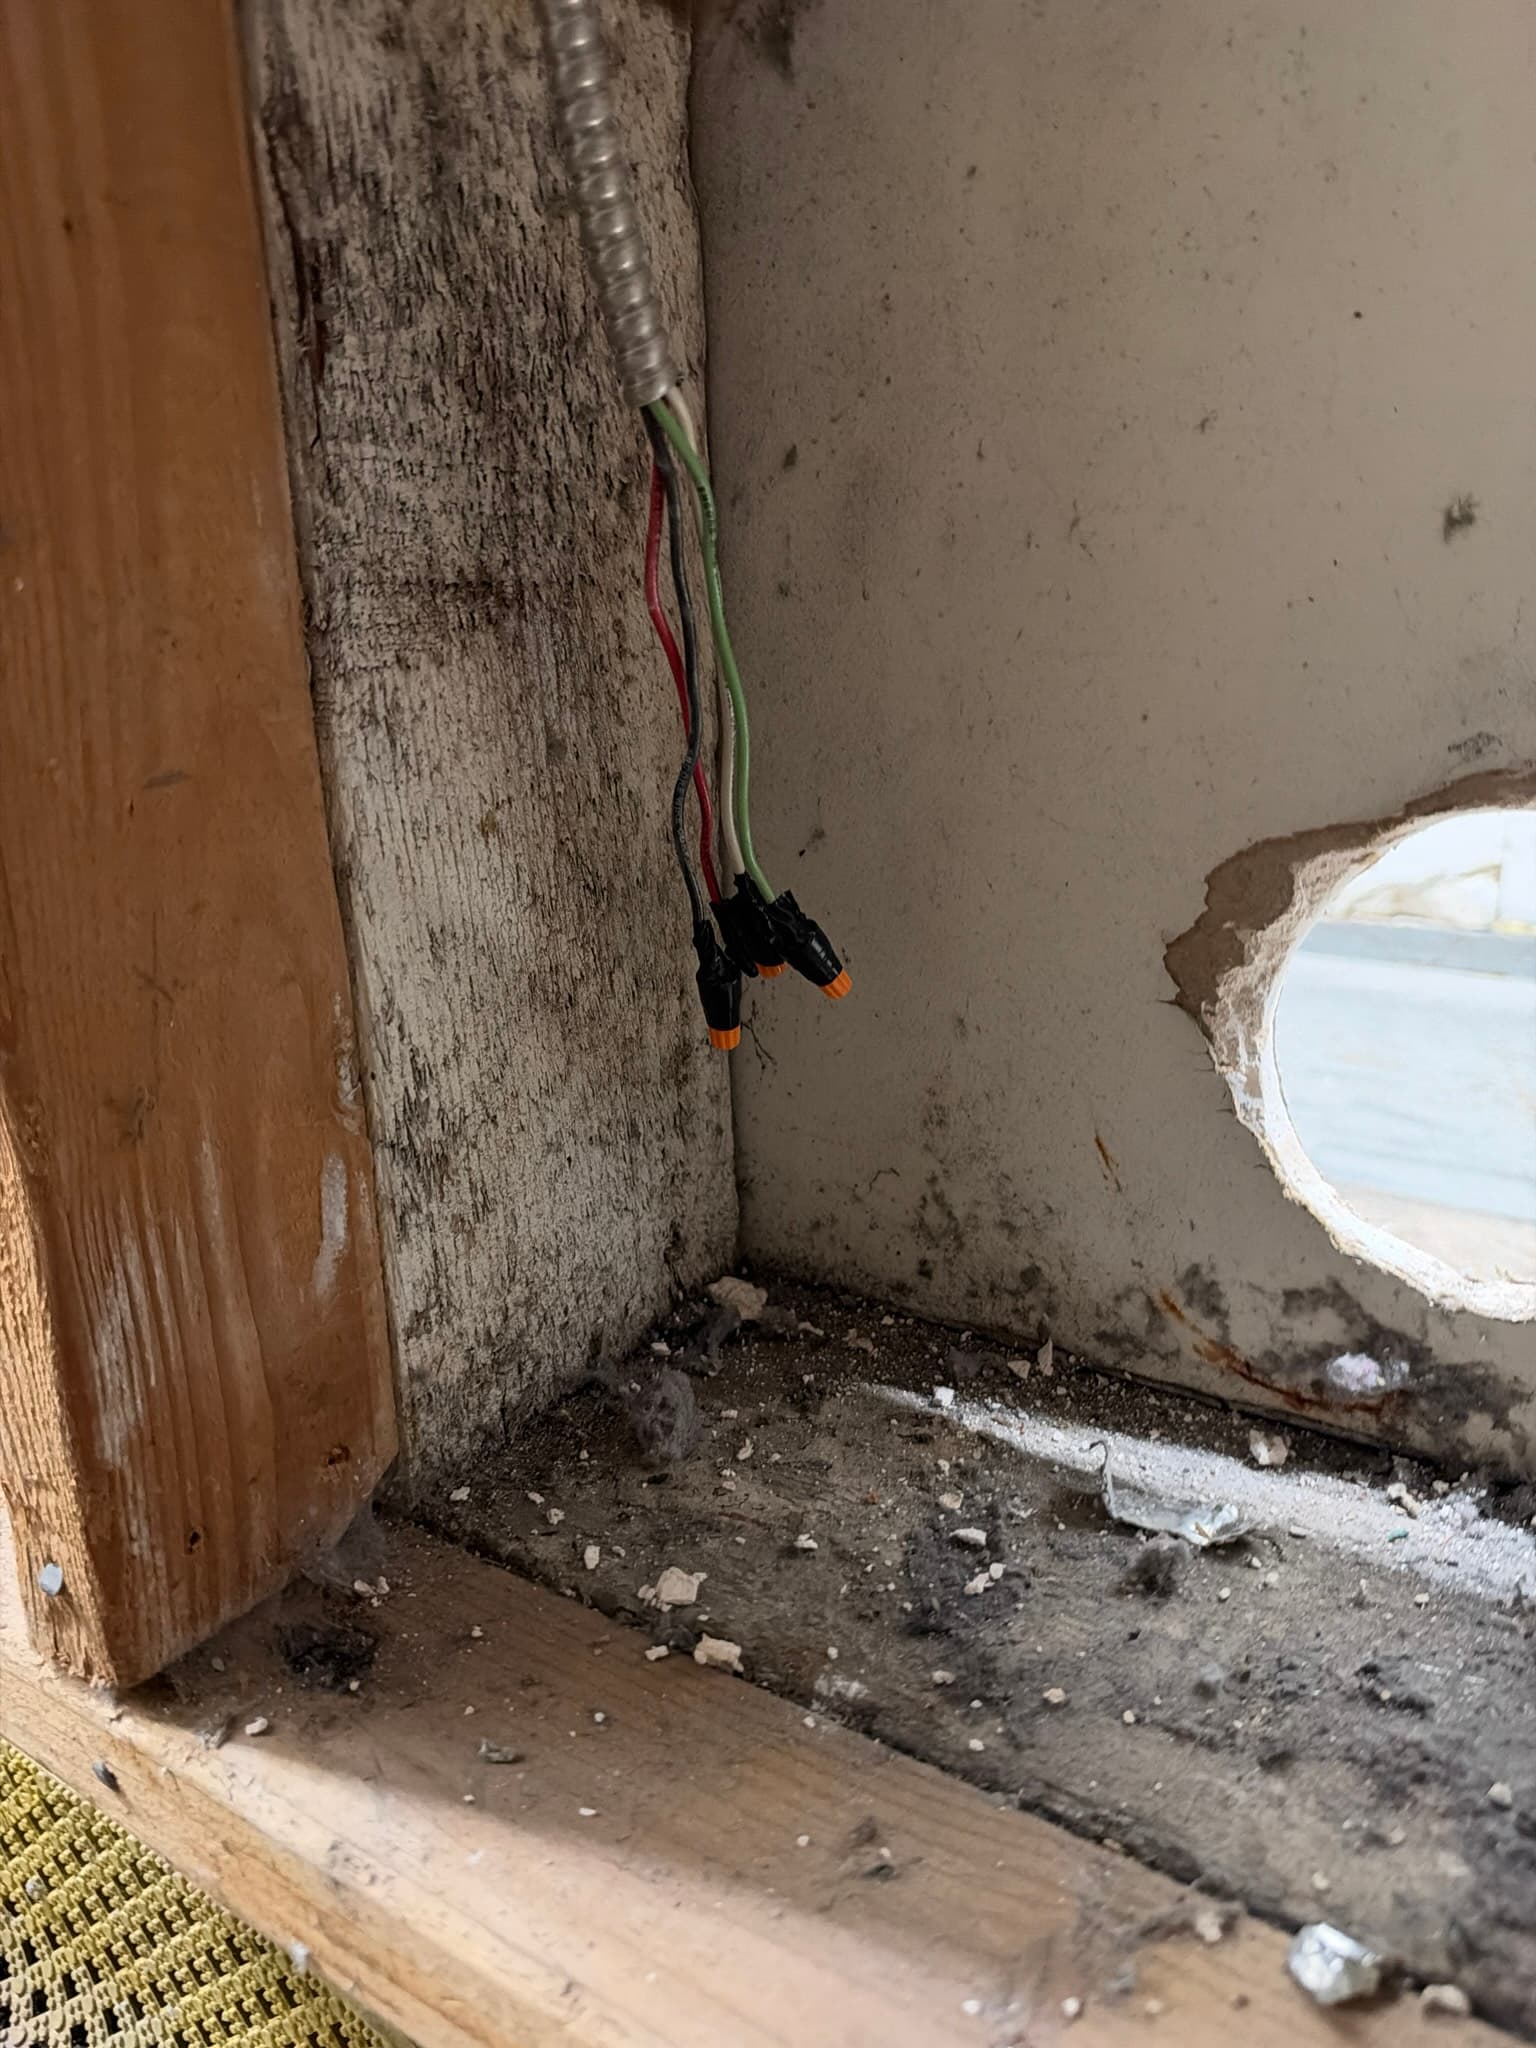
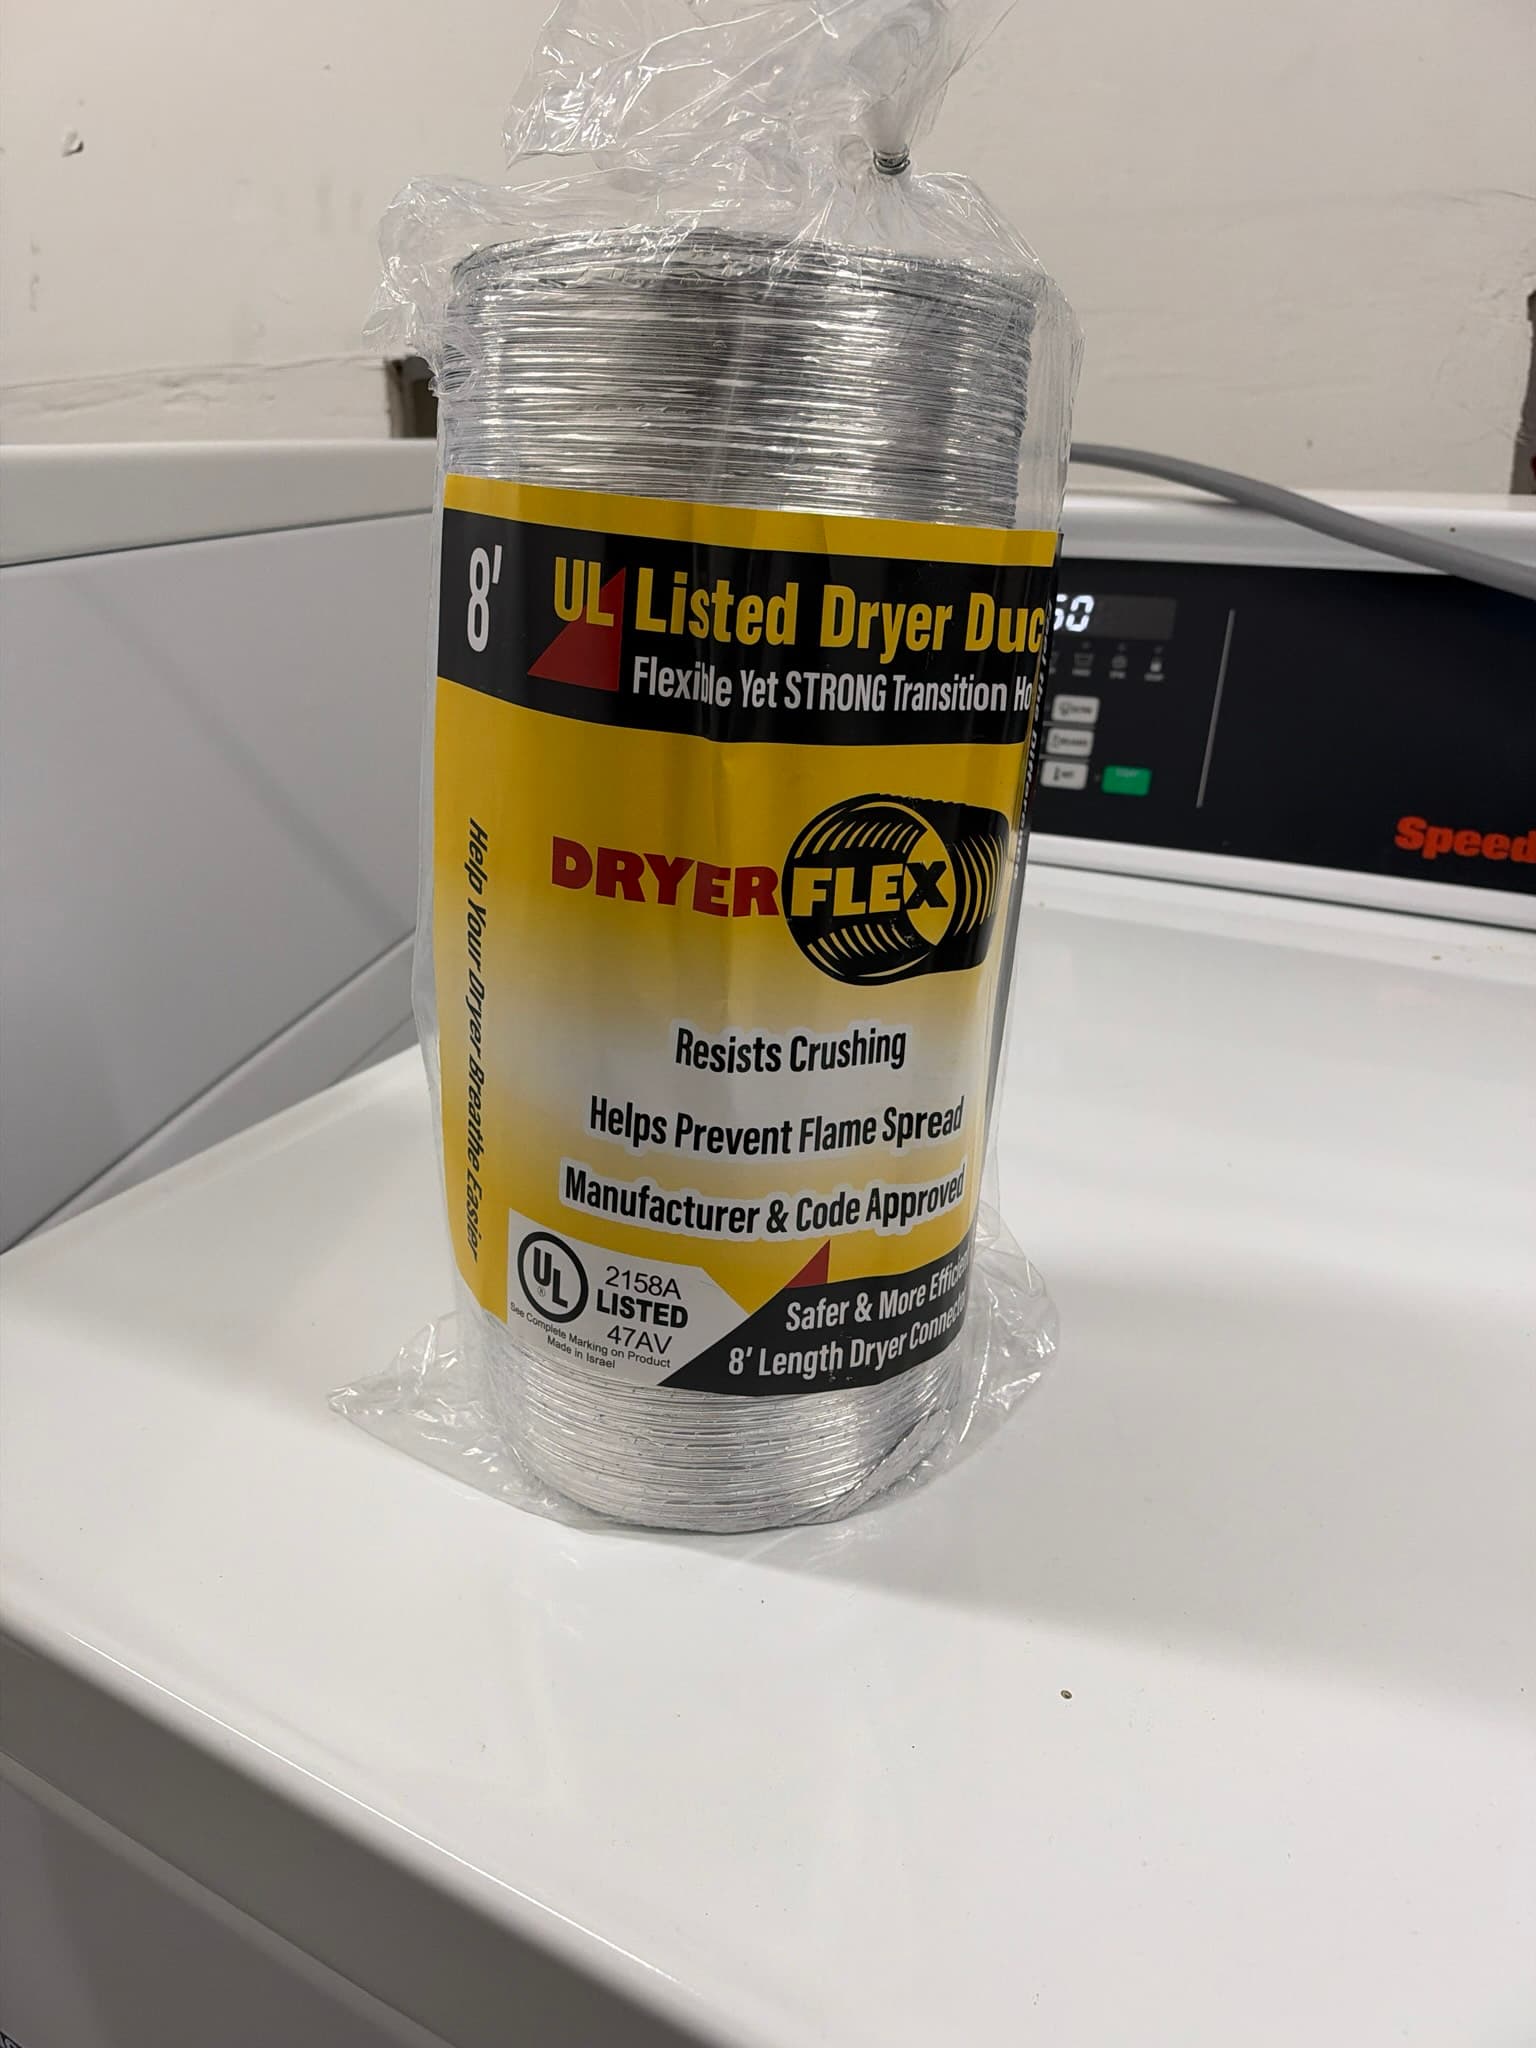
Work on this job combined our standard residential dryer exhaust cleaning and inspection with targeted duct installation and repair. Using a drill-attachment rotary brush paired with a high-powered shop vac, we cleaned the full length of the exhaust path, from the dryer connection point through the wall penetration, the corroded roofline elbow, and out to the exterior termination, removing the compacted lint found at each of these points. As part of the duct repair scope, we removed the inline booster fan from the system. Given the length of this particular run, the booster fan was unnecessary and was actually working against proper airflow, so removing it and rerouting the duct allows the system to perform better going forward without it. We repaired a damaged elbow fitting in the existing ductwork, restored and cleaned the ductwork that was still serviceable, and installed approximately 3 linear feet of new duct work, including an 8 foot section of UL 2158A listed DryerFlex transition duct connecting the dryer to the wall. A new 4 inch metal wall vent collar was installed and secured into the drywall at the wall penetration, with the surrounding drywall patched around the new mounting flange, and the transition duct was clamped to the collar with foil tape sealing the joint.
Why This Matters
Foil flex duct is not rated for dryer exhaust because it cannot handle sustained heat and its ribbed interior traps lint at several times the rate of smooth rigid duct, a known contributor to dryer fires according to the U.S. Fire Administration. Screens at the vent termination are also explicitly prohibited under IRC M1502.3 because they block airflow and collect lint right where it needs to exit the system, and a proper backdraft damper is required in place of any screen. Domestic booster fans not listed for dryer exhaust duty are prohibited under IRC M1502.4.5, since they are not built to handle lint-laden, high-temperature airflow and introduce their own fire risk. Replacing the transition duct with a product listed to UL 2158A and capped at 8 feet, as required by IRC M1502.4.3, along with clearing compacted lint from the duct interior per IRC M1502.1, directly addresses the conditions that most commonly lead to dryer fires and reduced airflow in a system like this one.
The Outcome
With the booster fan removed, the damaged elbow repaired, the duct run cleaned end to end, and the new fire-rated transition duct and wall collar installed, this dryer exhaust system is back in good working order. The homeowner can expect more efficient drying performance and reduced strain on the dryer motor now that lint restriction has been cleared from the duct and the airflow path has been simplified. We recommend annual professional cleaning and inspection going forward, consistent with manufacturer guidance and national fire safety recommendations, to keep lint accumulation from building back up to the levels found on this visit.
Project photos
12 photos
Need similar work in San Francisco?
Get a free quote - same-week appointments usually available.