San Francisco · Dryer Wall Vent Installation
San Francisco Dryer Vent Cleaning, Duct & Wall Cap Replacement
A San Francisco residence received a full dryer exhaust service, including severe lint removal from the duct interior and dryer cabinet, installation of 8 feet of UL 2158A-listed DryerFlex transition duct, a one-foot duct repair section, and a new flush-mount Galvalume steel wall vent cap.
Completed September 18, 2026
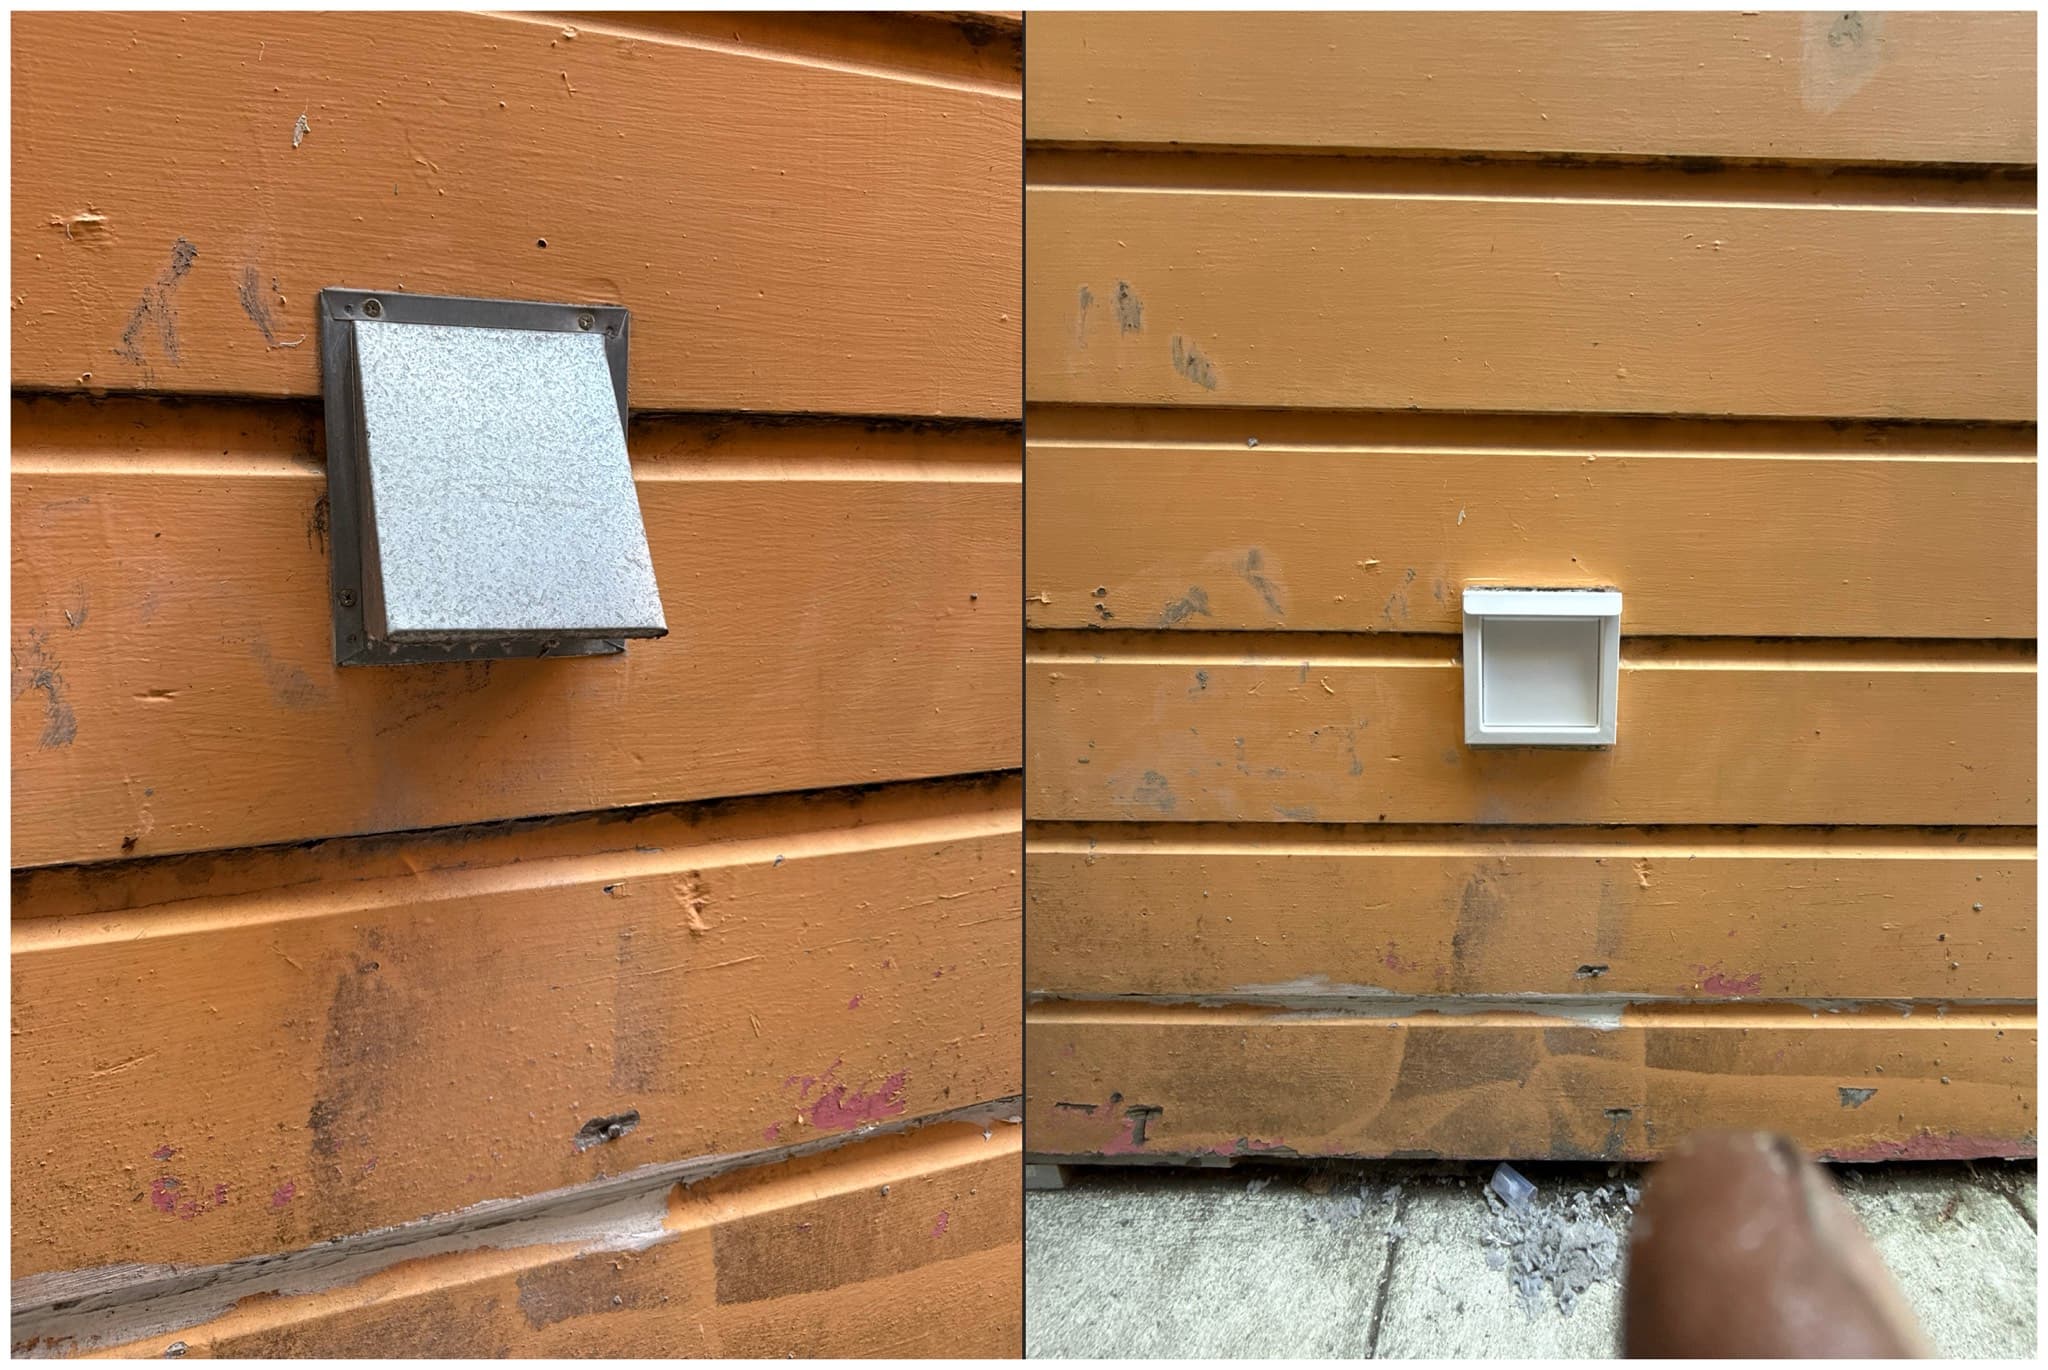
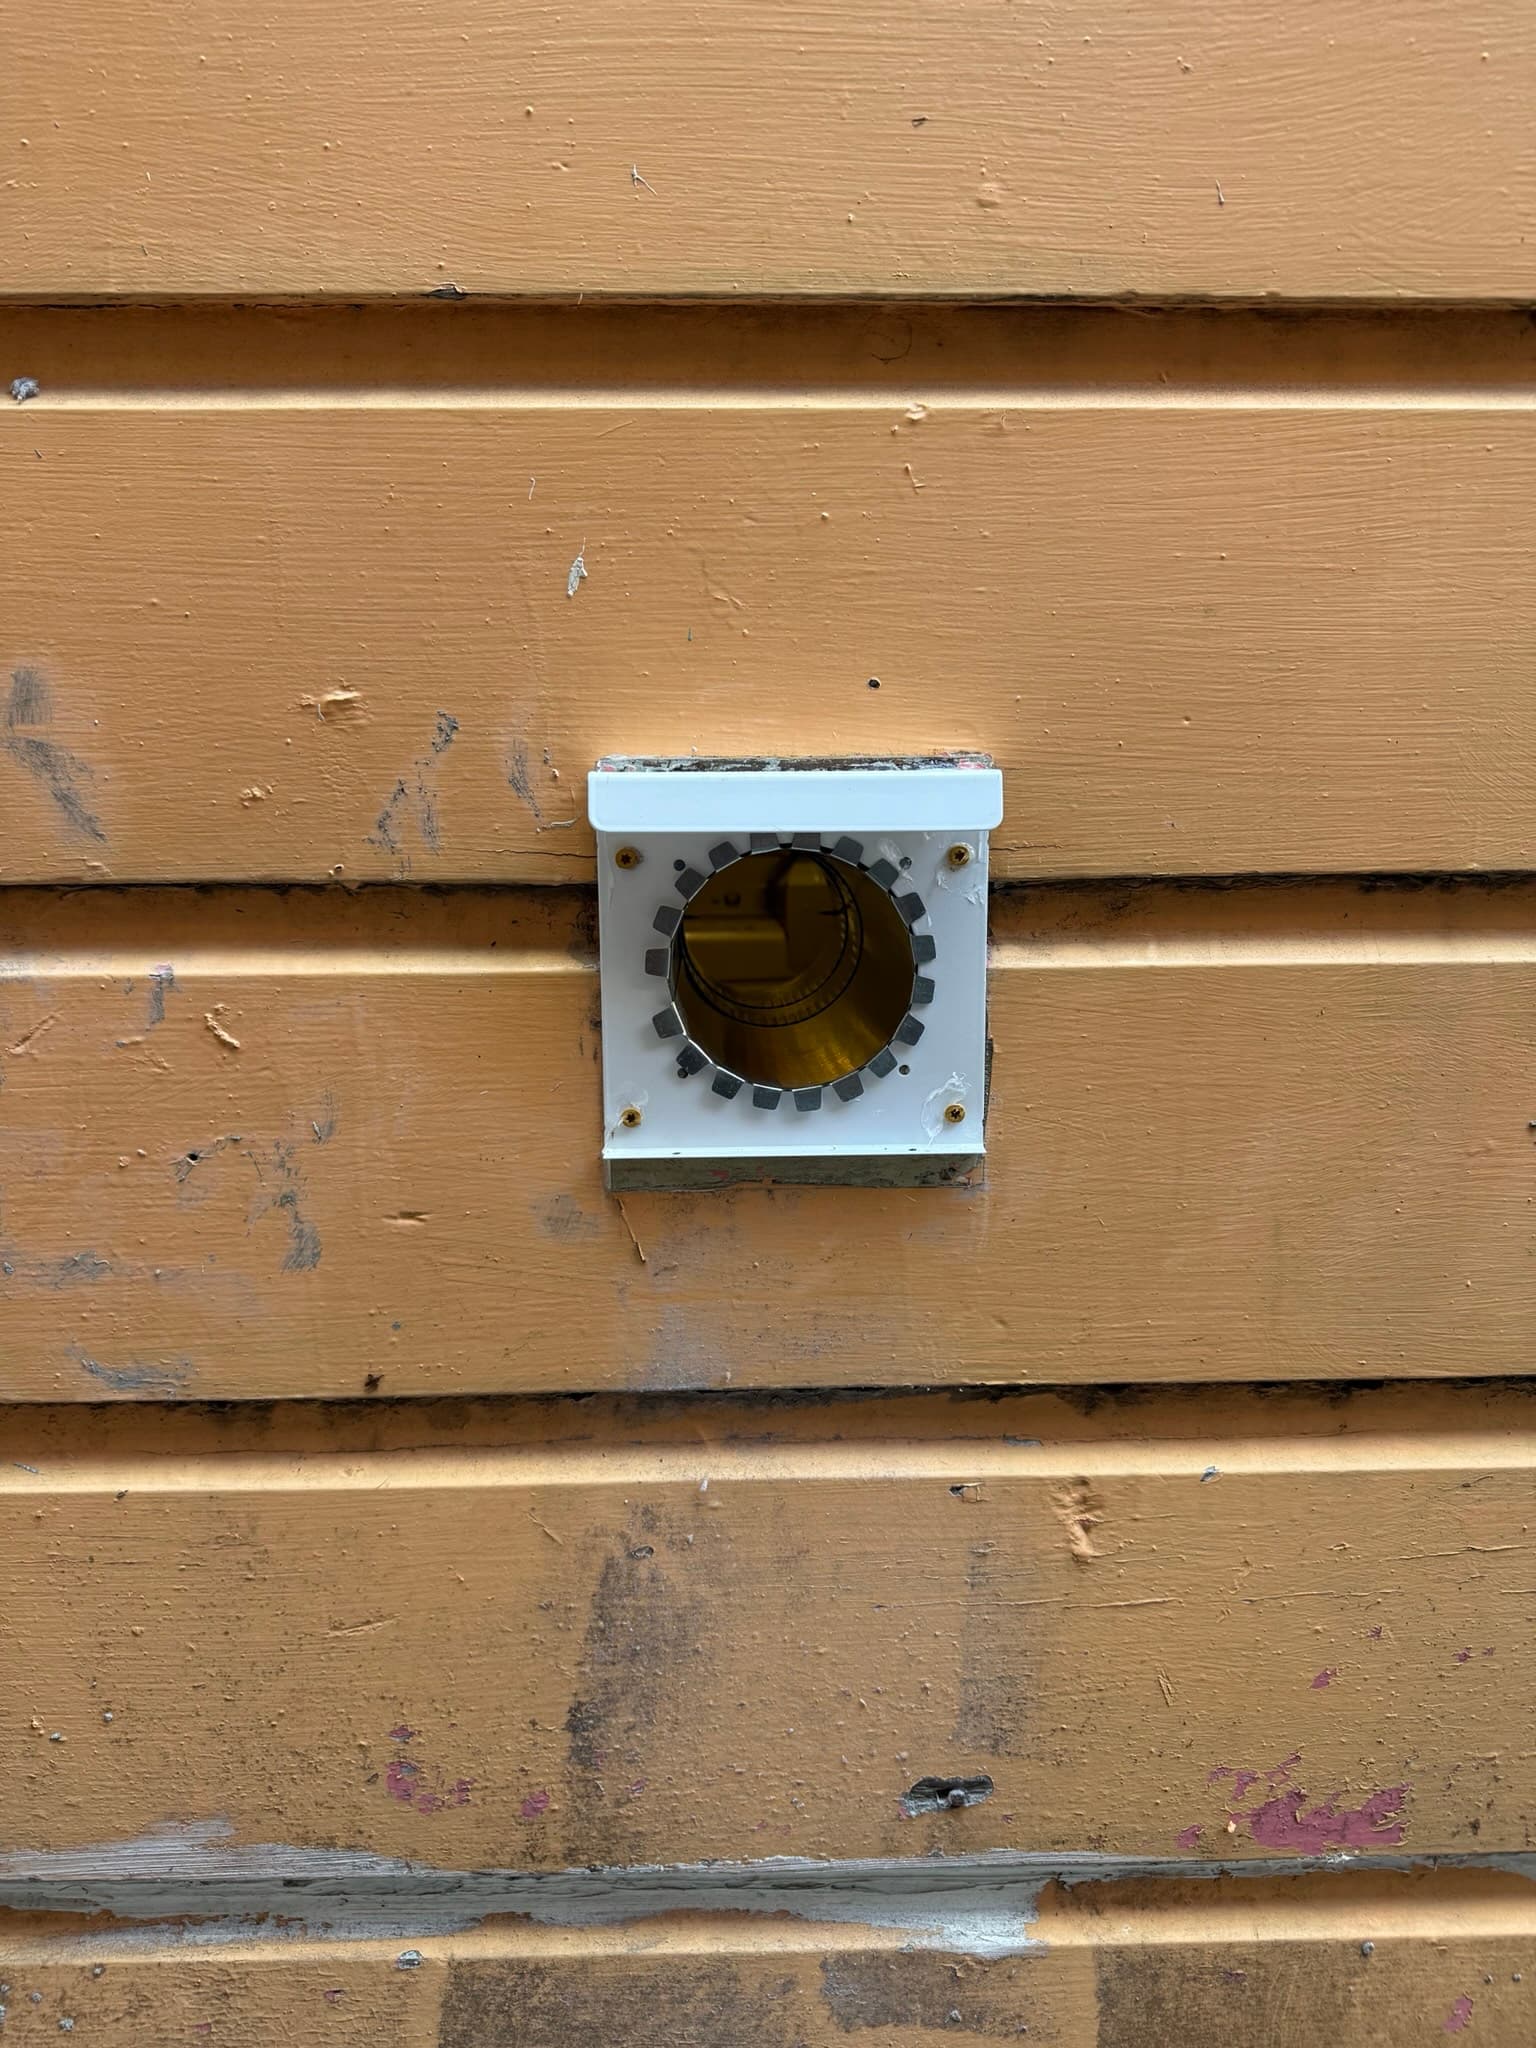
Before service: two exterior termination caps on the home's wood siding, showing weathering and minor surface damage but no heavy lint protrusion at the openings.
What We Found
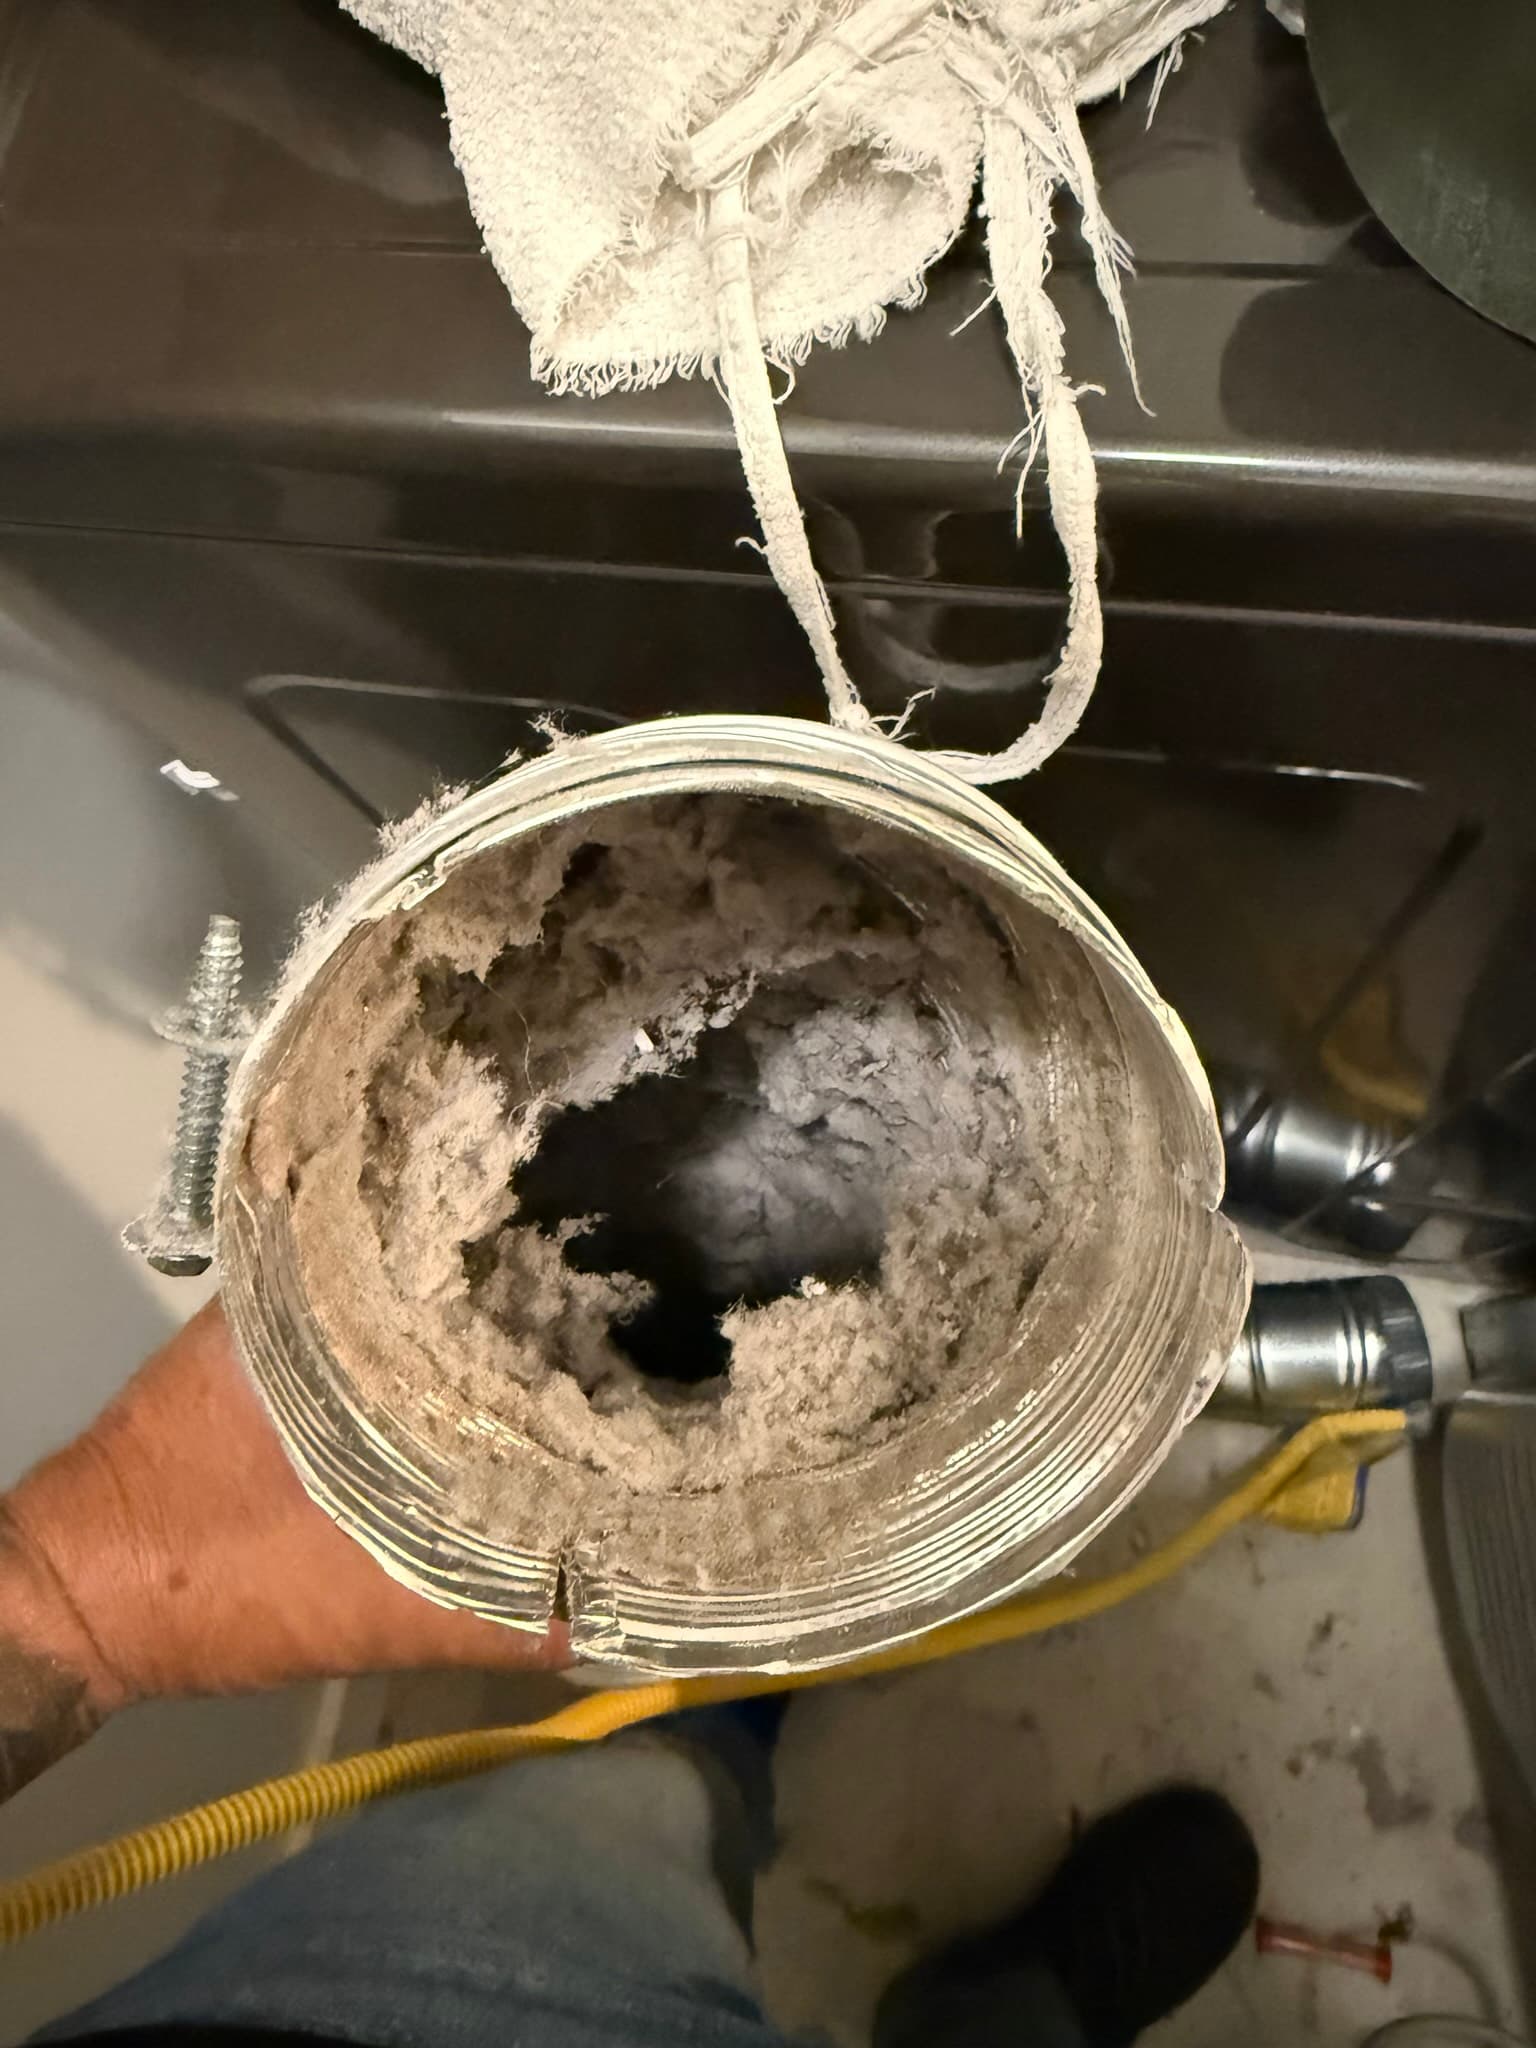
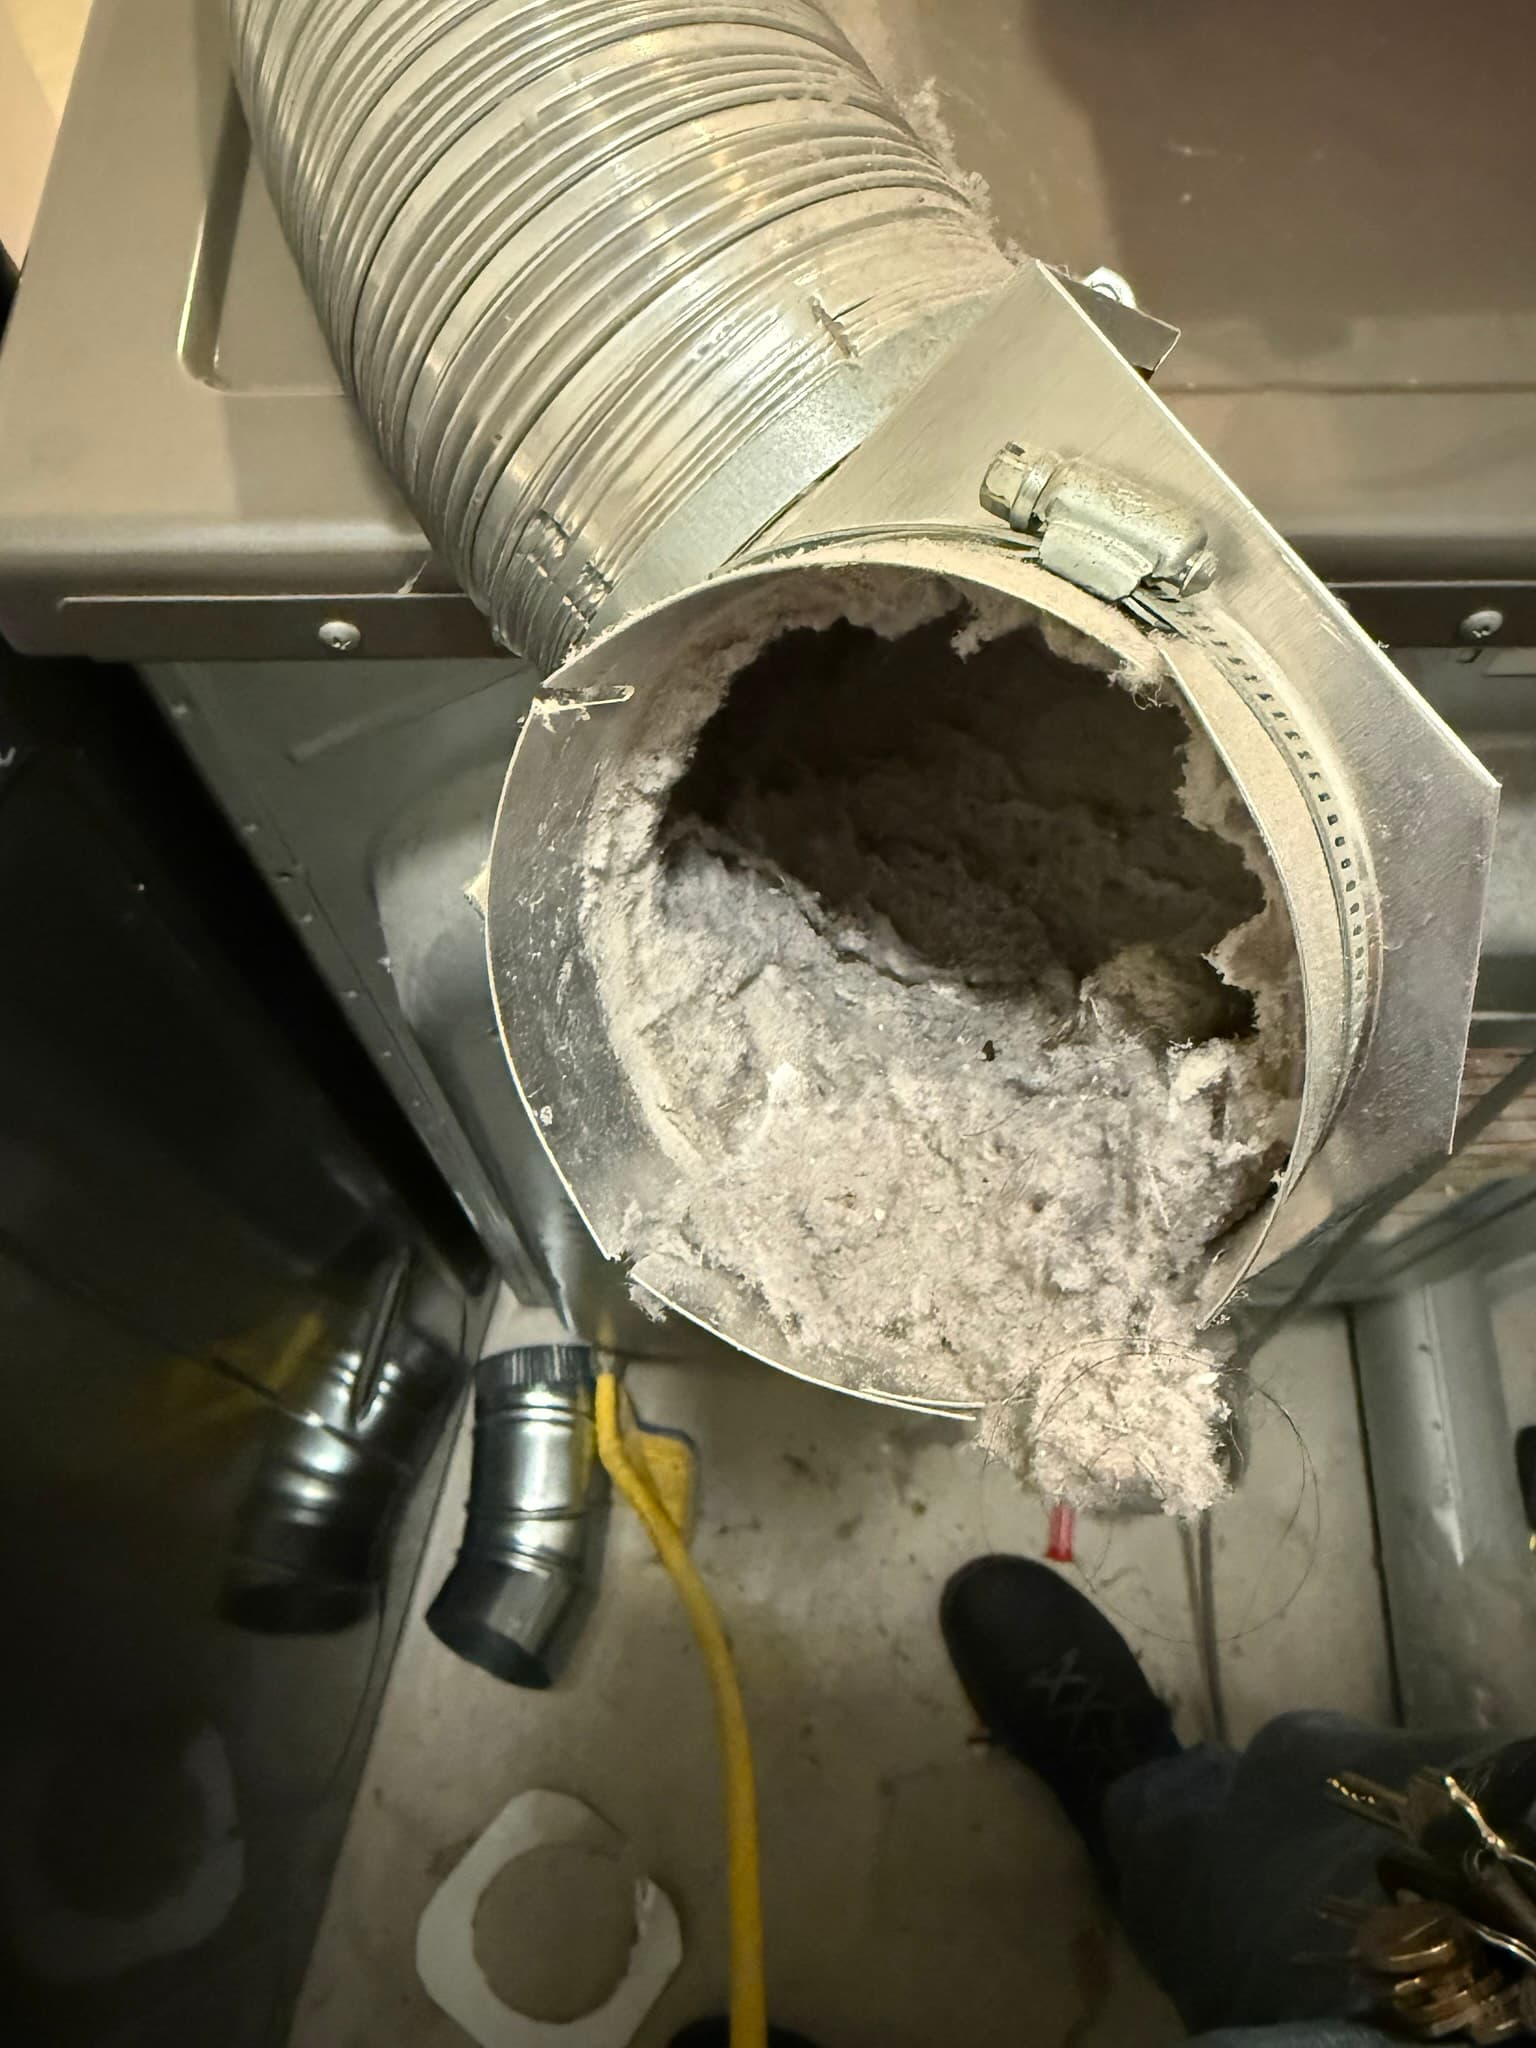
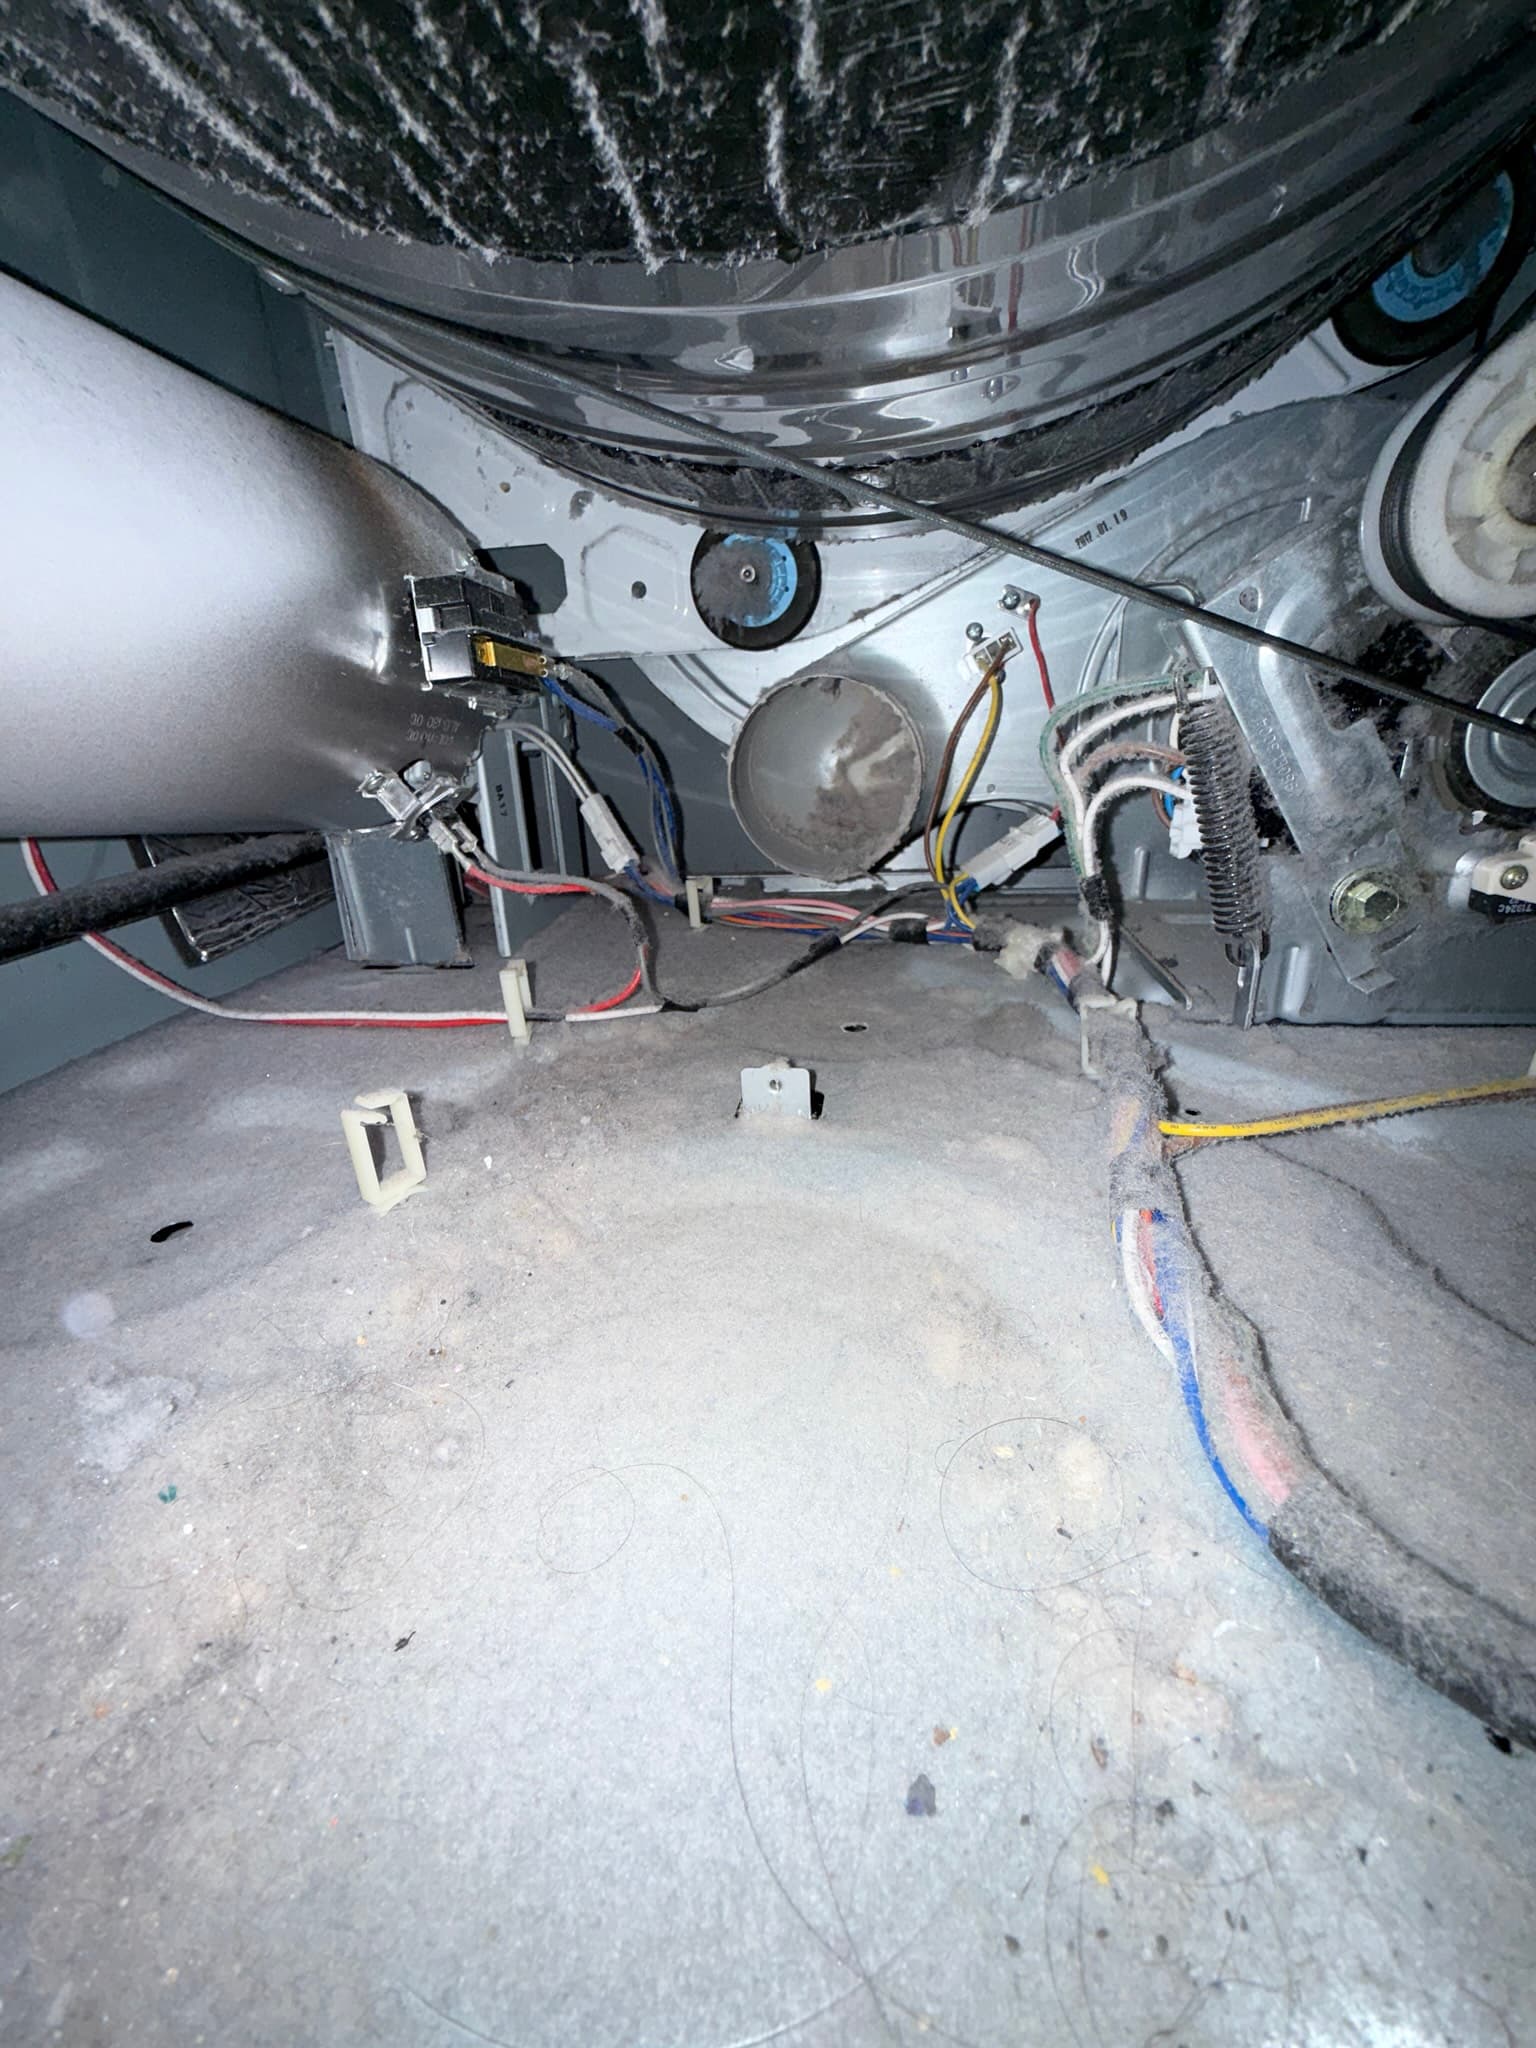
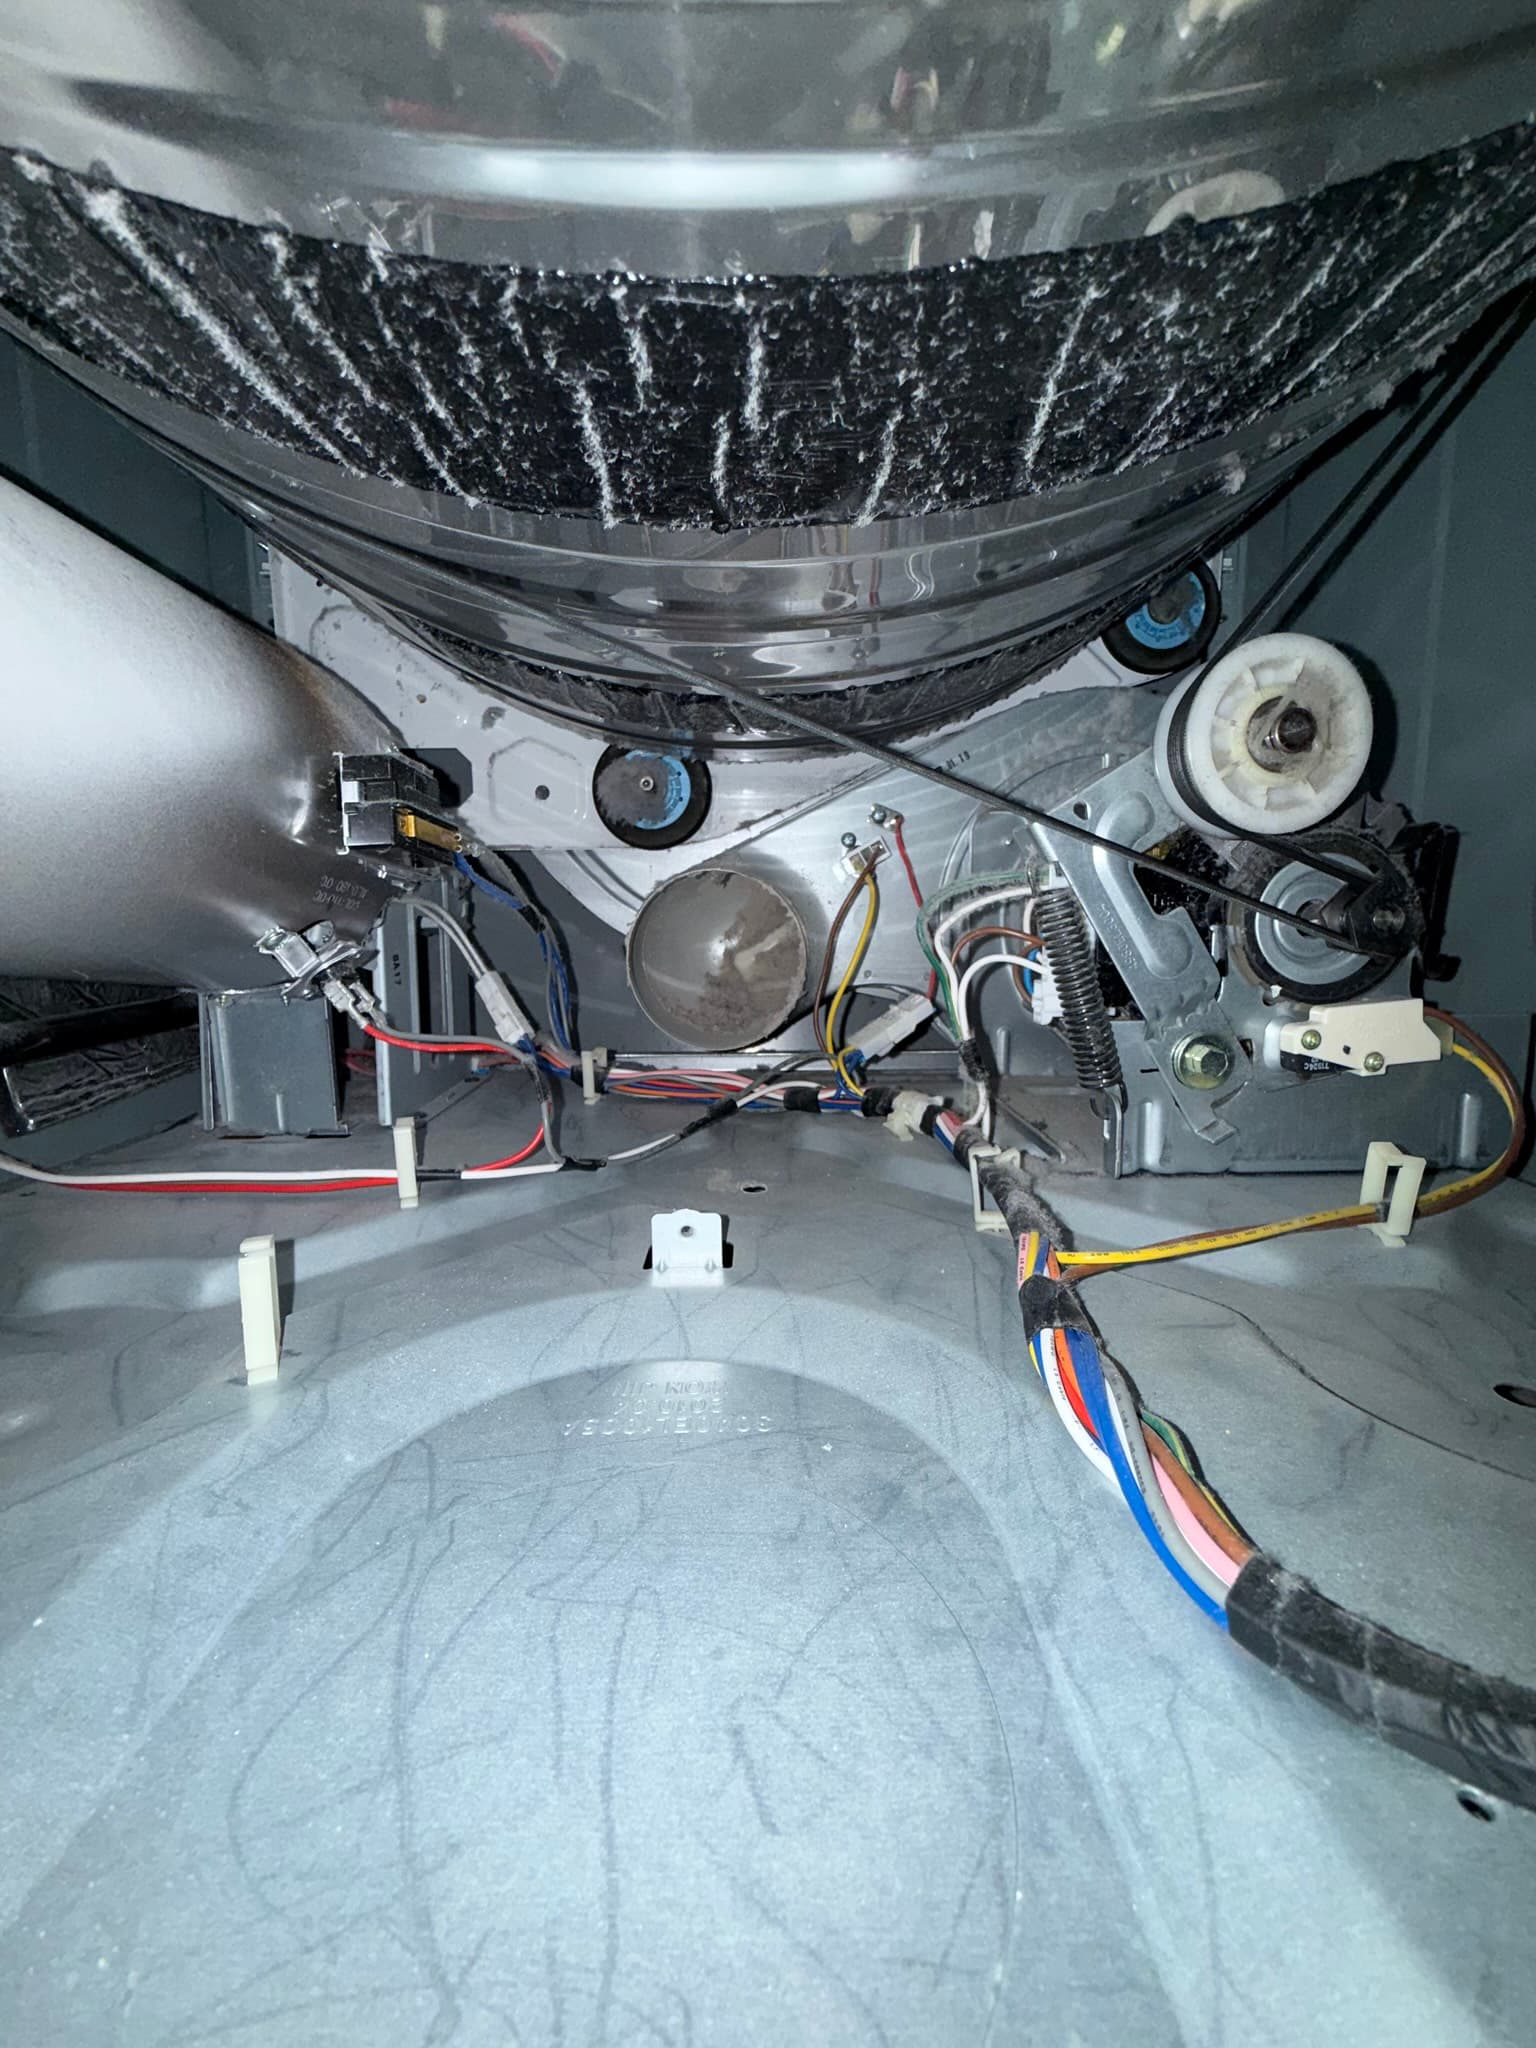
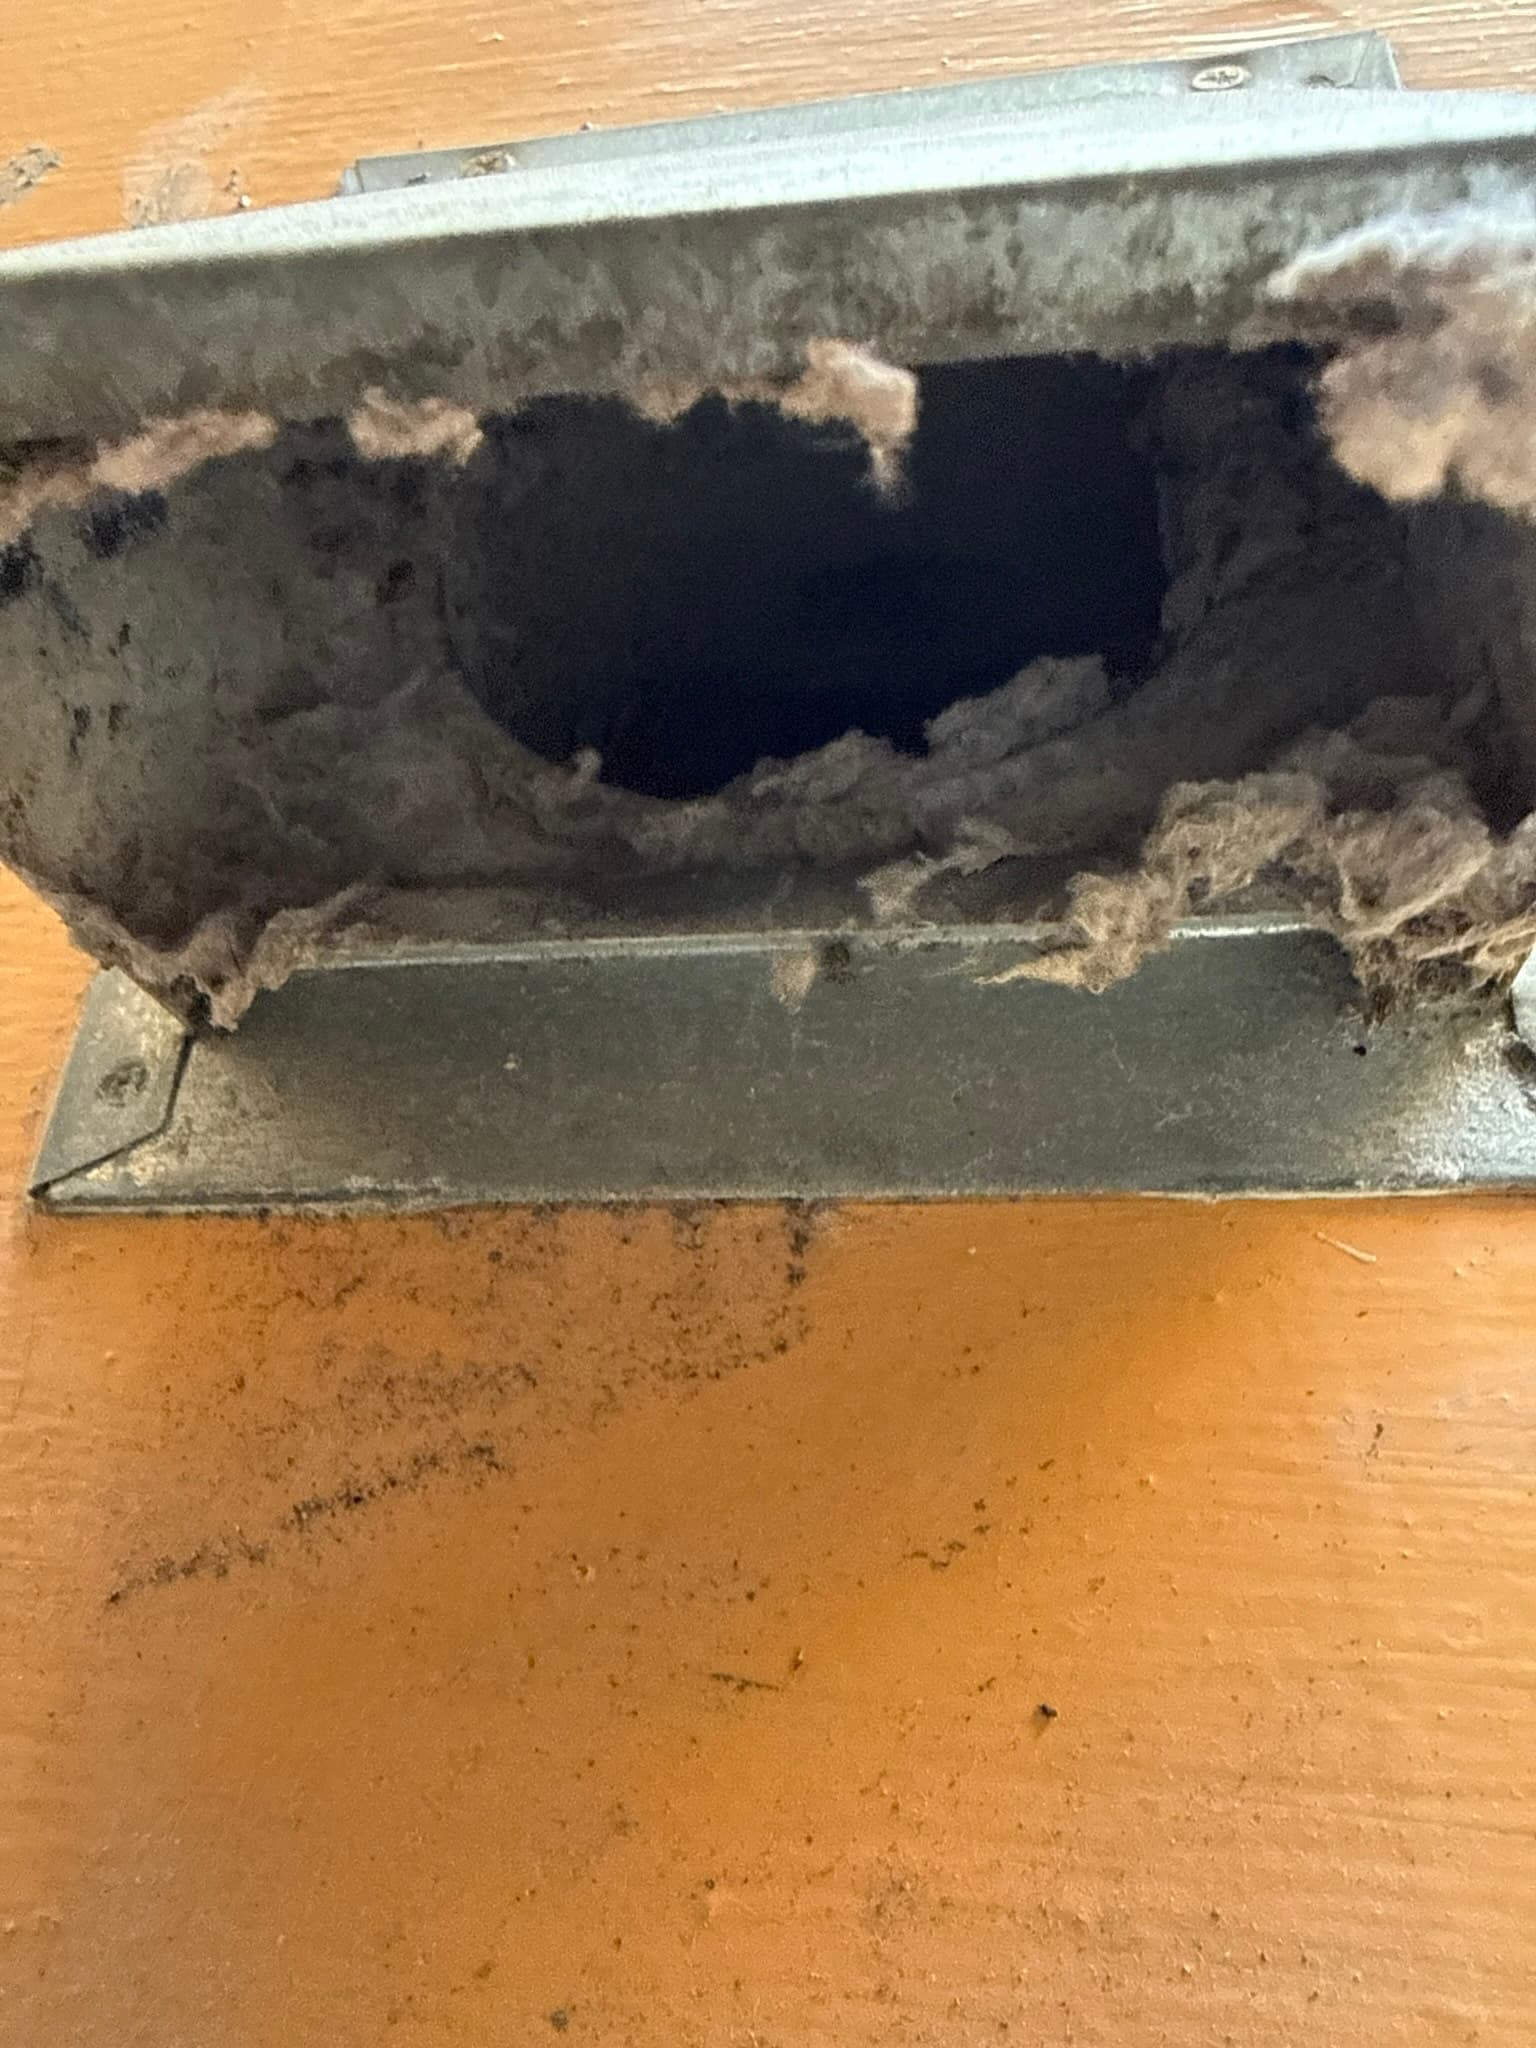
When our technician arrived at this San Francisco home, the dryer exhaust system showed unmistakable signs of long-term neglect. Interior duct photos captured before service reveal a flexible duct that was more than half blocked by a dense, compacted mass of lint, leaving only a small dark opening at the center of the 4-inch passage. The duct's fabric outer layer was torn and frayed, and the connection points showed clear signs of compromise. Lint had also migrated well beyond the duct itself: the dryer's lint trap chamber was packed with compressed debris, and the drum interior, blower wheel housing, and surrounding internal components were coated with compacted lint across nearly every surface. This level of accumulation is consistent with the conditions the U.S. Fire Administration identifies as the leading cause of the approximately 15,000 residential dryer fires reported each year. Beyond the fire risk, severe duct occlusion drives back-pressure high enough to elevate exhaust temperatures well above safe thresholds at the dryer connection, forces extended drying cycles, and shortens dryer service life.
The Exterior Termination
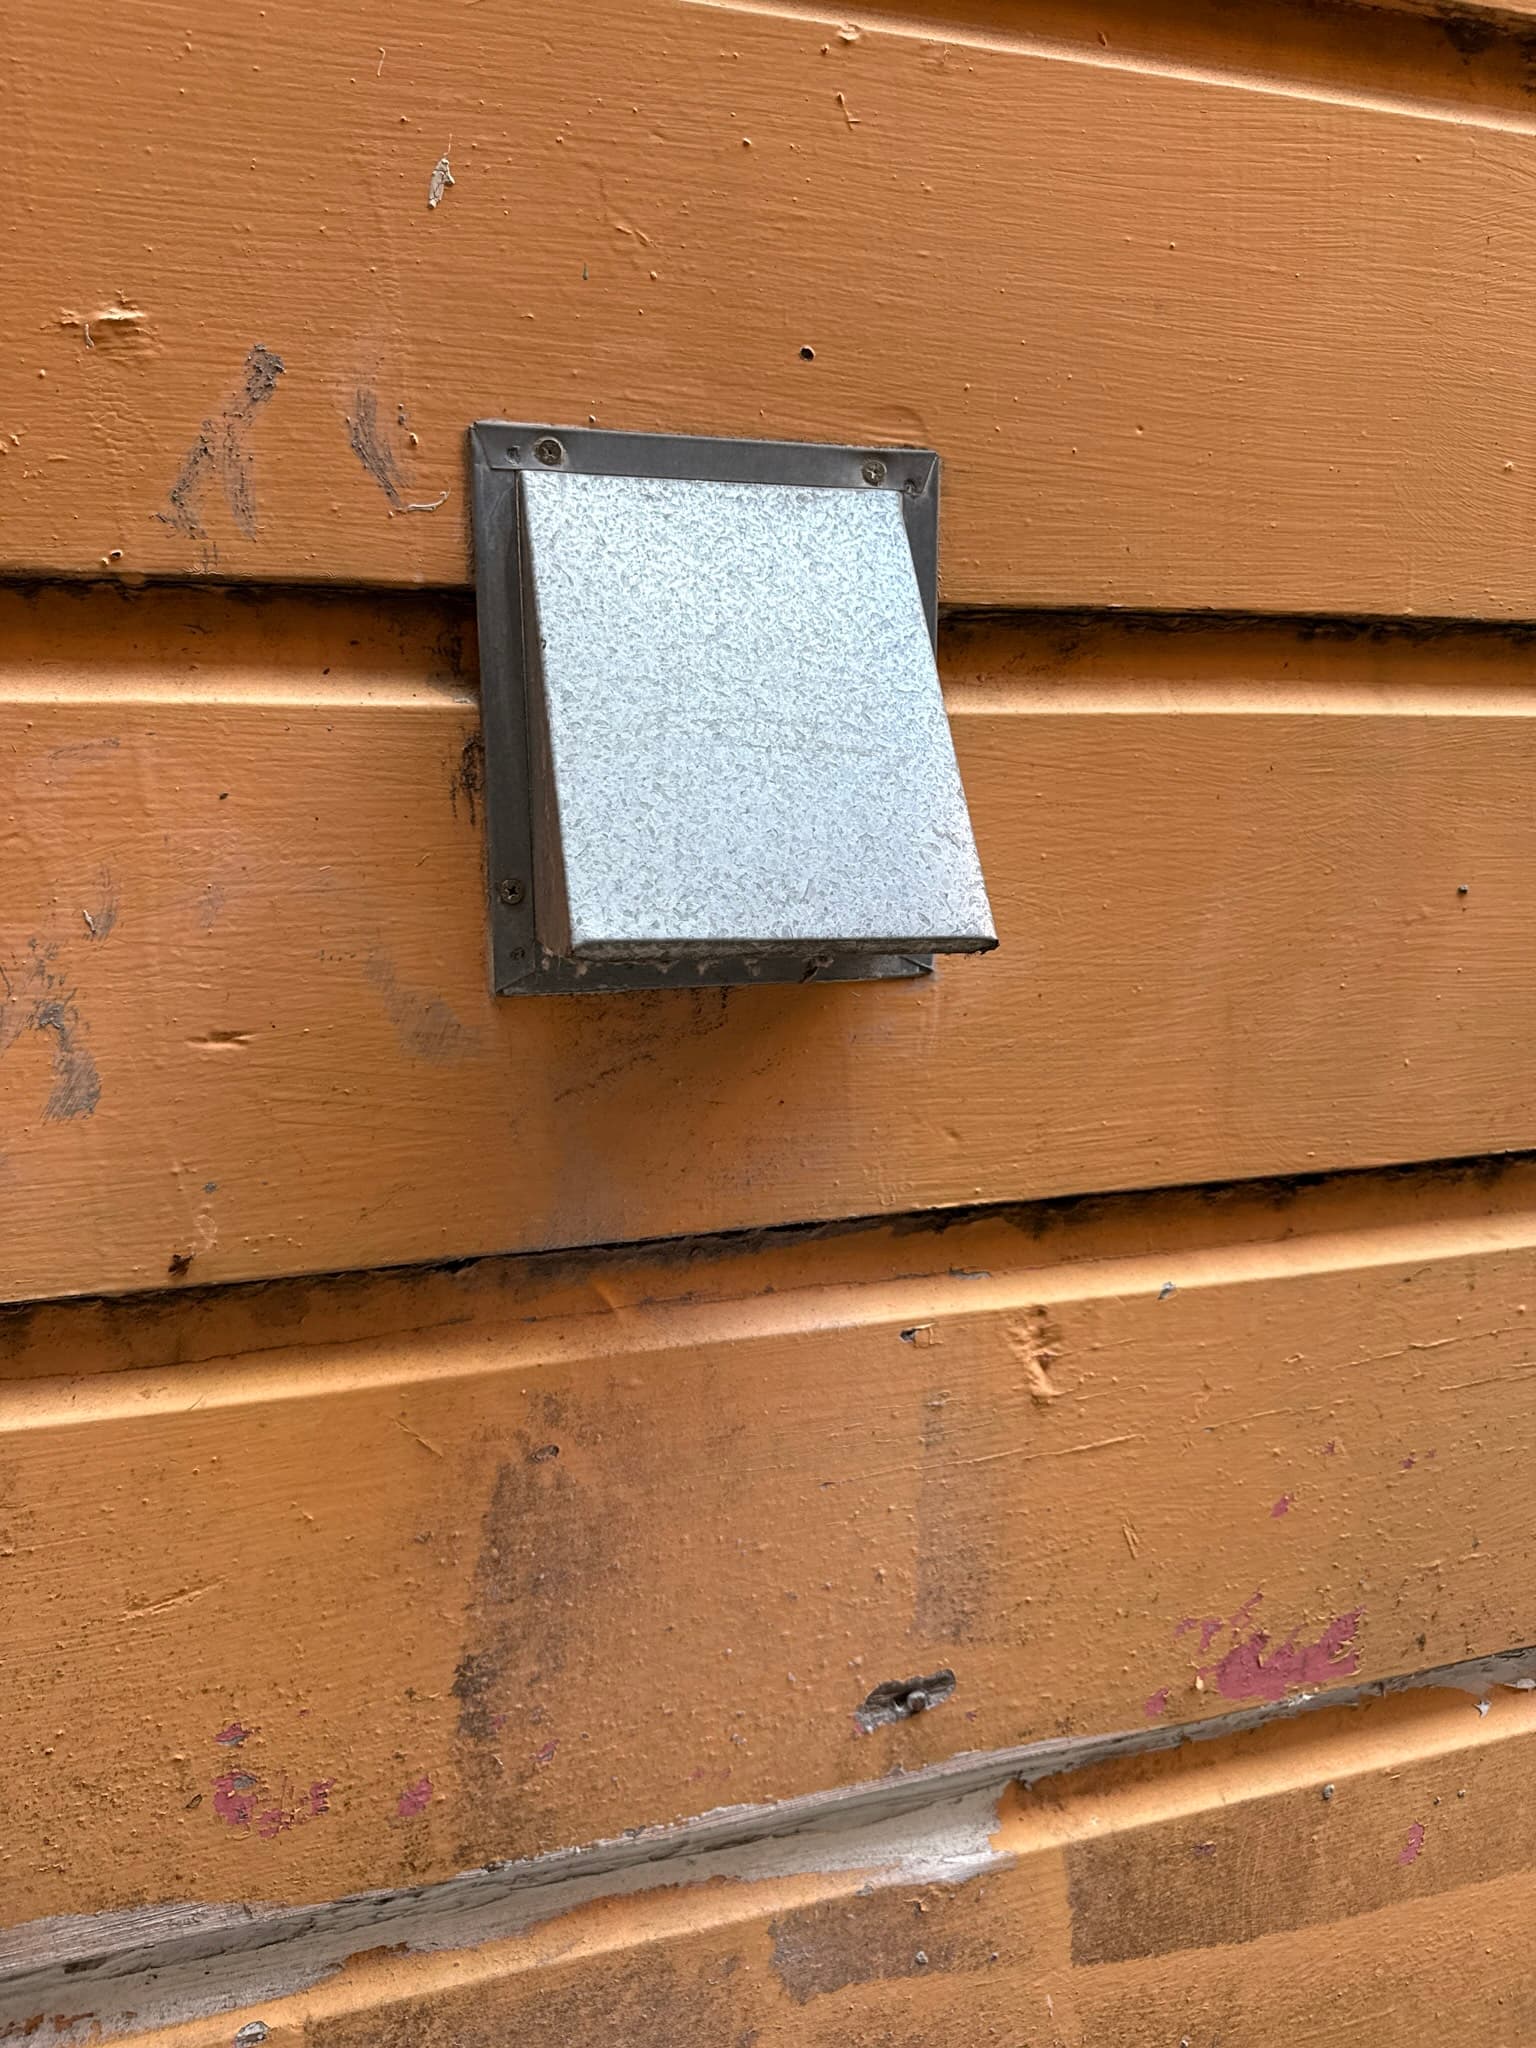
Two exterior vent caps are visible on the home's wood siding. One cap, a larger louvered style with a dark frame and white panel, appeared clean and unobstructed at the termination point. The second was a smaller periscope-style white plastic cap that also showed no significant lint accumulation protruding from its opening. A closer exterior view of one cap revealed a metal frame with a damper flap carrying some dust and light lint deposits on its surface, indicating the system had been moving air but with increasing restriction. The existing cap hardware had reached the end of its reliable service life and required replacement to restore a code-compliant, fully functional termination point consistent with IRC M1502.3, which requires a backdraft damper that opens freely under dryer airflow and closes by gravity when the dryer is off.
What We Did: Full Dryer Cleaning
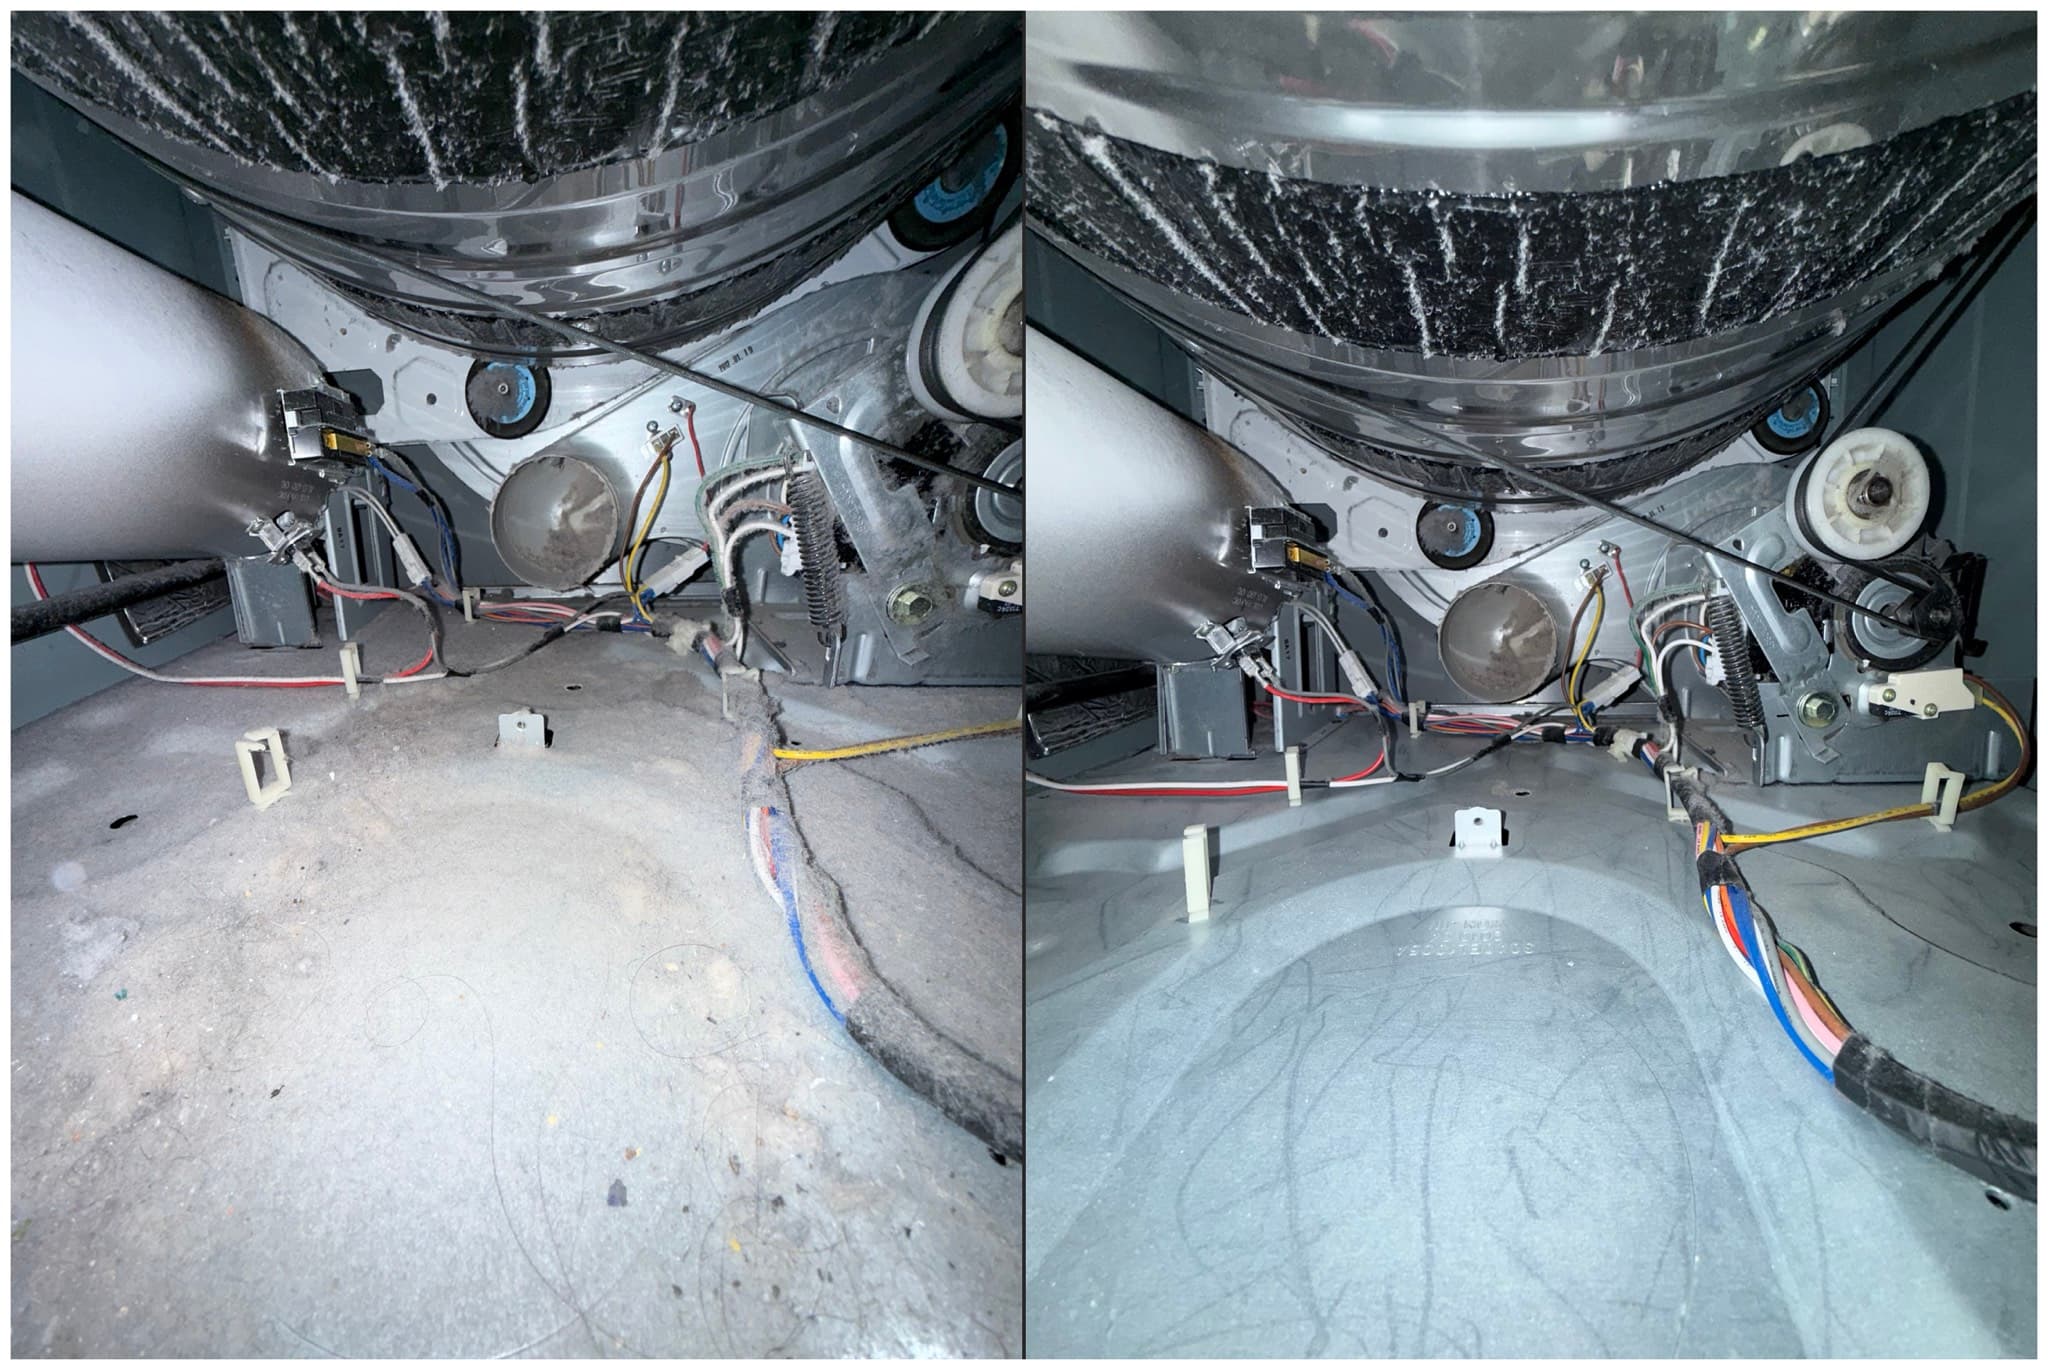
Before any ductwork work began, we performed a full dryer cleaning, which addresses the portion of the lint load that accumulates inside the appliance itself rather than in the duct. The before-and-after comparison documented in our photos shows the drum interior, blower wheel housing, idler pulley area, and surrounding components cleared of the heavy lint and debris coating that was present at arrival. Lint accumulation inside the cabinet is a direct fire hazard because those surfaces are in close proximity to the motor, heating element, and electrical components. Restoring clean clearances inside the appliance also allows proper airflow to resume once the duct is serviced, which is necessary for the system to perform as designed.
What We Did: Duct Work and Transition Duct Replacement
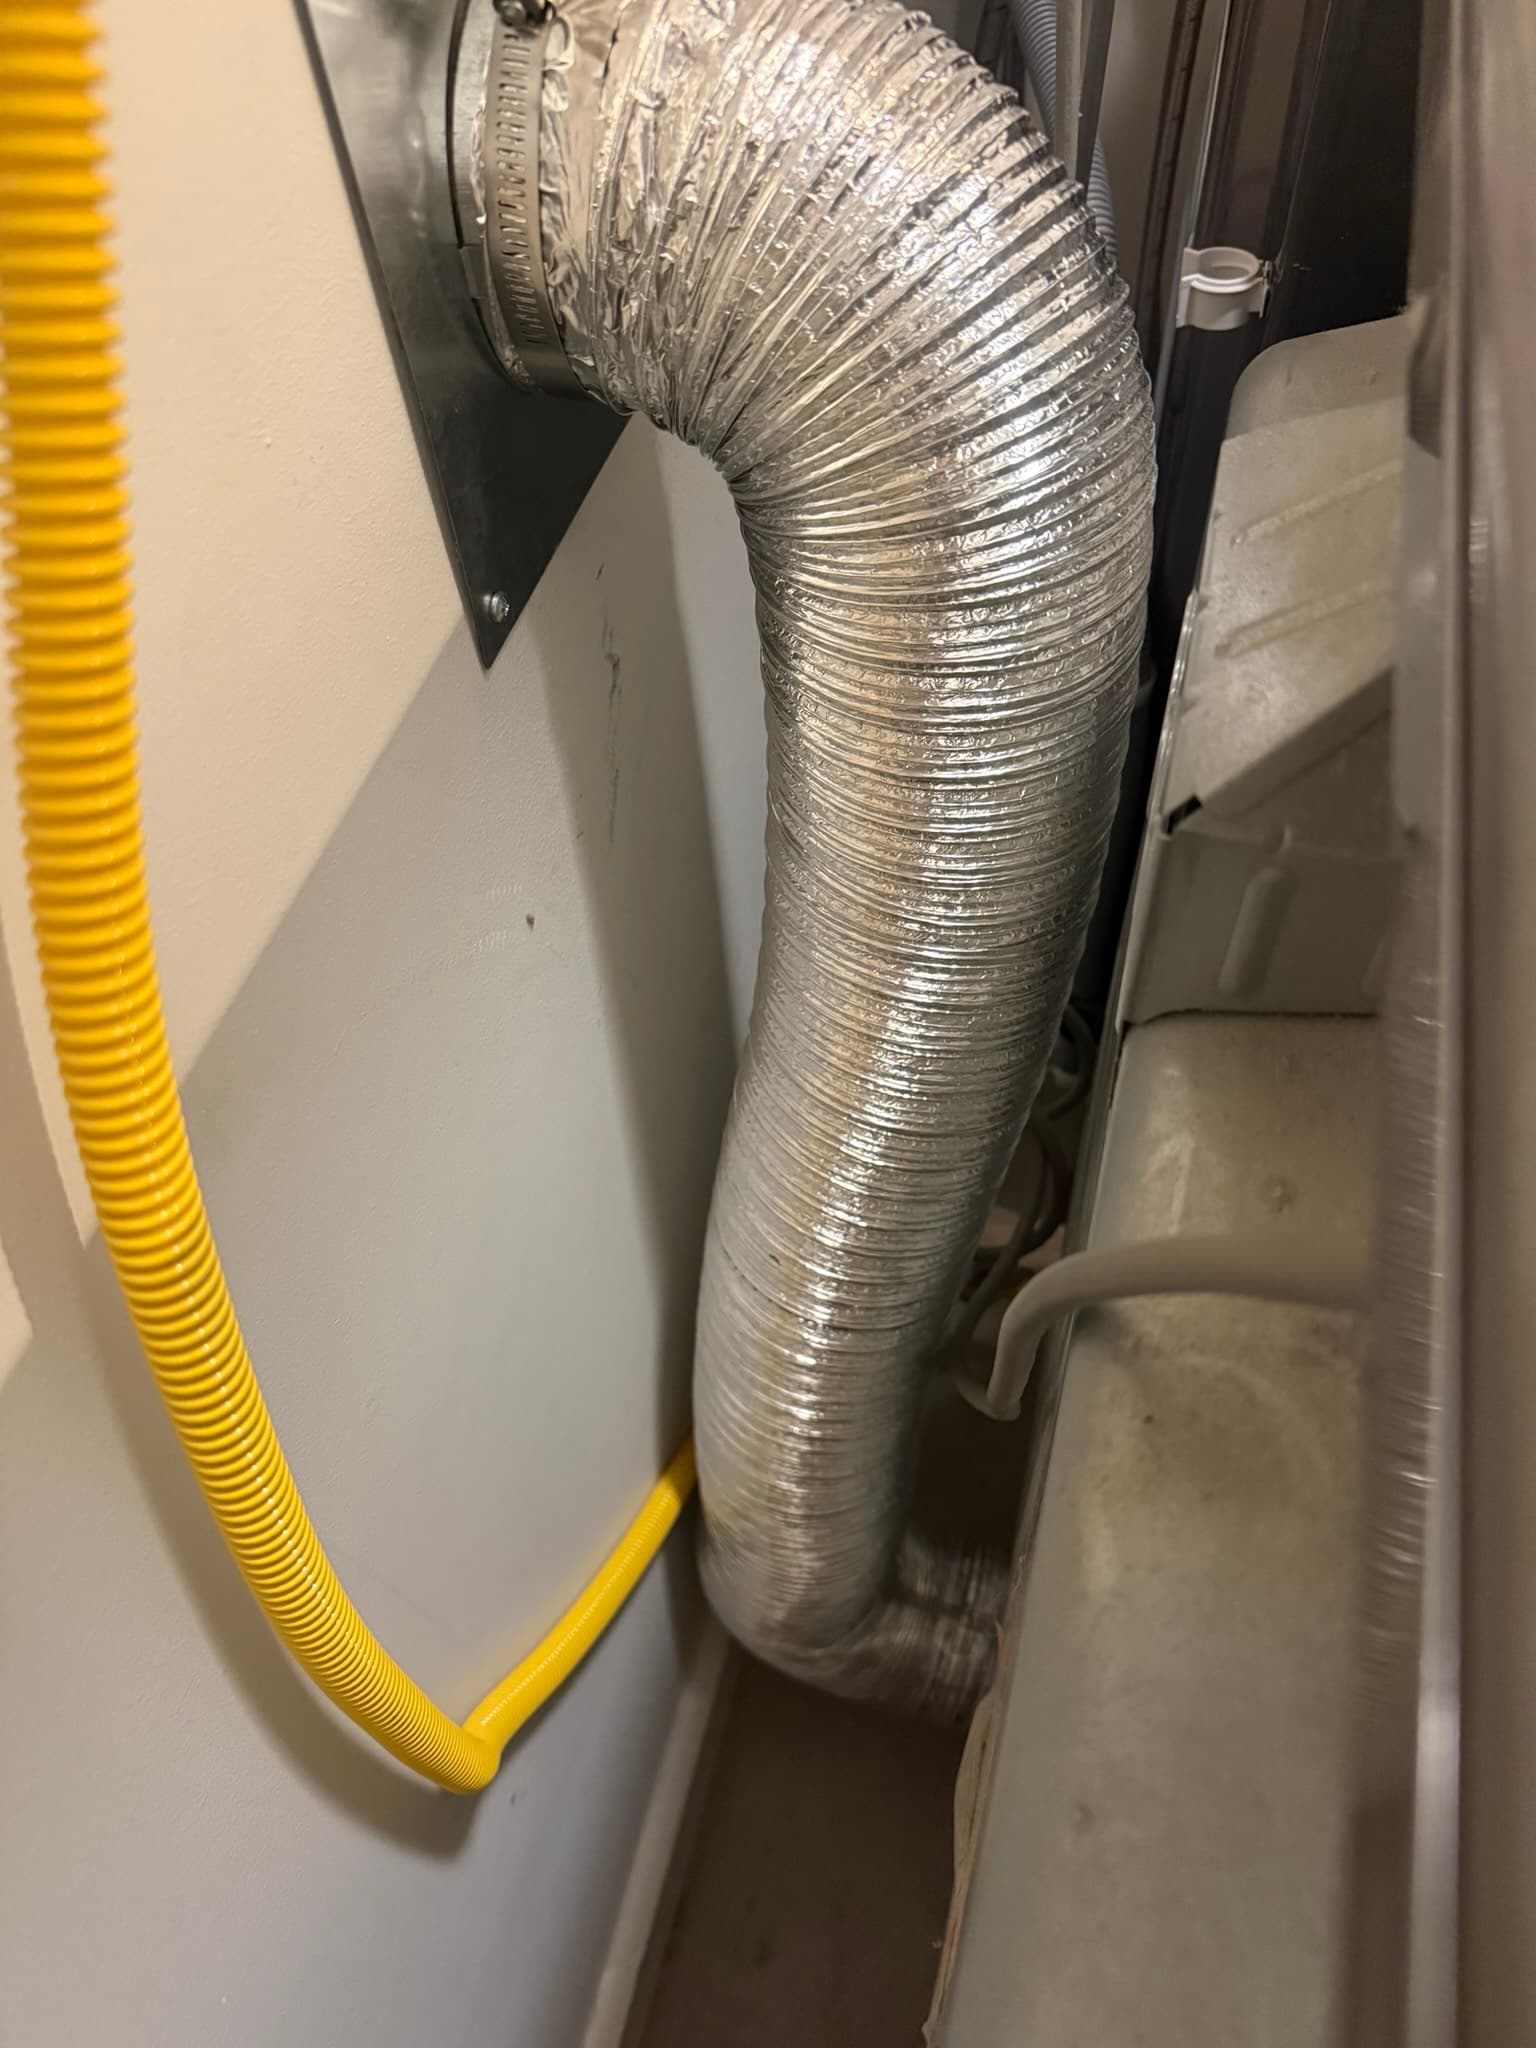
With the appliance interior cleaned, we turned to the exhaust system itself. We installed 8 feet of DryerFlex transition duct, secured with two DryerClamps included in the kit, to replace the existing compromised flexible connector between the dryer exhaust outlet and the rigid duct system. DryerFlex is listed and labeled to UL 2158A, satisfying the requirement of IRC M1502.4.3, which mandates that transition ducts be a single length, no greater than 8 feet, listed to that standard, and not concealed within construction. Unlike standard foil flex duct, DryerFlex combines the handling flexibility of wire-bound foil with the fire resistance and airflow efficiency of semi-rigid aluminum construction. Its UL listing is further substantiated by independent fire testing that confirms the material minimizes smoke and flame emission when exposed to temperatures up to 482 degrees Fahrenheit, placing it in the highest UL fire resistance class available for transition duct. We also completed a one-linear-foot duct installation and repair to address a section of the rigid exhaust run, bringing that connection back to a fully sealed and mechanically sound condition in compliance with IRC M1502.4.2.
What We Did: Wall Vent Cap Replacement
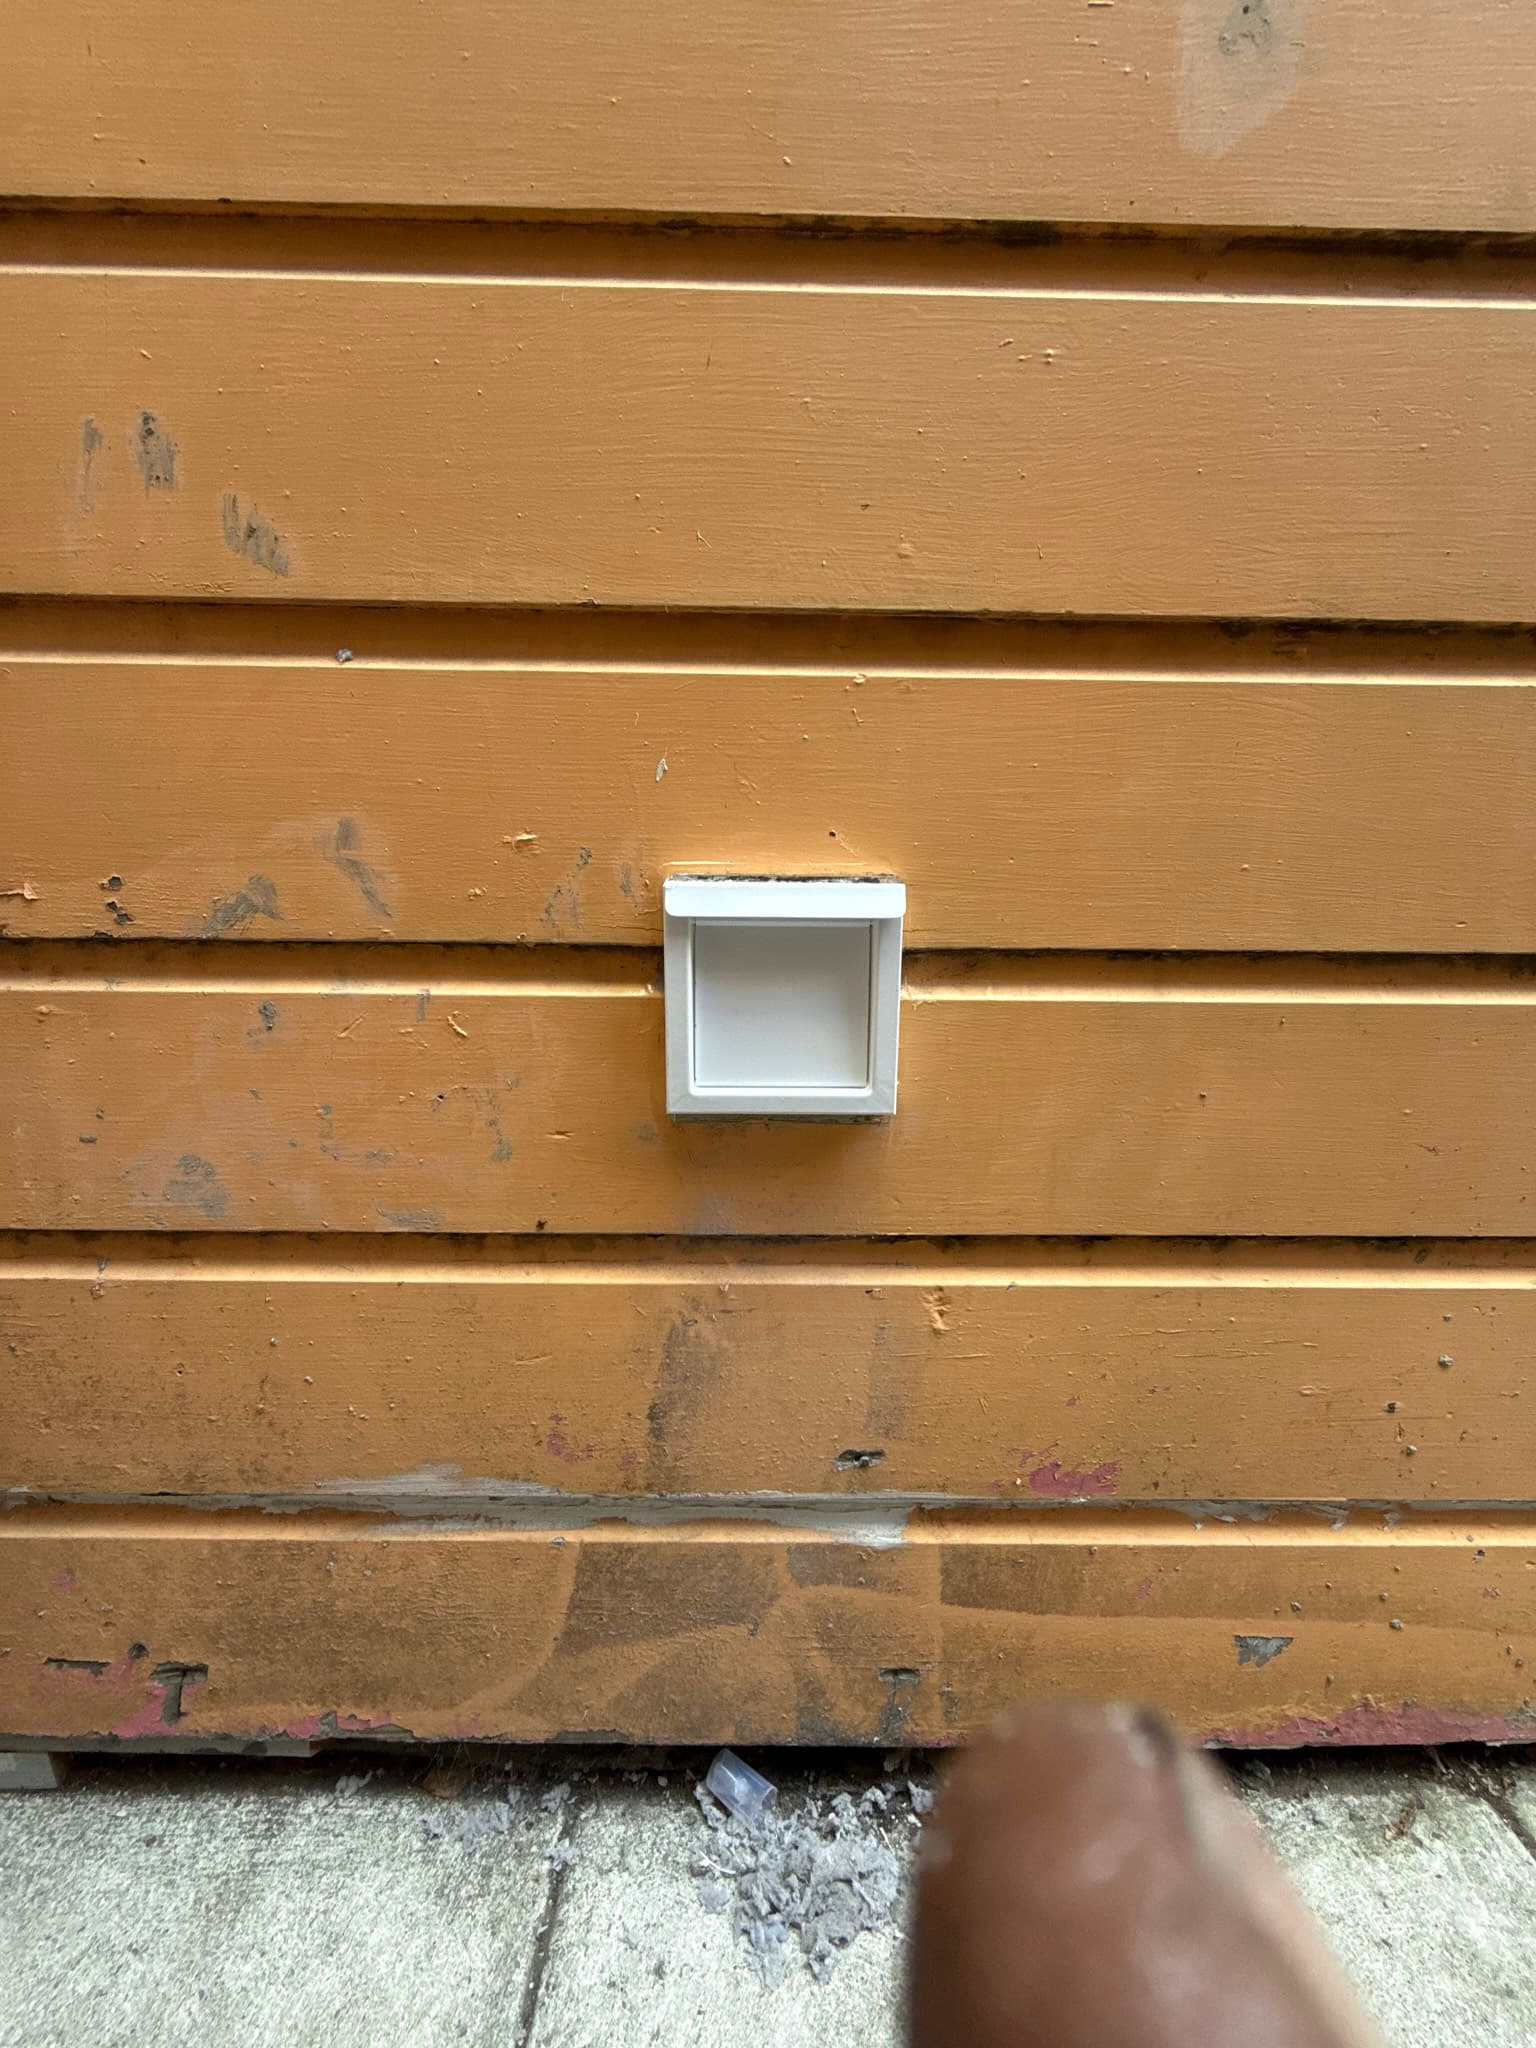
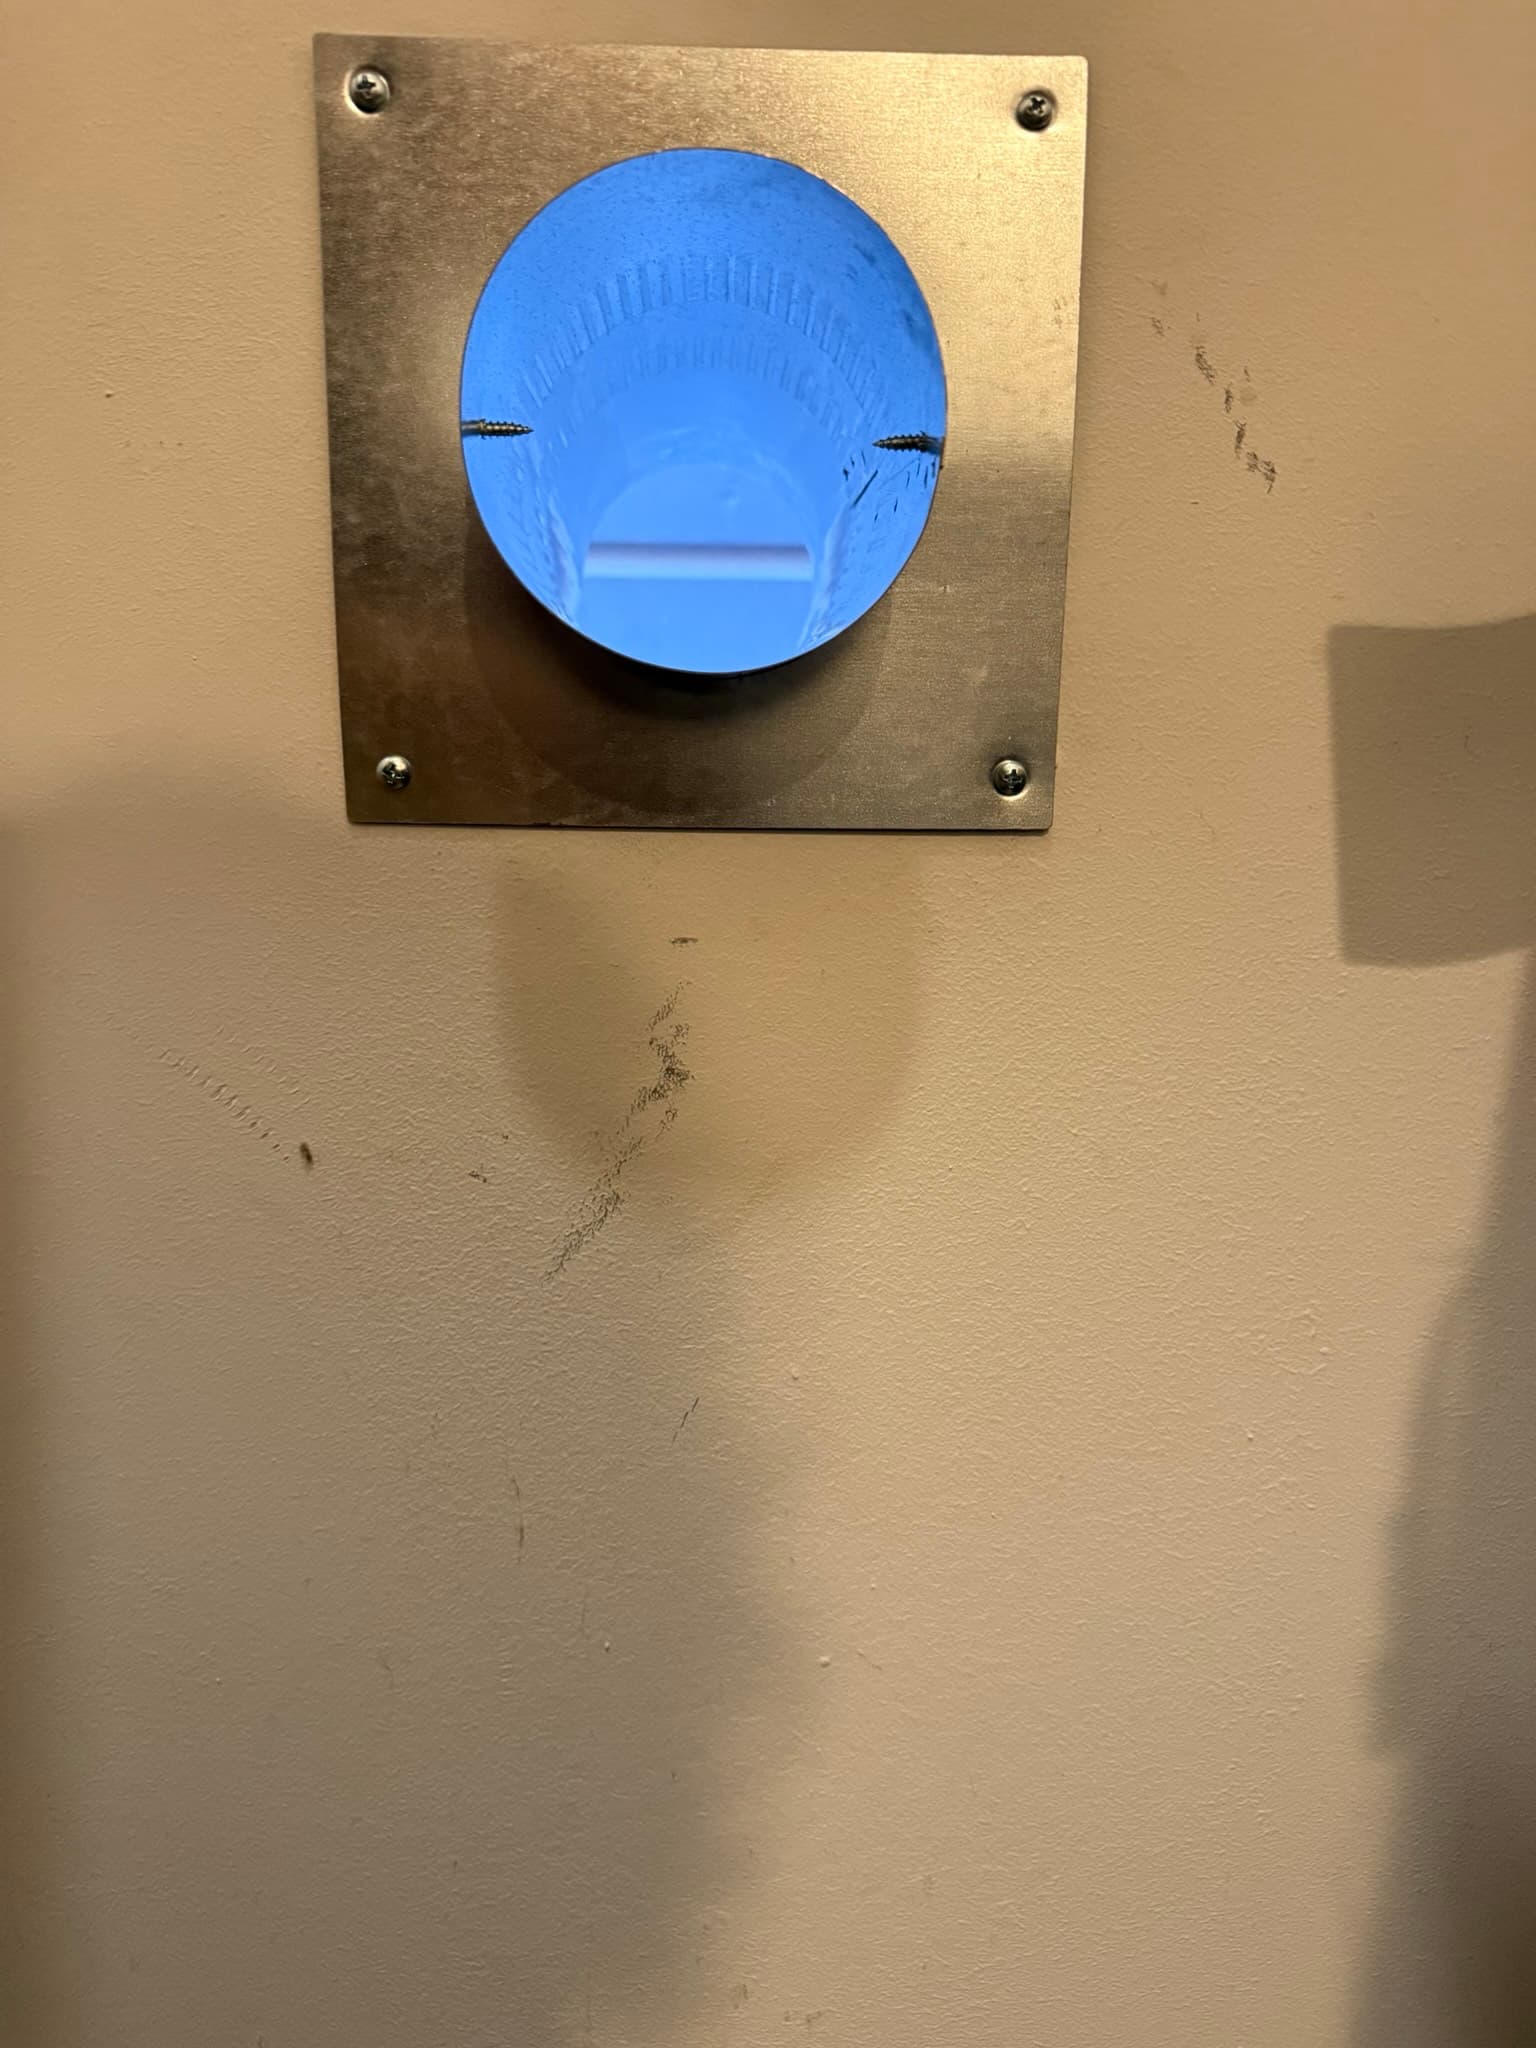
The existing exterior termination cap was replaced with a DryerWallVent 4-inch flush-mount unit in white, installed with no collar. This cap features a heavy-gauge Galvalume steel body with a powder-coat finish, designed to provide a long service life in the coastal San Francisco climate where weathering and salt air accelerate deterioration on lesser materials. The flush-mount profile seats cleanly against the siding surface, eliminating gaps that could allow water infiltration or pest entry. The integrated backdraft damper meets the IRC M1502.3 requirement for a damper that opens under exhaust airflow and closes by gravity when the dryer stops, and the terminal passageway is undiminished in size to maintain the minimum 12.5 square inches of open area required by IRC M1502.3.1. No screen is present at the termination, as screens are explicitly prohibited by IRC M1502.3 because they trap lint and create blockage.
The Outcome
At the conclusion of service, the exhaust system had been cleaned from the dryer cabinet through the full duct run to the exterior termination, the compromised transition duct had been replaced with 8 feet of UL 2158A-listed DryerFlex secured with DryerClamps, the duct repair section had been completed, and the new Galvalume flush-mount wall cap was in place with a functional backdraft damper. The post-service photo of the rear dryer connection shows the aluminum transition duct cleanly connected to the dryer back panel via a hose clamp, with the wall cavity clear and the installation presenting no visible obstruction. San Francisco homeowners with dryers in multi-unit or residential settings should plan for annual professional cleaning, particularly where duct runs include multiple elbows or the appliance sees heavy use. The U.S. Fire Administration and dryer manufacturers alike point to regular cleaning as the single most effective measure for preventing dryer-related fires.
Project photos
12 photos
Need similar work in San Francisco?
Get a free quote - same-week appointments usually available.