Redwood City · Residential Fire Code Compliance Install

Redwood City Dryer Vent Repair: Rigid Duct & Wall Vent Install

A Redwood City home's dangerous flexible dryer vent duct was replaced with rigid, fire-rated ducting and a new code-compliant exterior wall vent, eliminating a serious fire hazard in the laundry area.

Completed September 21, 2026
Testing

Testing

What We Found

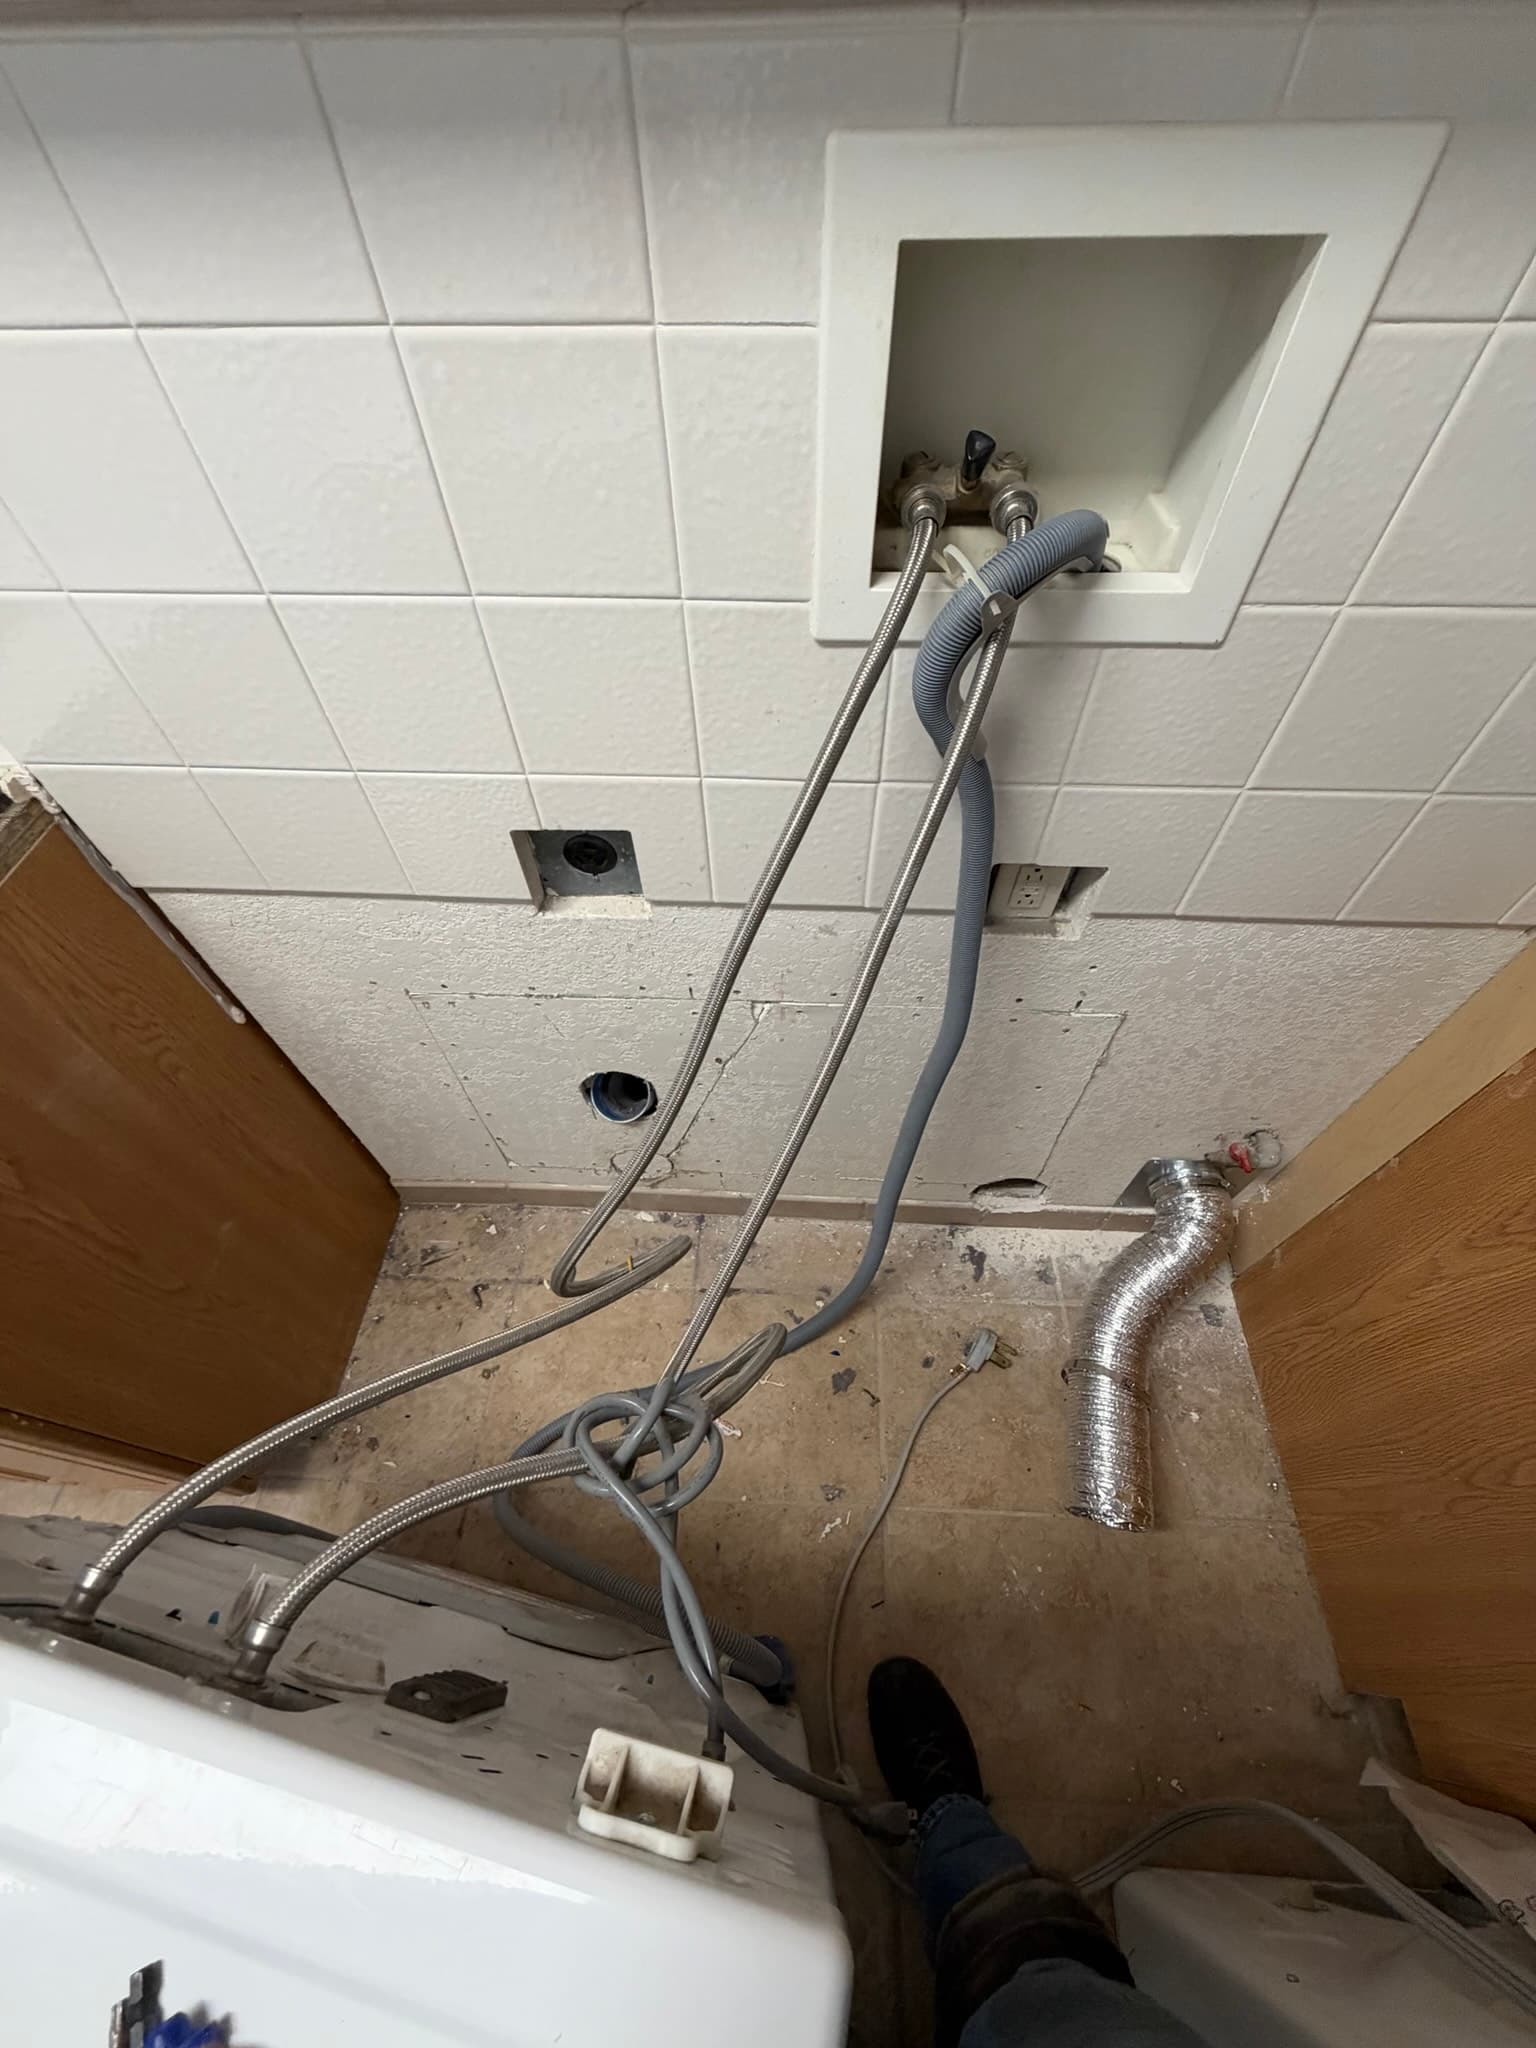
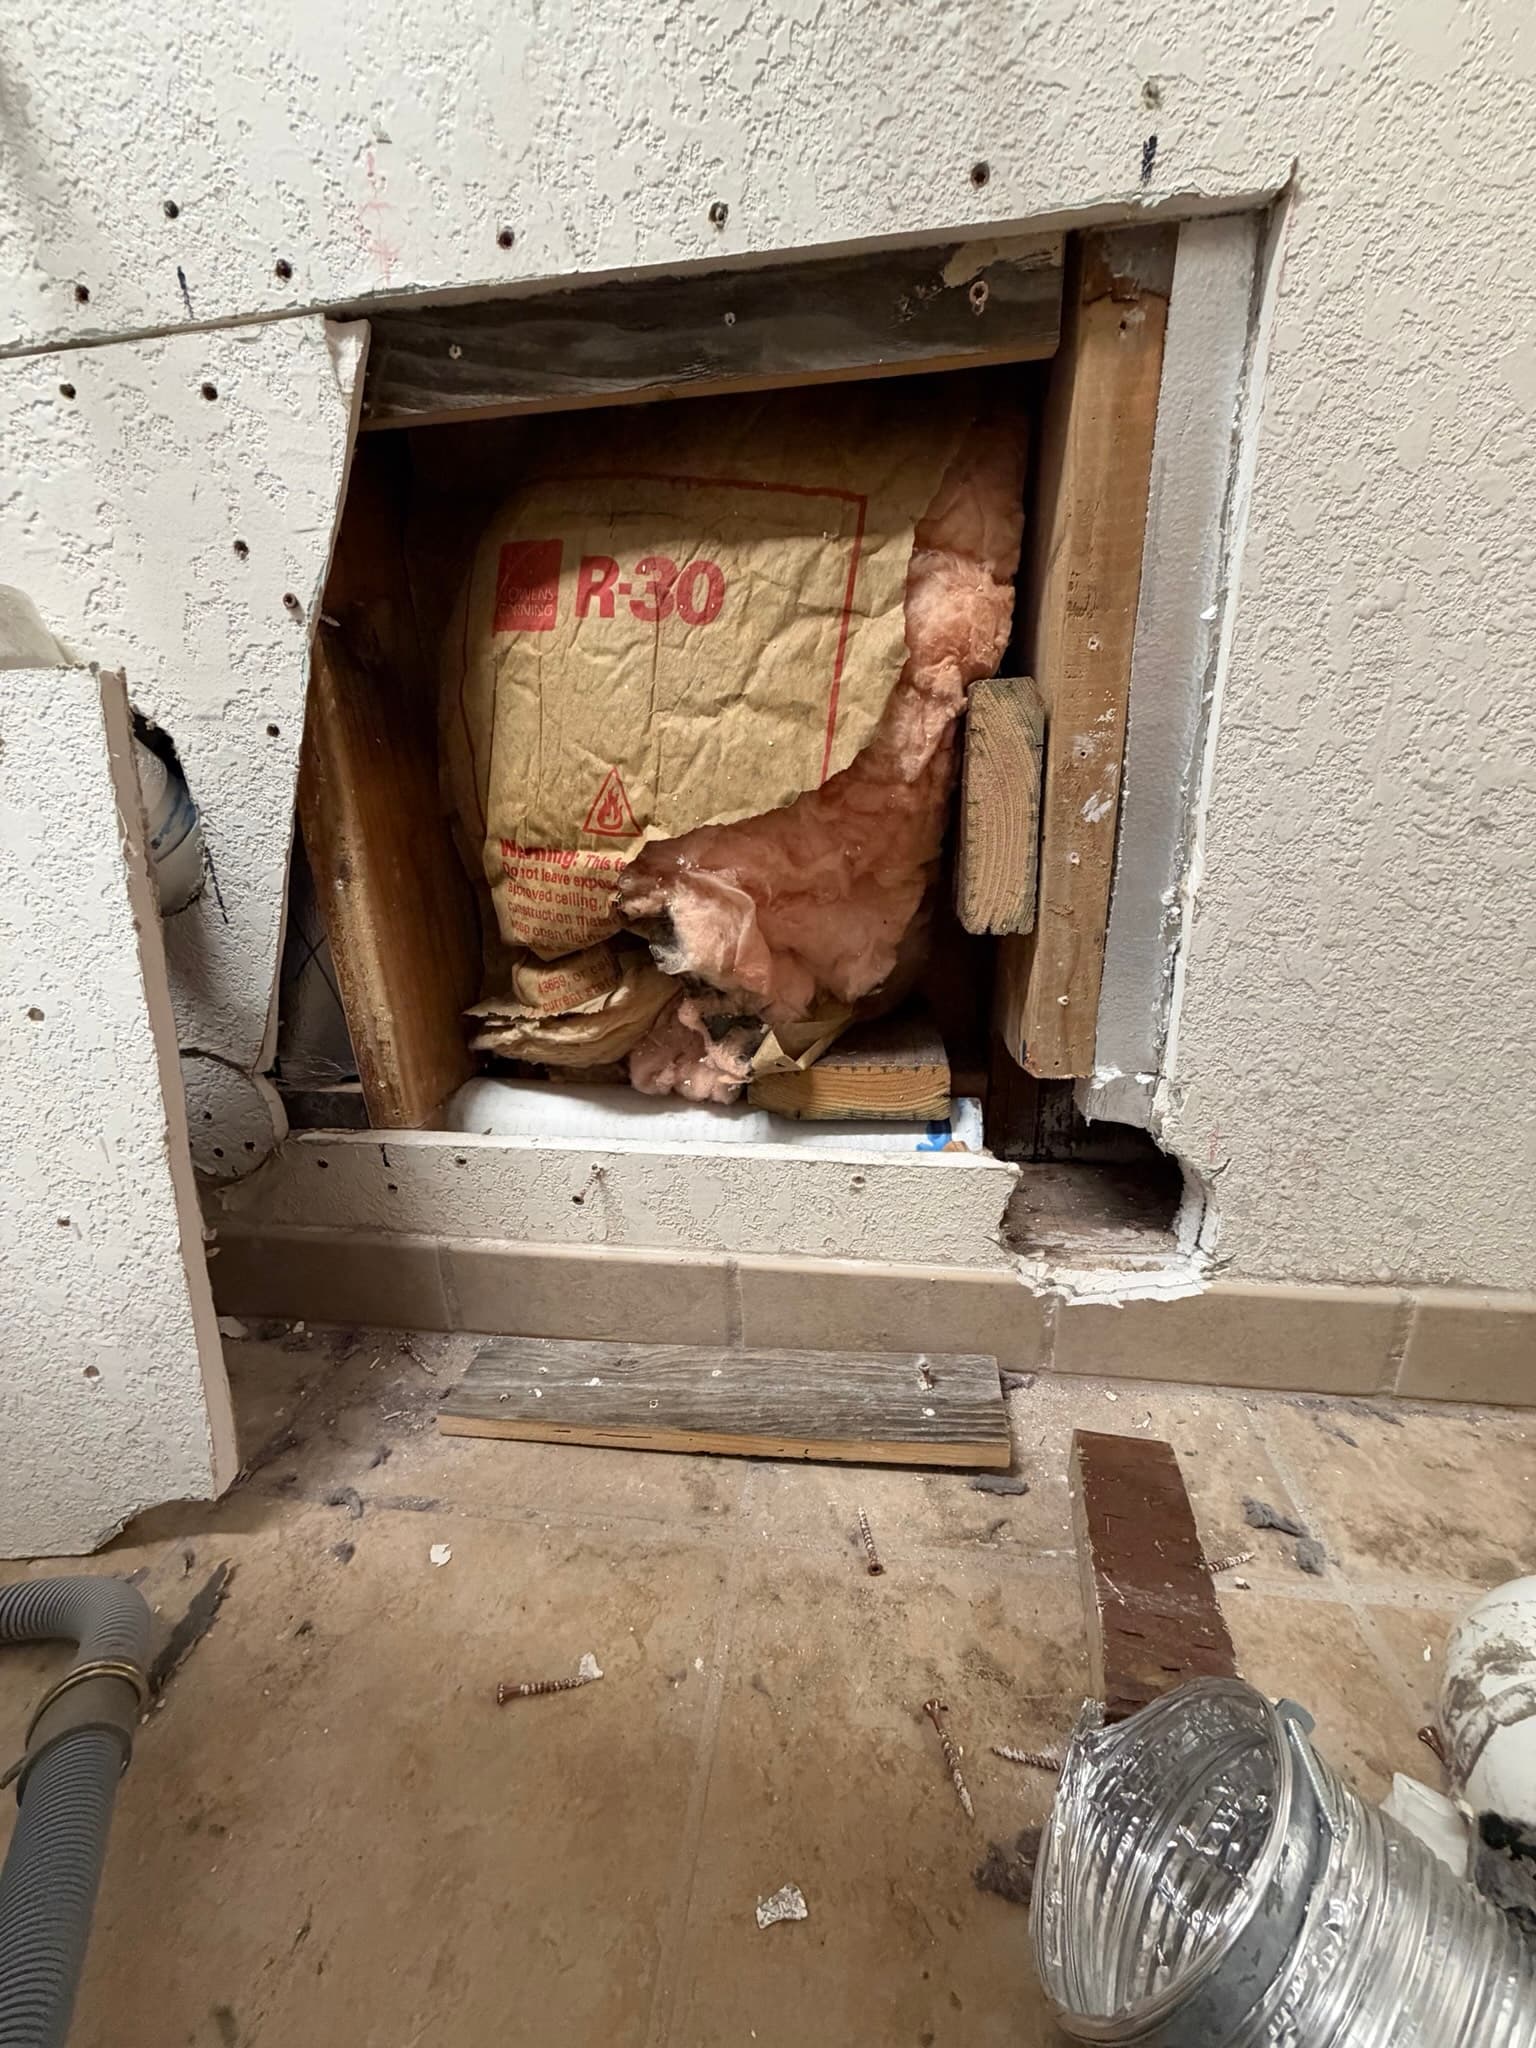
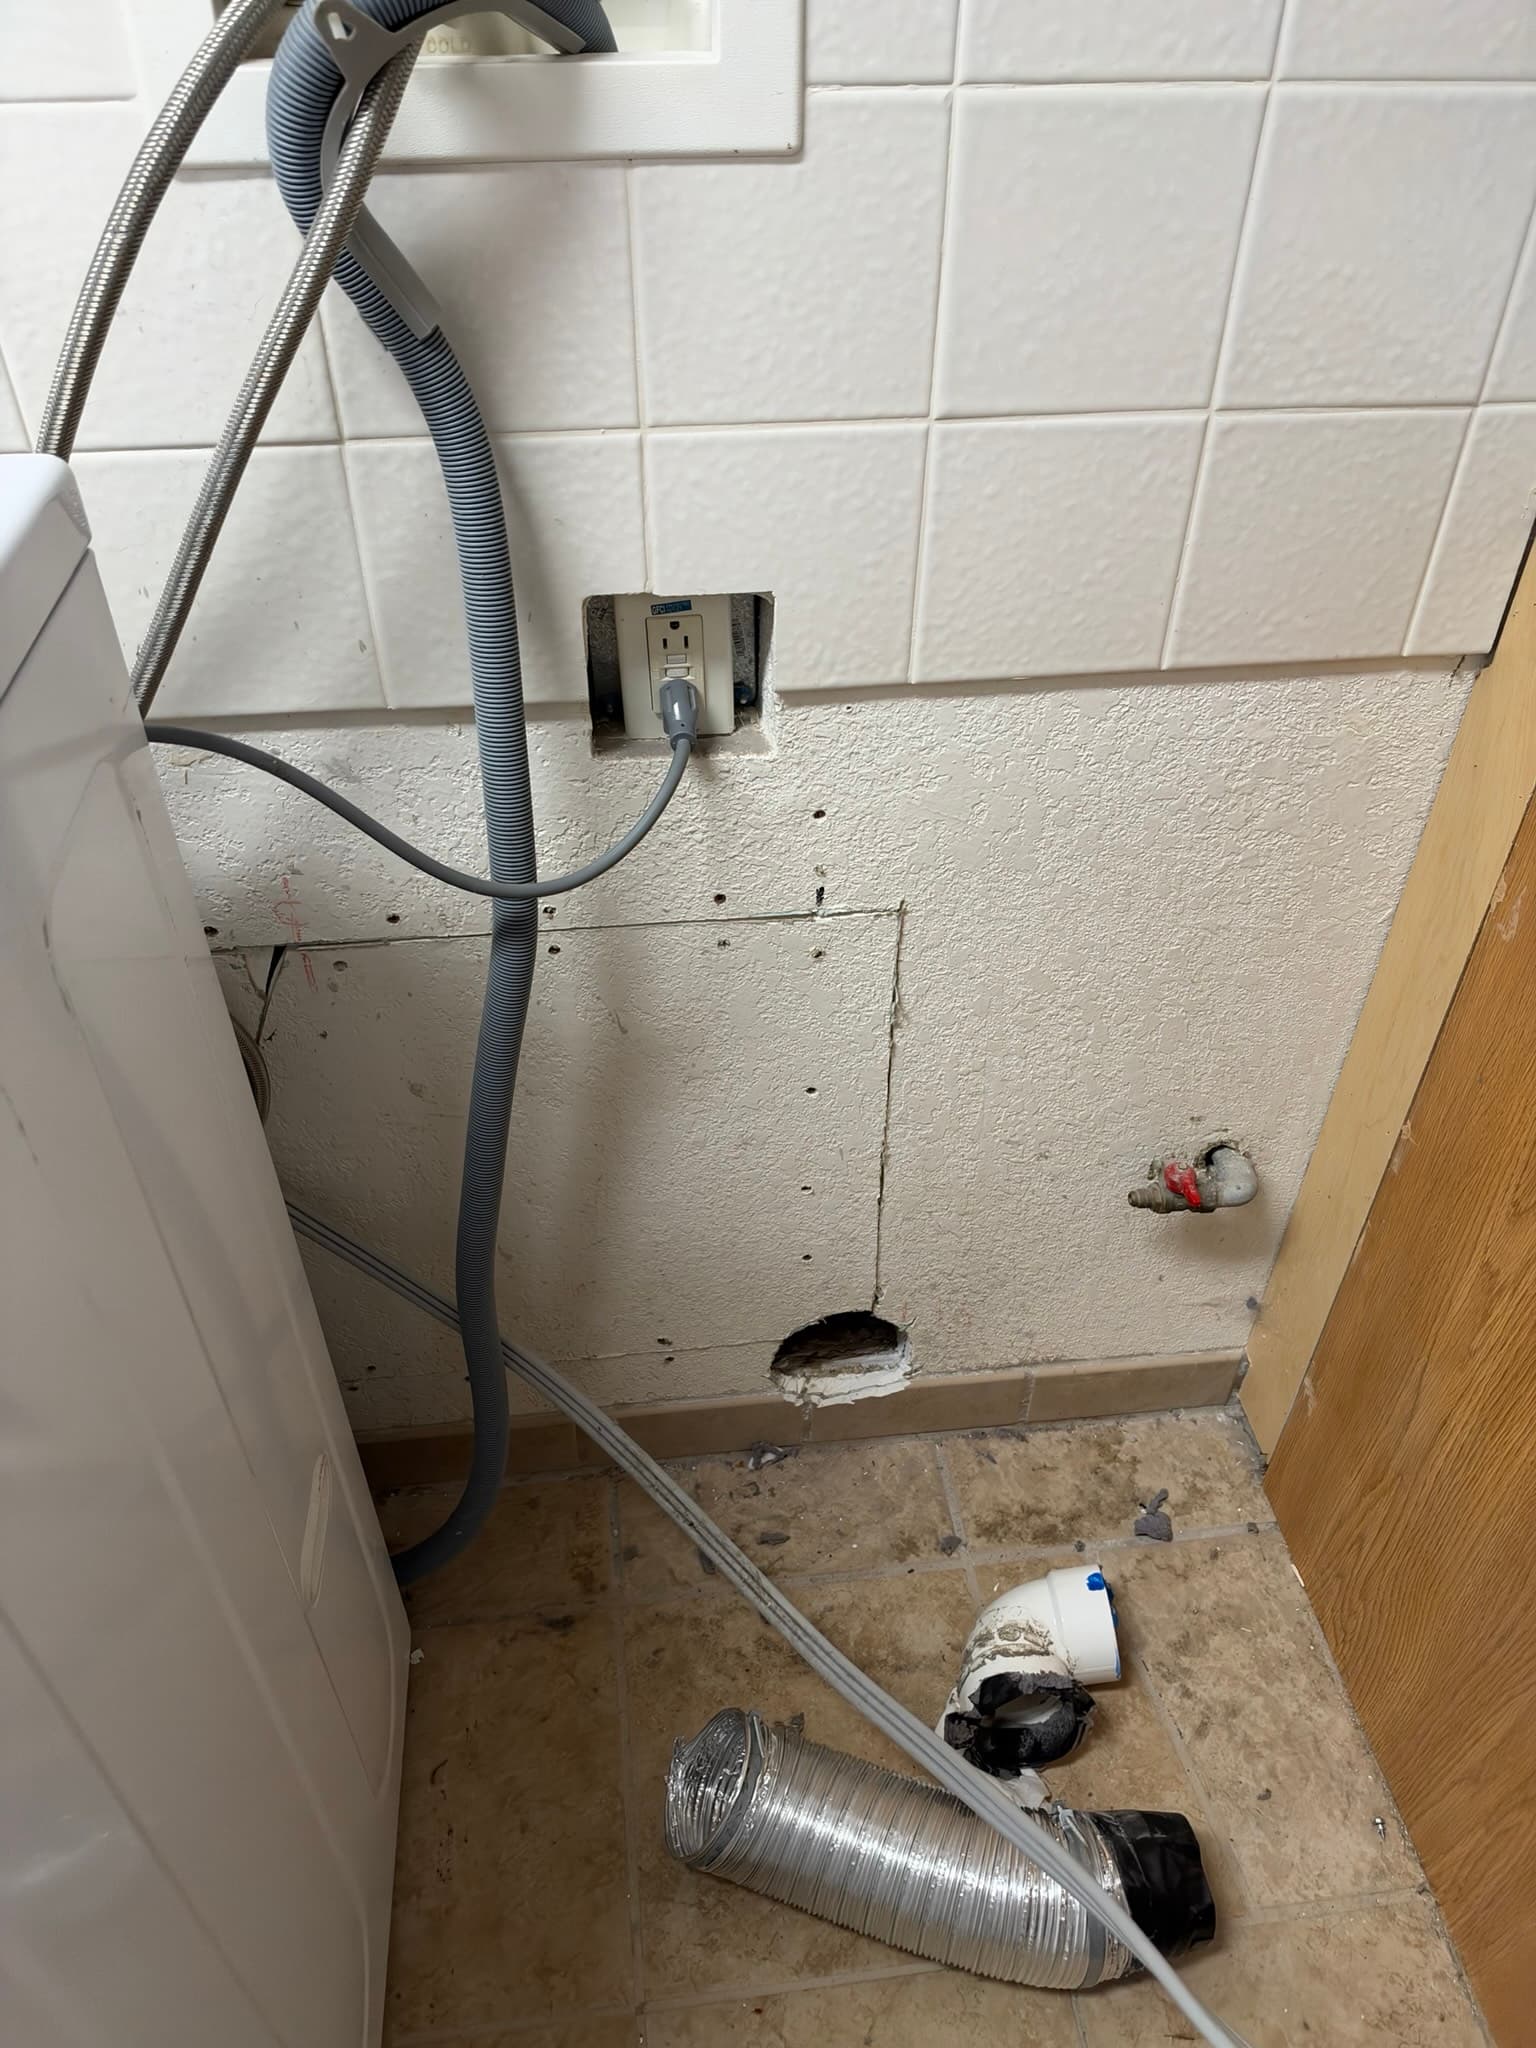
During our inspection of this Redwood City home's laundry setup, our technicians found a dryer exhaust system that fell well short of current code requirements. The existing connection relied on flexible ducting that had become disconnected and displaced from the wall opening, leaving a gap where lint-laden, moist exhaust air could escape directly into the surrounding framing cavity instead of venting to the outdoors. Loose flexible aluminum ducting was found lying on the floor near the dryer's original outlet, and the wall opening itself showed dirt, discoloration, and debris consistent with prolonged improper venting. This type of setup is a direct violation of IRC M1502.2, which requires dryer exhaust systems to be independent of other systems and to convey moisture and exhaust all the way to the outdoors, and it also raises the fire risk that comes with lint accumulating in wall cavities rather than being carried safely outside.

What We Did

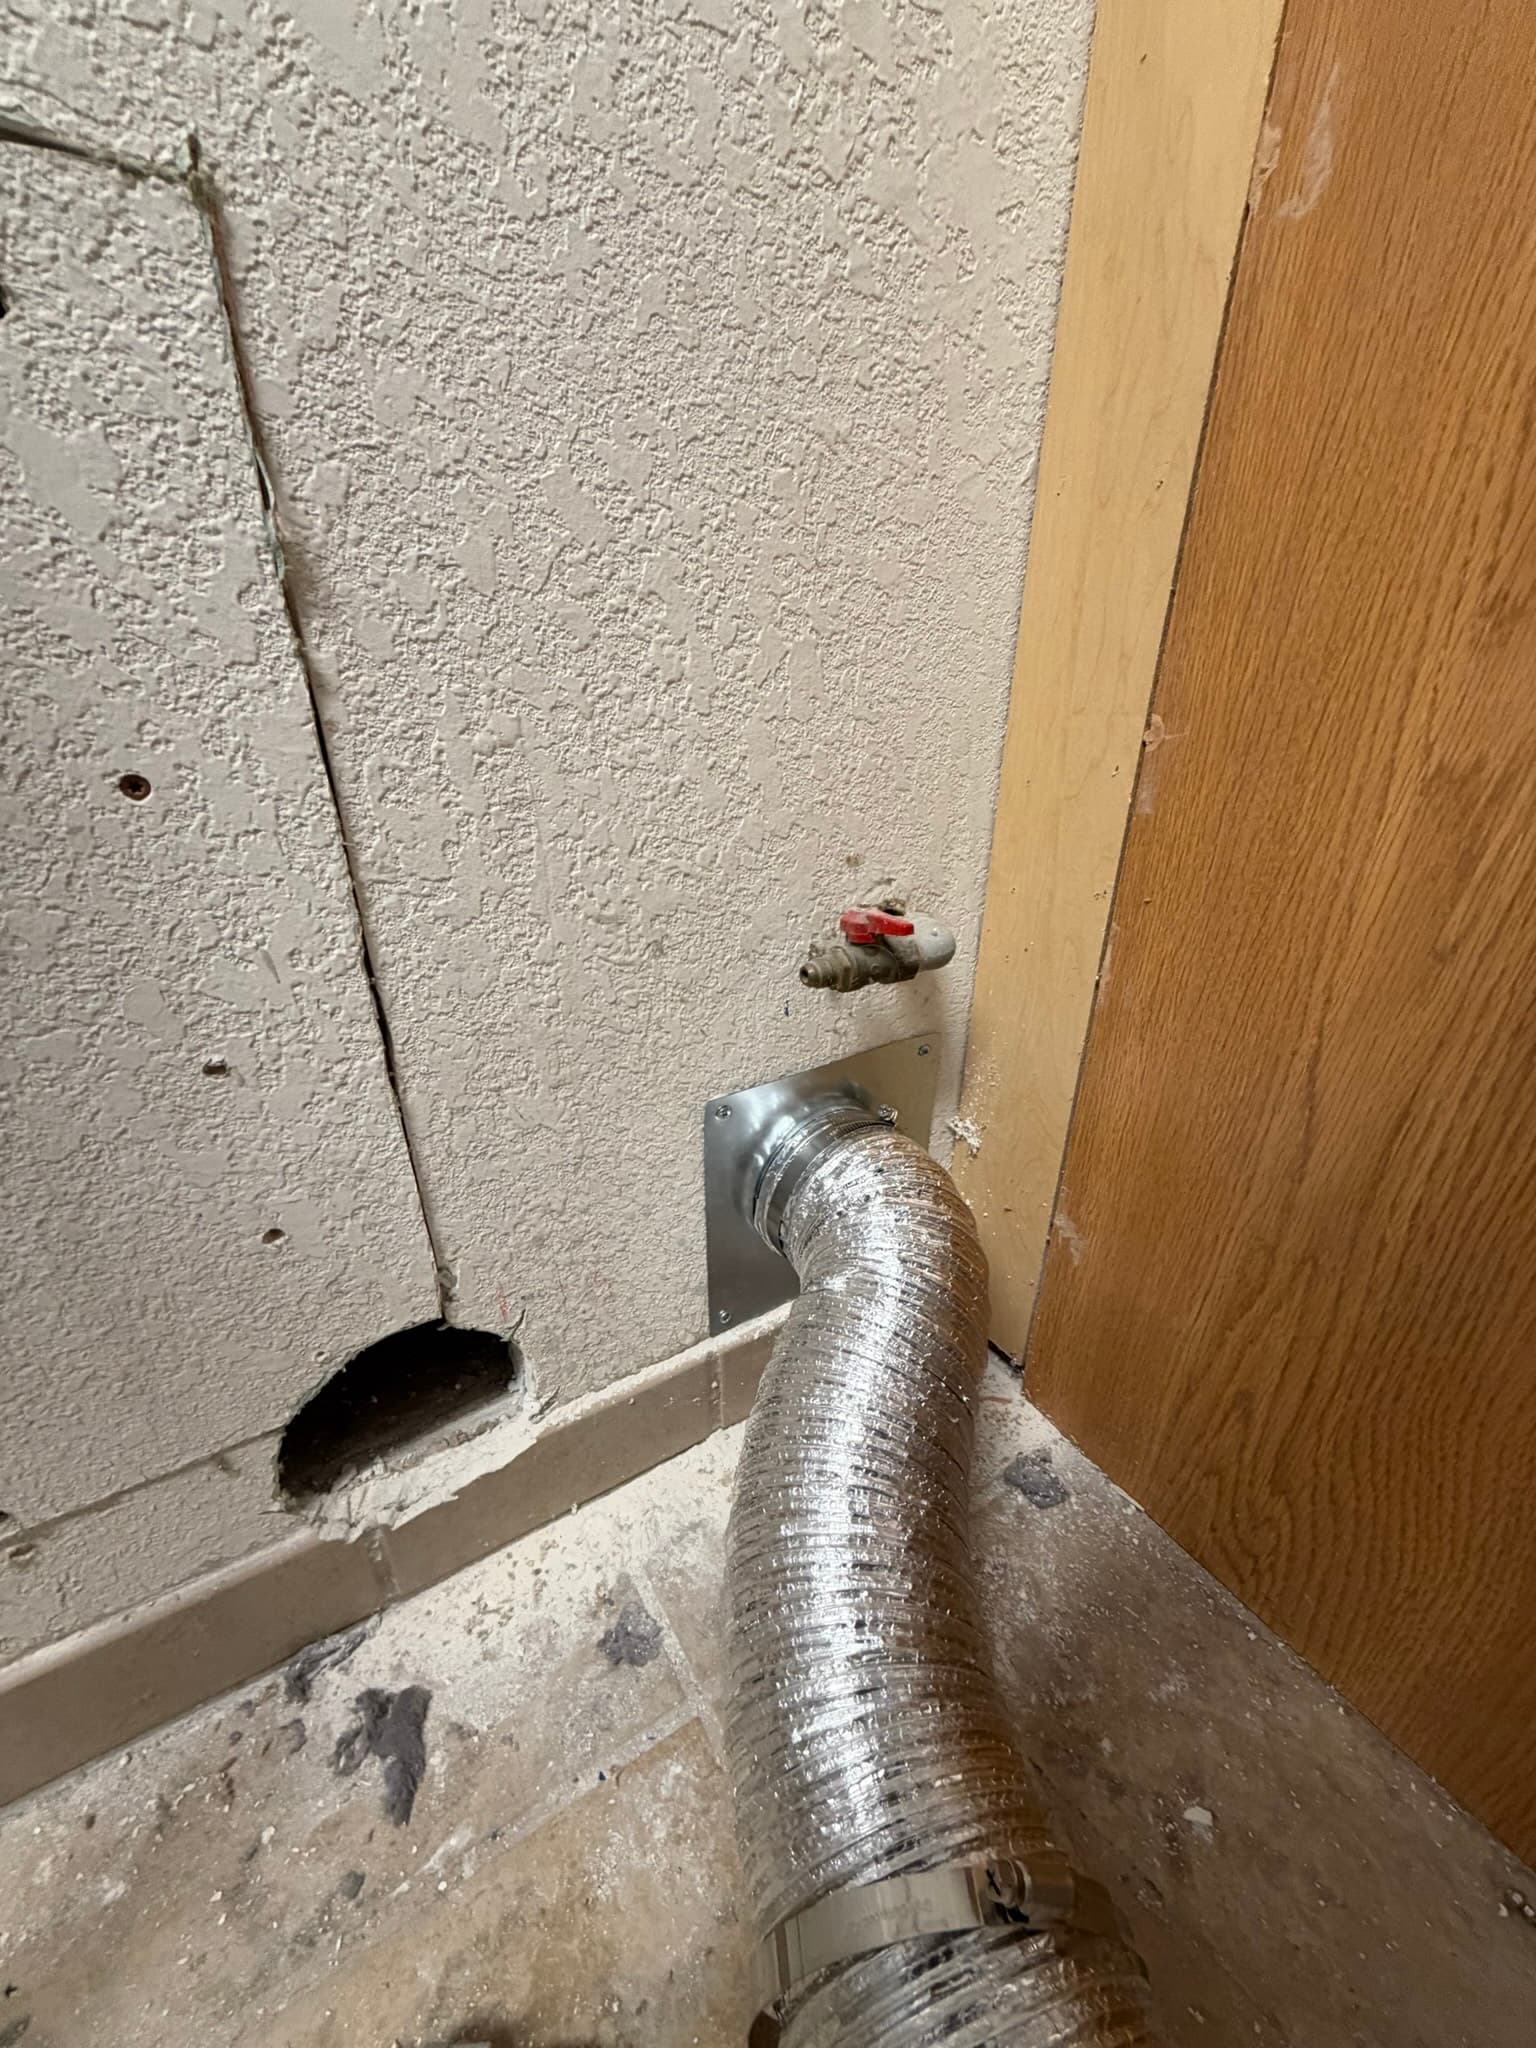
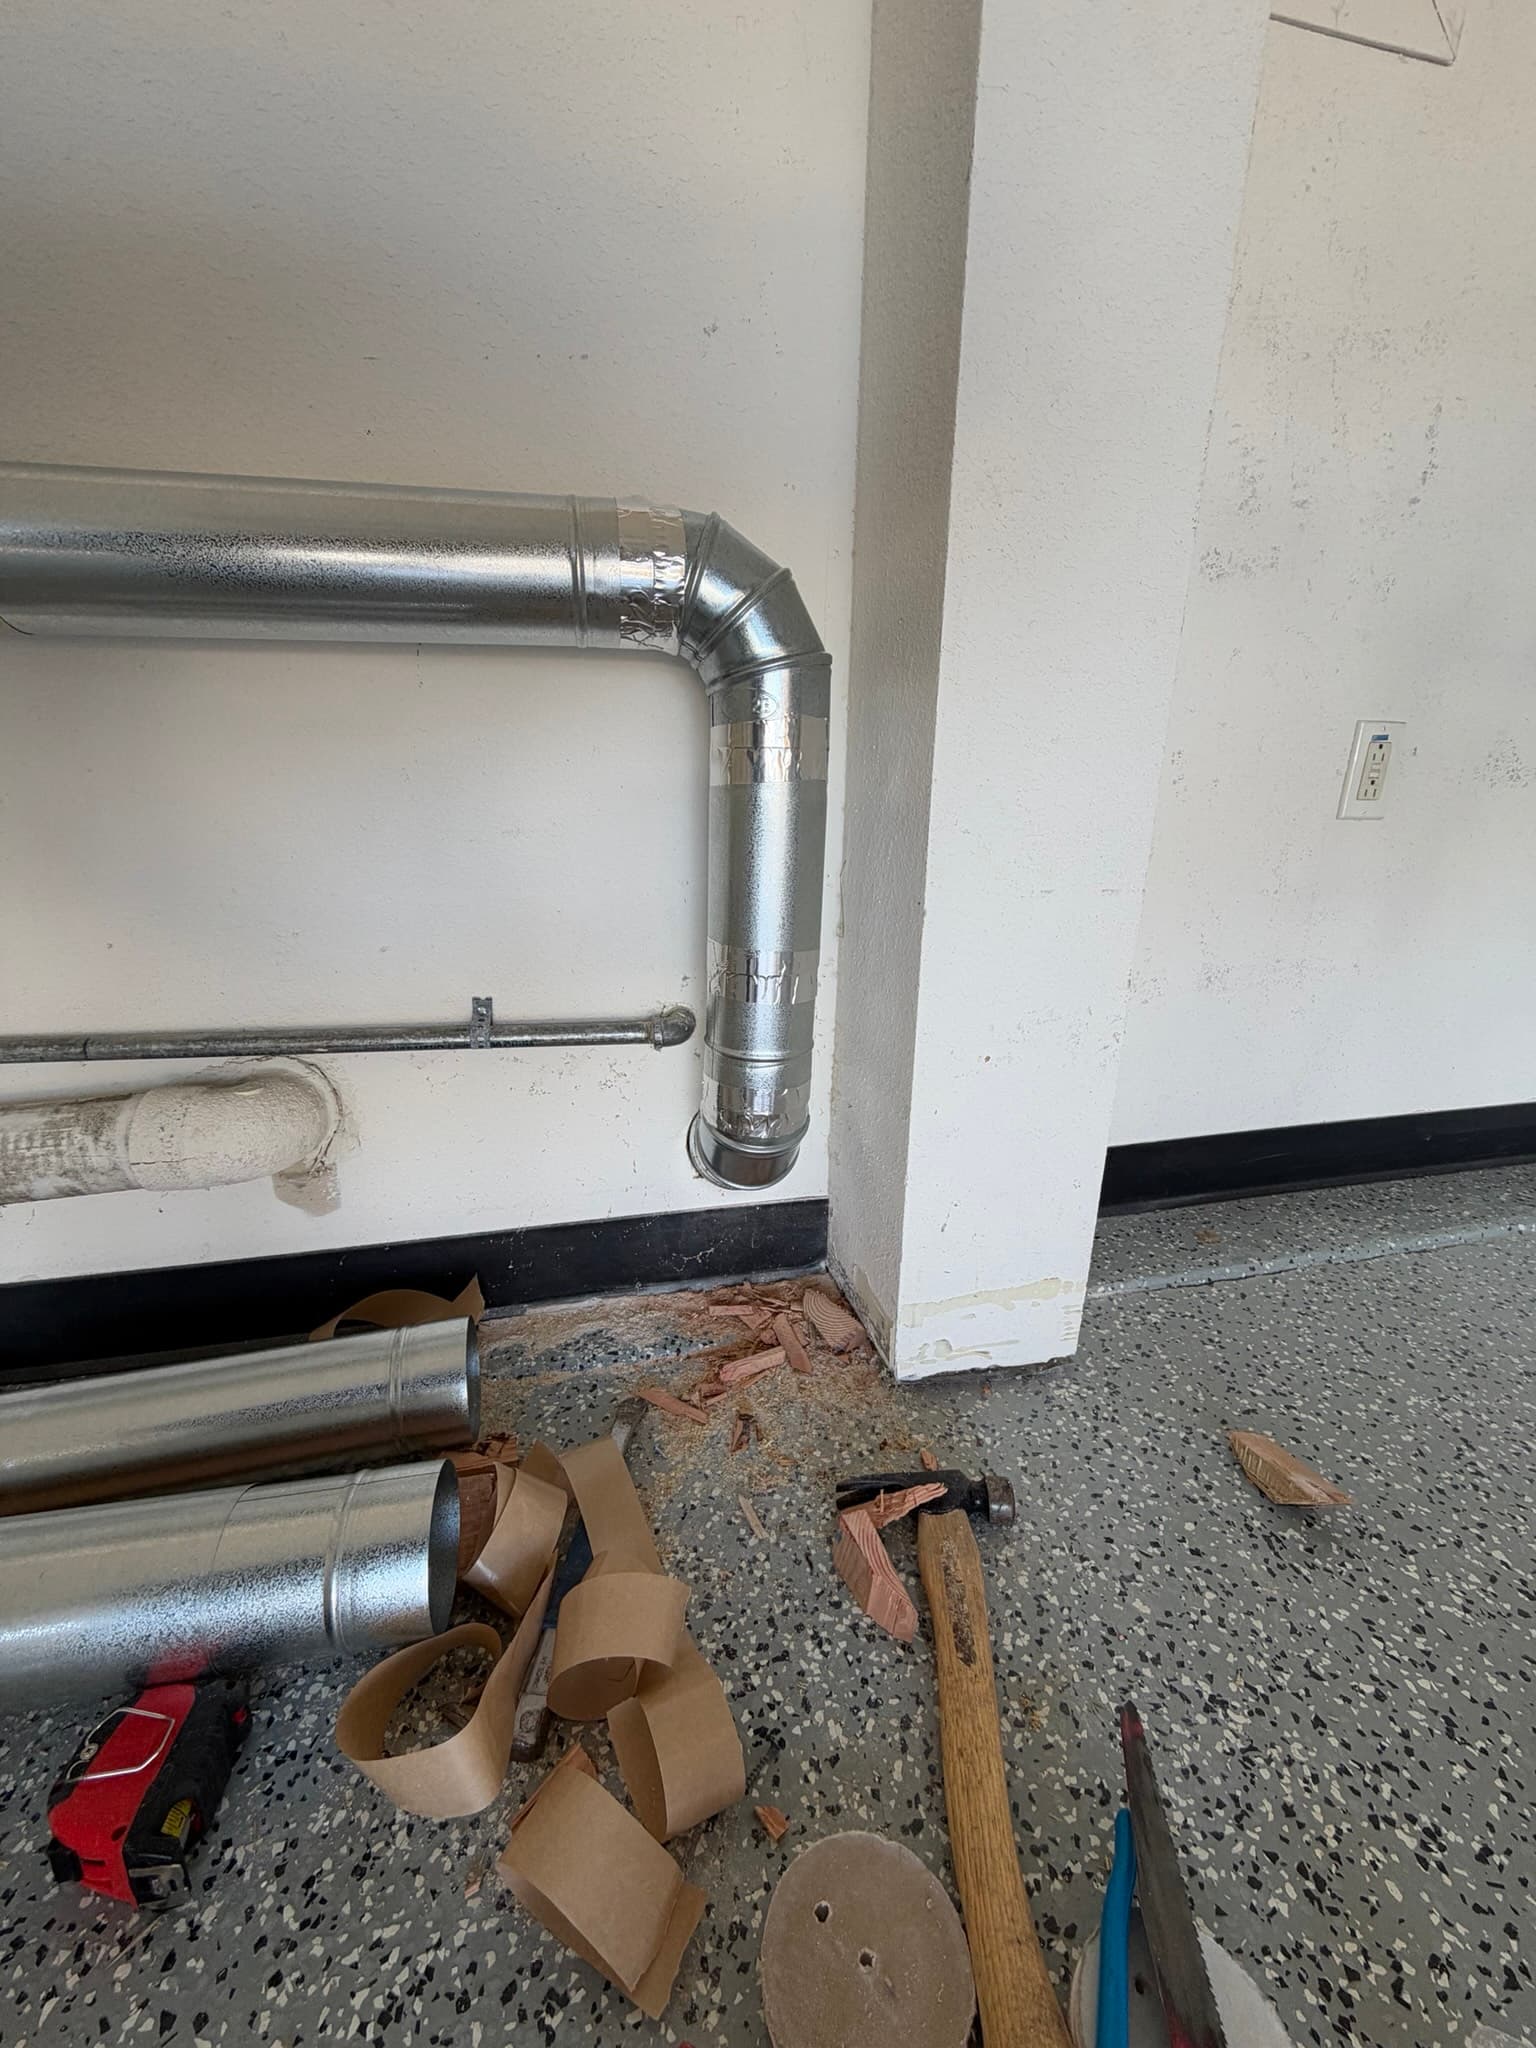
To correct these conditions, our team installed 10 linear feet of rigid metal ducting to replace the compromised and disconnected sections of the exhaust run. The new duct was assembled from 4 inch, 26 gauge galvanized snap lock pipe, which meets the smooth interior, minimum thickness requirements of IRC M1502.4.1, and a 4 inch 90 degree rigid metal elbow was used to route the exhaust along the wall and down toward the exterior termination point. Every joint in the run was foil taped and the duct was sloped properly toward the exterior to allow condensation to drain rather than pool inside the pipe. At the dryer connection point, DryerFlex transition duct was clamped securely to a wall mounted metal collar, giving the system a clean, sealed link between the appliance and the rigid duct run, consistent with the single length, UL 2158A listed transition duct requirements of IRC M1502.4.3.

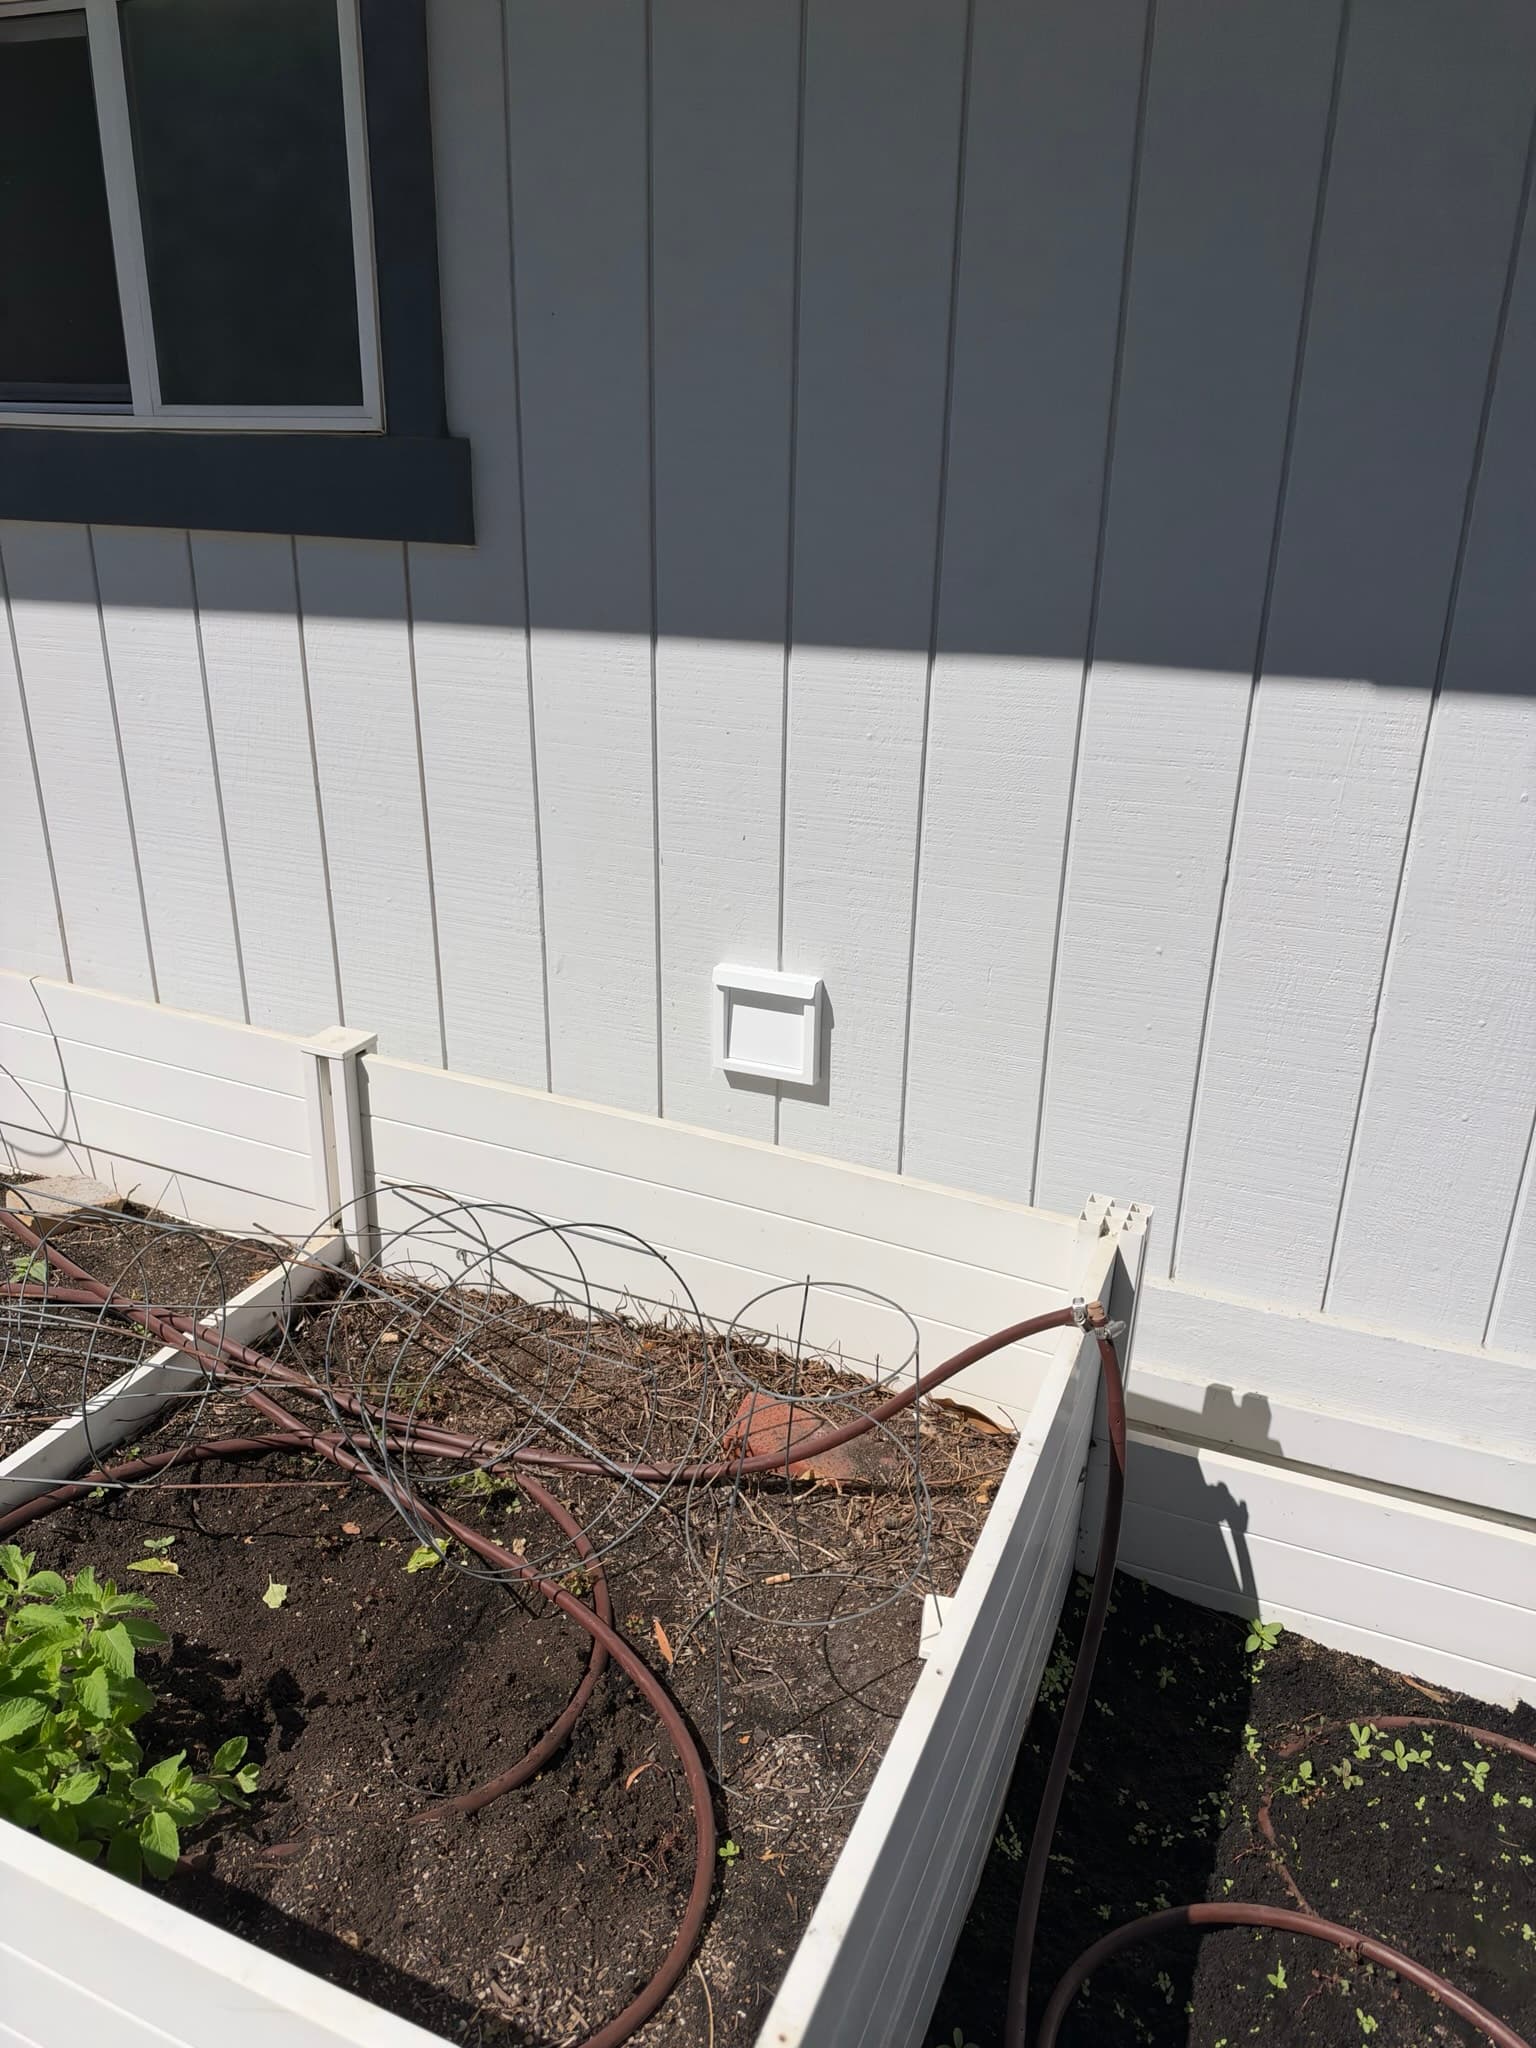
On the exterior side of the wall, our technicians installed a new Existing Dryer Wall Vent unit, a 4 inch flush mount, no collar, white vent cap with a heavy gauge Galvalume steel body and powder coated finish. This vent terminates flush against the siding and includes a functioning gravity backdraft damper, satisfying the termination requirements of IRC M1502.3, which mandates that exhaust ducts end outside the building envelope and be equipped with a damper rather than a screen. Screens are explicitly prohibited at the termination point under this code section because they trap lint and choke off airflow, so the new cap was selected specifically to meet that standard while still resisting pest entry.

The Outcome

With the duct replaced and the new wall vent in place, this dryer exhaust system now runs as a single, sealed, rigid metal path from the appliance to the exterior of the home, a meaningful improvement over the disconnected flexible ducting we found during the initial inspection. The rigid 26 gauge duct and foil taped joints give the system a smooth interior that resists lint accumulation far better than the flexible material it replaced, while the properly sloped run ensures any condensation drains outward instead of collecting inside the wall cavity. The new Galvalume vent cap with its integrated backdraft damper keeps outside air, pests, and moisture from entering the home when the dryer is off, while still opening freely to allow full exhaust airflow when the dryer is running.

Why This Matters for Redwood City Homeowners

Dryer vent problems like the ones found in this job are common in older Redwood City homes where original ducting has shifted, degraded, or was never brought up to current code during past renovations. A disconnected duct is more than an efficiency issue: it allows heat and lint to build up inside wall cavities and attics, conditions that the U.S. Fire Administration identifies as a leading contributor to residential dryer fires. Homeowners who notice longer drying times, a musty smell near the laundry area, or visible gaps at the dryer's wall connection should have the system inspected promptly. Annual professional inspection, consistent with NFPA guidance for venting systems, is the best way to catch a disconnected or degraded duct before it becomes a bigger problem.

Project photos

11 photos
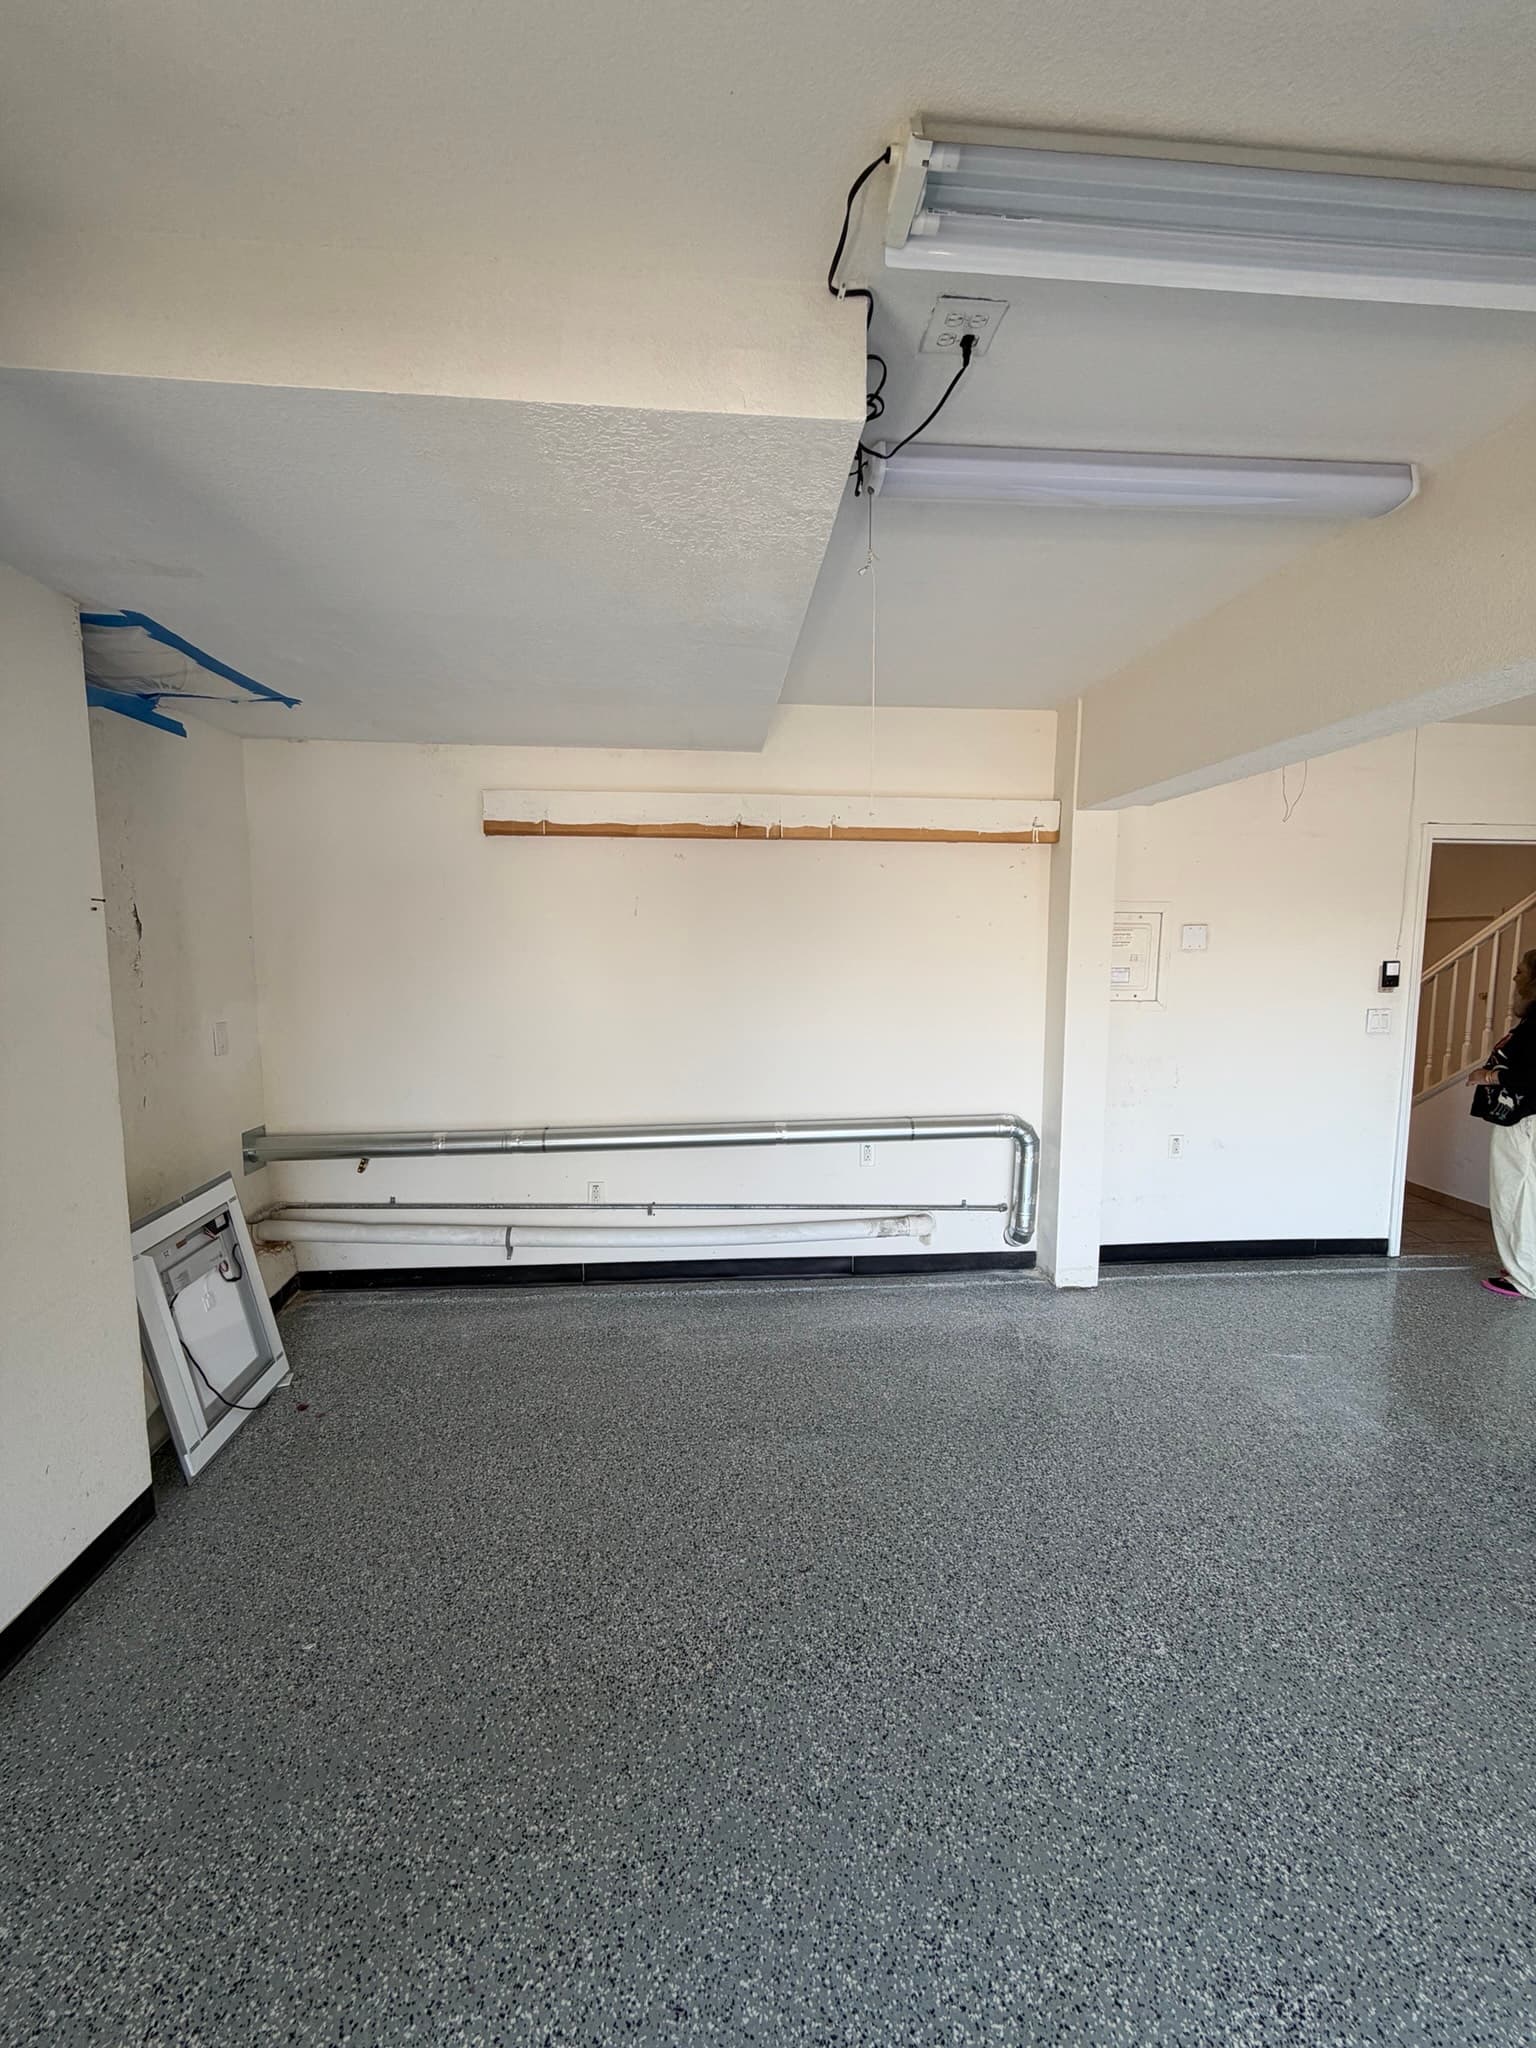
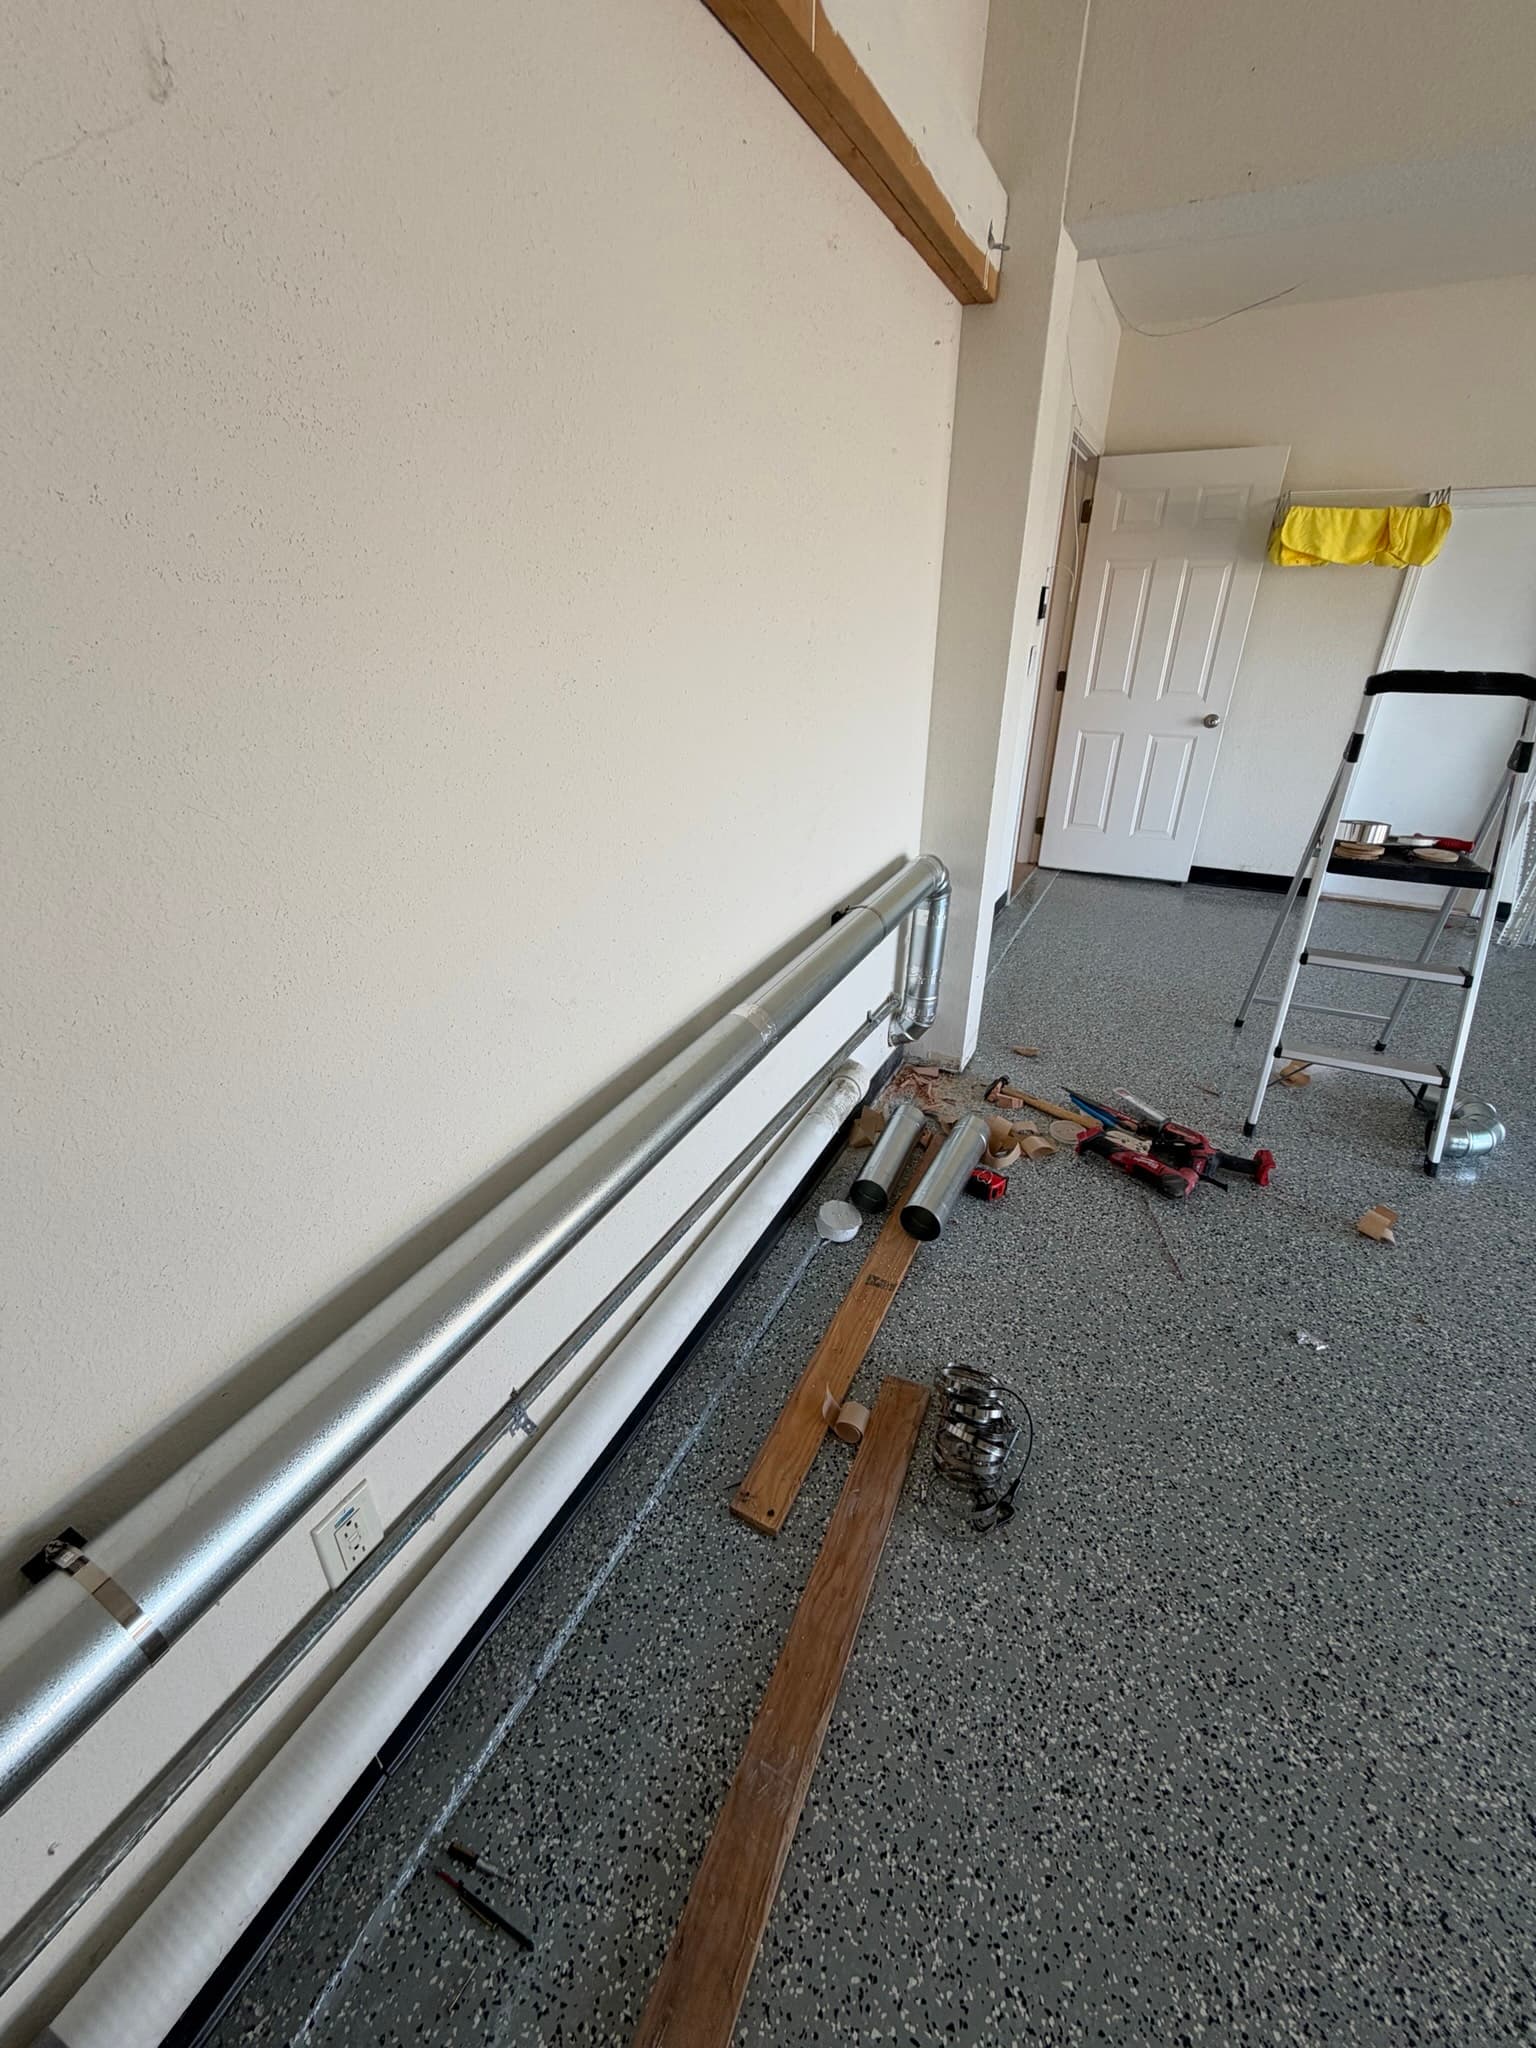
Completed dryer exhaust installation in a Redwood City garage showing rigid metal duct running along the lower wall with a proper downward slope toward the exterior wall vent outlet.
This photo shows an interior garage or utility space under construction or renovation, not a dryer vent system or HVAC component. The image displays drywall, ceiling fixtures, and framing materials, which are unrelated to dryer exhaust work. No dryer duct, vent, transition duct, or installed components from the service catalog are visible or applicable to this photo.
New white 4 inch flush mount exterior dryer wall vent installed against the home's siding above a raised garden bed, with the damper flap closed and the opening clear of obstructions.
The exterior wall shows a properly installed DryerWallVent, 4" Flush Mount, No Collar, White, terminating flush against the siding above the raised garden bed. The vent appears clean with no visible lint accumulation or damage, and its placement provides a clear, unobstructed termination point that meets code requirements for exterior dryer exhaust venting.
Interior wall connection showing DryerFlex transition duct clamped to a metal wall collar where the rigid duct passes through the wall to the exterior vent.
The completed connection shows a metal wall plate securely mounted to the interior wall, with DryerFlex transition duct clamped to the collar leading into the wall opening. The installation appears clean and properly secured, meeting code requirements for the dryer exhaust connection point, with an isolated gas shutoff valve visible nearby but unrelated to the venting work.
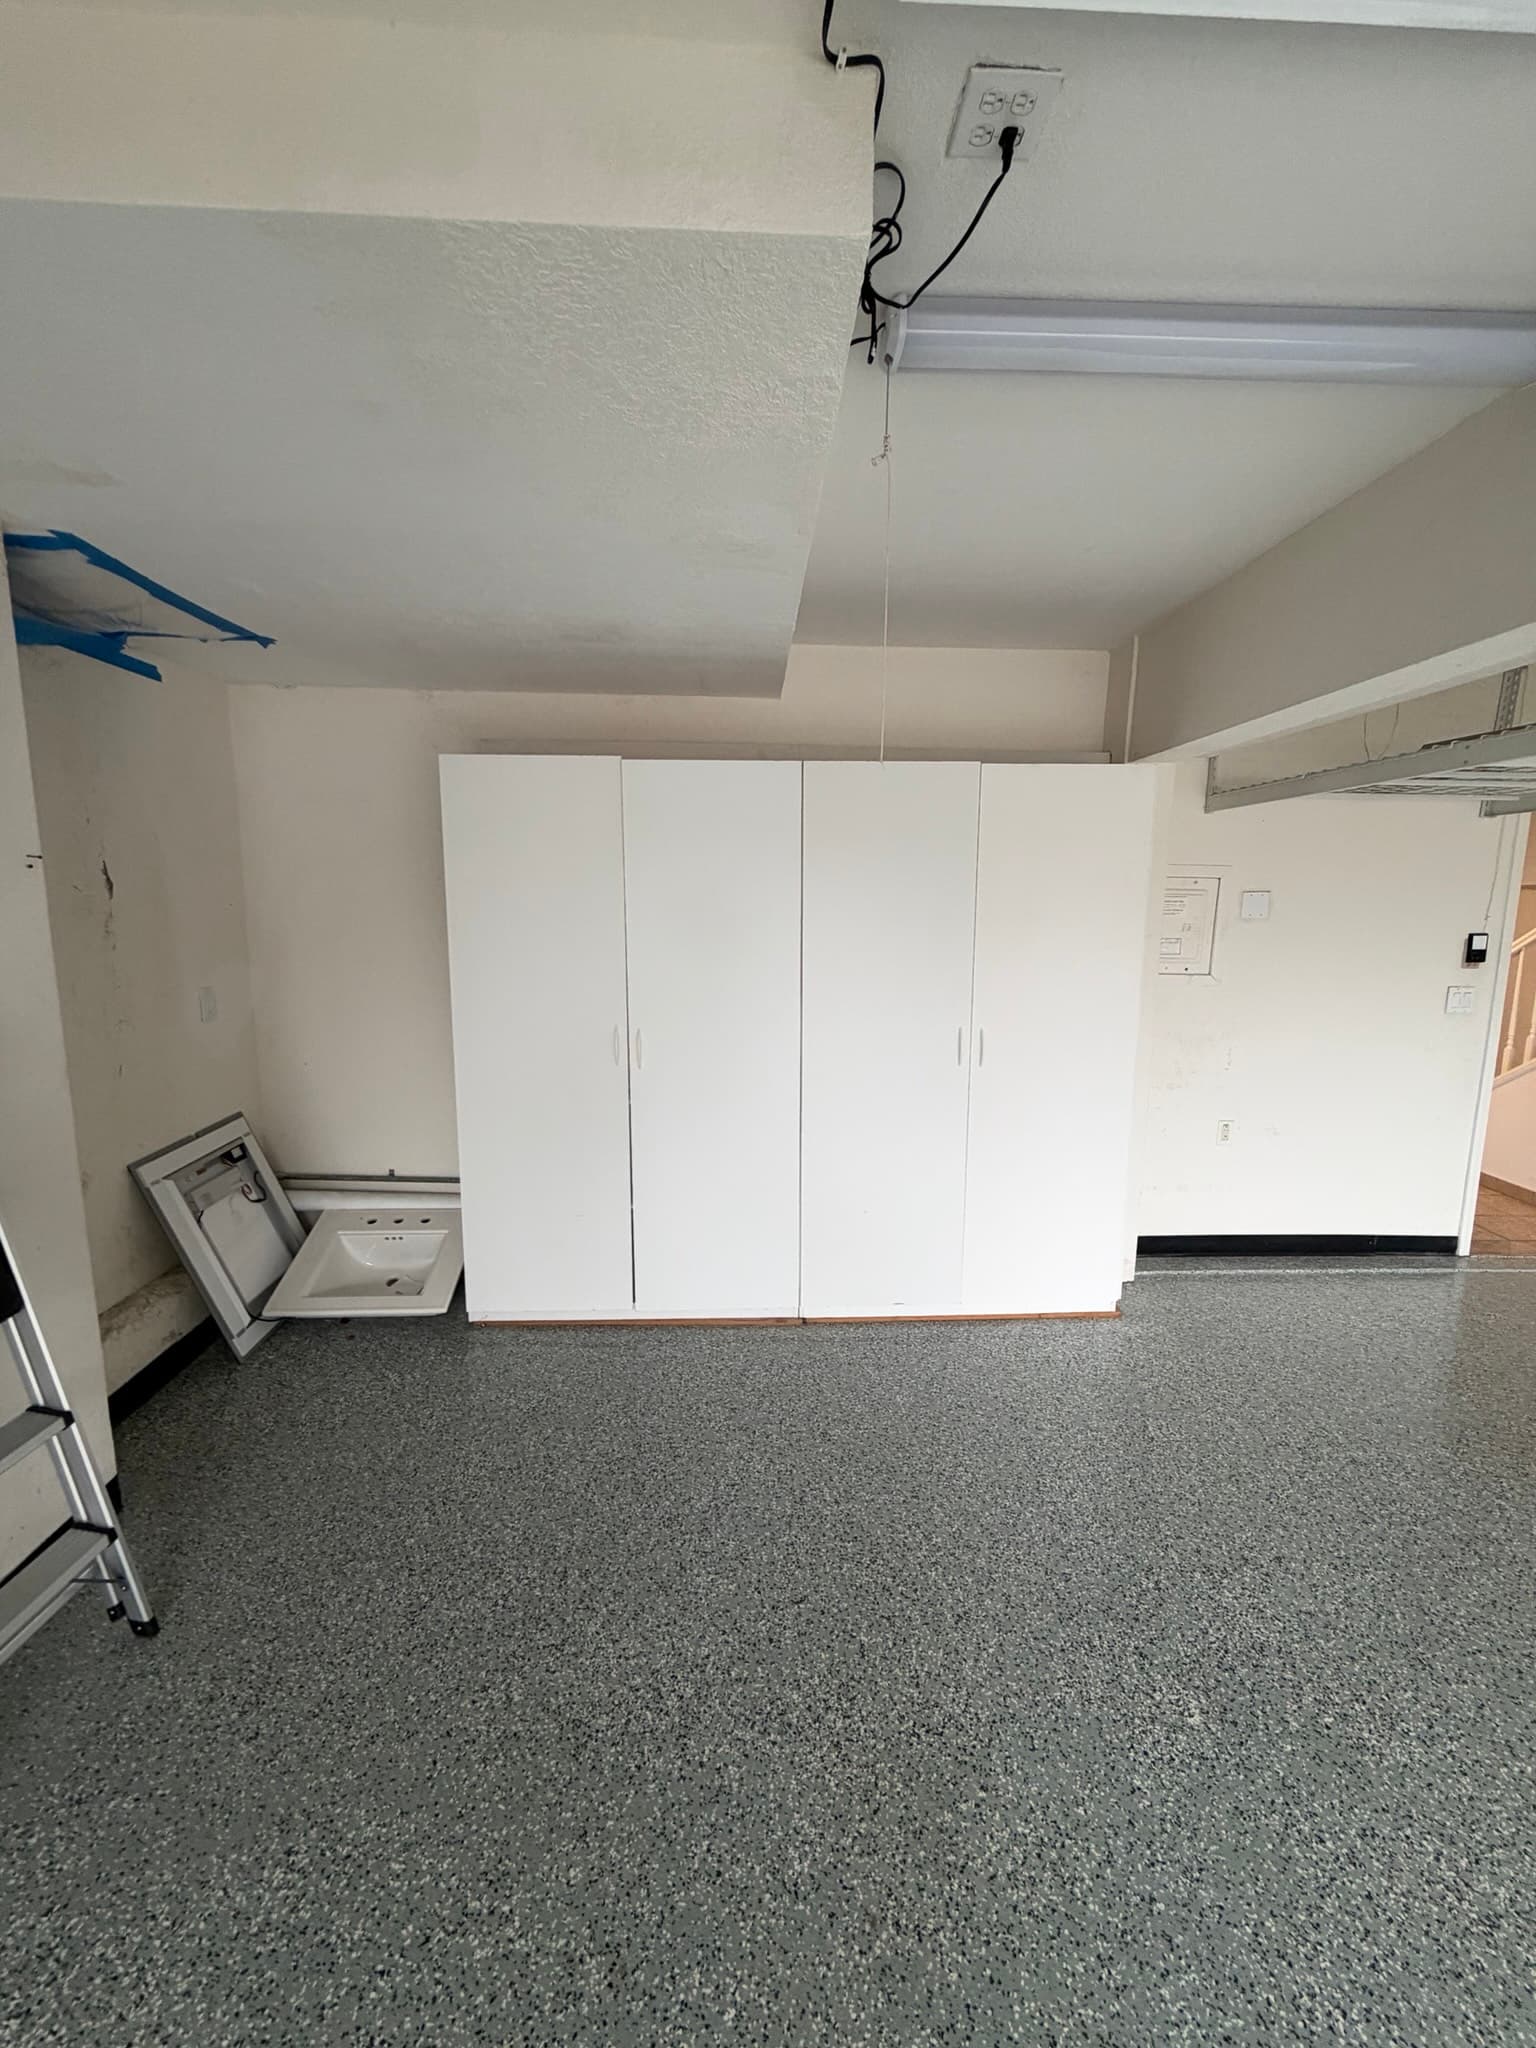
Before photo of the garage laundry area prior to duct replacement, showing the space around the dryer location with no rigid exhaust ducting yet installed.
This "before" photo shows a garage/laundry area with no dryer venting components yet visible or installed. A built-in white storage cabinet spans the back wall, with a wall-mounted sink basin and a disconnected electrical panel or fixture resting on the floor nearby, along with a baseboard heater unit. The epoxy-flecked floor and ceiling area near the light fixture show blue painter's tape marking pre-existing conditions, consistent with the space being prepped before duct installation and wall vent work begins.
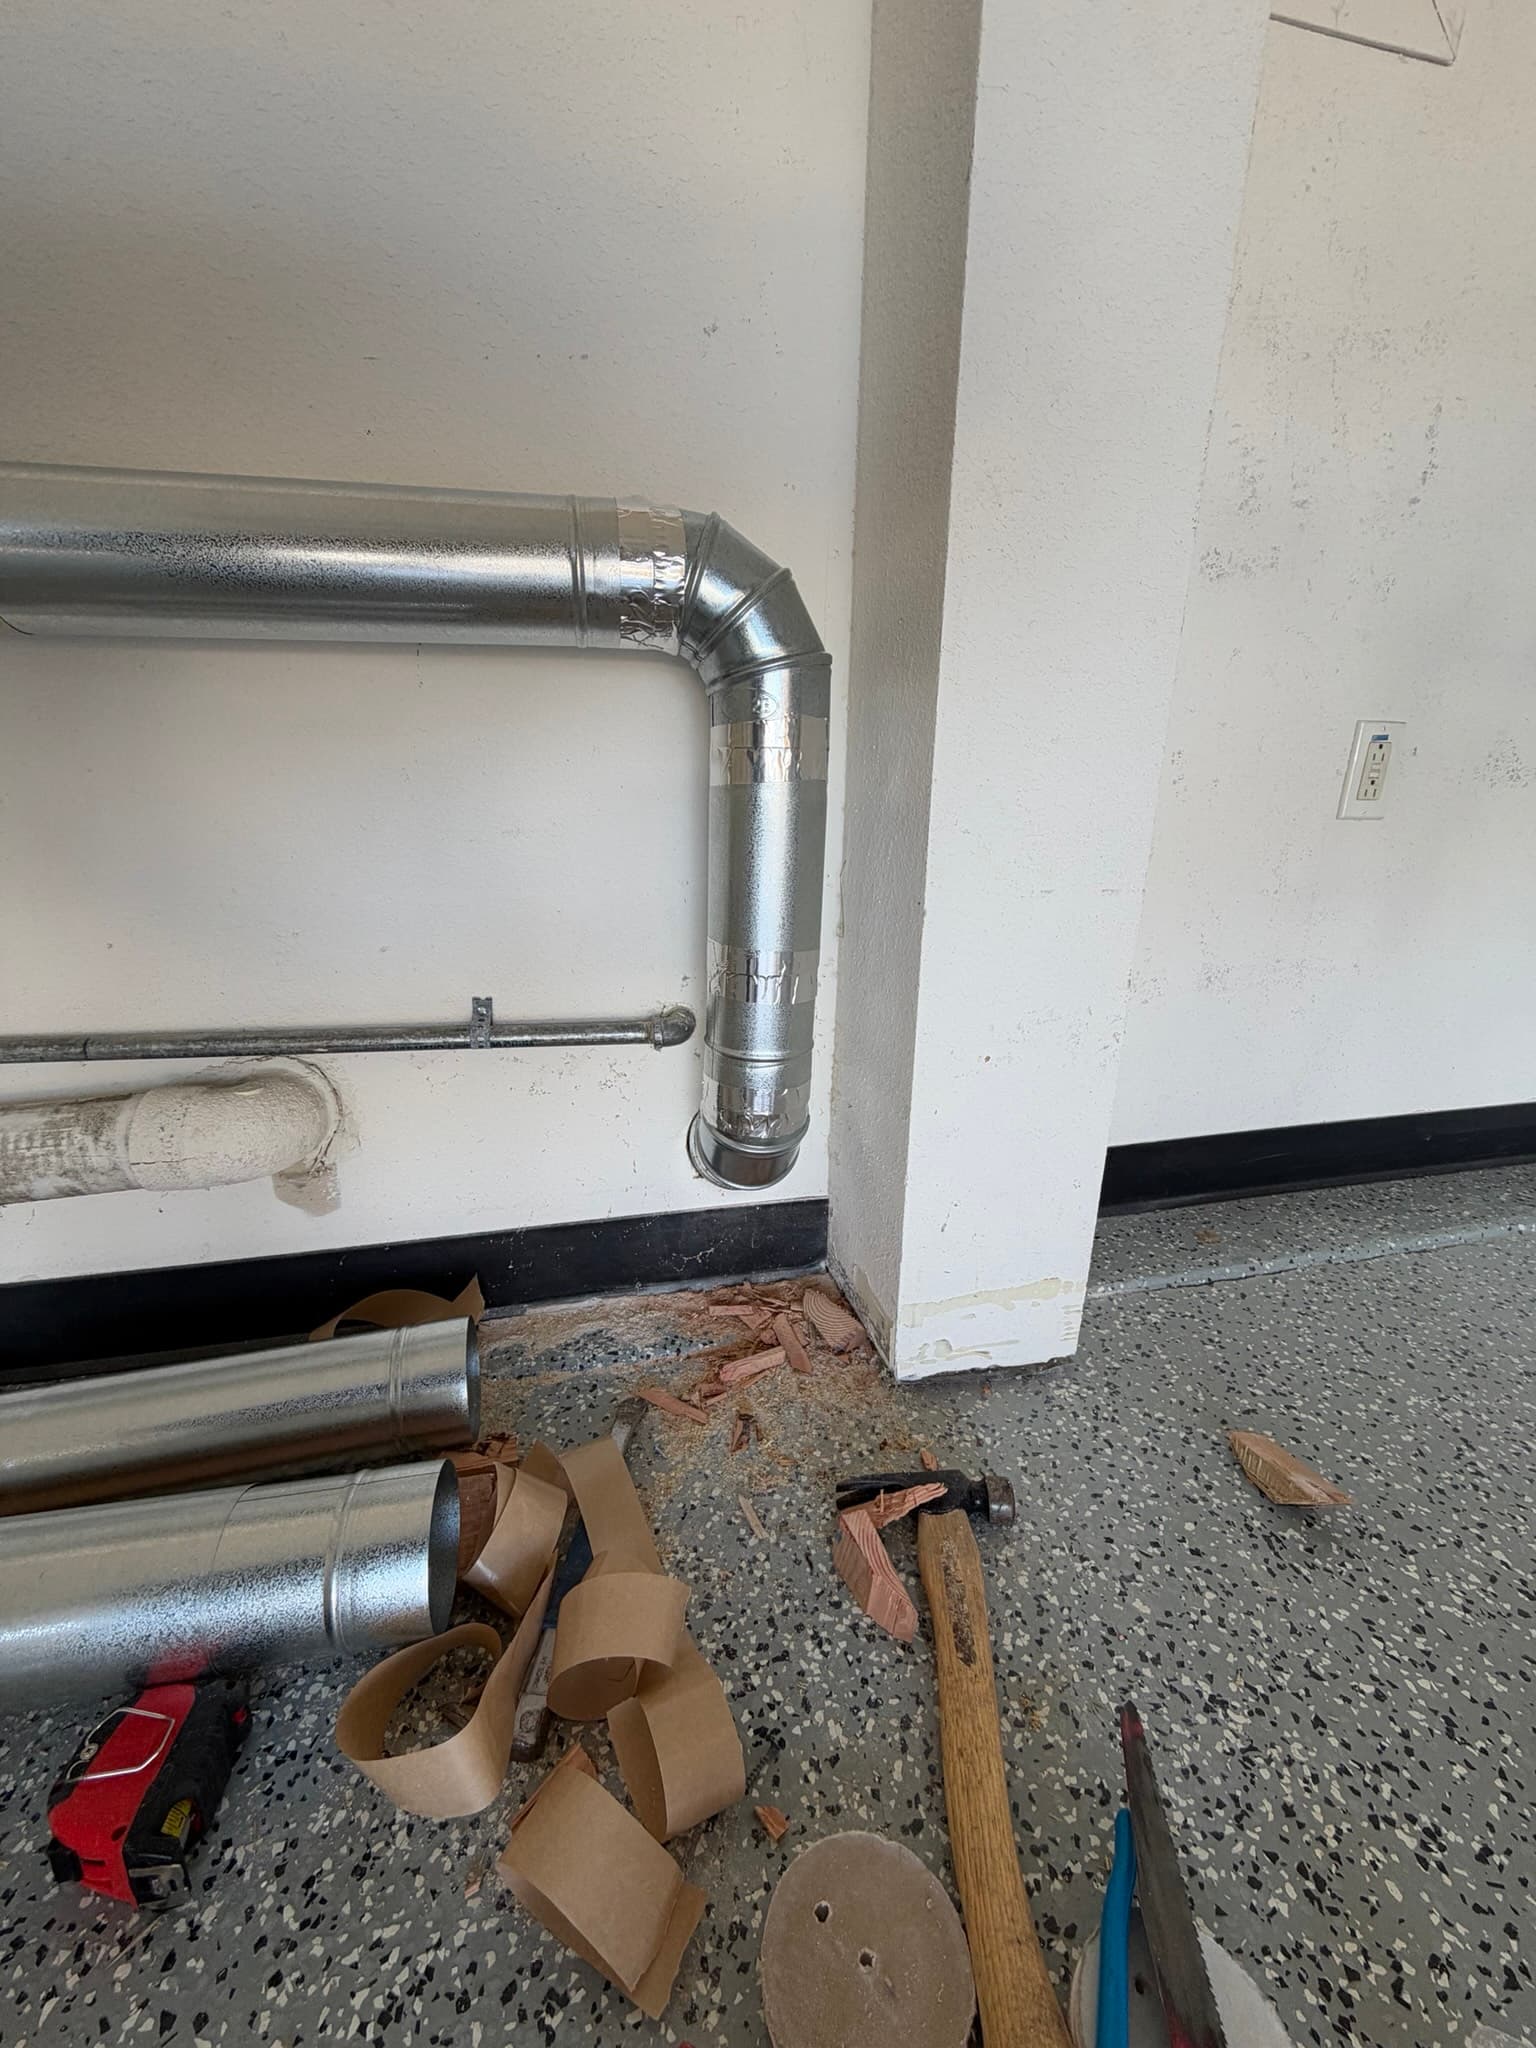
Newly installed run of 4 inch 26 gauge galvanized snap lock rigid duct with a 90 degree elbow and foil taped joints, sloped toward the exterior wall vent.
This after photo shows a completed run of 4" 26 Ga Galvanized Snap Lock Pipe with foil-taped joints, using a 4" 90-Degree Rigid Metal Elbow to route the duct along the wall and down toward the exterior termination, sloped properly toward the outside for drainage. The metal duct run reflects the dryer duct installation and repair work performed, with leftover pipe sections and construction debris on the garage floor indicating recent installation activity. The rigid metal construction and joint sealing meet code requirements for dryer exhaust venting.
This image shows metal dryer exhaust ducting laid out on a basement floor during an installation or repair project. Two sections of rigid metal duct are visible alongside wooden framing materials and various fasteners and clamps. The ducts appear clean and undamaged, with proper connectors ready for assembly. This appears to be pre-installation staging rather than an in-situ inspection photo.
Rigid galvanized duct with a 90 degree elbow fitting at the wall penetration during installation, with the old flexible duct section disconnected on the floor below.
This image shows a dryer exhaust duct system during installation or repair work. The main duct consists of rigid metal piping with a 90-degree elbow joint positioned at the wall penetration, appearing clean and properly aligned. A secondary flexible duct section is visible on the floor below, along with disassembled cardboard packaging and hand tools, indicating active work in progress. The installation appears to be in progress with proper metal ducting components in place.
Photo from Residential Dryer Exhaust Cleaning & Inspection
This photo shows a dryer exhaust installation with multiple code violations and maintenance issues. Two flexible metal ducts are visible: one appears disconnected or loosely fitted at the wall penetration (center), and another aluminum flexible duct lies on the floor below. The wall opening shows visible dirt, debris, and discoloration around the duct entry point. The installation lacks a proper exterior termination cap or periscope vent, and the ducts appear unsecured and improperly routed, creating fire hazard and exhaust flow concerns.

Need similar work in Redwood City?

Get a free quote - same-week appointments usually available.