
San Francisco
MagVent Dryer Wall Vent Installation in San Francisco, CA
A San Francisco laundry alcove received a new code-compliant flush-mount dryer wall vent, fresh transition duct, and stainless steel washing machine supply line as part of a full MagVent upgrade.
Completed October 7, 2026
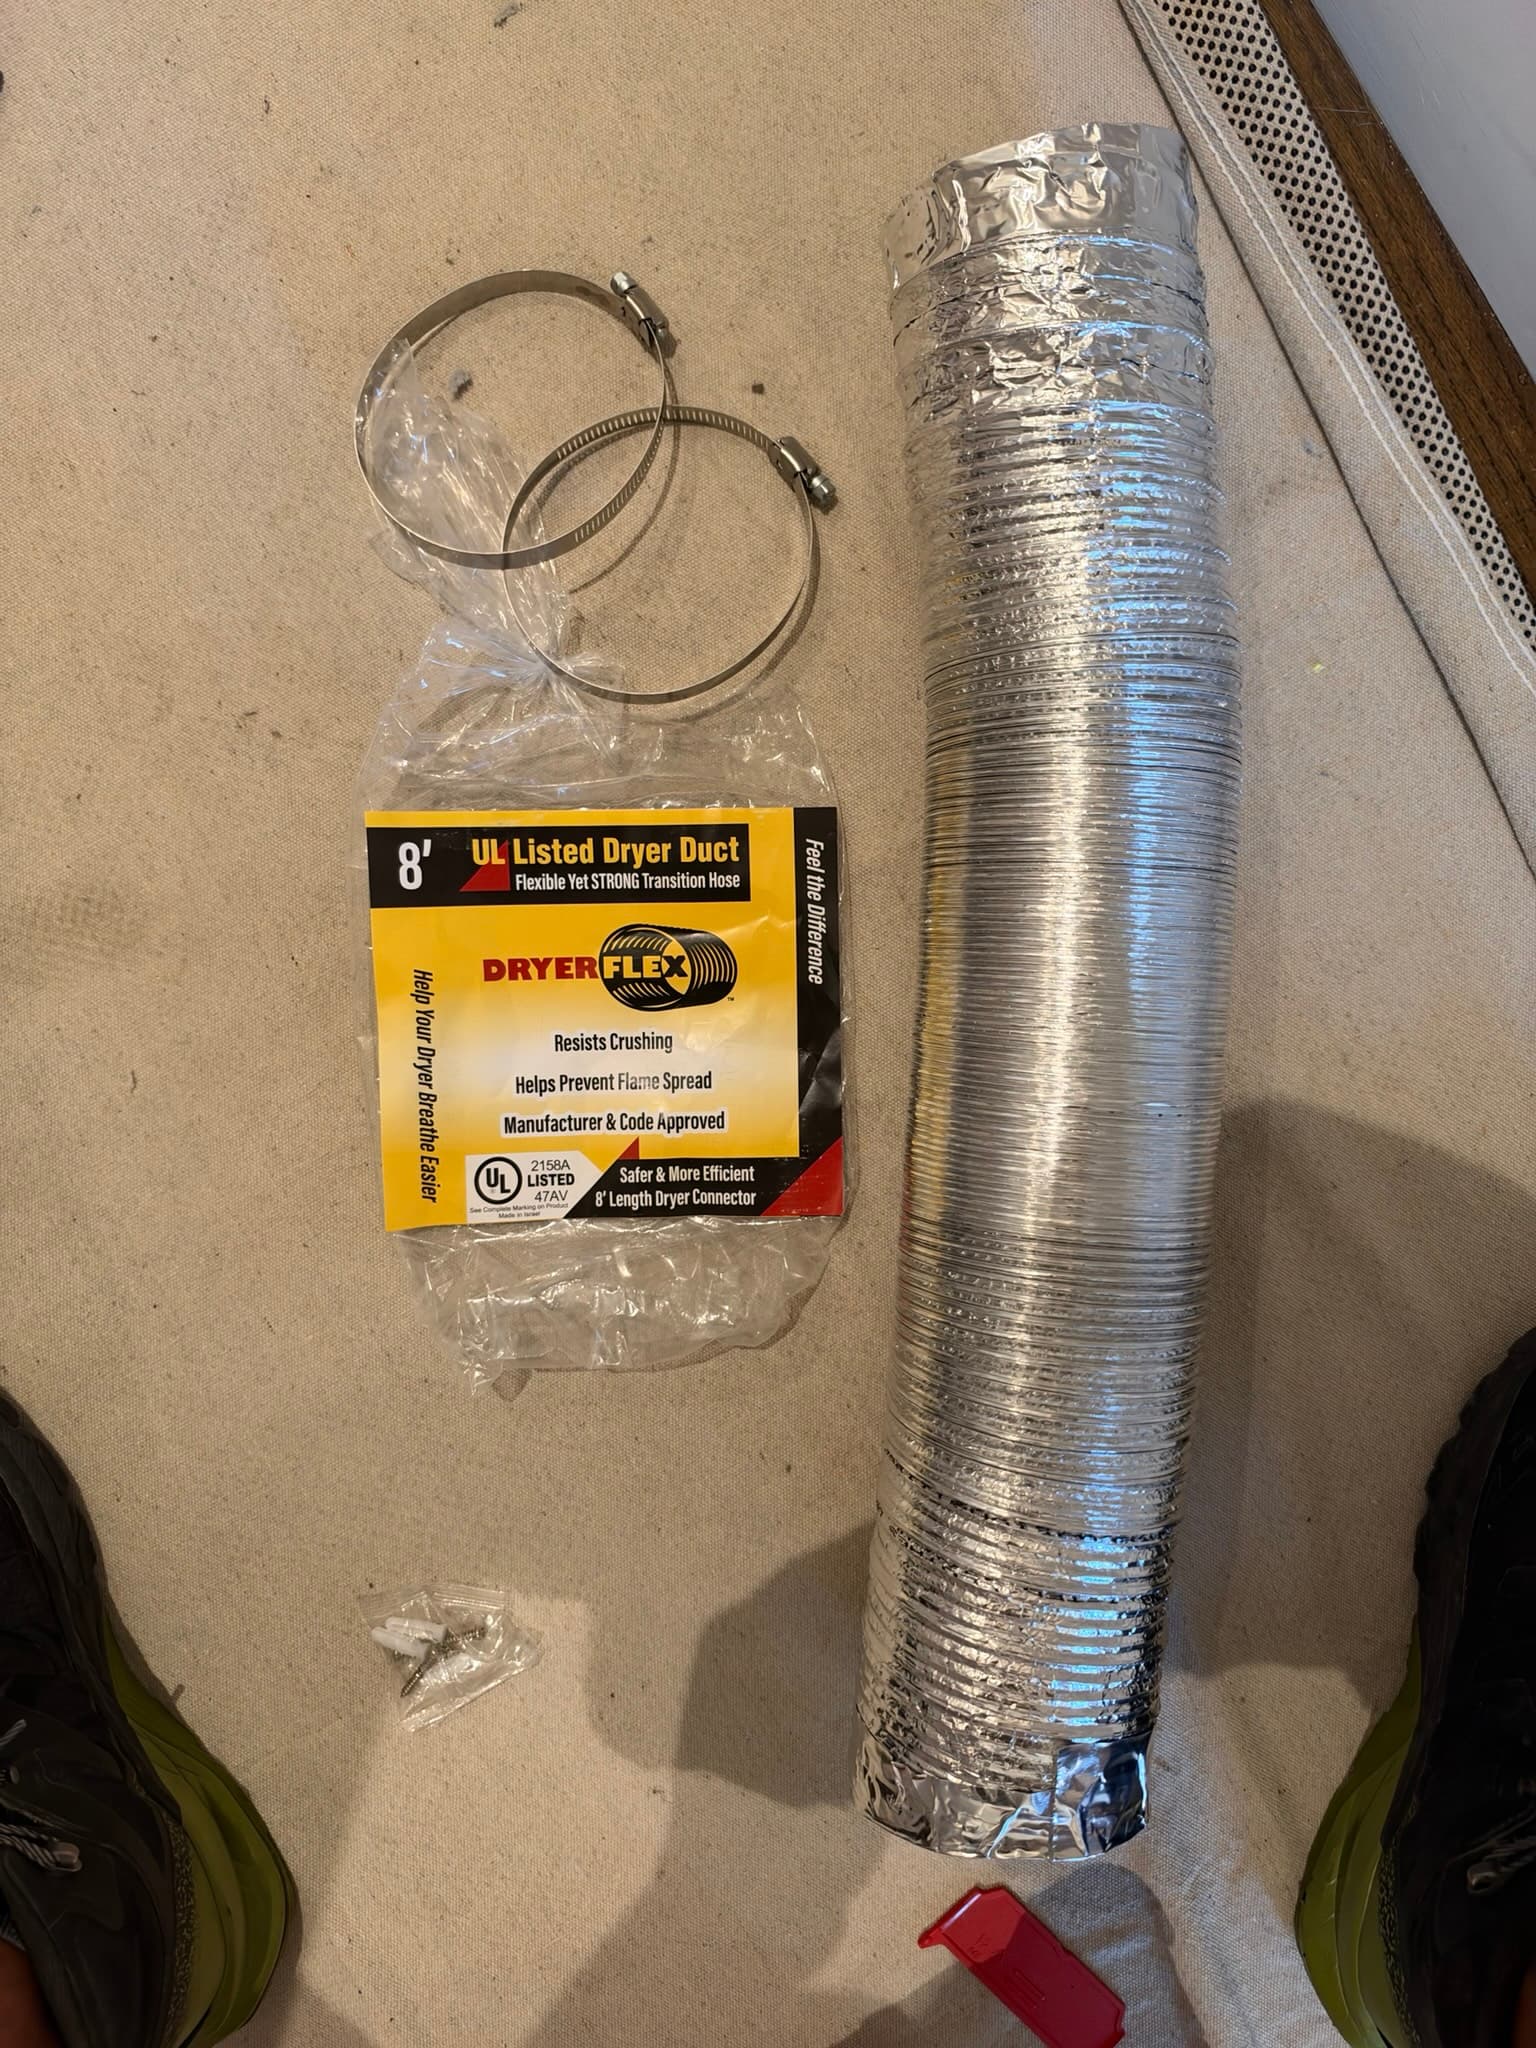
New transition duct and clamps staged prior to installation
What We Found
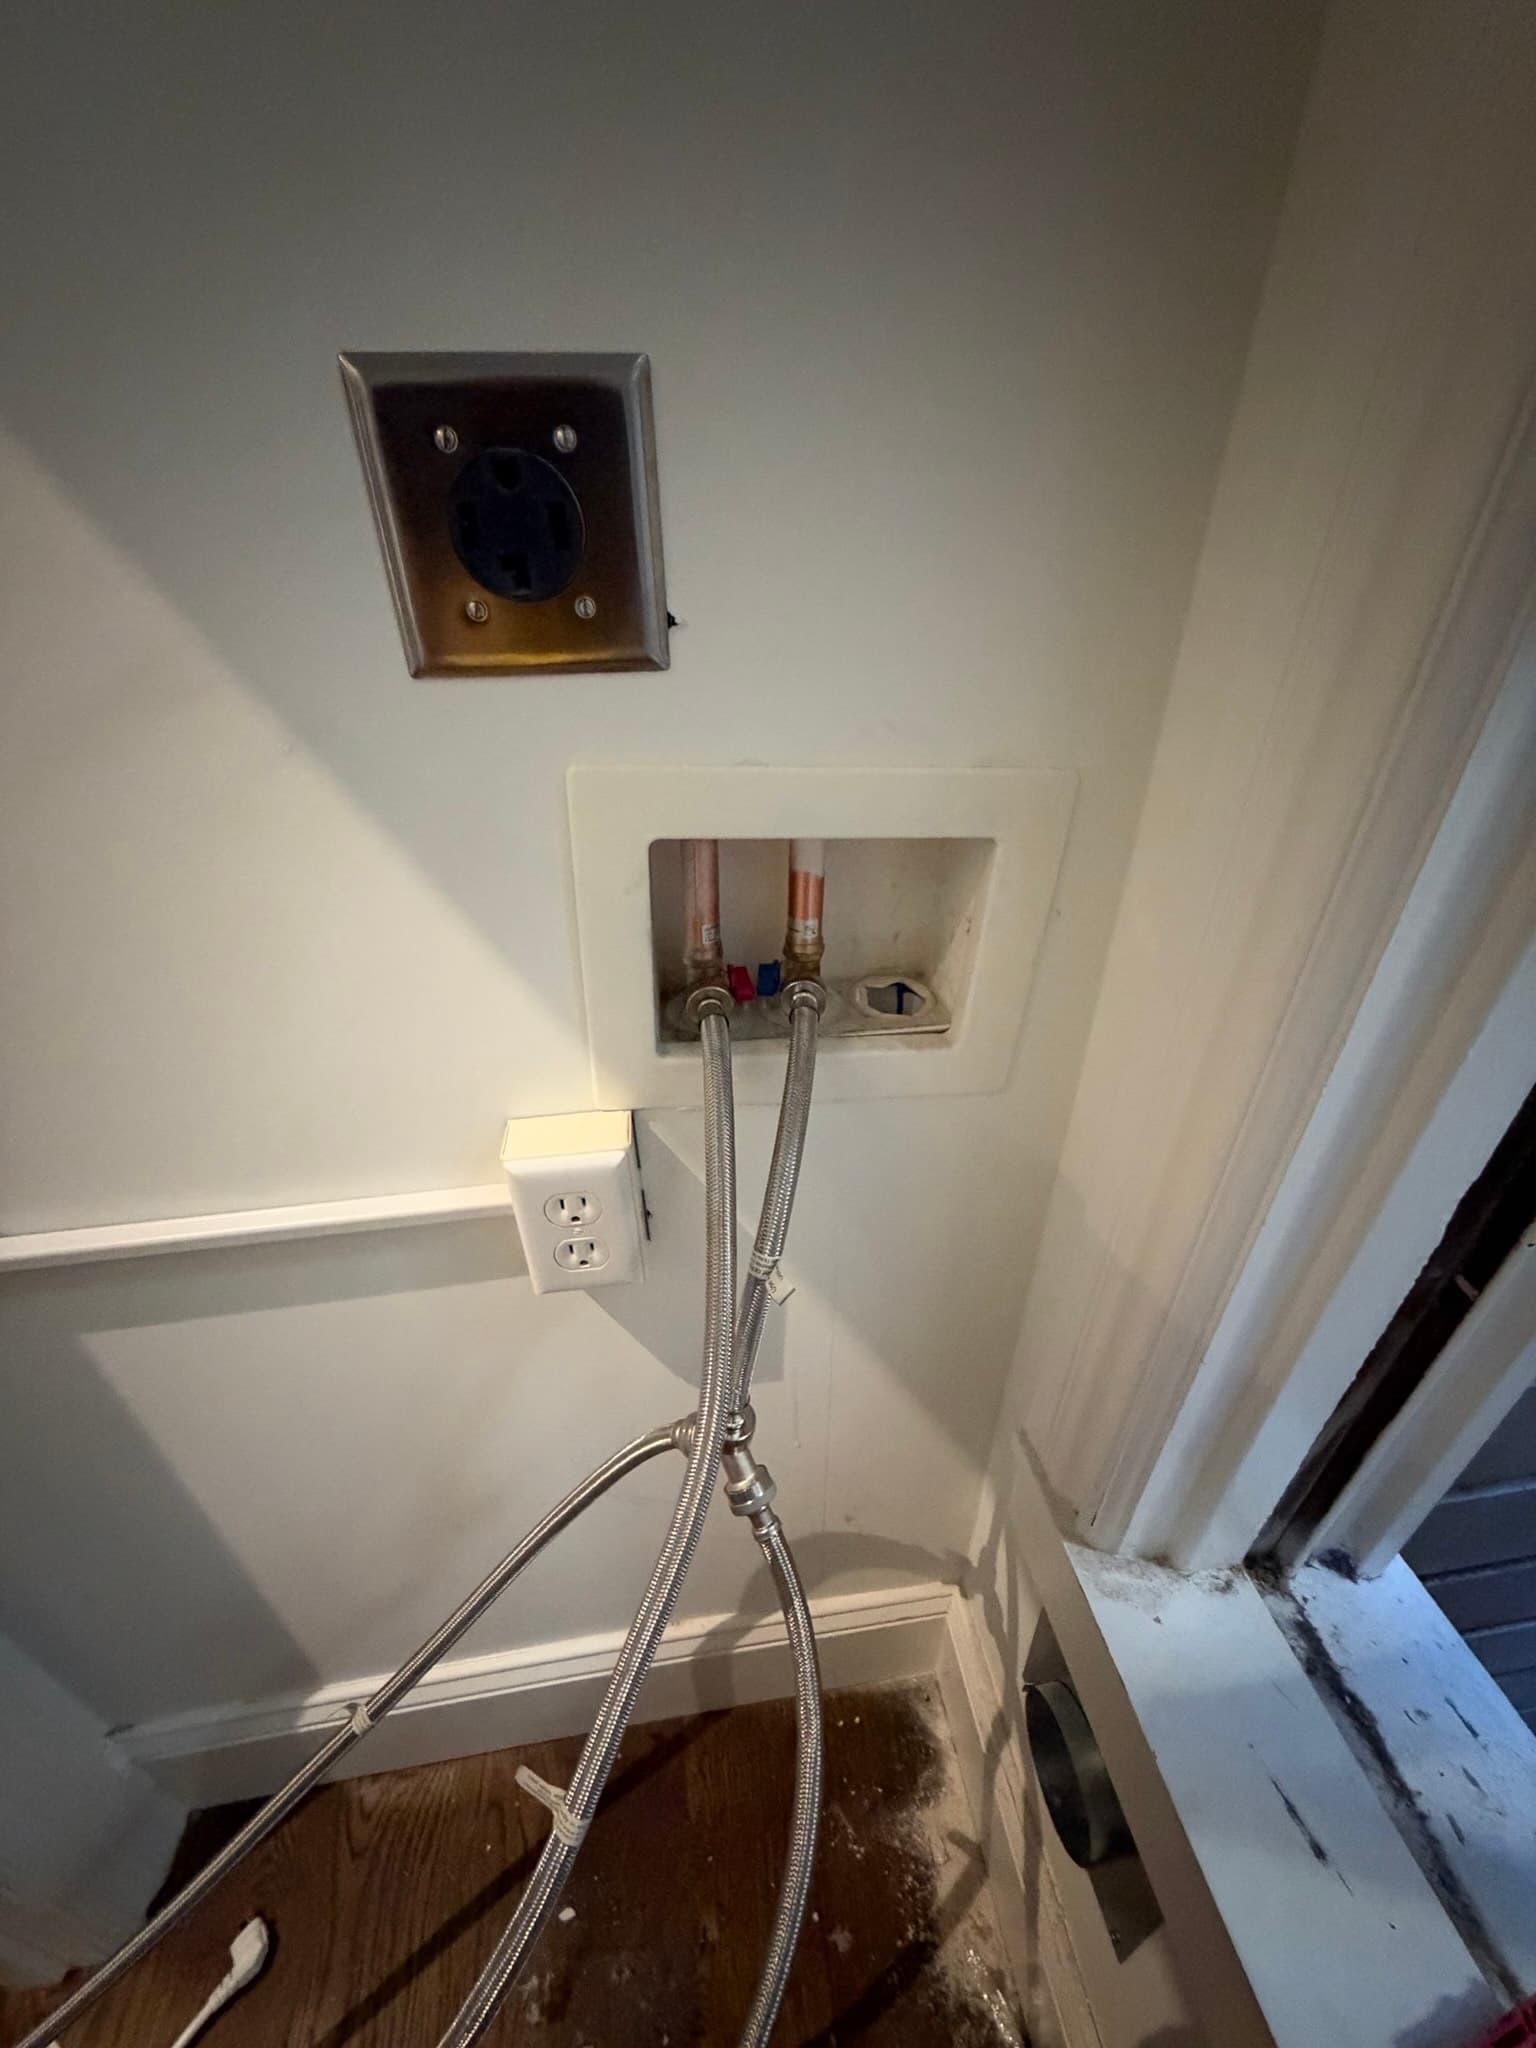
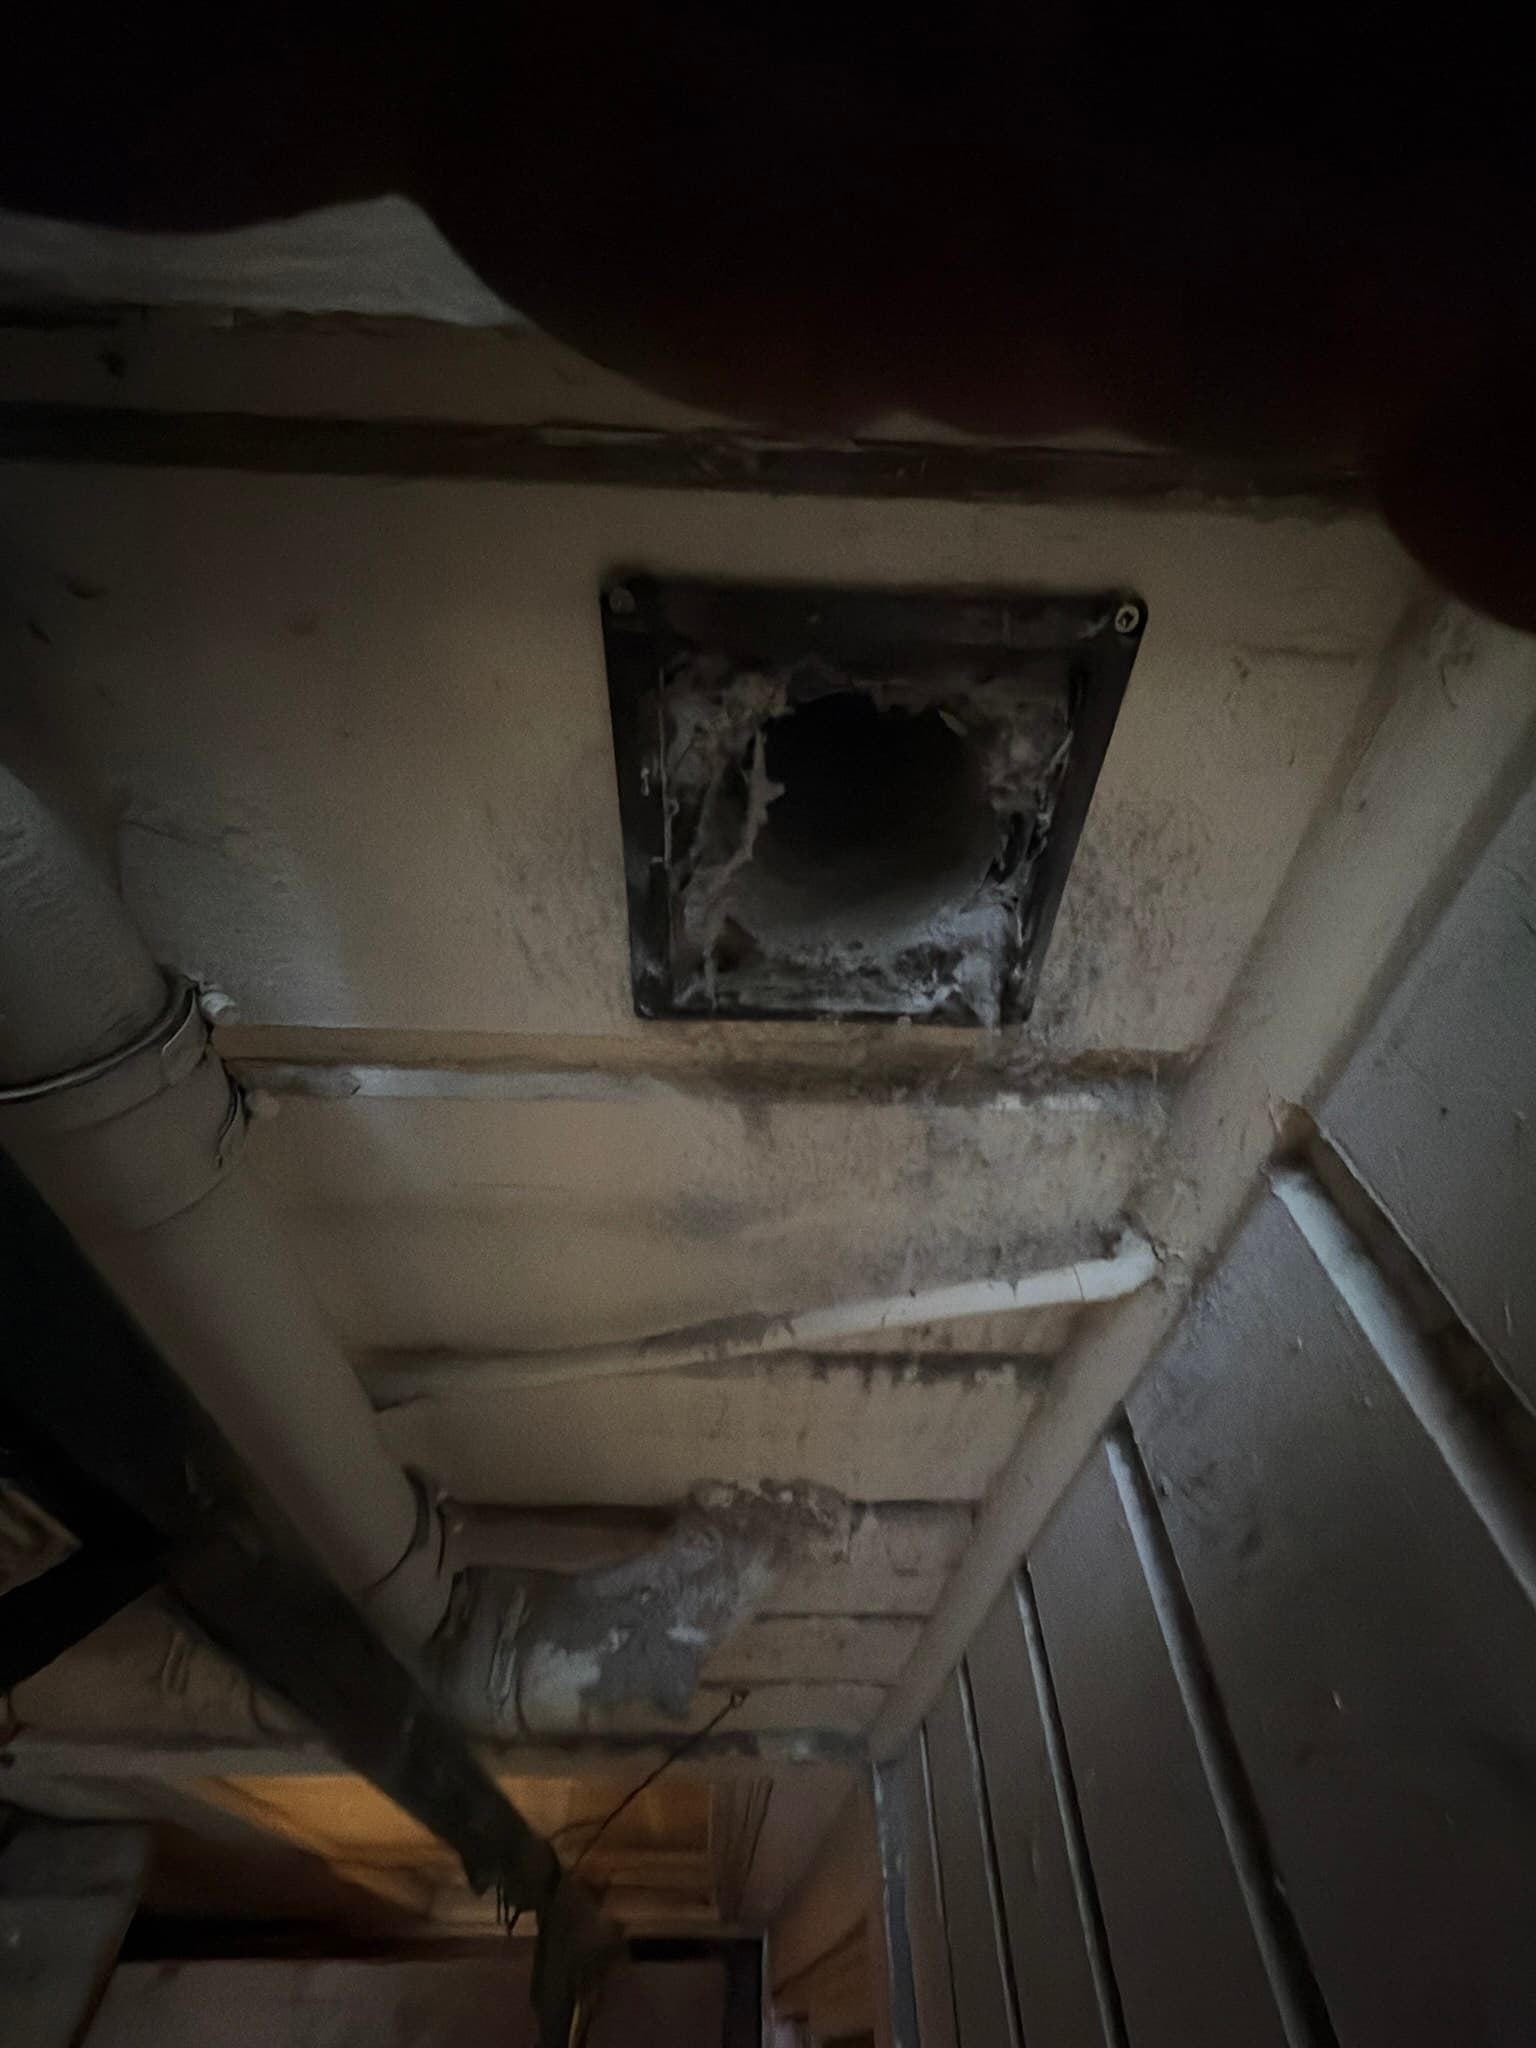
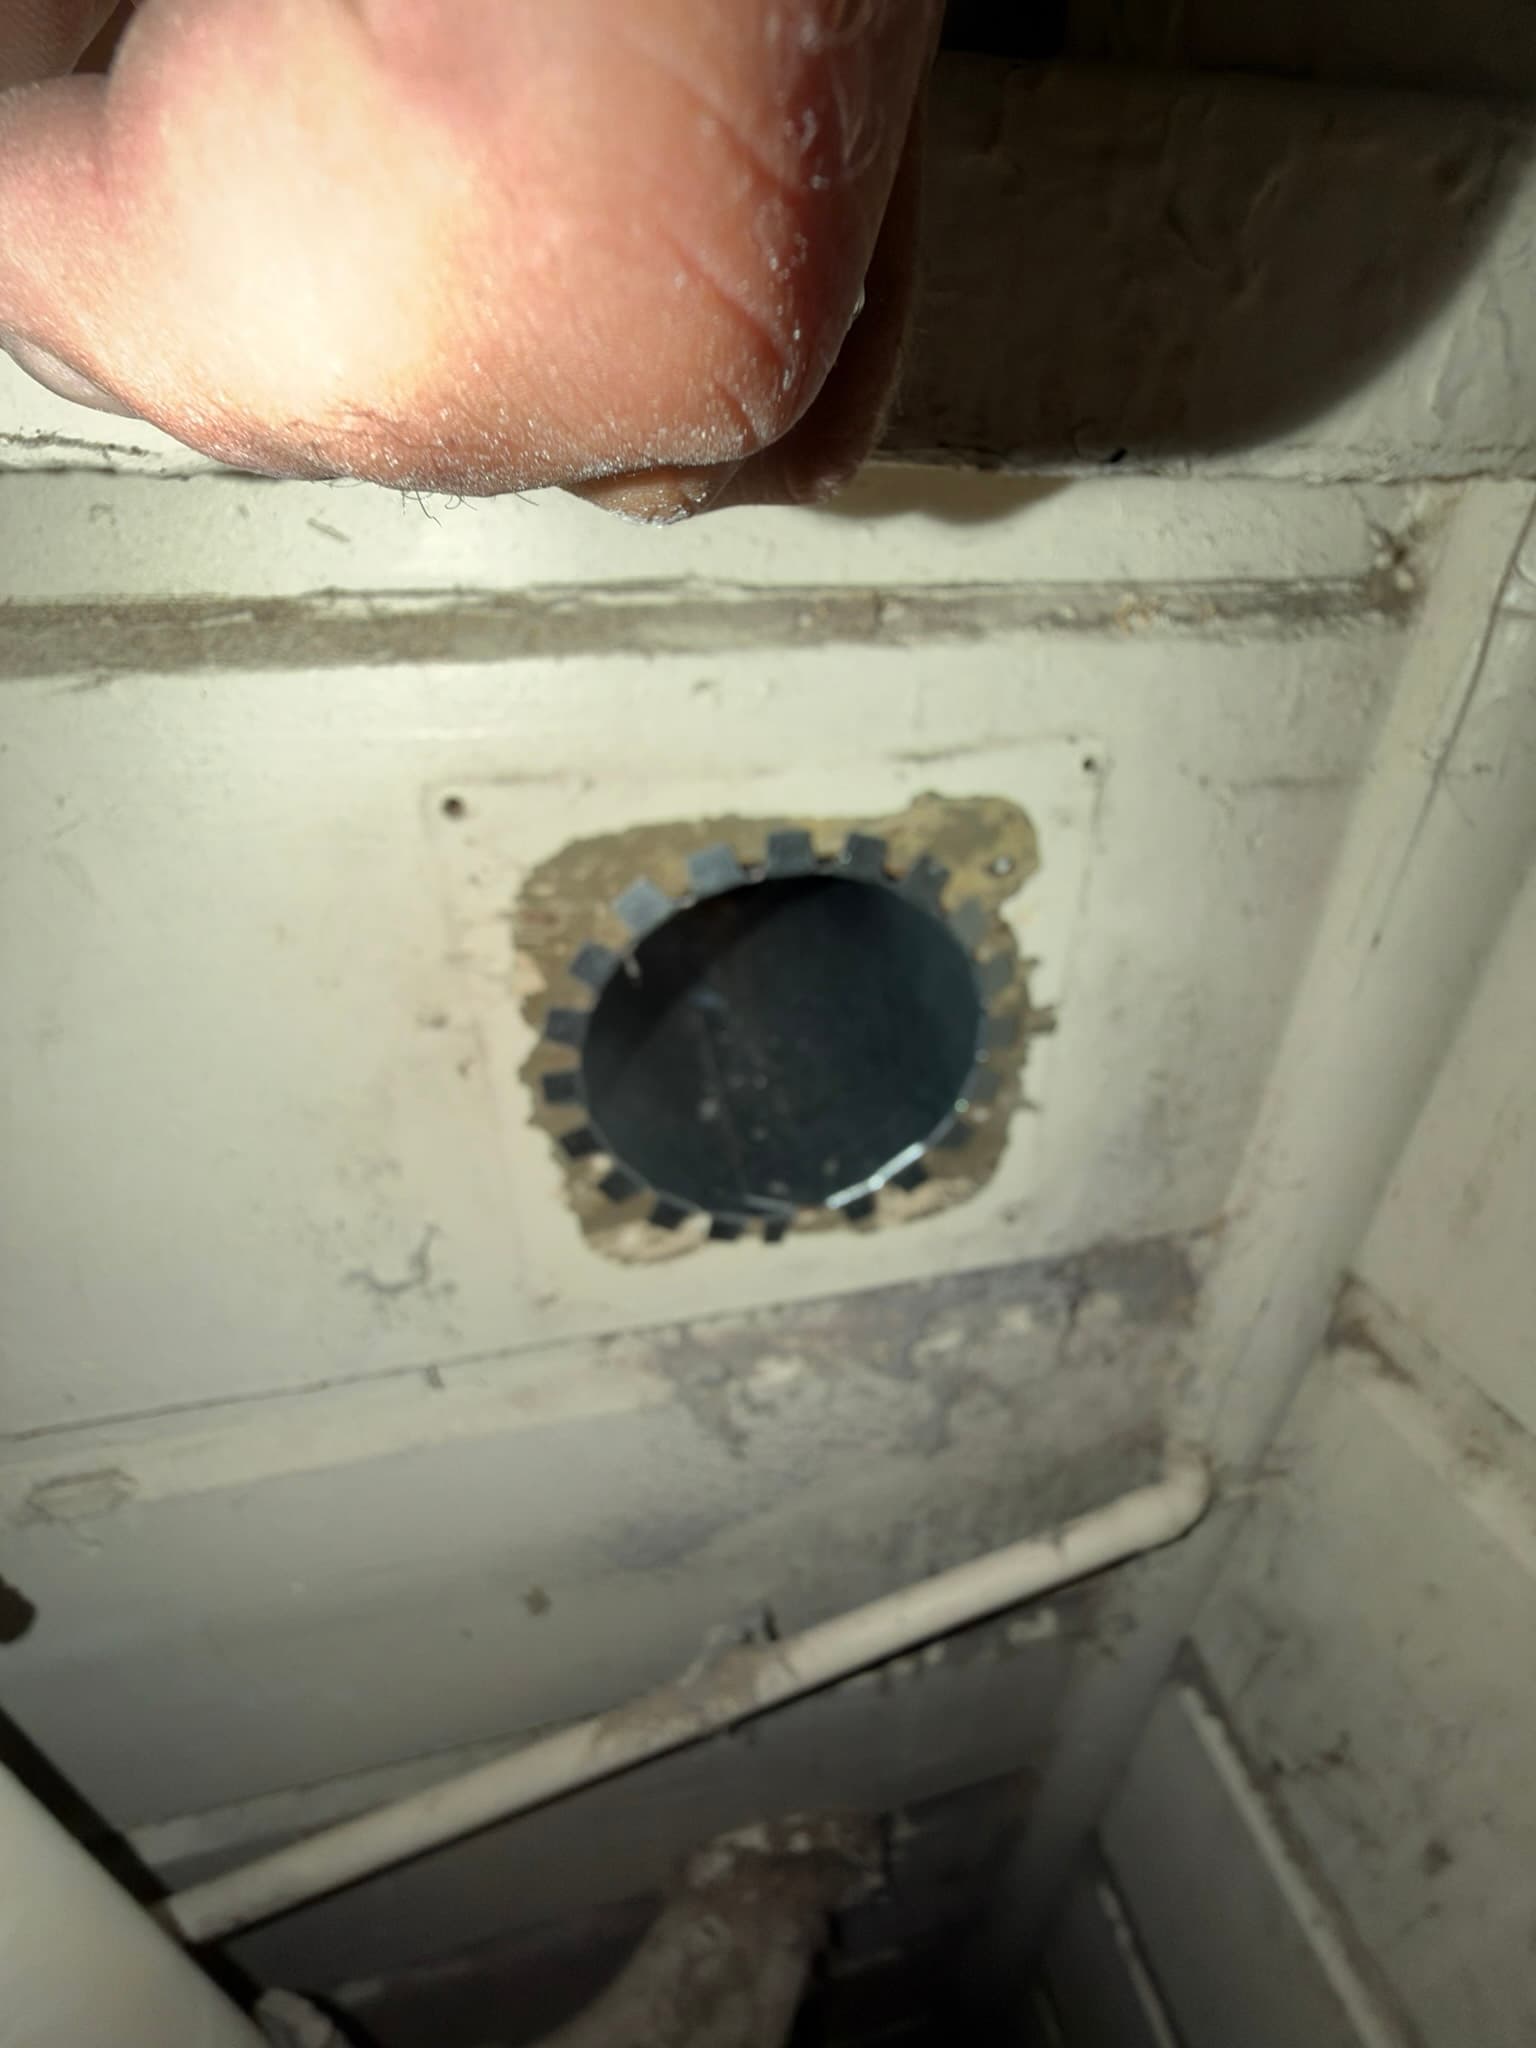
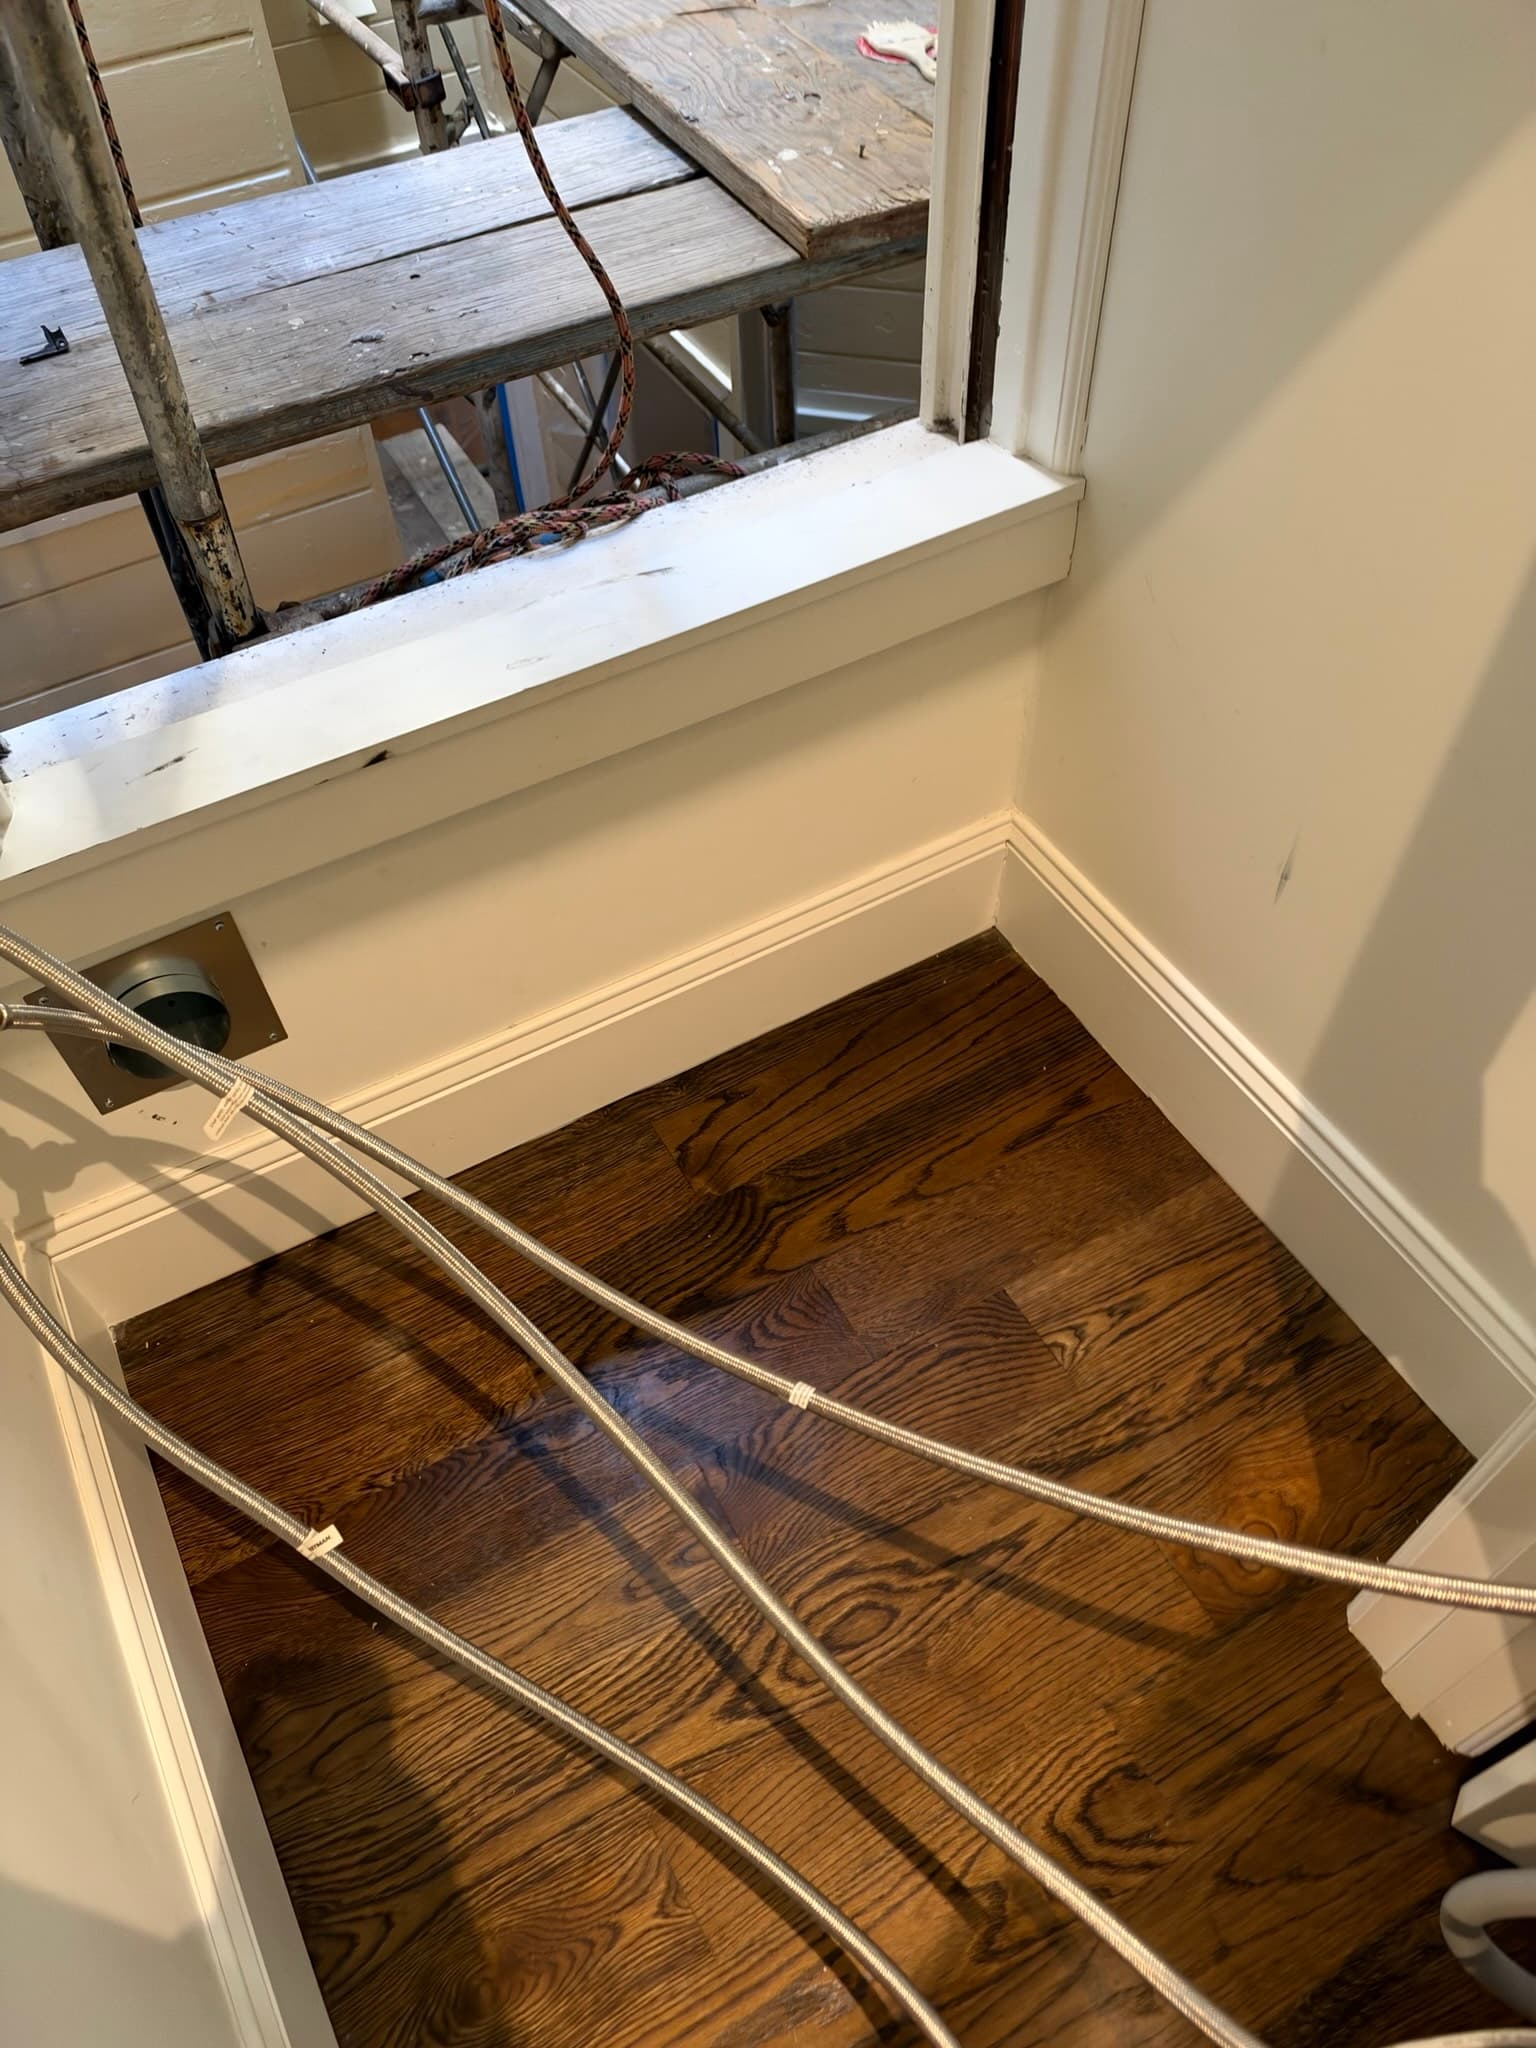
This San Francisco home's laundry alcove had a dryer wall vent and washer connection that needed updating to meet current safety expectations. The existing exterior vent opening showed visible dust and debris accumulated on the surrounding baseboard and door trim, a sign that the old venting hardware was not managing airflow and lint cleanly. In the alcove itself, the washer supply connection was in place but due for a fresh, corrosion-resistant hookup to eliminate any risk of an aging rubber hose failing behind the machine. Before any installation began, our technician staged all new materials on site, including a factory-sealed 8-foot length of DryerFlex transition duct still in its UL listed packaging, to confirm everything met spec before it went into the wall.
What We Did
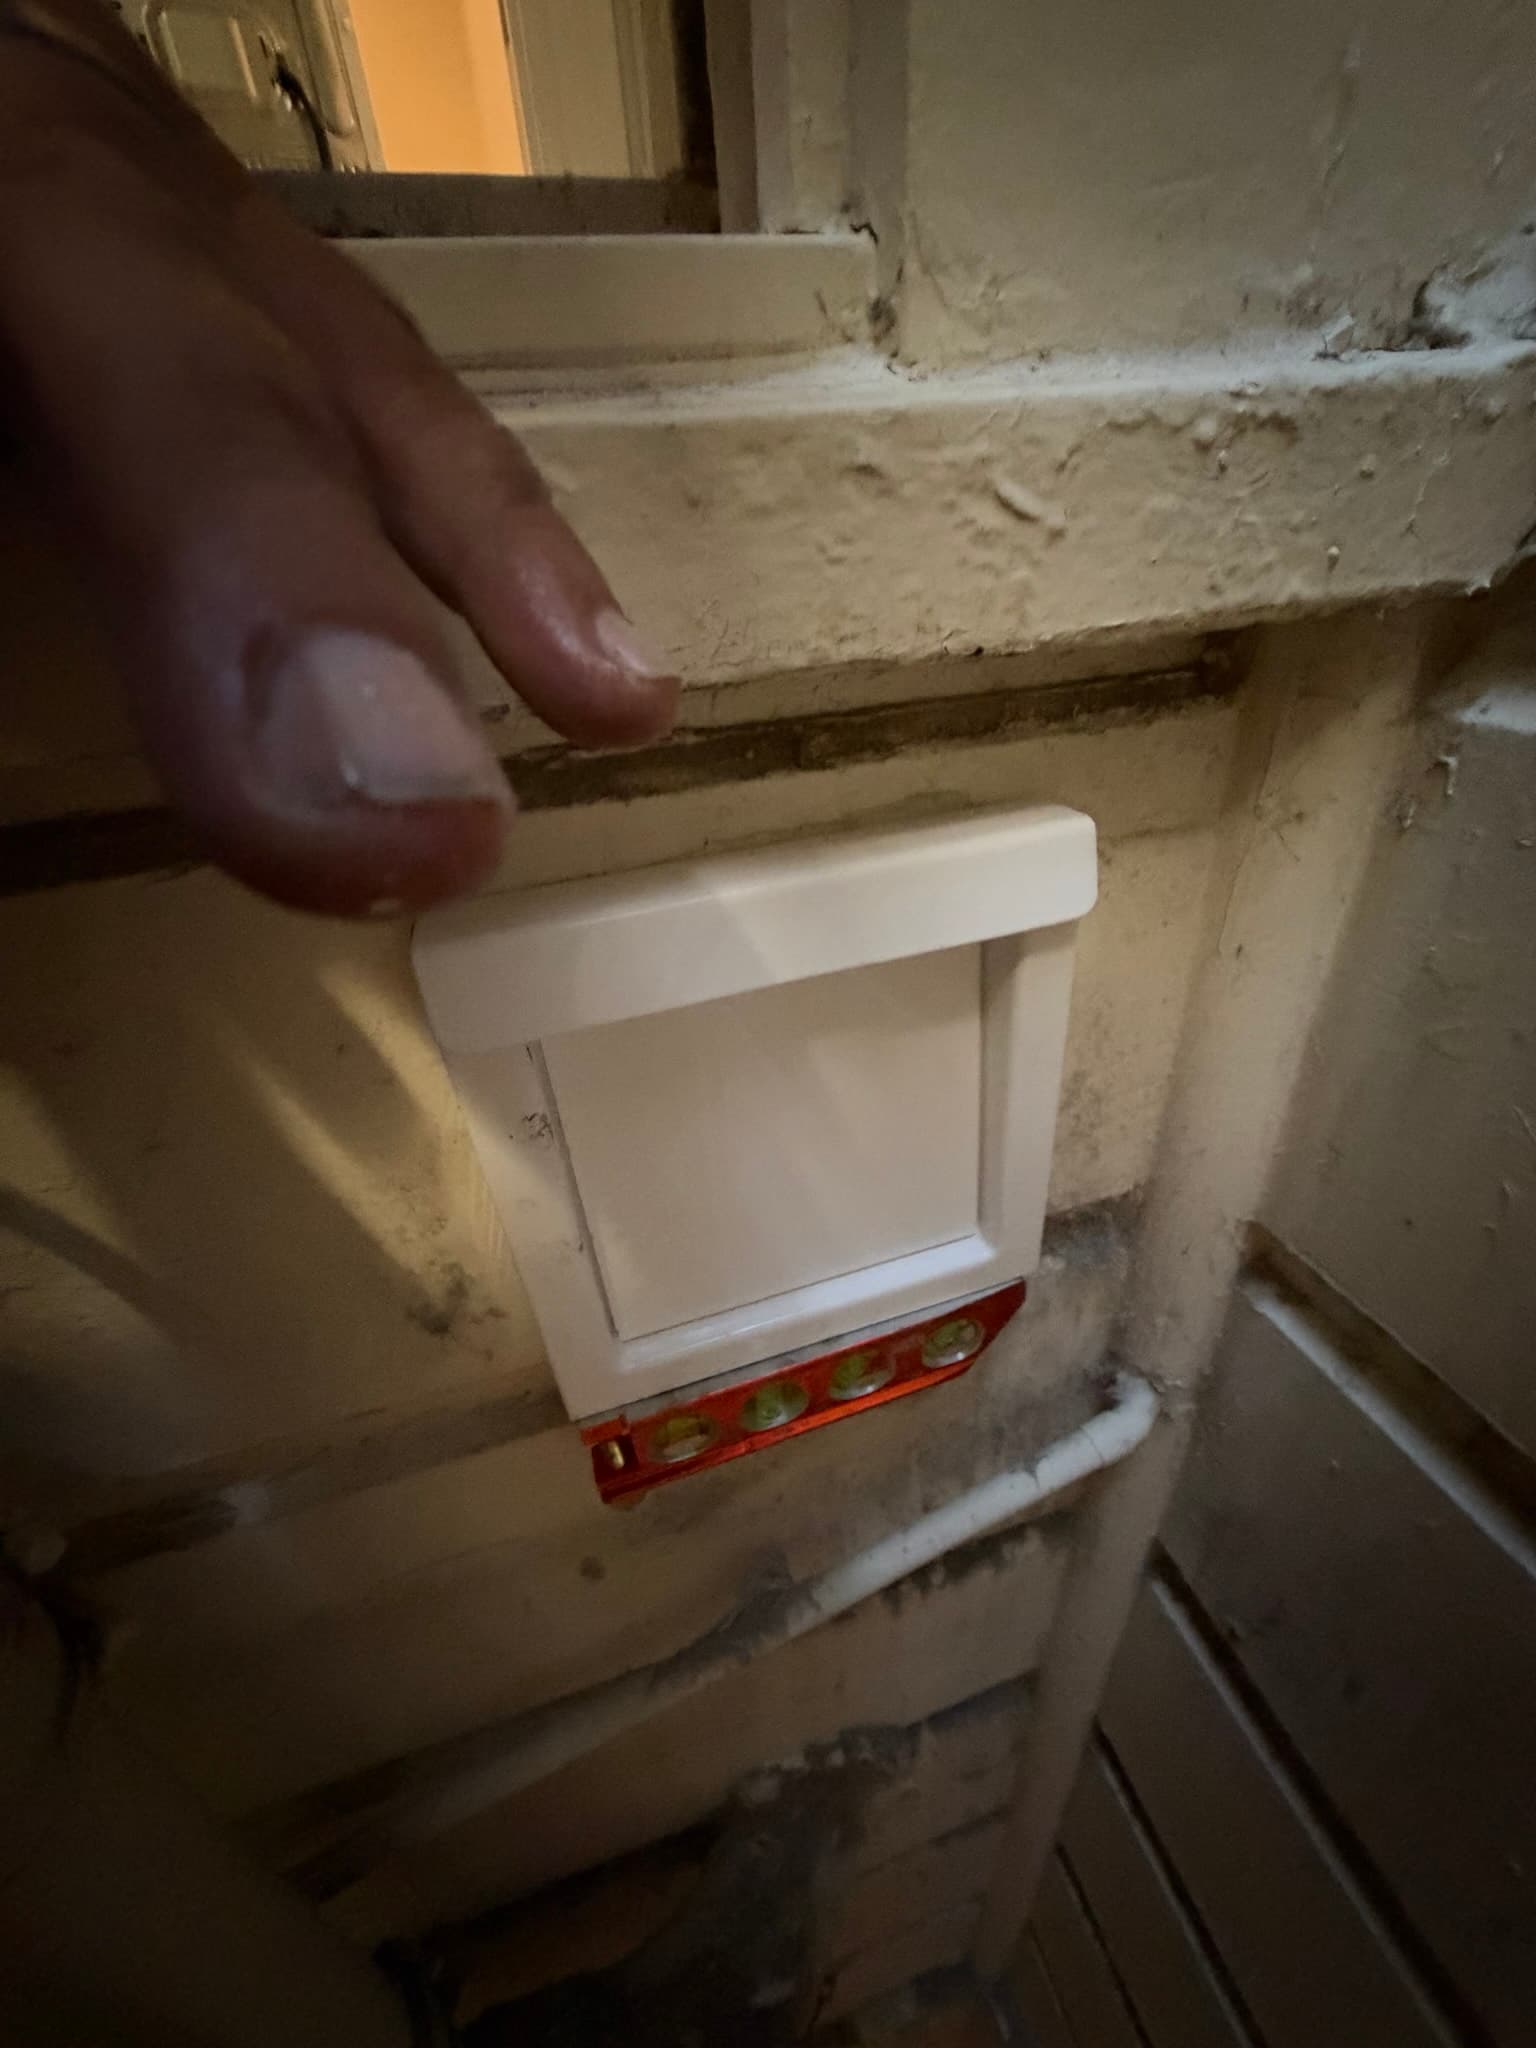
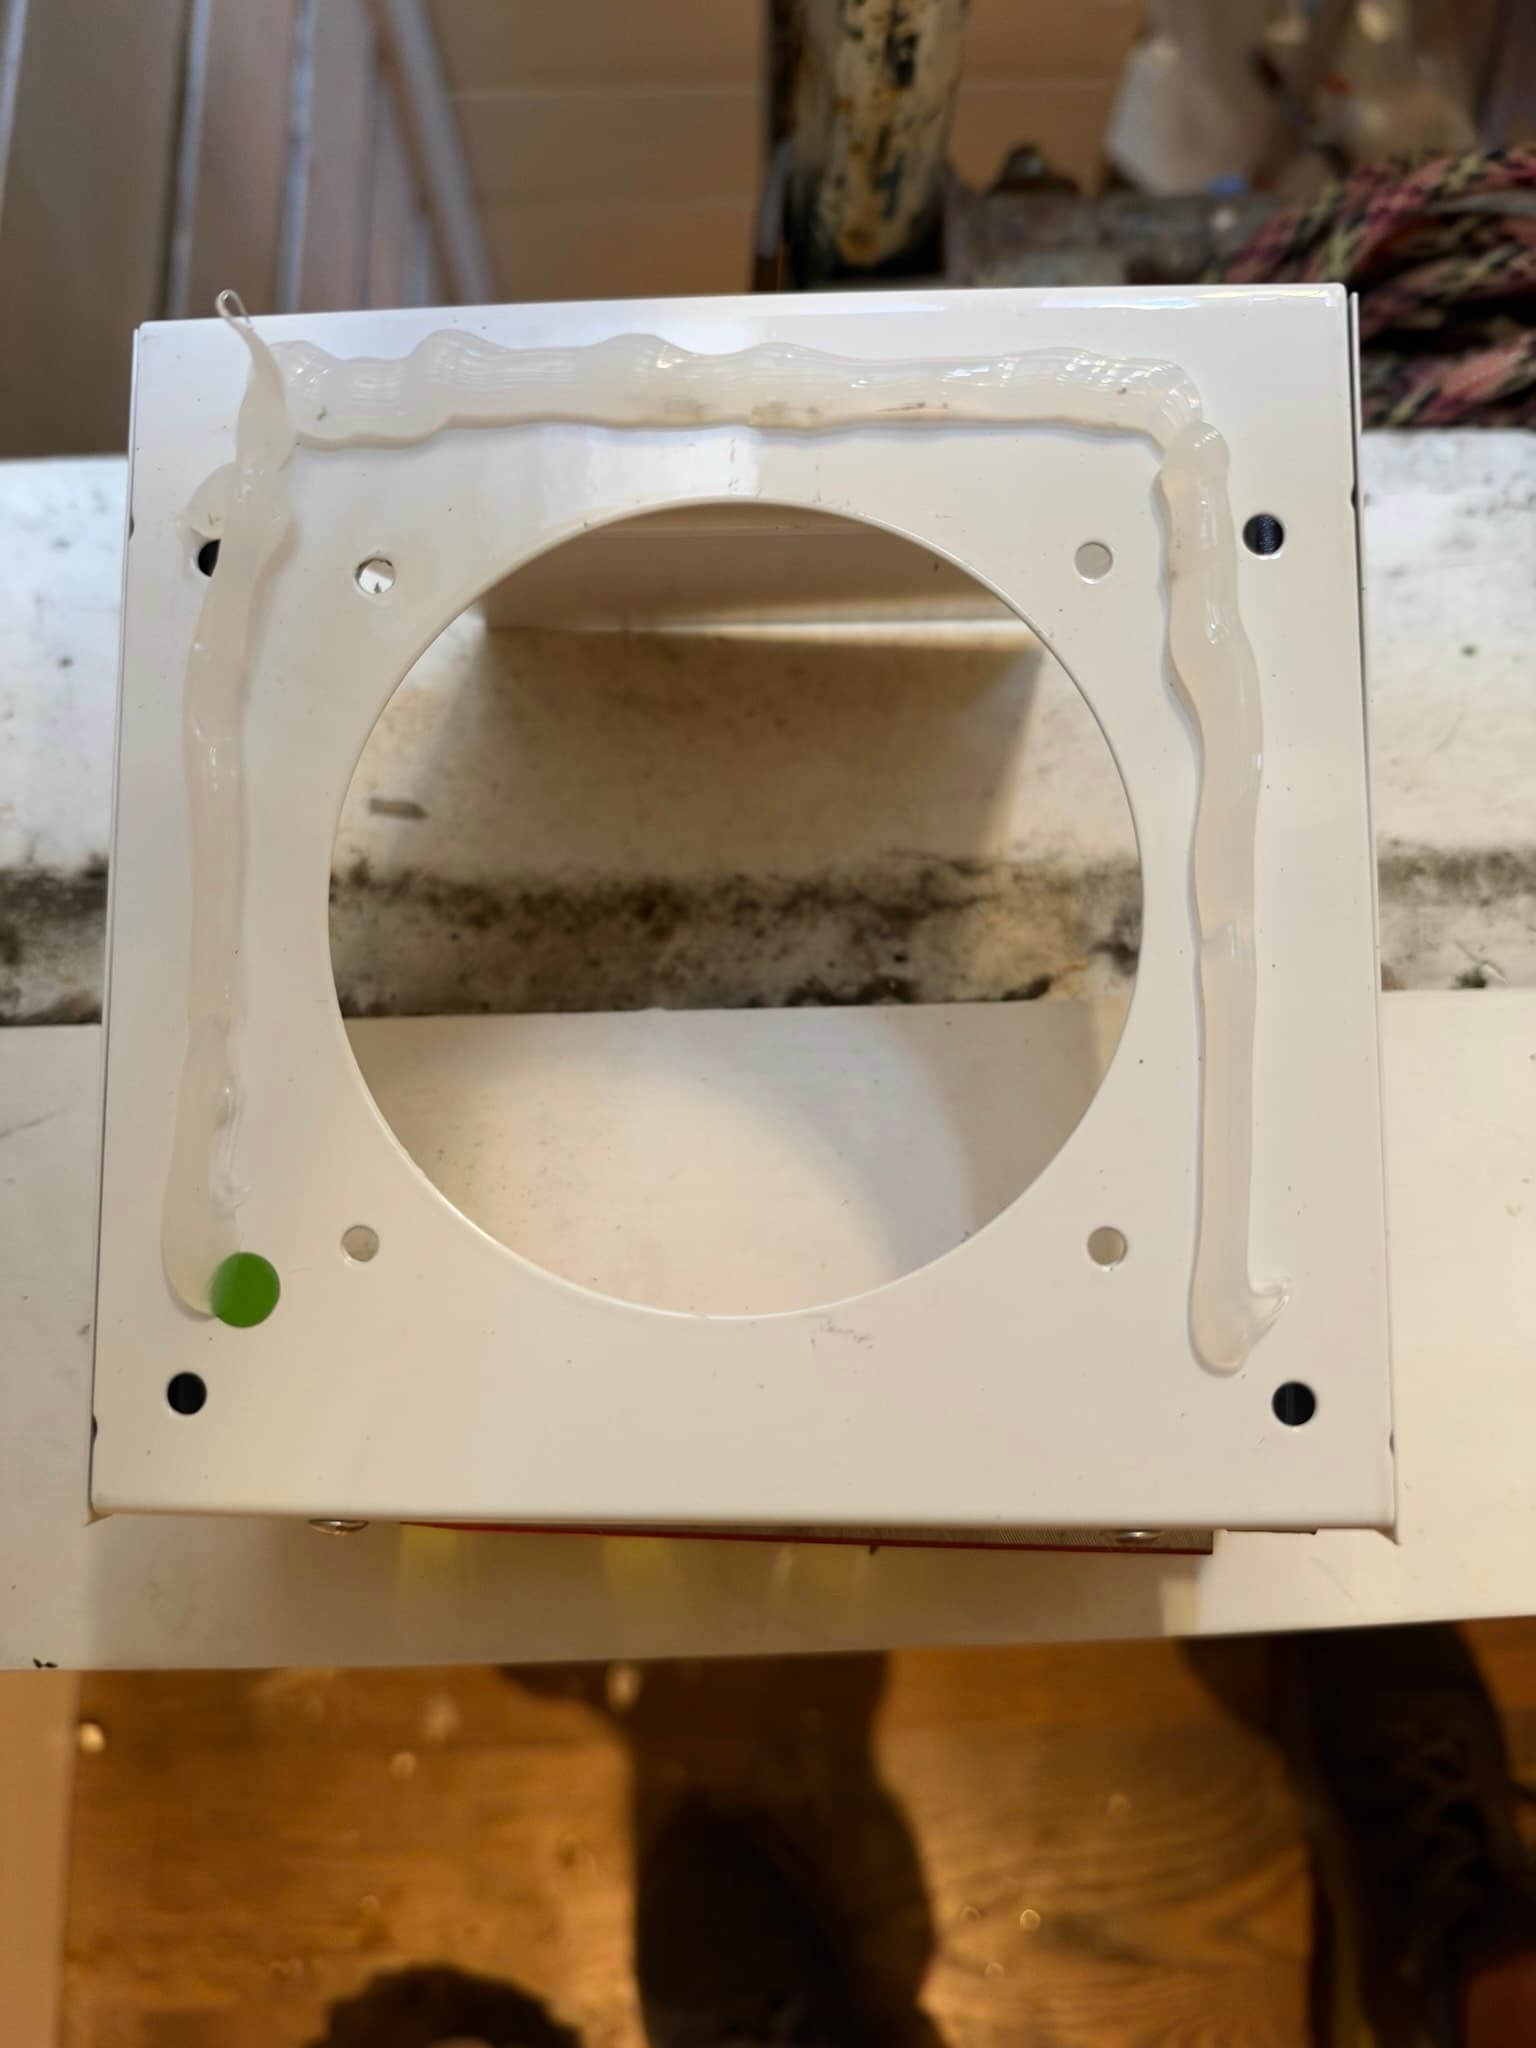
The core of this job was a full New Dryer Wall Vent Installation using a 4-inch flush mount wall vent with no collar, finished in white to blend cleanly with the exterior trim. This style of vent uses a heavy gauge Galvalume steel body with a powder-coated finish, built to meet or exceed the venting requirements outlined in IRC M1502.3 and M1502.3.1, which call for an unobstructed termination with a functioning backdraft damper and a minimum of 12.5 square inches of open passageway. Before mounting, our technician applied a continuous bead of sealant around the back of the vent's mounting flange to create a weathertight seal against the exterior wall, then set the unit into the framing opening and checked it with a level to confirm it sat flush and true. The old vent opening was fully prepped so the new flush-mount panel could seat cleanly against the siding with no gaps.
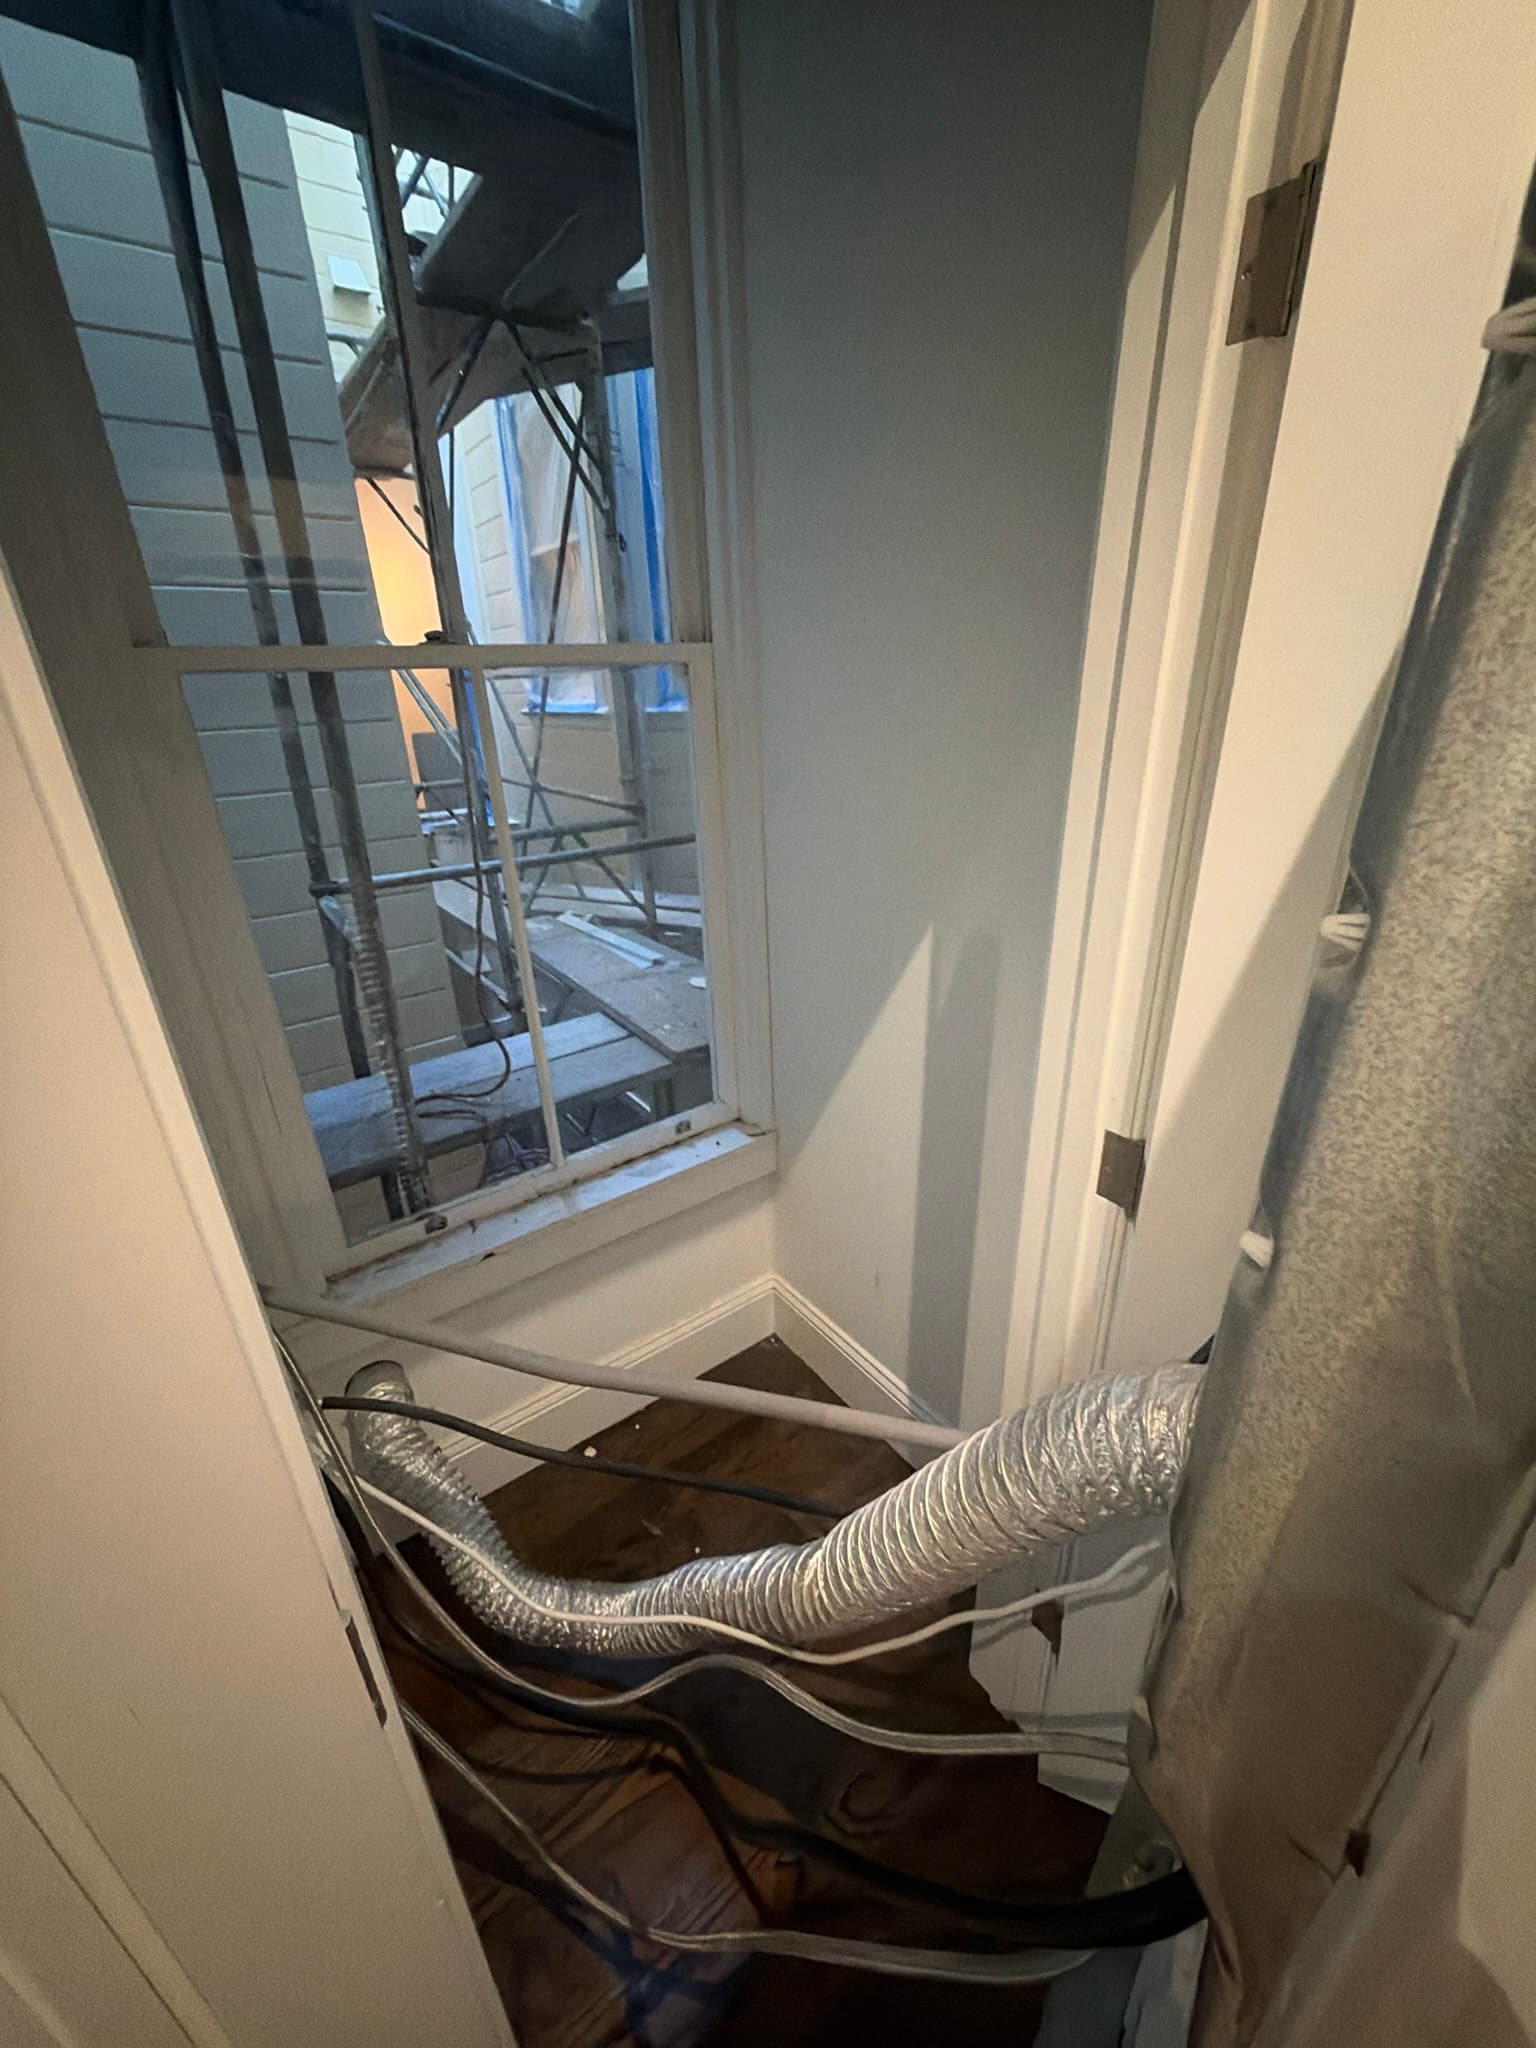
On the interior side, we installed 8 feet of DryerFlex transition duct, secured at both ends with two stainless steel worm-gear DryerClamps. This transition duct is UL 2158A listed, satisfying IRC M1502.4.3, which requires the flexible connector between the dryer and the exhaust system to be a single, continuous length not exceeding 8 feet and never concealed inside the wall cavity. Using a listed semi-rigid product here (rather than uninsulated foil or vinyl flex, which is explicitly prohibited under IRC M1502.4.1) ensures the duct can handle dryer exhaust temperatures without sagging, melting, or trapping lint along a ribbed interior surface.
Additional Work: Washer Connection
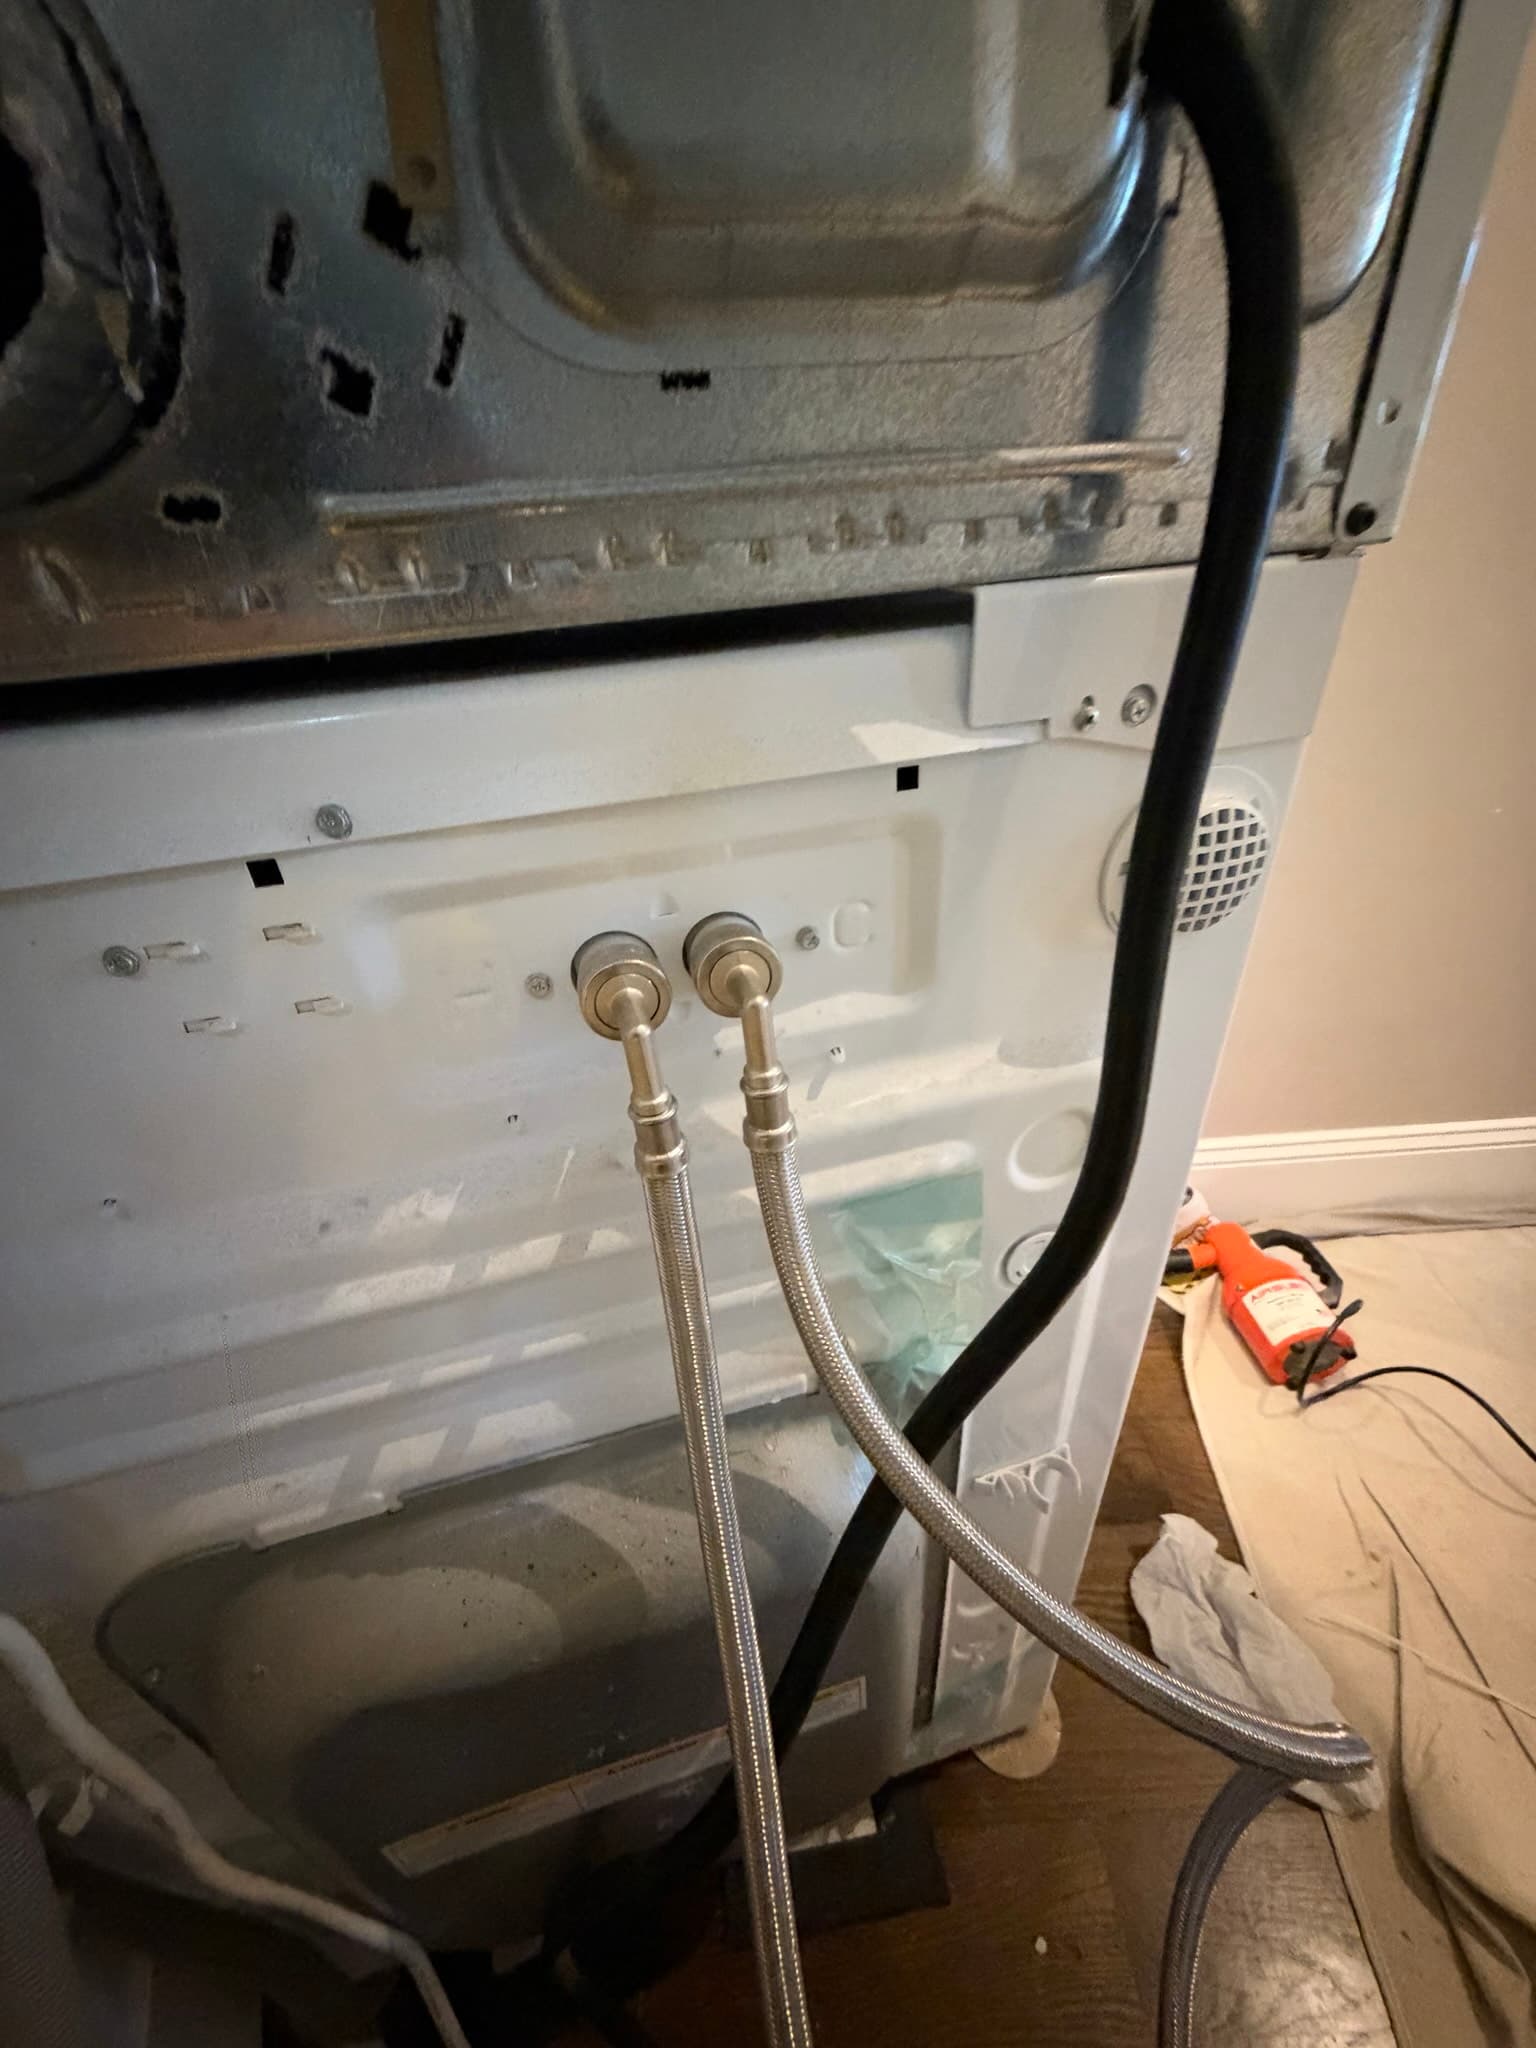
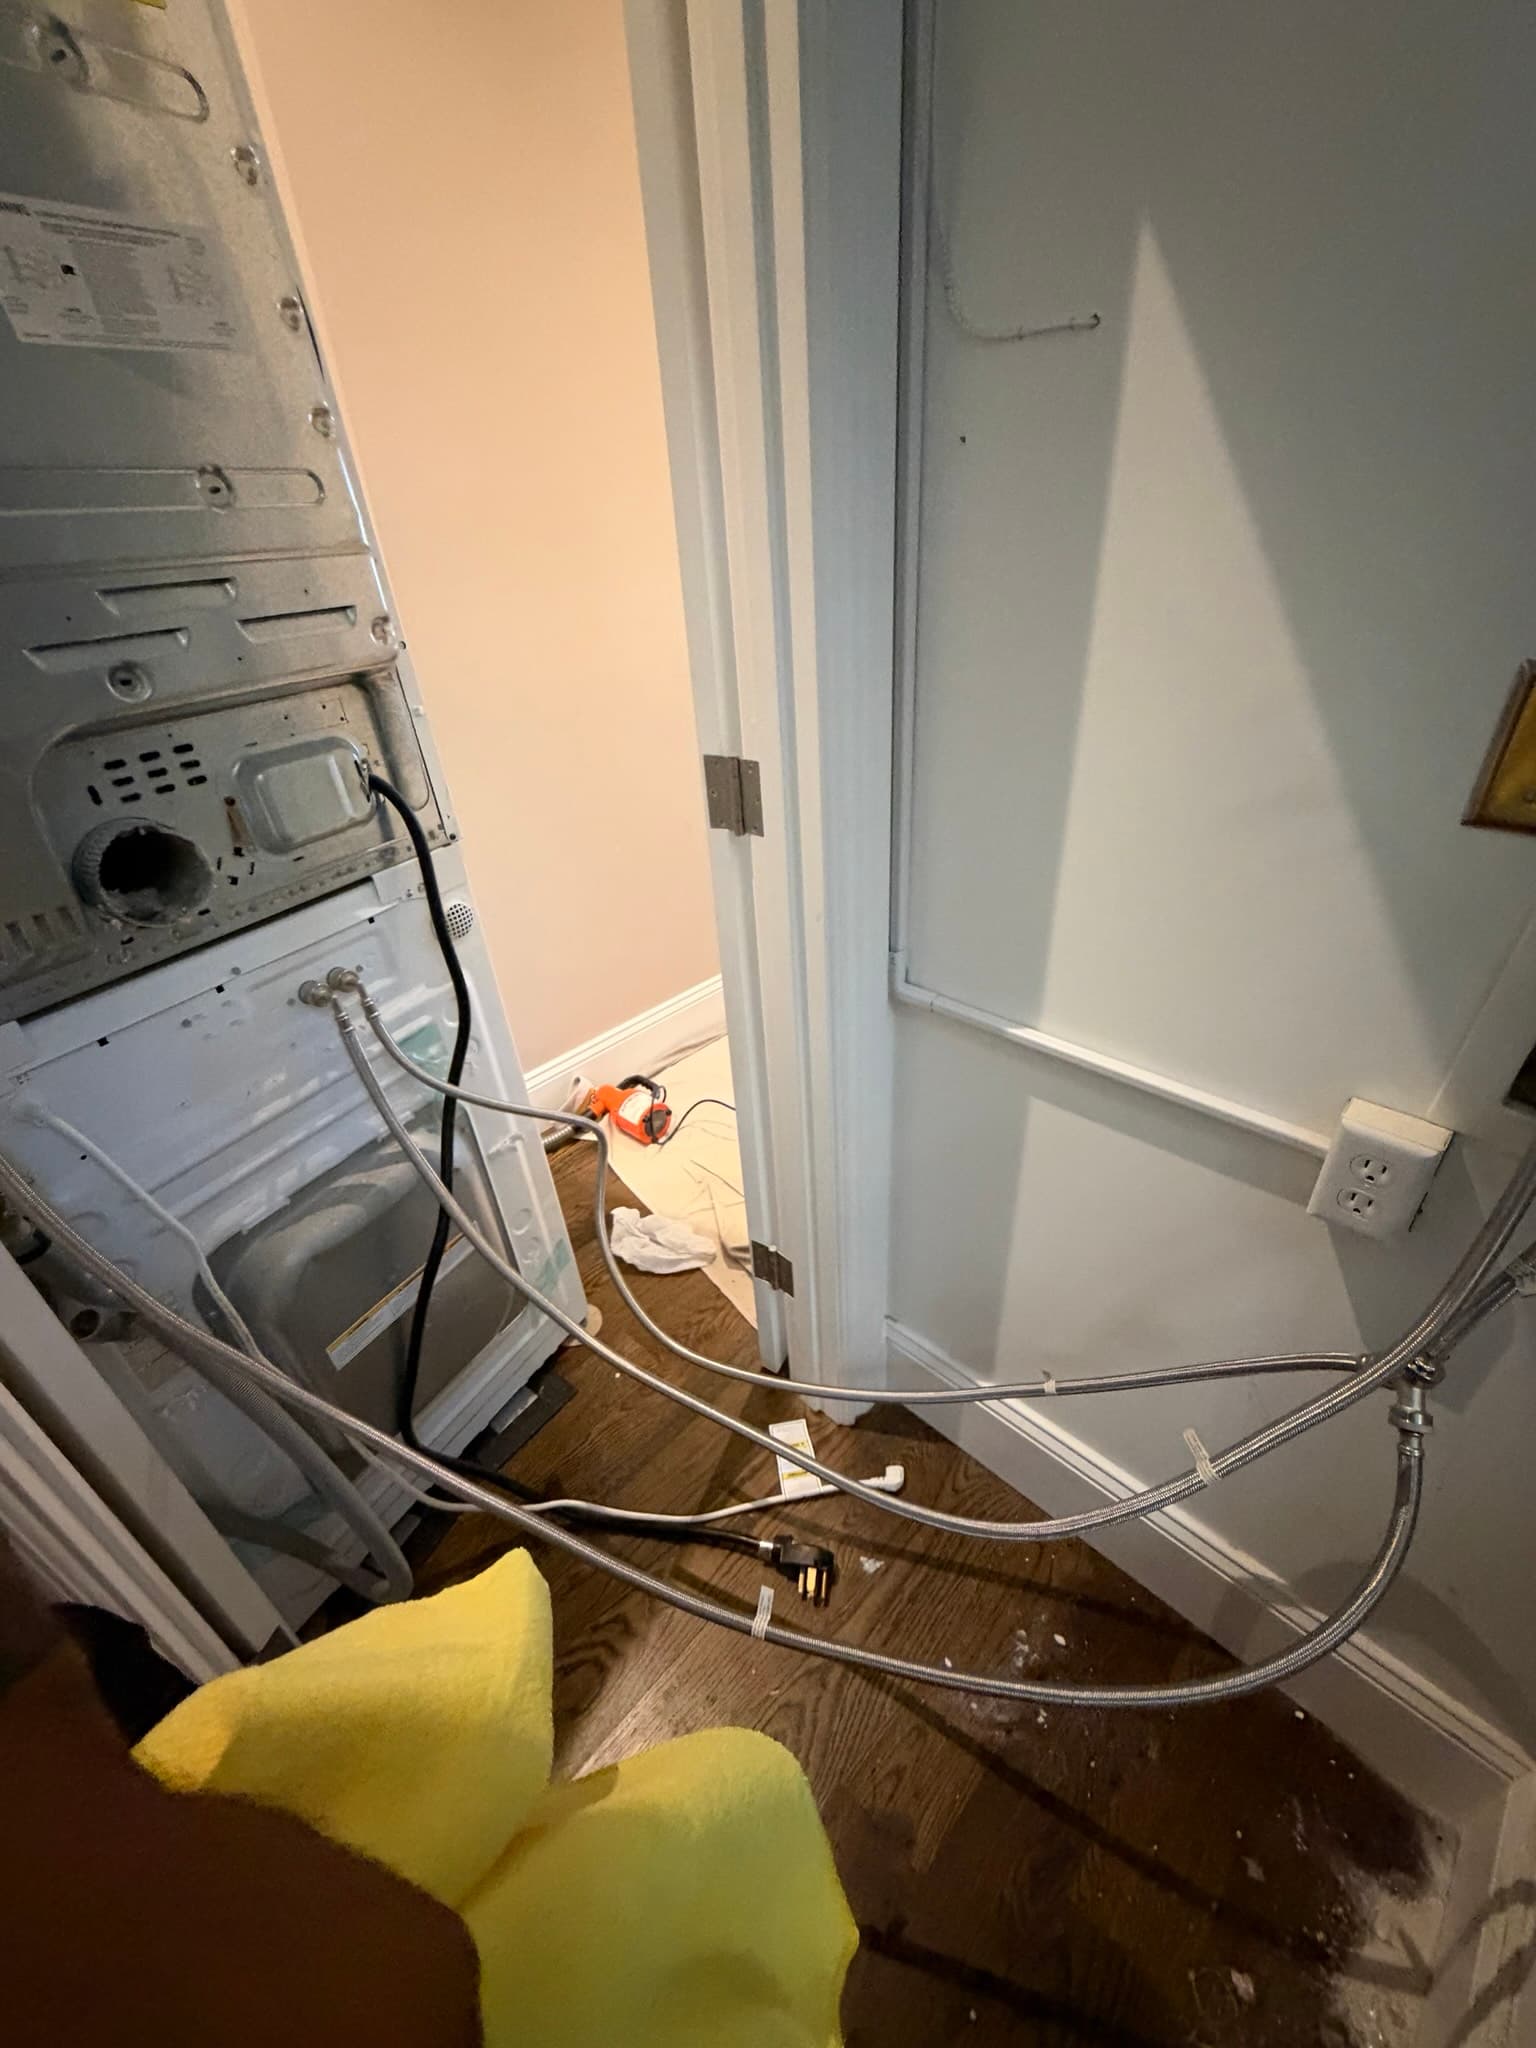
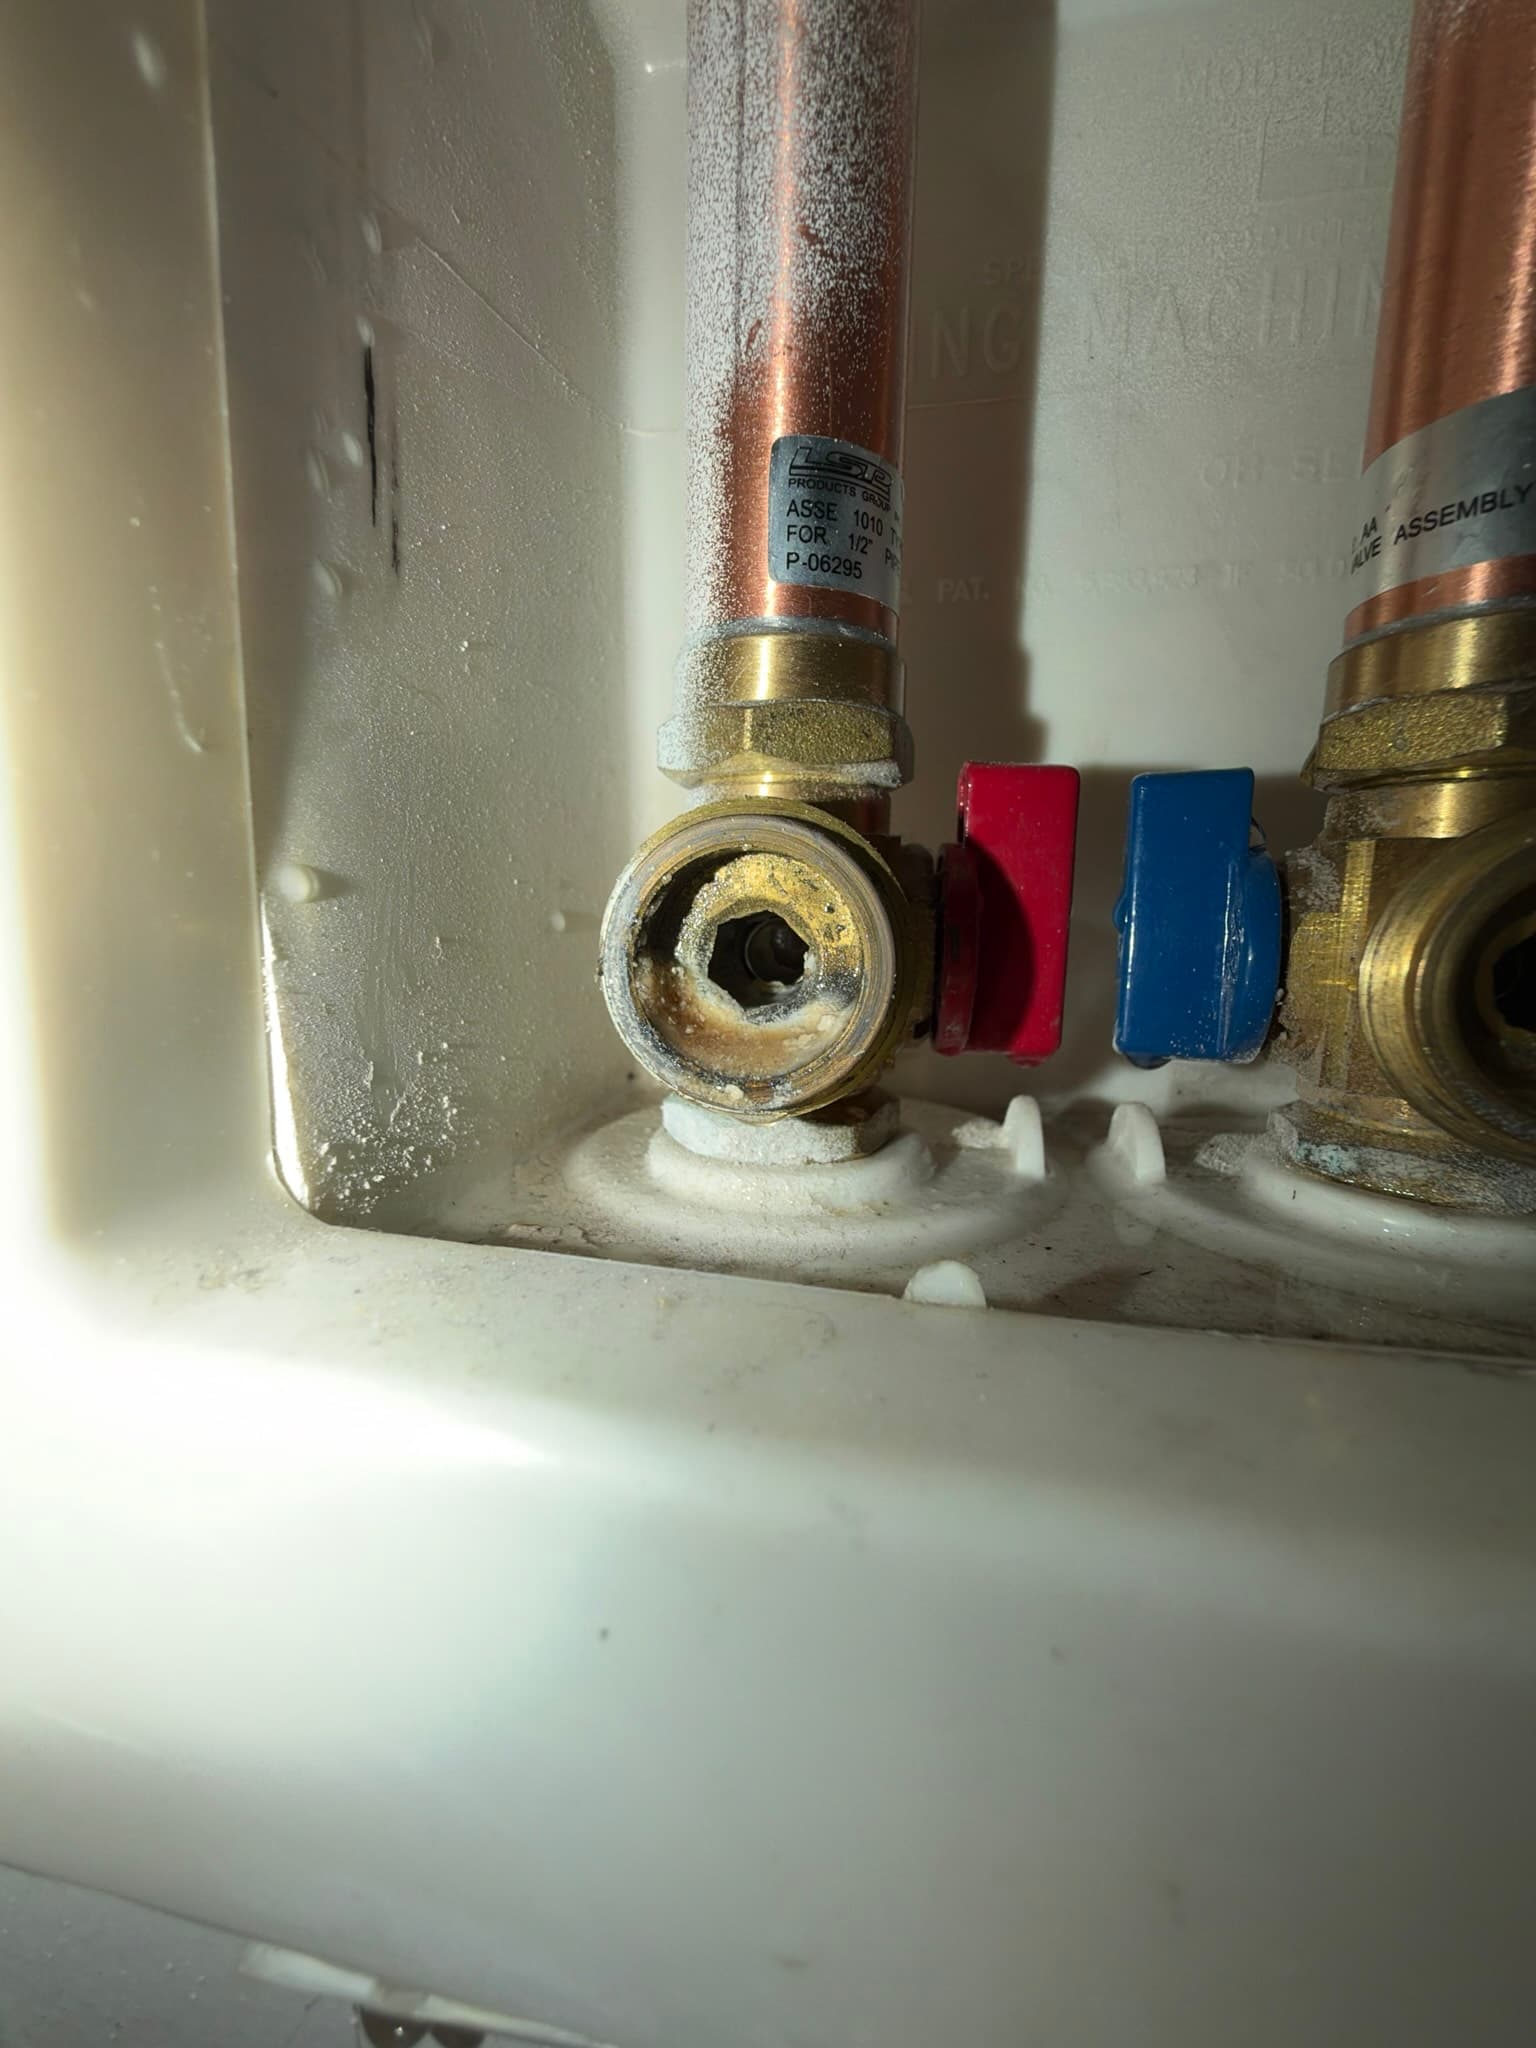
Alongside the venting work, we installed a Stainless Steam Dryer Installation Kit and an 8-foot stainless steel braided washing machine supply line. Braided stainless construction resists kinking and corrosion far better than older rubber hose, and it is the connection type increasingly recommended as a baseline safeguard against supply line failure behind laundry appliances. Replacing the supply line at the same time as the vent work meant the whole laundry connection point, both the exhaust side and the water supply side, received fresh, code-conscious hardware in a single visit rather than piecemeal over multiple service calls.
The Outcome
With the new flush-mount wall vent, transition duct, clamps, and supply line all in place, this San Francisco laundry alcove now has a clean, code-compliant venting path to the exterior and a corrosion-resistant water connection for the washer. The flush-mount vent's low profile and white powder-coated finish keep the exterior wall looking neat, while the sealed, leveled installation protects against water intrusion behind the siding. The homeowner can expect proper airflow at the termination point, a damper that opens and closes as designed, and supply line hardware built to hold up for years of regular laundry use.
Project photos
11 photos
Need similar work in San Francisco?
Get a free quote - same-week appointments usually available.