
San Francisco · Existing Dryer Wall Vent Installation
New Dryer Exhaust Install in San Francisco, CA
Dryer Vent Specialists completed a full dryer exhaust duct installation in San Francisco, replacing a deteriorated, non-compliant system with rigid metal ductwork, a UL 2158A-listed transition duct, and a new exterior termination cap.
Completed May 20, 2026
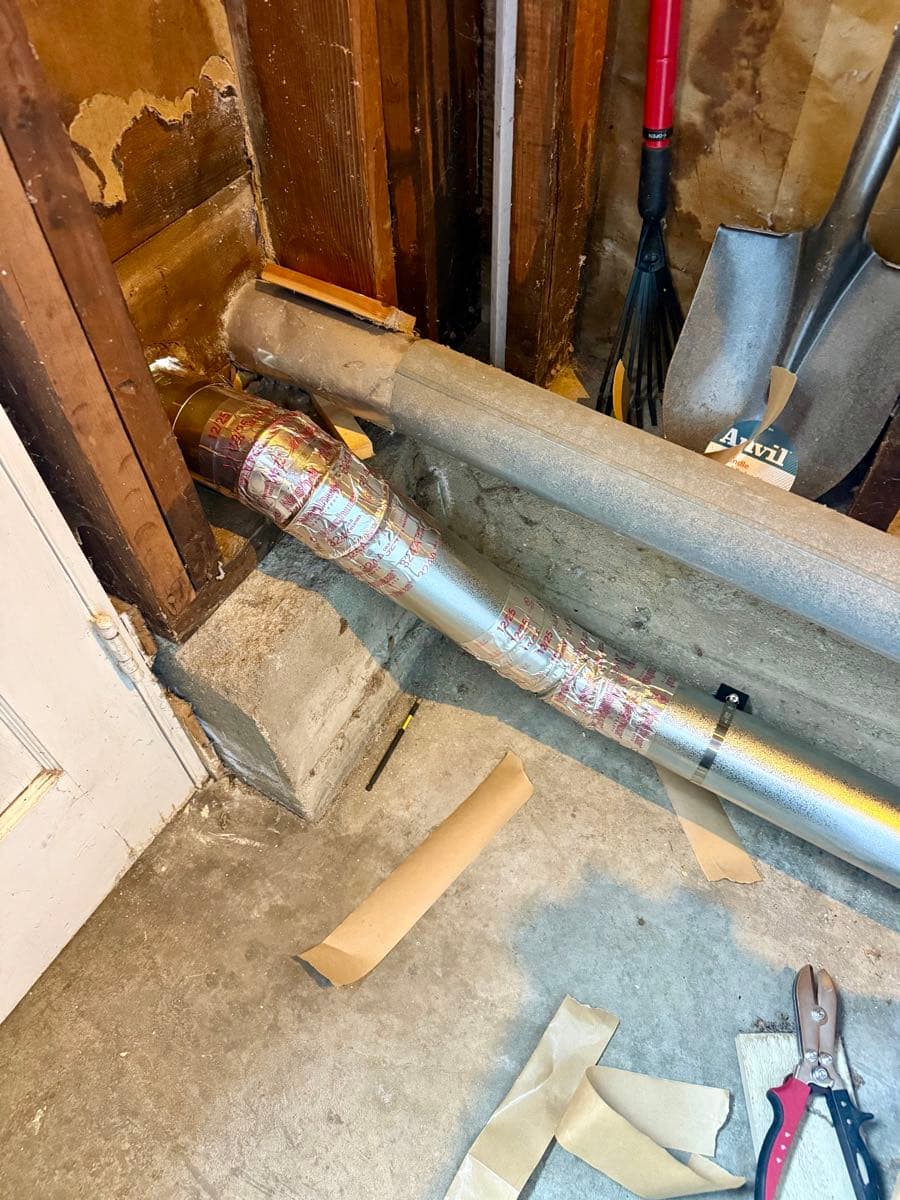
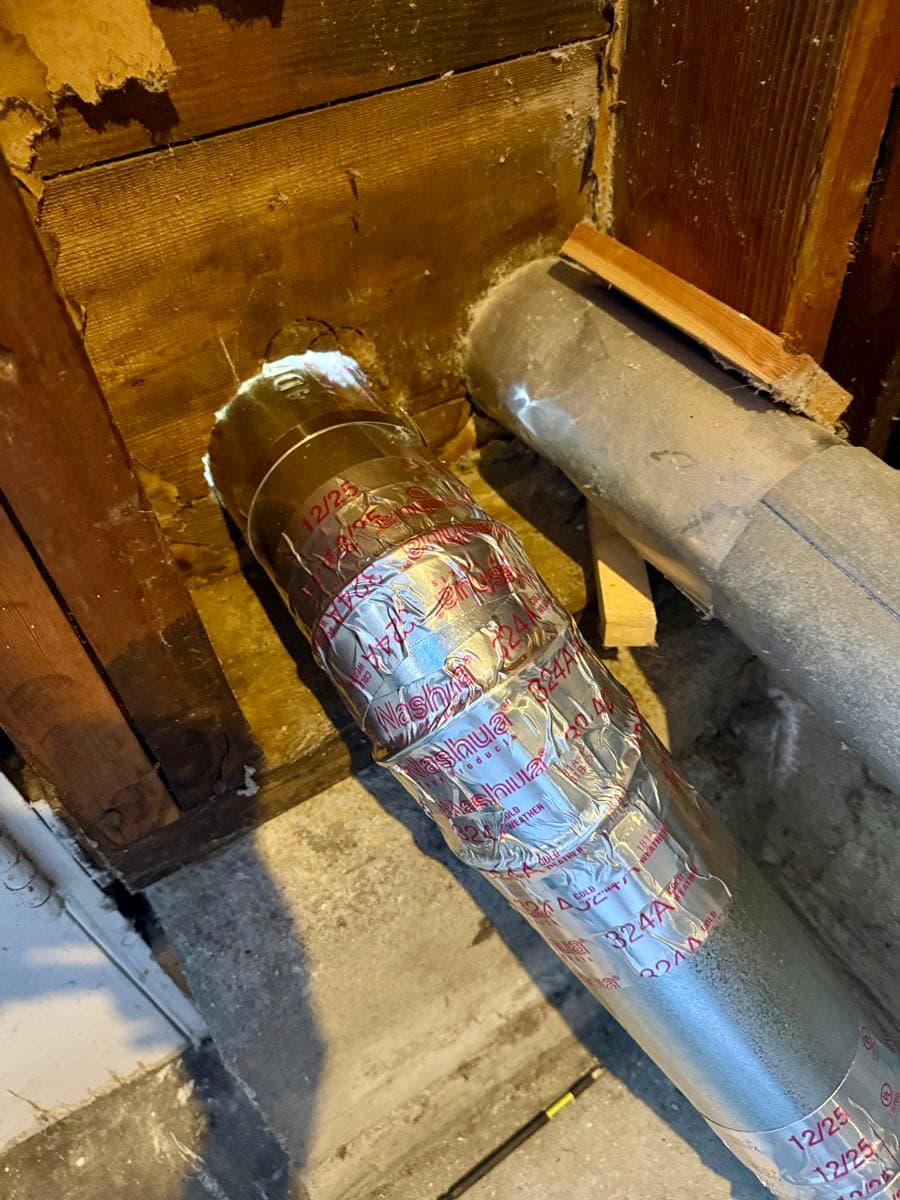
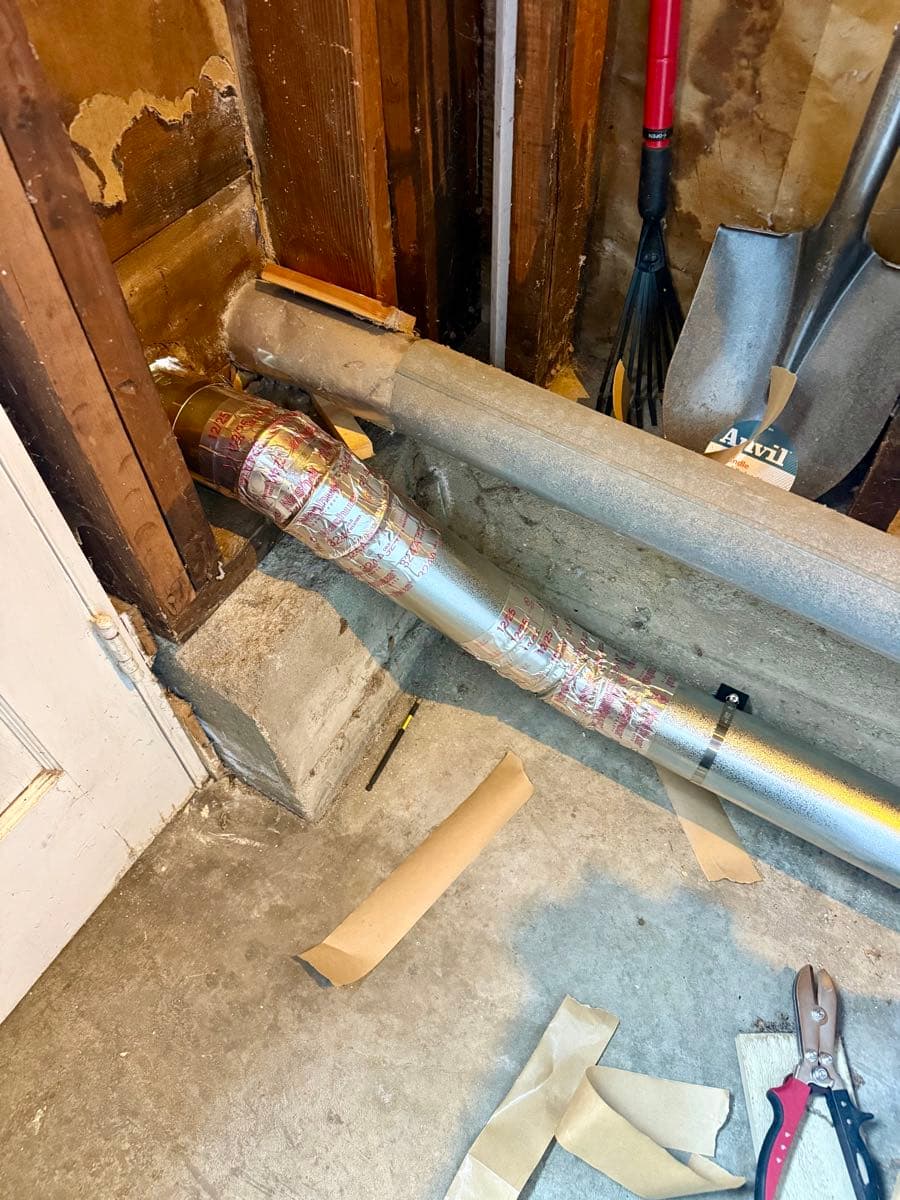
Final section of the exhaust run uses two 60-degree elbows instead of a single 90-degree bend, preserving airflow efficiency. All seams are metal-tape sealed and the duct is mechanically fastened to the concrete foundation.
## What We Found
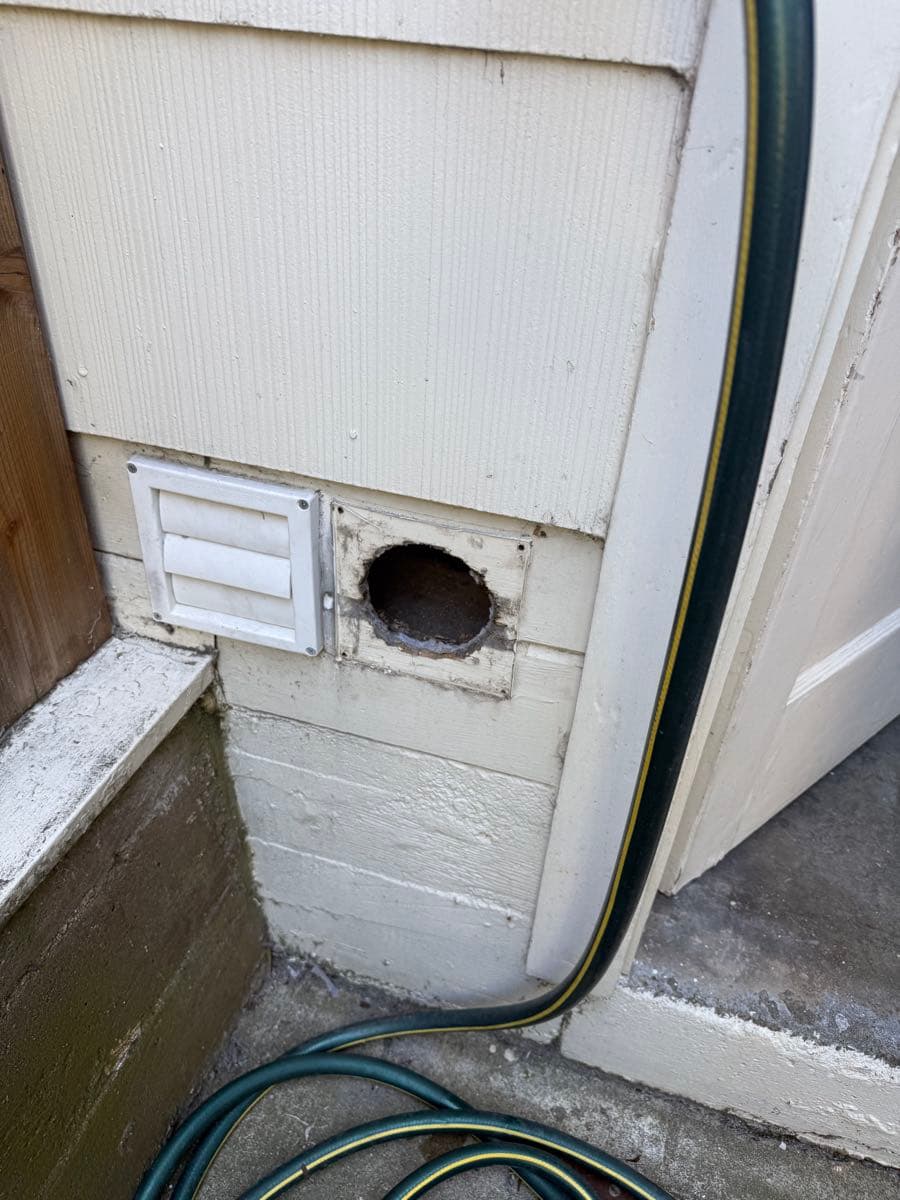
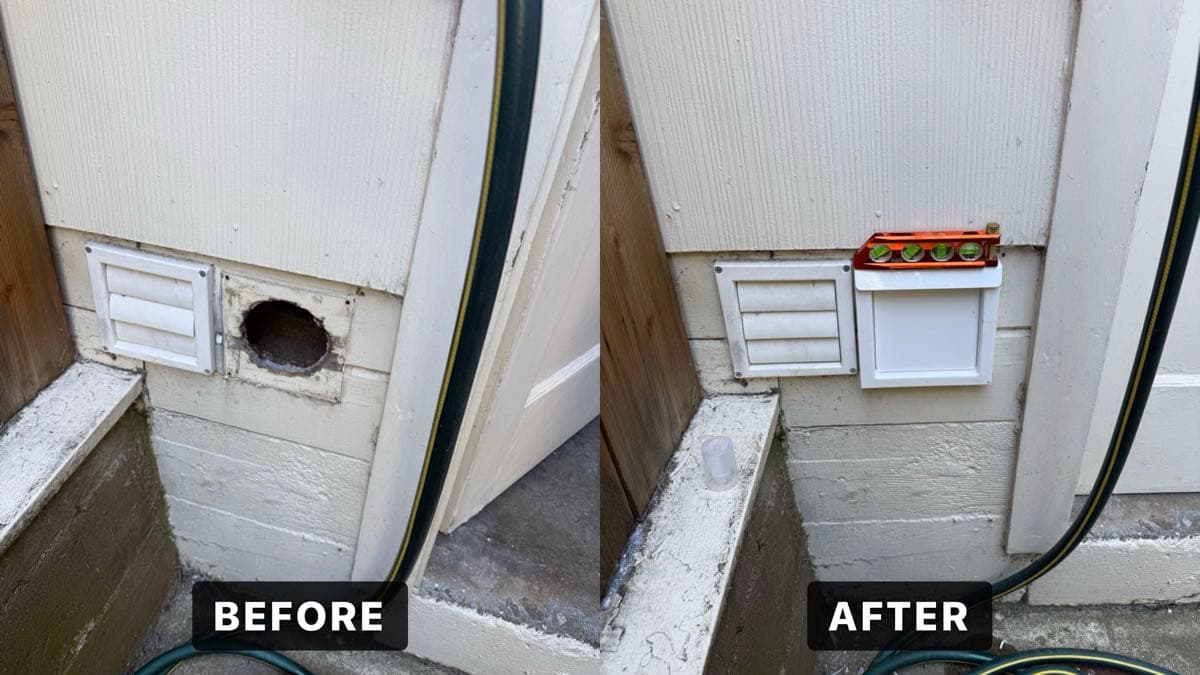
The existing dryer exhaust system in this San Francisco home showed several serious deficiencies. The original exterior wall penetration was damaged and deteriorated, with darkened wall material around the opening suggesting long-term lint accumulation and possible moisture intrusion. A non-compliant foil flex transition duct was present at the dryer connection point. Foil flex duct is prohibited under IRC M1502.4.1, which requires smooth-interior metal duct of no less than 0.0157 inch (No. 28 gauge) thickness. The ribbed interior of foil flex duct traps lint at a dramatically higher rate than smooth rigid duct and cannot withstand the heat of dryer exhaust, which routinely reaches 200°F or more.
## What We Did
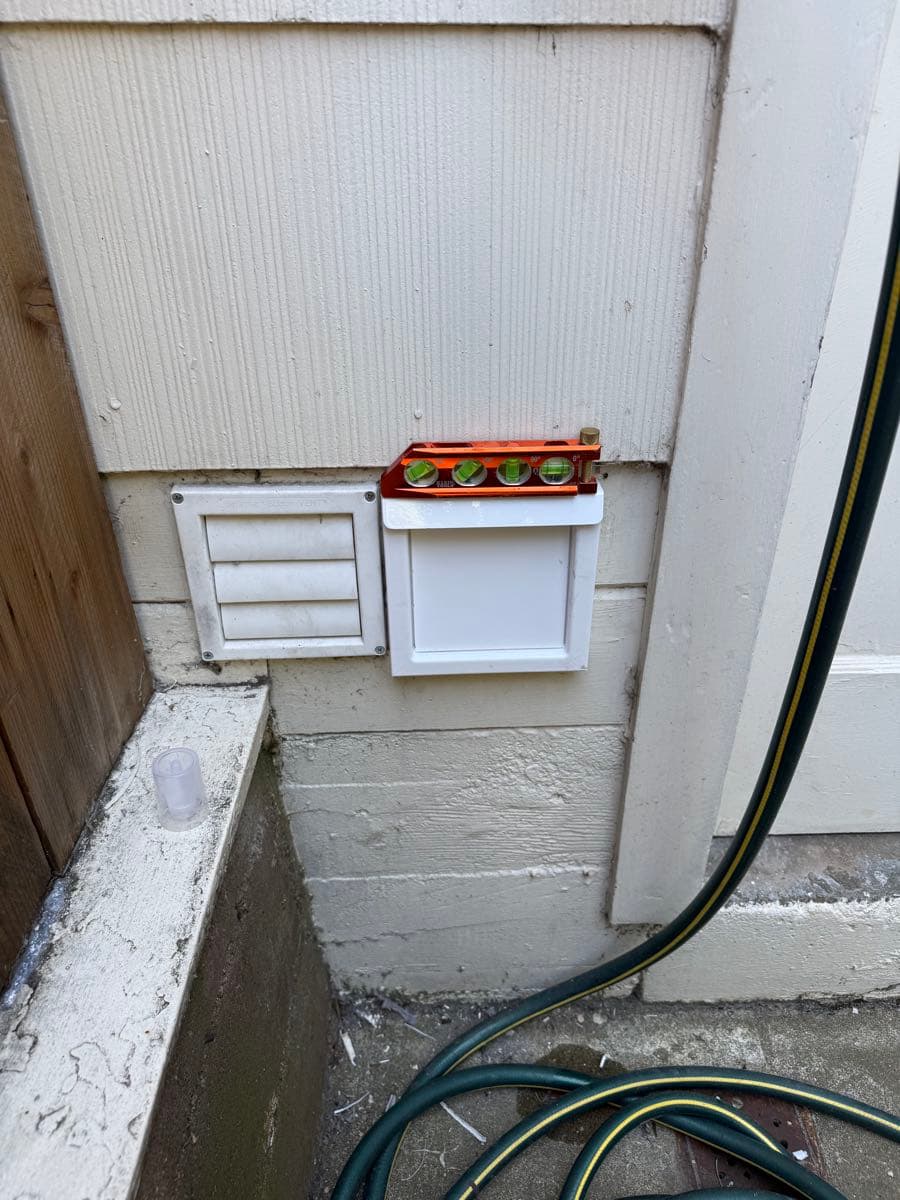
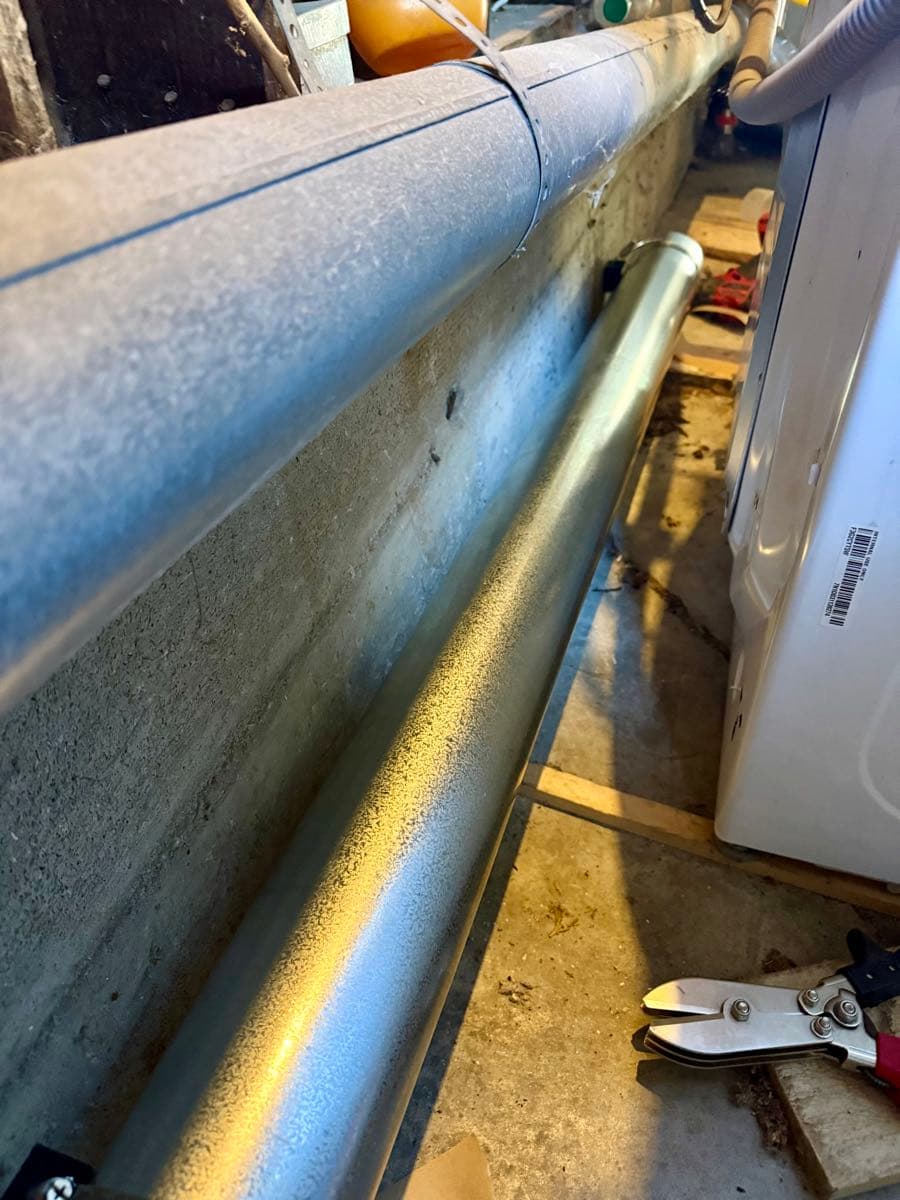
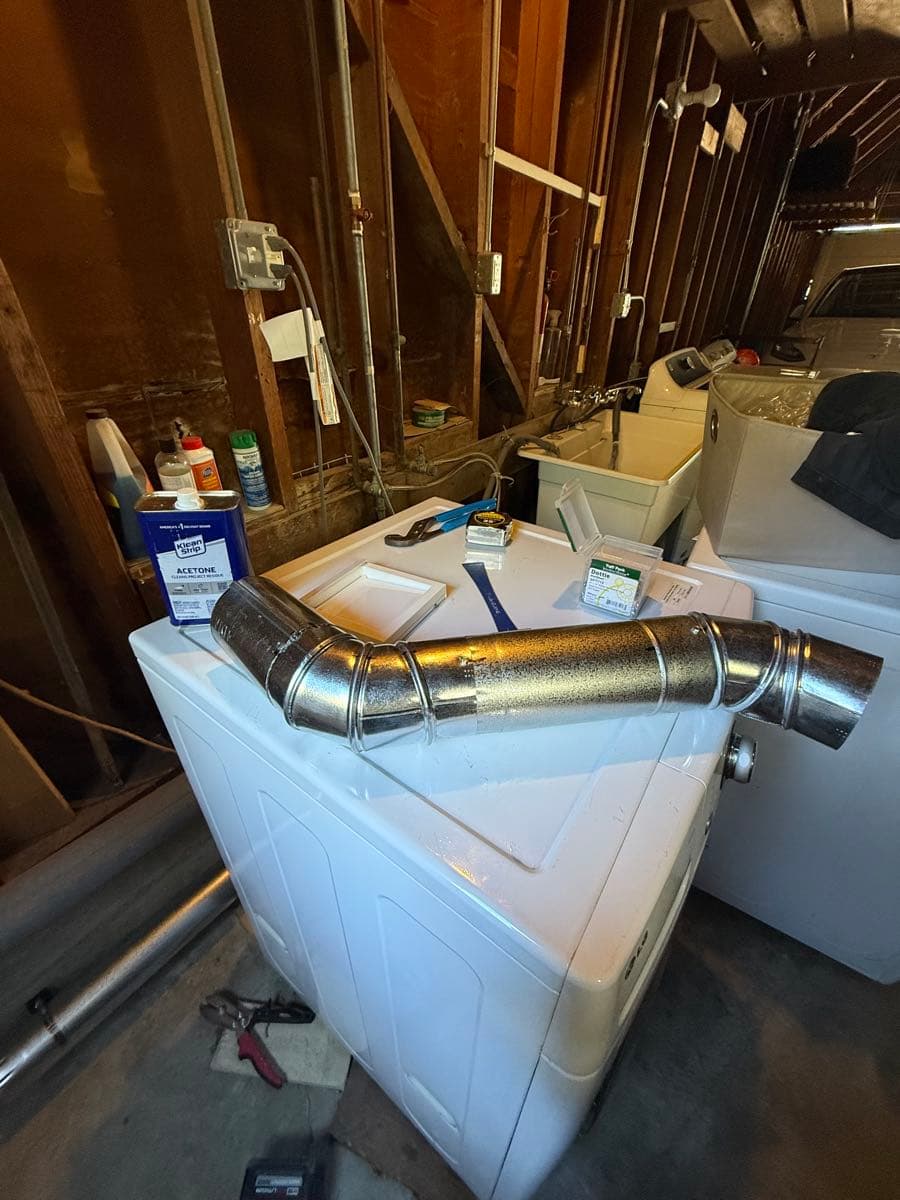
Our technician performed a complete dryer exhaust installation using a combination of rigid metal ductwork and a code-compliant 4" DryerFlex semi-rigid transition duct (UL 2158A-listed, per IRC M1502.4.3). The main exhaust run consists of approximately 5 feet of rigid aluminum duct supported by a metal bracket, with all joints oriented male-into-female in the direction of airflow and sealed with UL 181B-FX listed metal foil tape per IRC M1502.4.2. At the terminal section, the technician used two approximately 60-degree elbows in place of a single 90-degree bend. This approach preserves airflow efficiency, since a 90-degree elbow deducts 5 feet from the IRC M1502.4.6.1 maximum equivalent duct length, while shallower angles impose a significantly lower penalty. The final section is secured directly to the concrete foundation using metal band clamps and stainless steel hose clamps, is properly sloped toward the exterior, and shows no kinks, sags, or restrictions. A new exterior termination cap was installed to replace the damaged original, with fresh caulking applied around the perimeter to seal against weather infiltration. The technician verified the cap was level before completing the job.
## Code Compliance and Materials
Every component of this installation was selected and installed to meet or exceed IRC M1502 requirements. The 4" DryerFlex transition duct is a single continuous length within the allowable 8-foot maximum and is not concealed within any wall or ceiling cavity (IRC M1502.4.3). All seams in the rigid duct run are fully taped with metal foil tape rather than cloth duct tape, which degrades under heat. Mechanical support meets the IRC M1502.4.2 requirement that duct be secured at appropriate intervals. The system terminates independently to the exterior of the building, completely separate from all other mechanical systems, in compliance with IRC M1502.2.
## The Result
The completed system gives this San Francisco home a dryer exhaust path that is structurally sound, code-compliant, and optimized for airflow. The use of 60-degree elbows at the foundation turn, full metal-tape sealing at every joint, and positive mechanical fastening to the concrete structure means this installation is built to last. The new exterior cap closes the loop on what was previously a deteriorated and potentially hazardous termination point, protecting the home from lint buildup, moisture damage, and fire risk going forward.
Project photos
8 photos
Need similar work in San Francisco?
Get a free quote — same-week appointments usually available.