
Belmont · Dryer Wall Vent Installation
Dryer Wall Vent Installation in Belmont, CA
A Belmont home received a complete dryer wall vent installation, including penetration through interior drywall and stucco siding, a code-compliant exterior vent hood, and a new DryerFlex transition duct connection secured with clamps.
Completed July 2, 2026
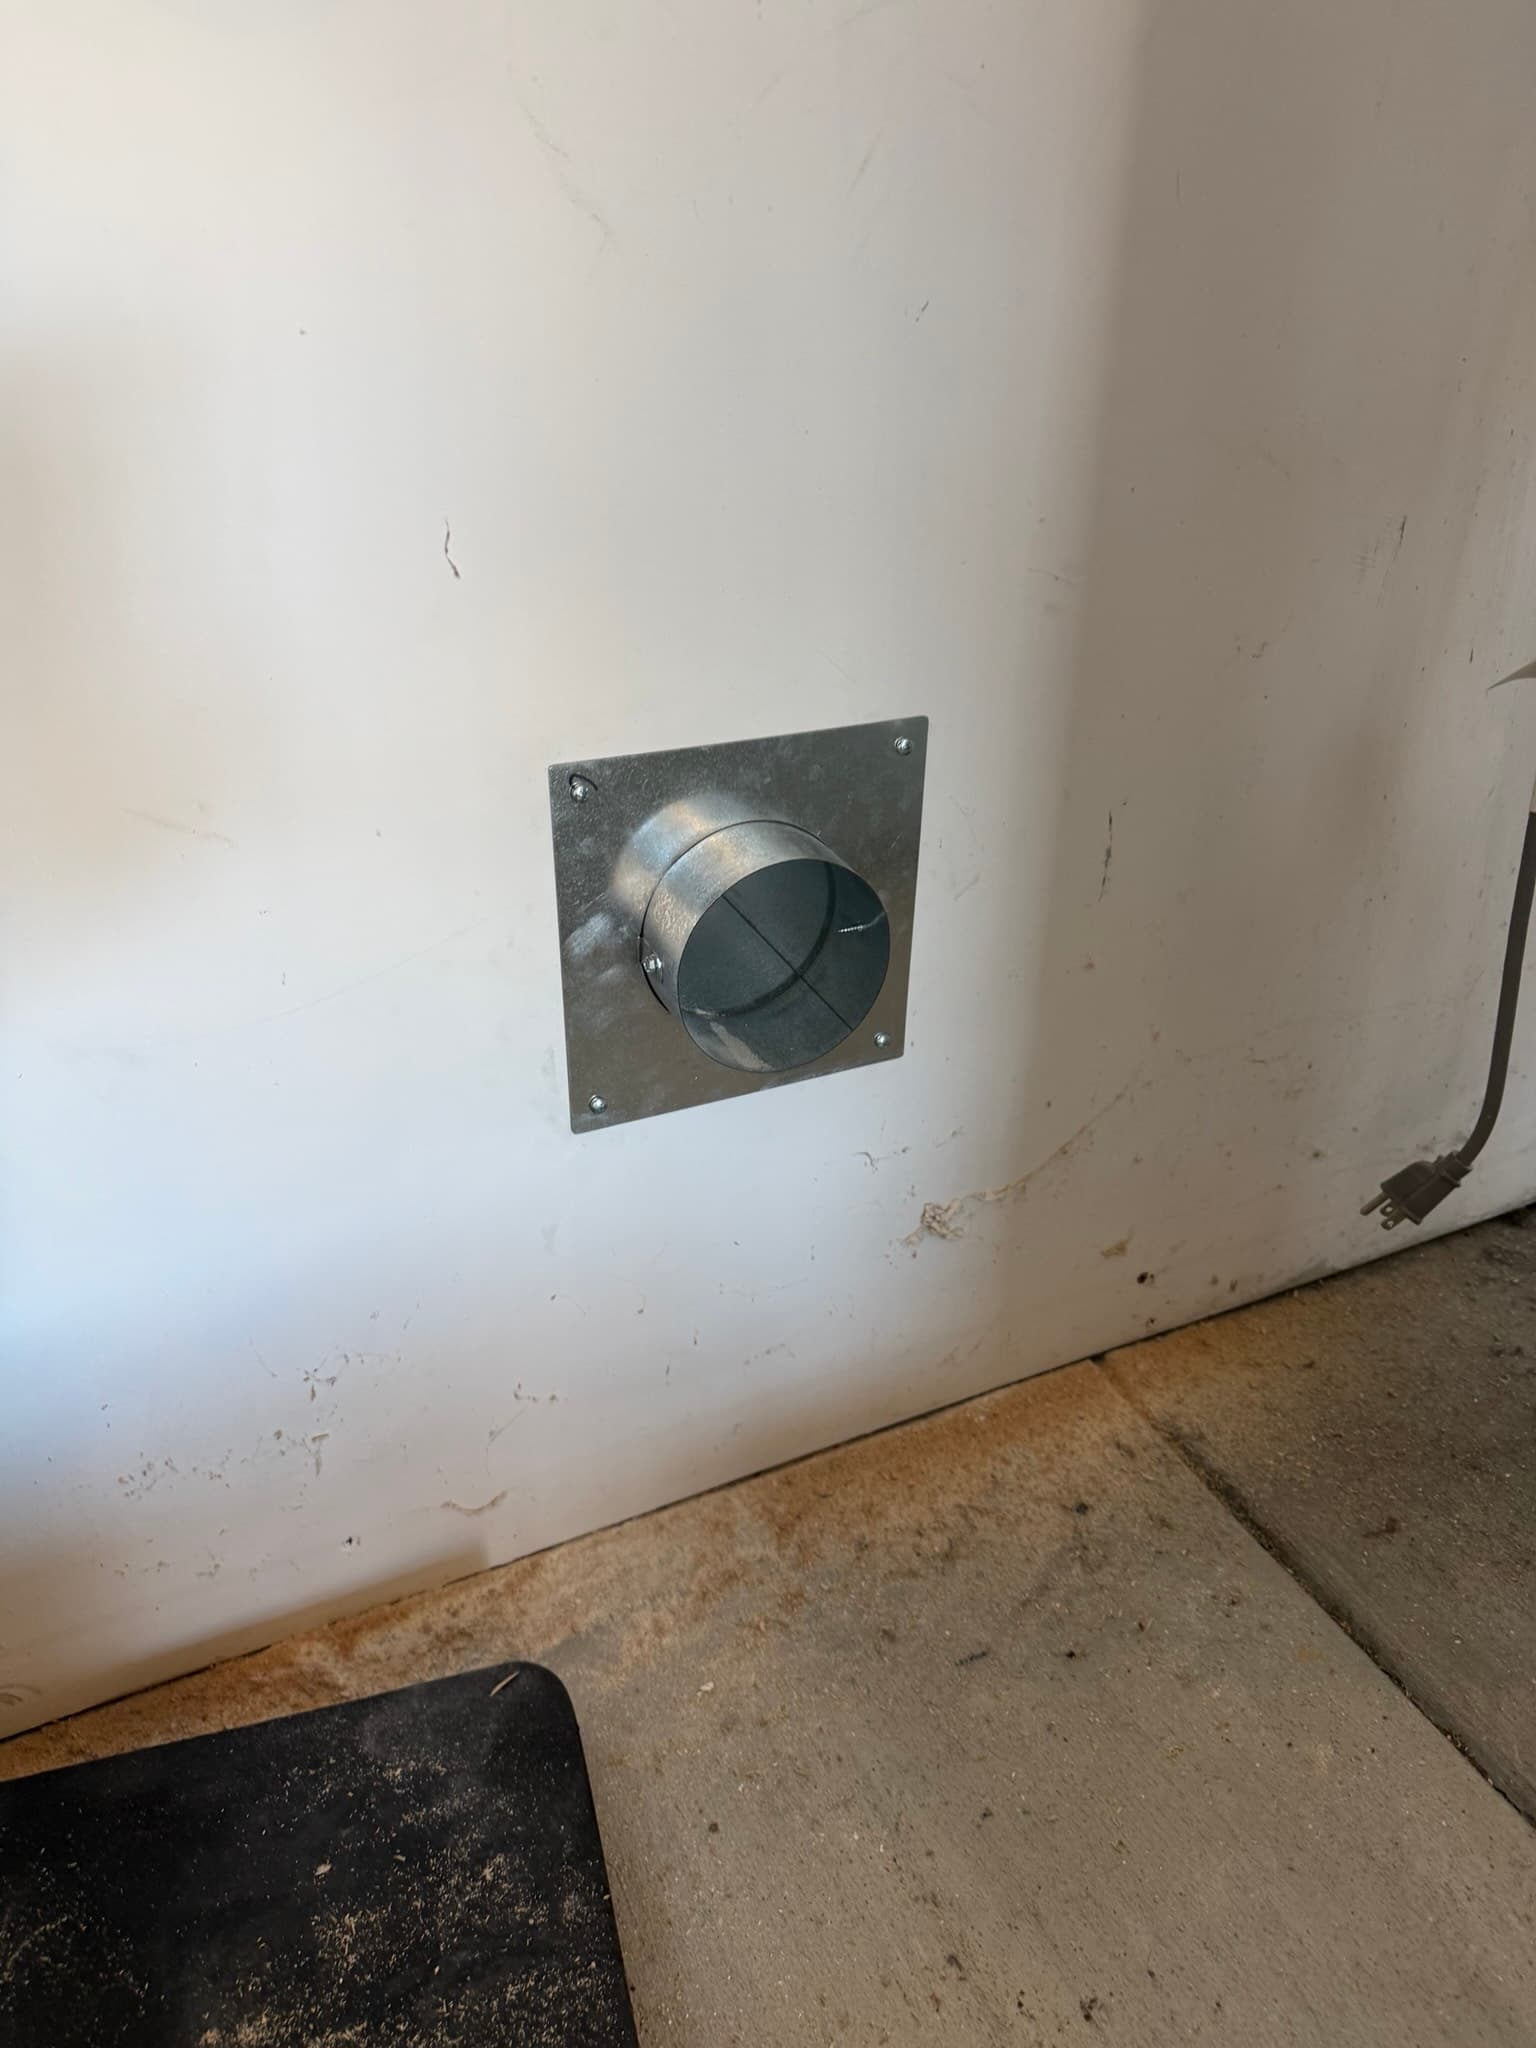
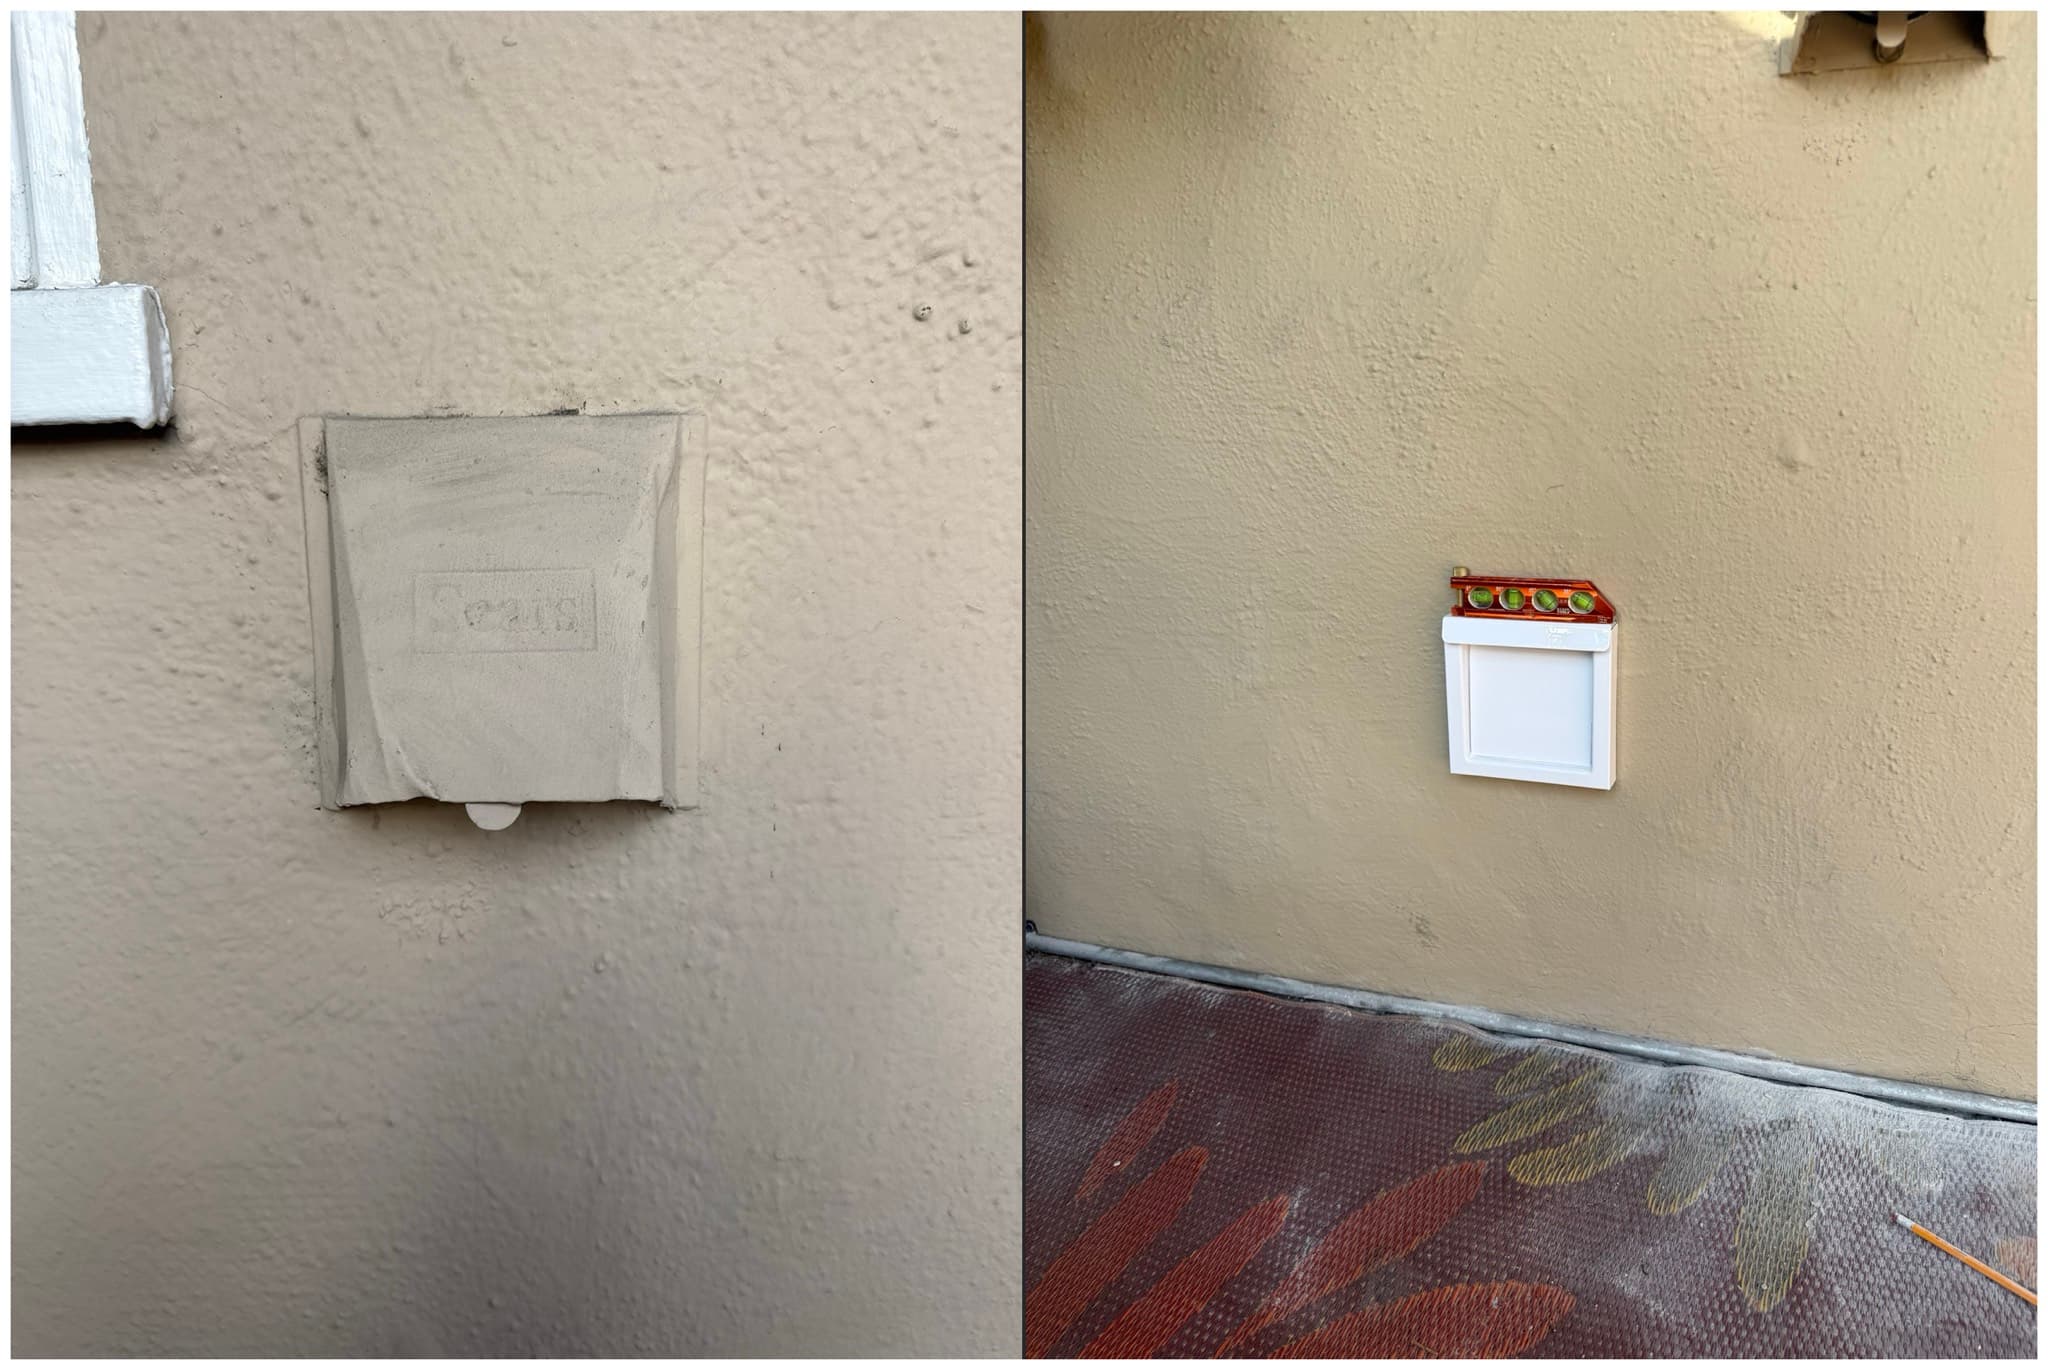
This was the new dryer exhaust exit that was installed. It’s about a 12 inch 26 gauge pipe and a 8 inch flat 28 gauge wall plate and on the outside and innovate drywall vent hood.
What the Project Required
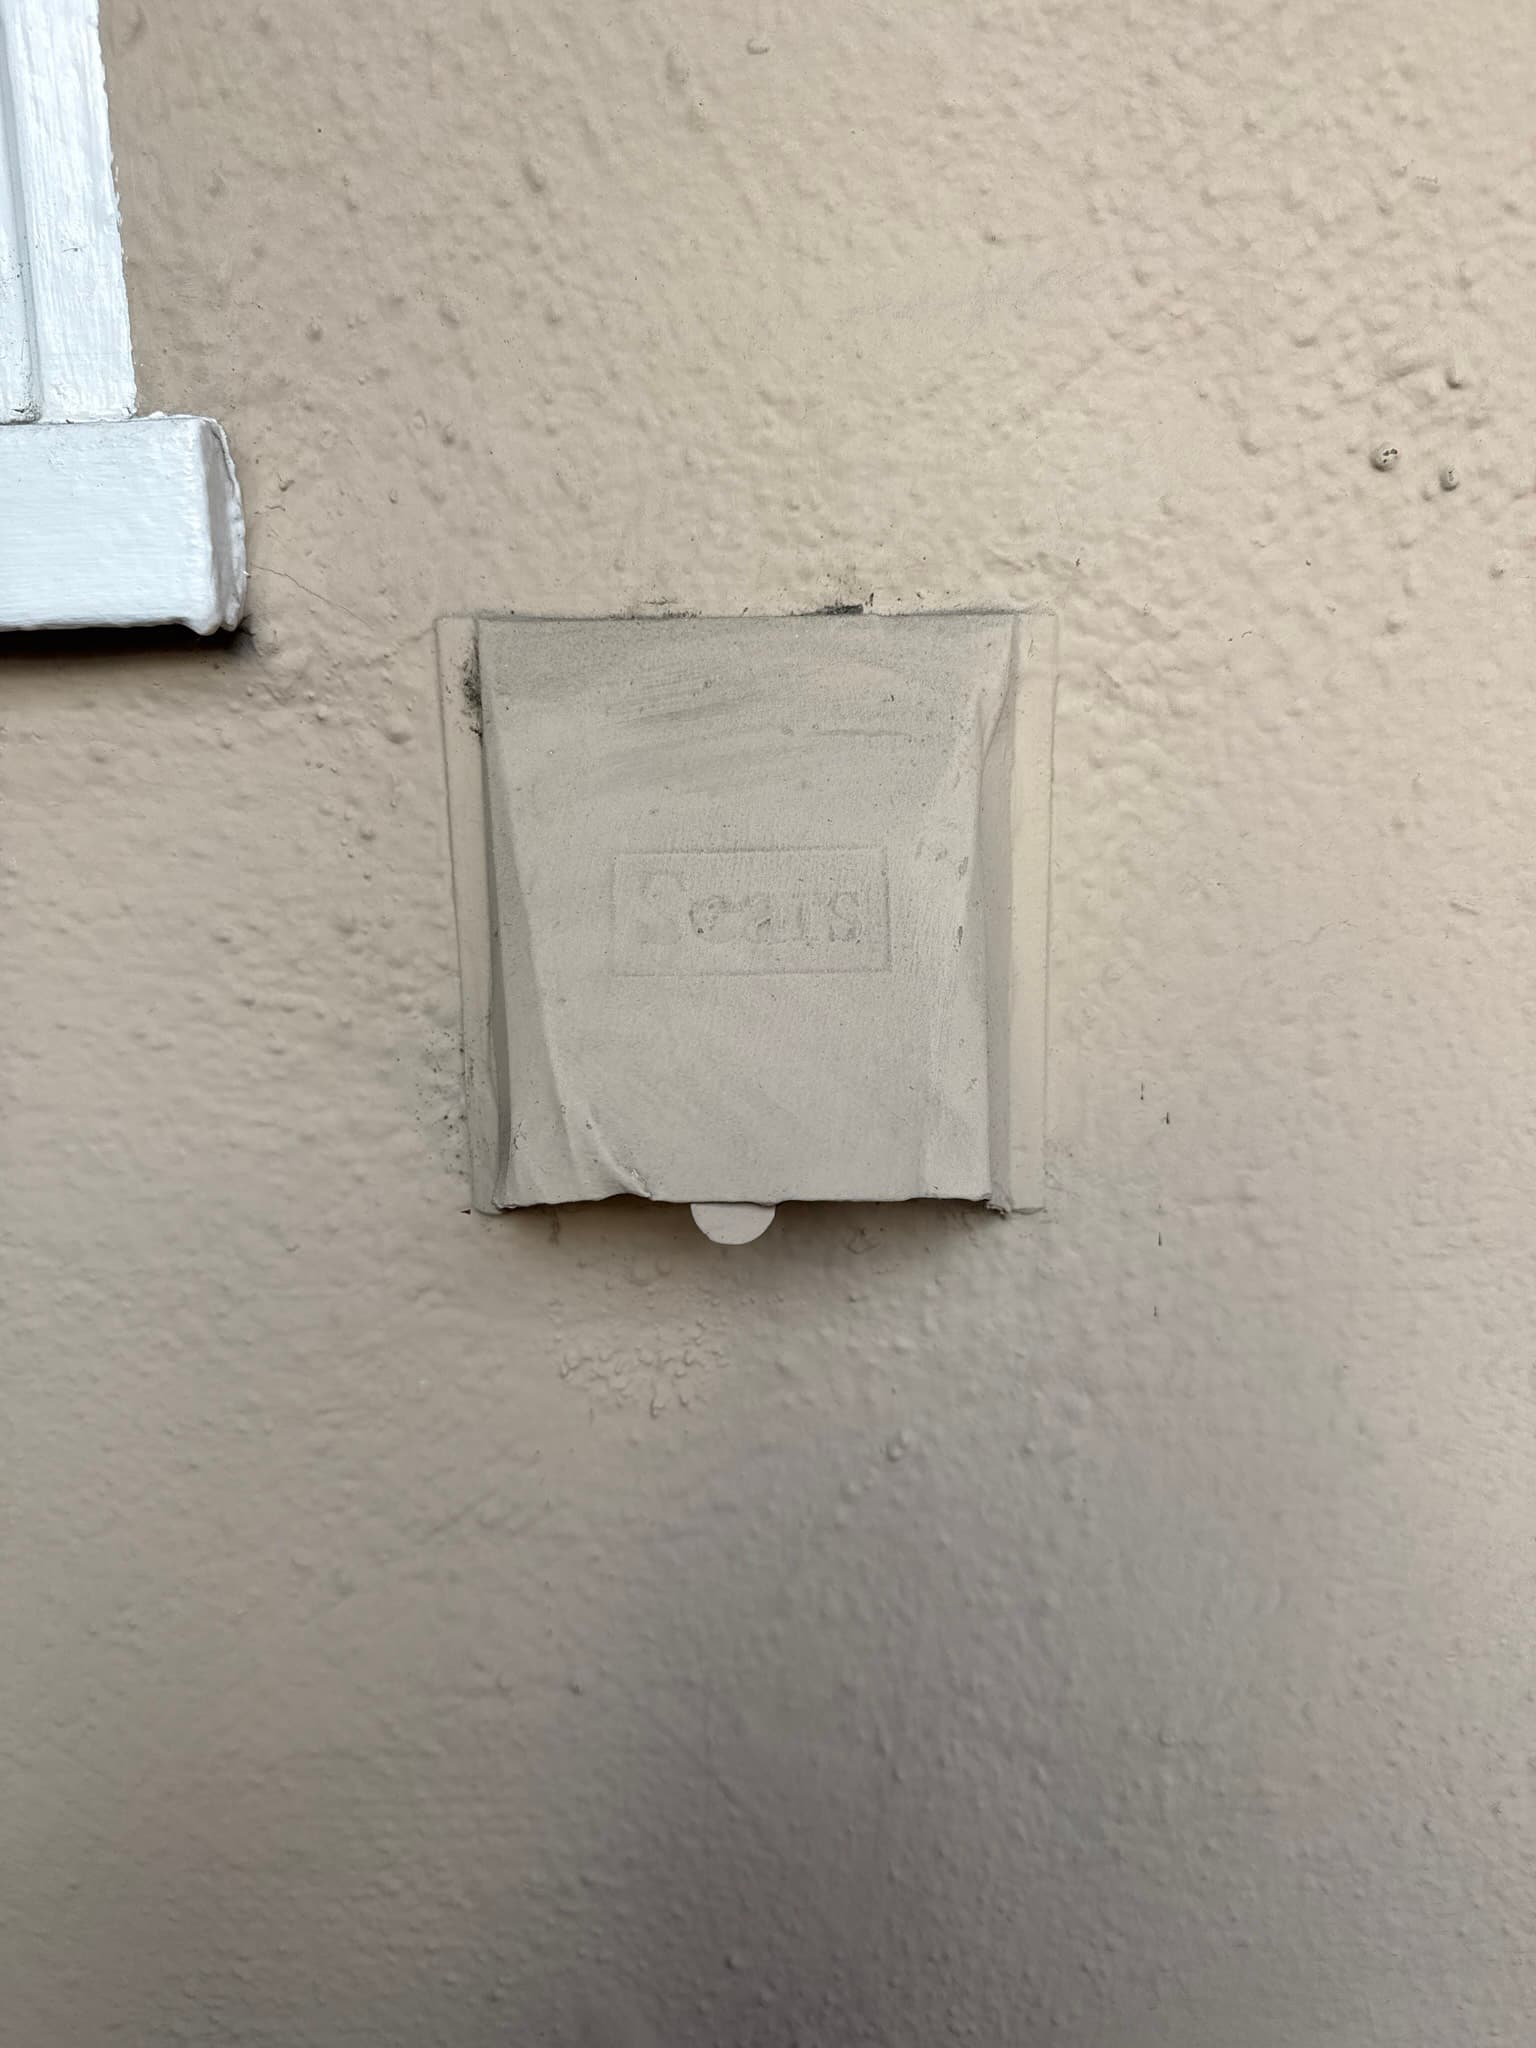
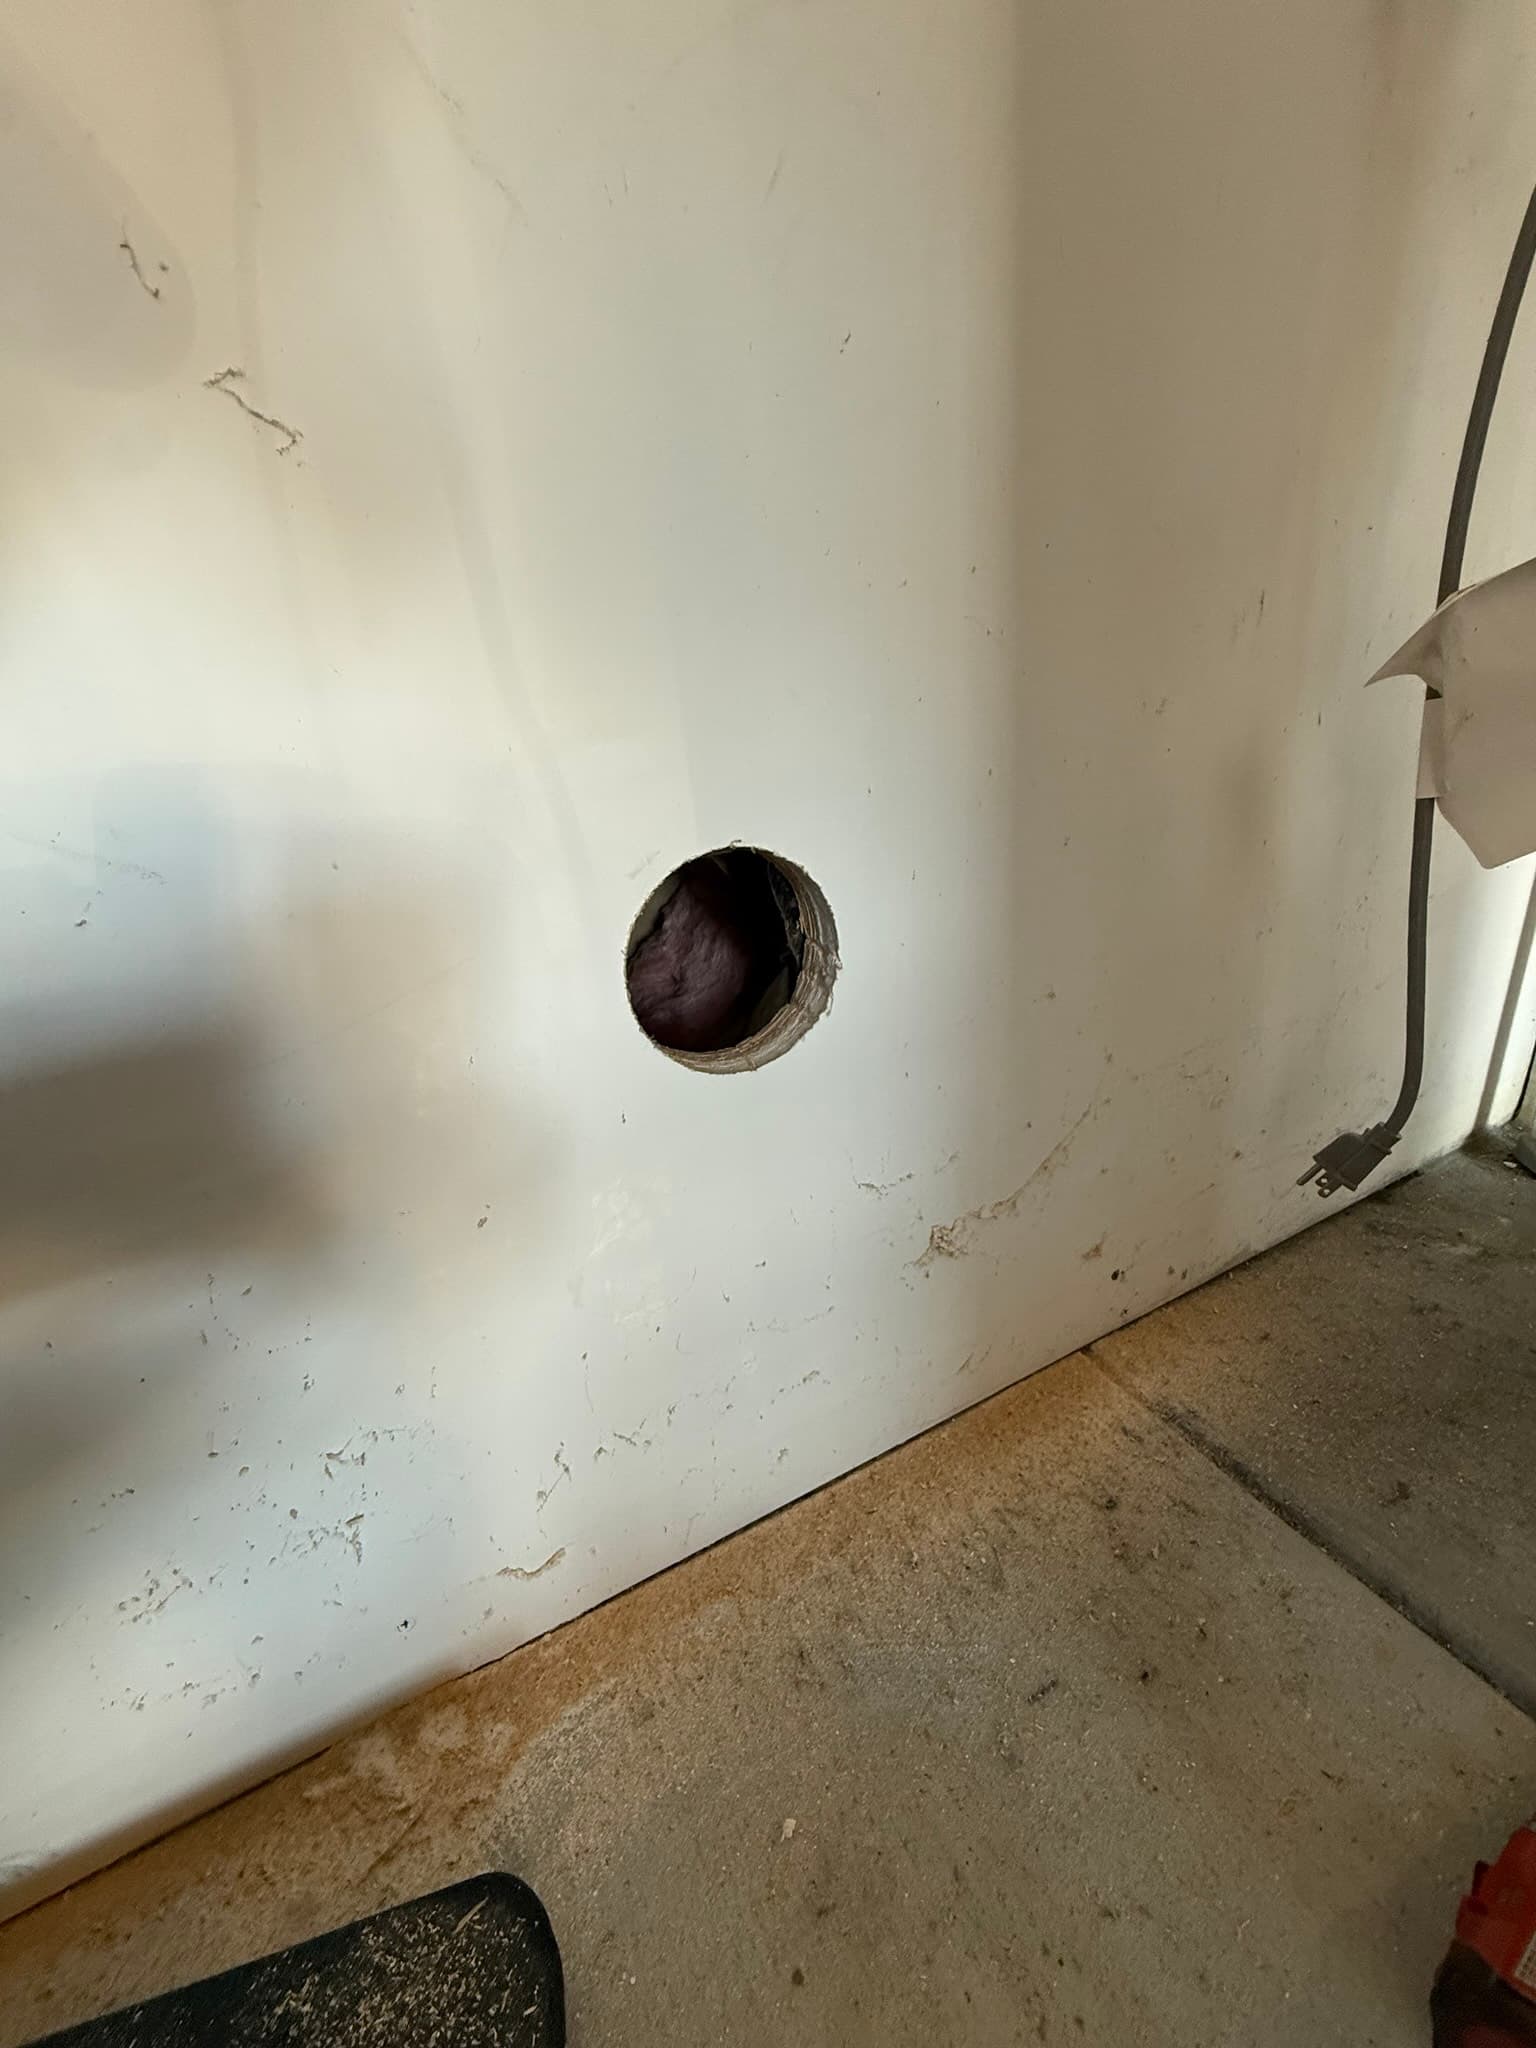
This Belmont home needed a full dryer exhaust vent installed from scratch, which meant creating a new penetration through the interior wall assembly and the exterior stucco siding before any venting components could be placed. The wall assembly consisted of 5/8-inch drywall and 5/8-inch shear plywood, both of which had to be carefully penetrated before reaching the stucco cladding on the outside. Projects like this require planning the duct path so the final termination point meets the clearance requirements of IRC M1502.3, which mandates that dryer exhaust terminate on the outside of the building at least three feet in any direction from windows, doors, and air intakes.
The Exterior Vent Hood
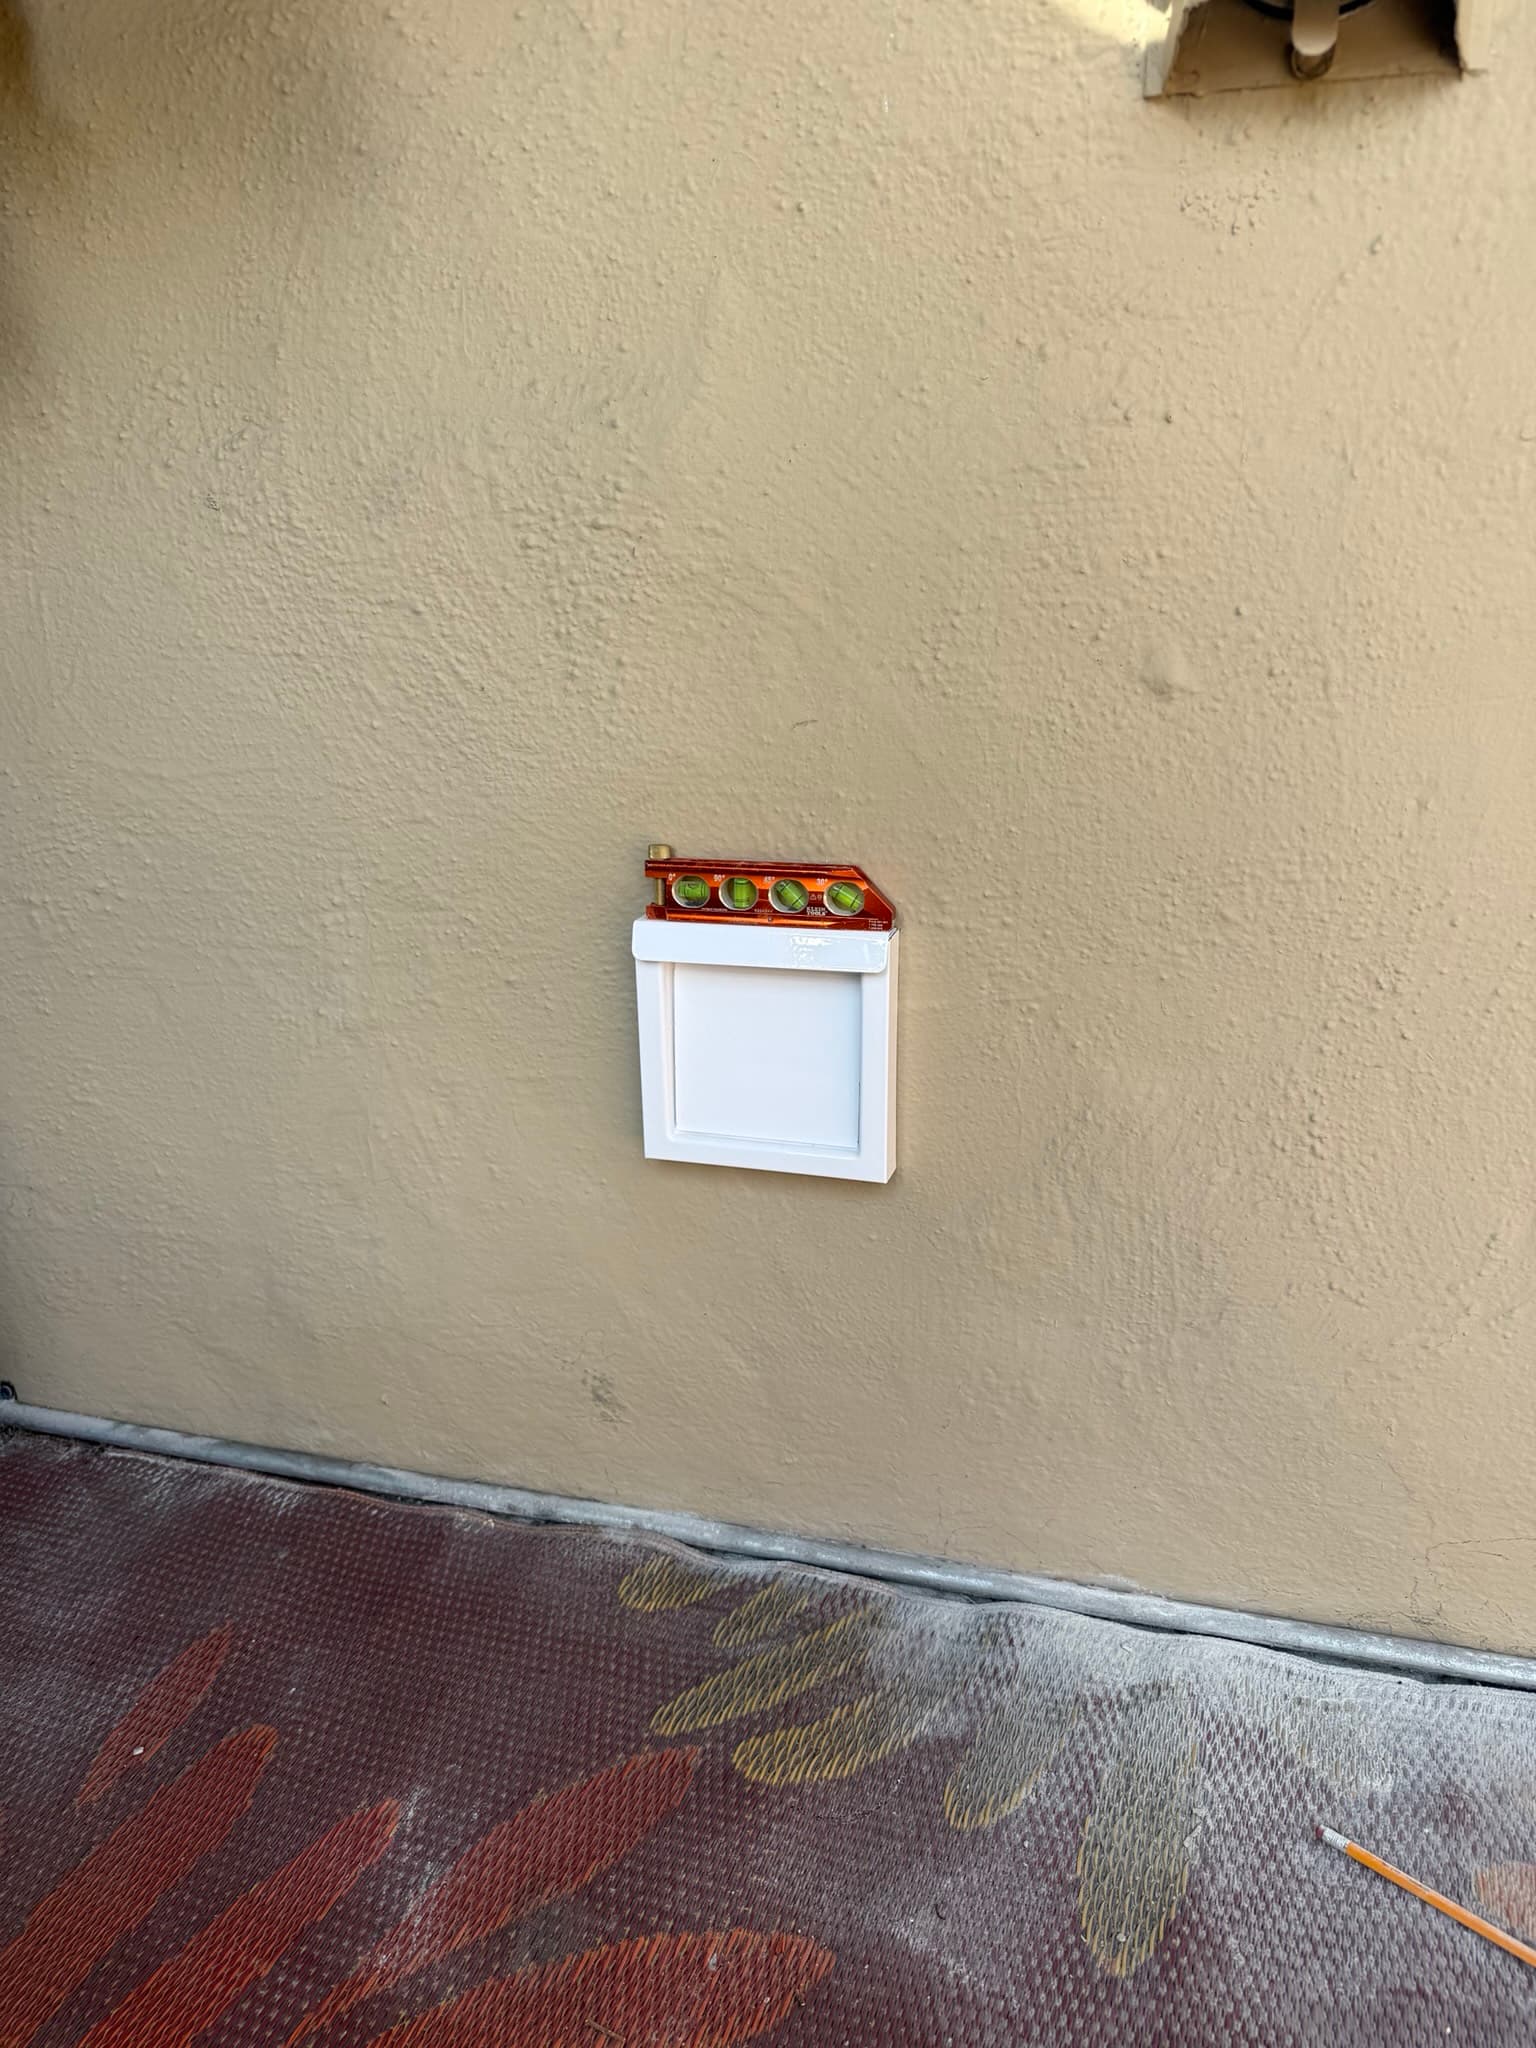
At the exterior, we installed an InOvate dryer wall vent hood designed specifically for flush mounting against stucco siding. The hood is engineered to meet or exceed all code requirements for safe dryer exhaust termination. The body is constructed from heavy-gauge Galvalume steel with a powder-coat finish, giving it long-term resistance to the coastal Bay Area climate. A silicone backing seals the hood against the stucco surface, preventing moisture intrusion around the penetration. The decorative trim and clean sight lines mean the installation makes a neat visual contribution to the home's exterior rather than detracting from it. The unit includes an integrated backdraft damper, as required by IRC M1502.3, which closes by gravity when the dryer is off to keep outside air, rain, and pests from entering the duct system.
The Transition Duct Connection
Inside the home, we connected the dryer to the newly installed wall penetration using 4 feet of DryerFlex transition duct, secured at both ends with two DryerClamps. DryerFlex is a UL 2158A-listed semi-rigid transition duct designed to handle the tight radius turns often required in laundry spaces while maintaining a smooth interior surface that resists lint accumulation. Securing each connection with a dedicated DryerClamp rather than relying on friction alone ensures the joint stays sealed over time, preventing the kind of disconnection that can exhaust hot, moist air into the wall cavity. This assembly brings the installation into full compliance with IRC M1502.4.2, which requires mechanical fastening at all duct joints.
Why Proper Termination Matters
Venting dryer exhaust to a true exterior termination is not just a code formality. A properly terminated dryer vent removes warm, lint-laden, and moisture-heavy air from the living space on every drying cycle. Without a compliant exterior exit, that exhaust has nowhere to go except into wall cavities or living areas, where it can drive mold growth and create a fire hazard from accumulated lint. For gas dryers, an improperly terminated vent also poses a carbon monoxide risk. The installation performed here ensures that every cubic foot of exhaust air exits the building envelope safely and completely.
The Result
With the penetration complete, the InOvate flush-mount vent hood sealed to the stucco exterior, and the DryerFlex transition duct clamped and secured at both ends, this Belmont home now has a fully code-compliant dryer exhaust system where none existed before. The exterior cap sits flush and clean against the wall, and the interior transition duct provides a properly sealed, lint-resistant connection between the dryer outlet and the rigid duct path through the wall. The homeowner can run the dryer with confidence that exhaust is being carried entirely to the outside.
Project photos
5 photos
Need similar work in Belmont?
Get a free quote - same-week appointments usually available.