
Burlingame · Residential Dryer Exhaust Cleaning Inspection
Dryer Vent Cleaning & Vent Cap Replacement in Burlingame
A Burlingame home received a full dryer exhaust cleaning and inspection, a new exterior wall vent installation, and a 4-foot DryerFlex transition duct replacement to restore safe, code-compliant airflow.
Completed July 17, 2026
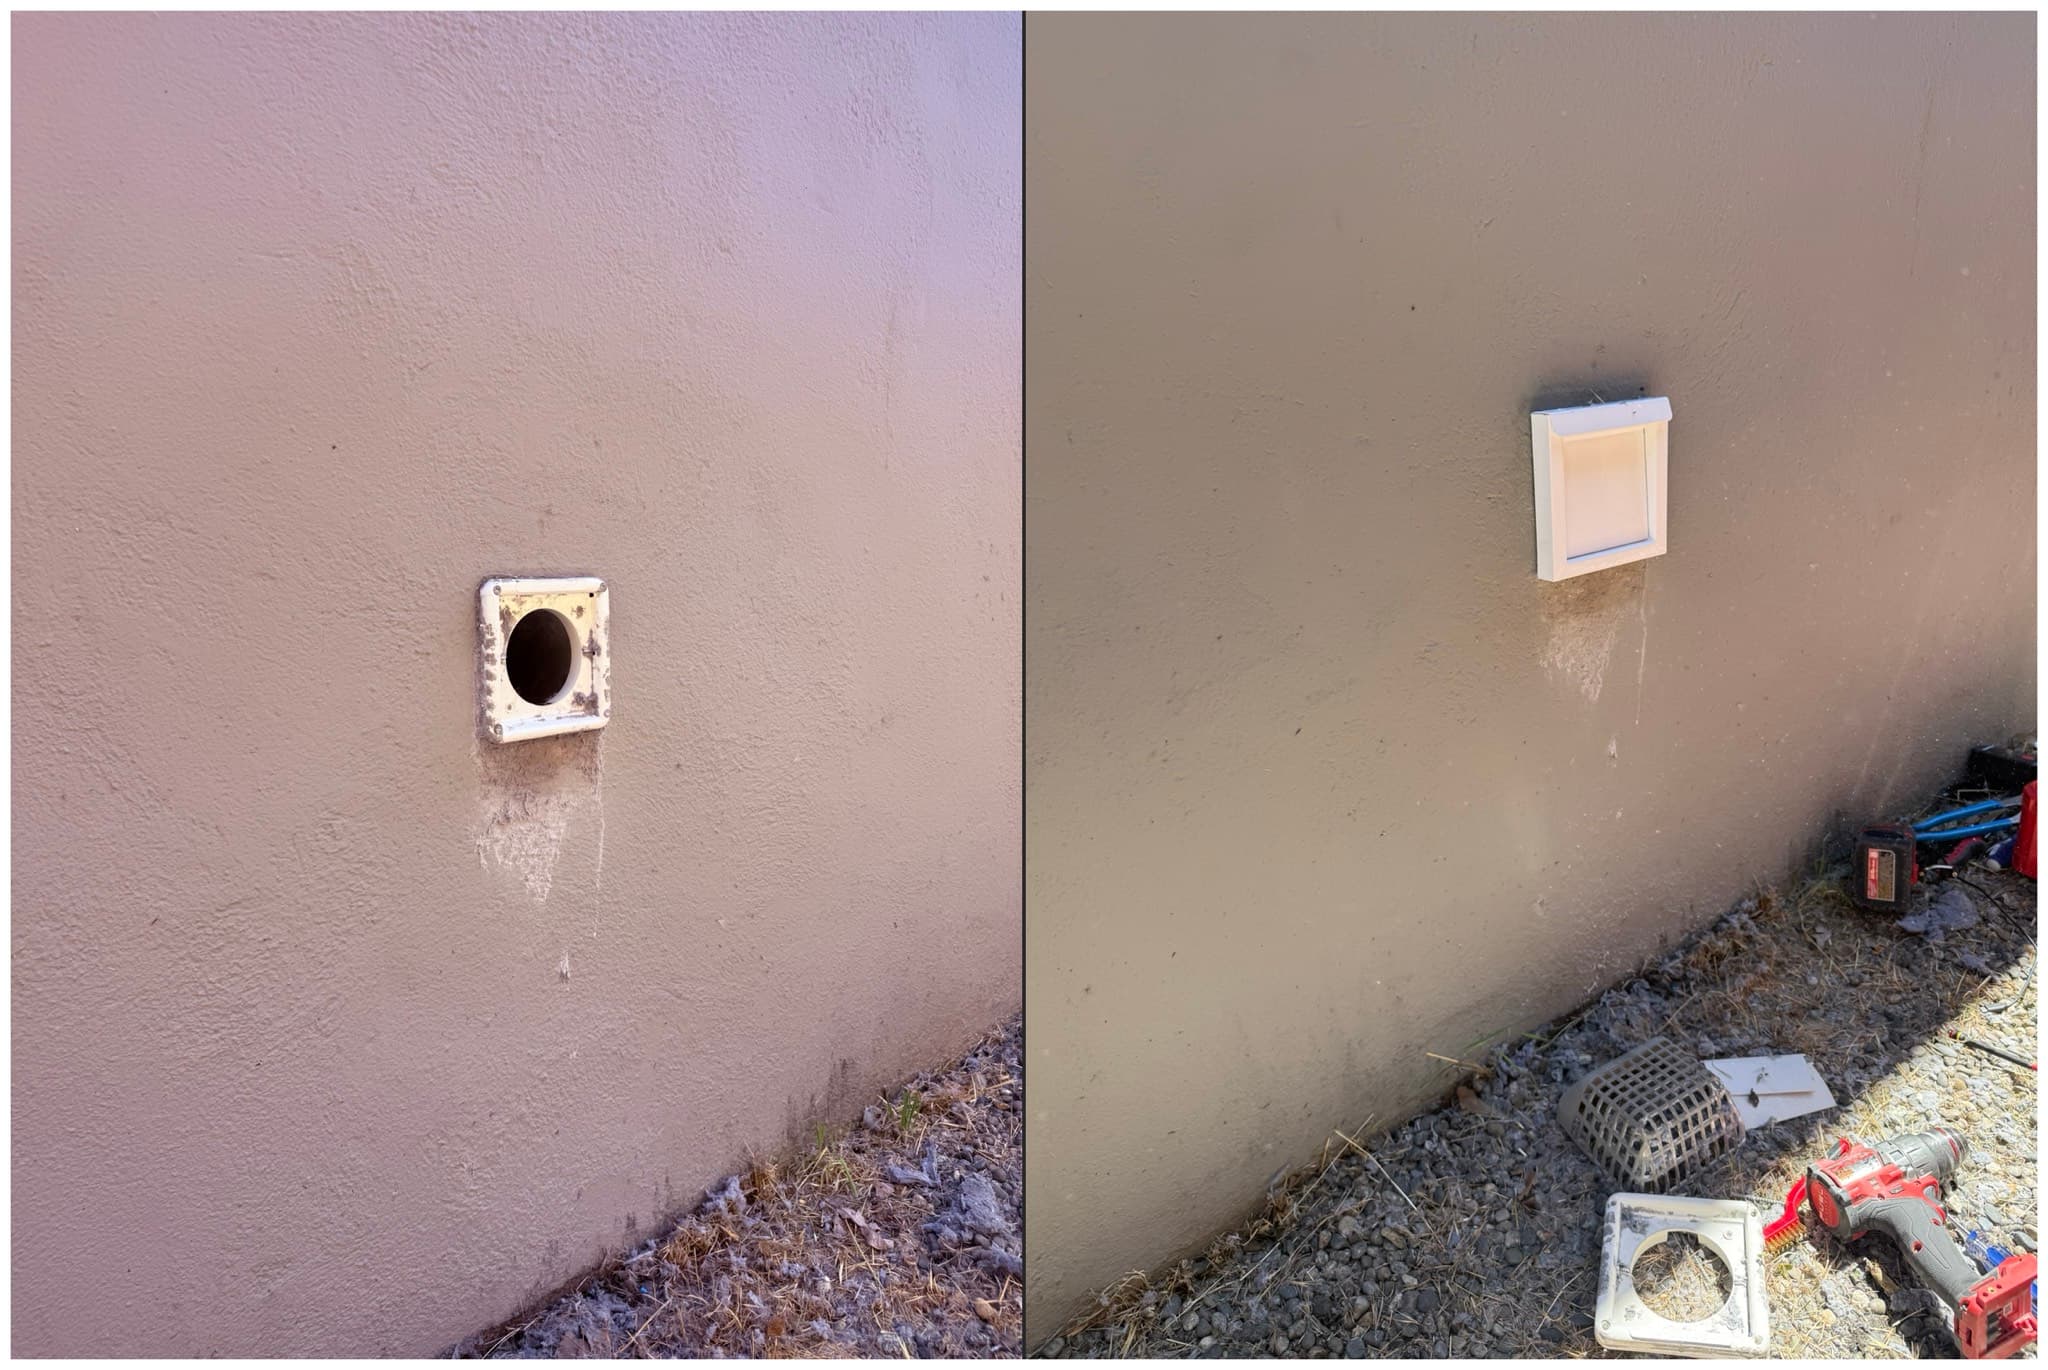
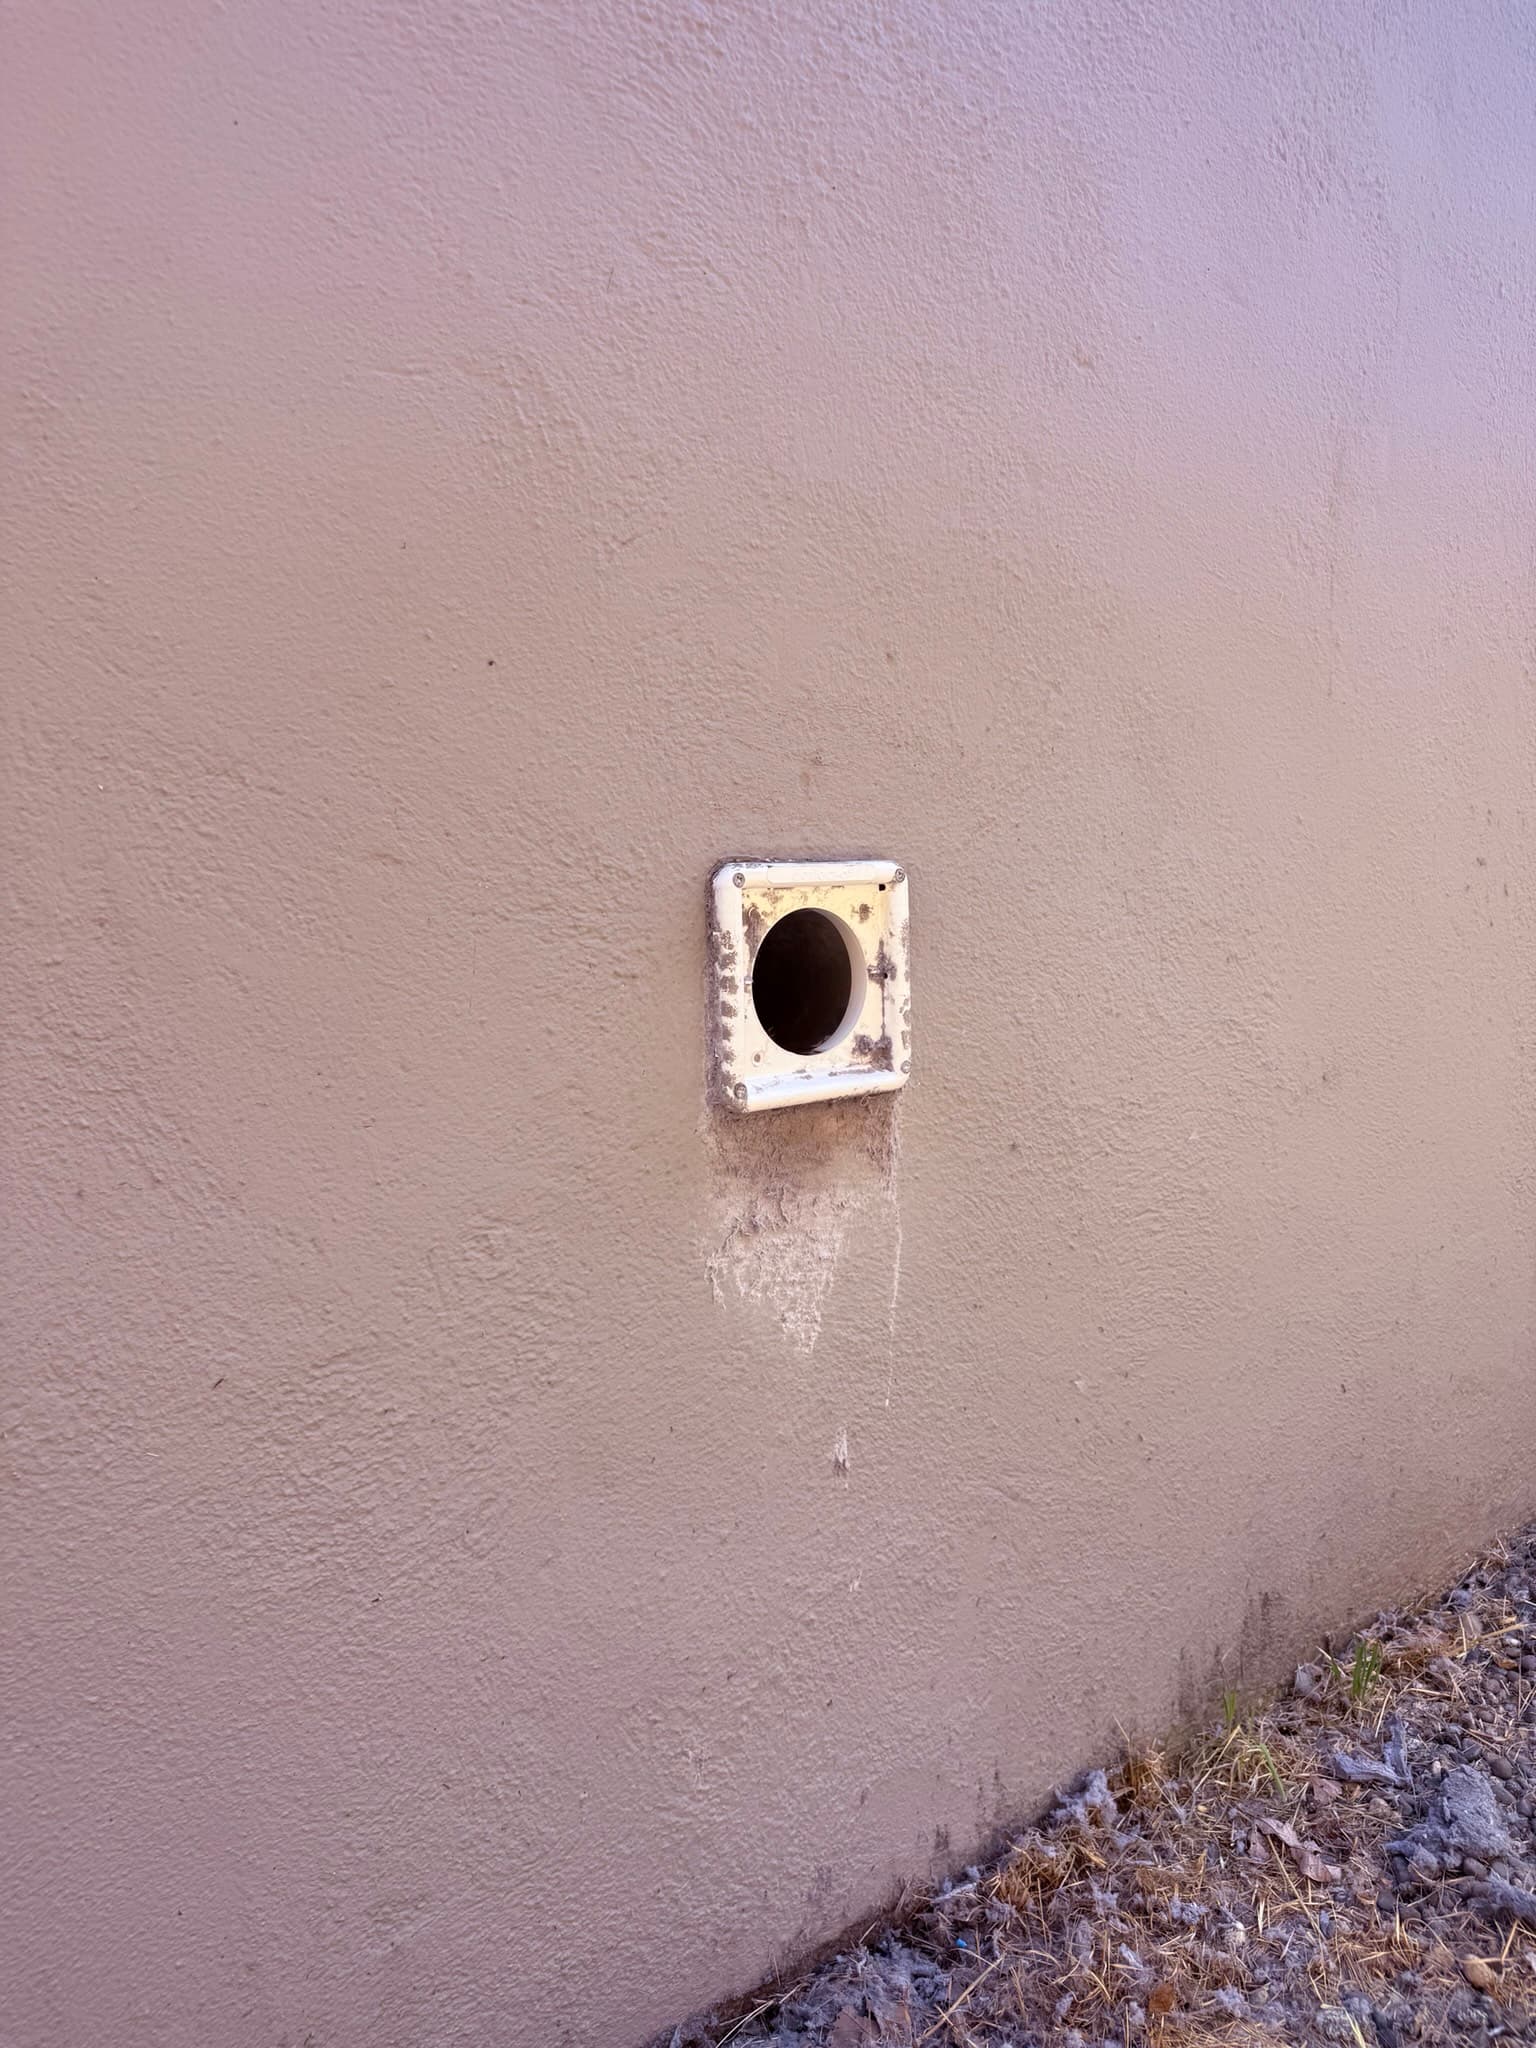
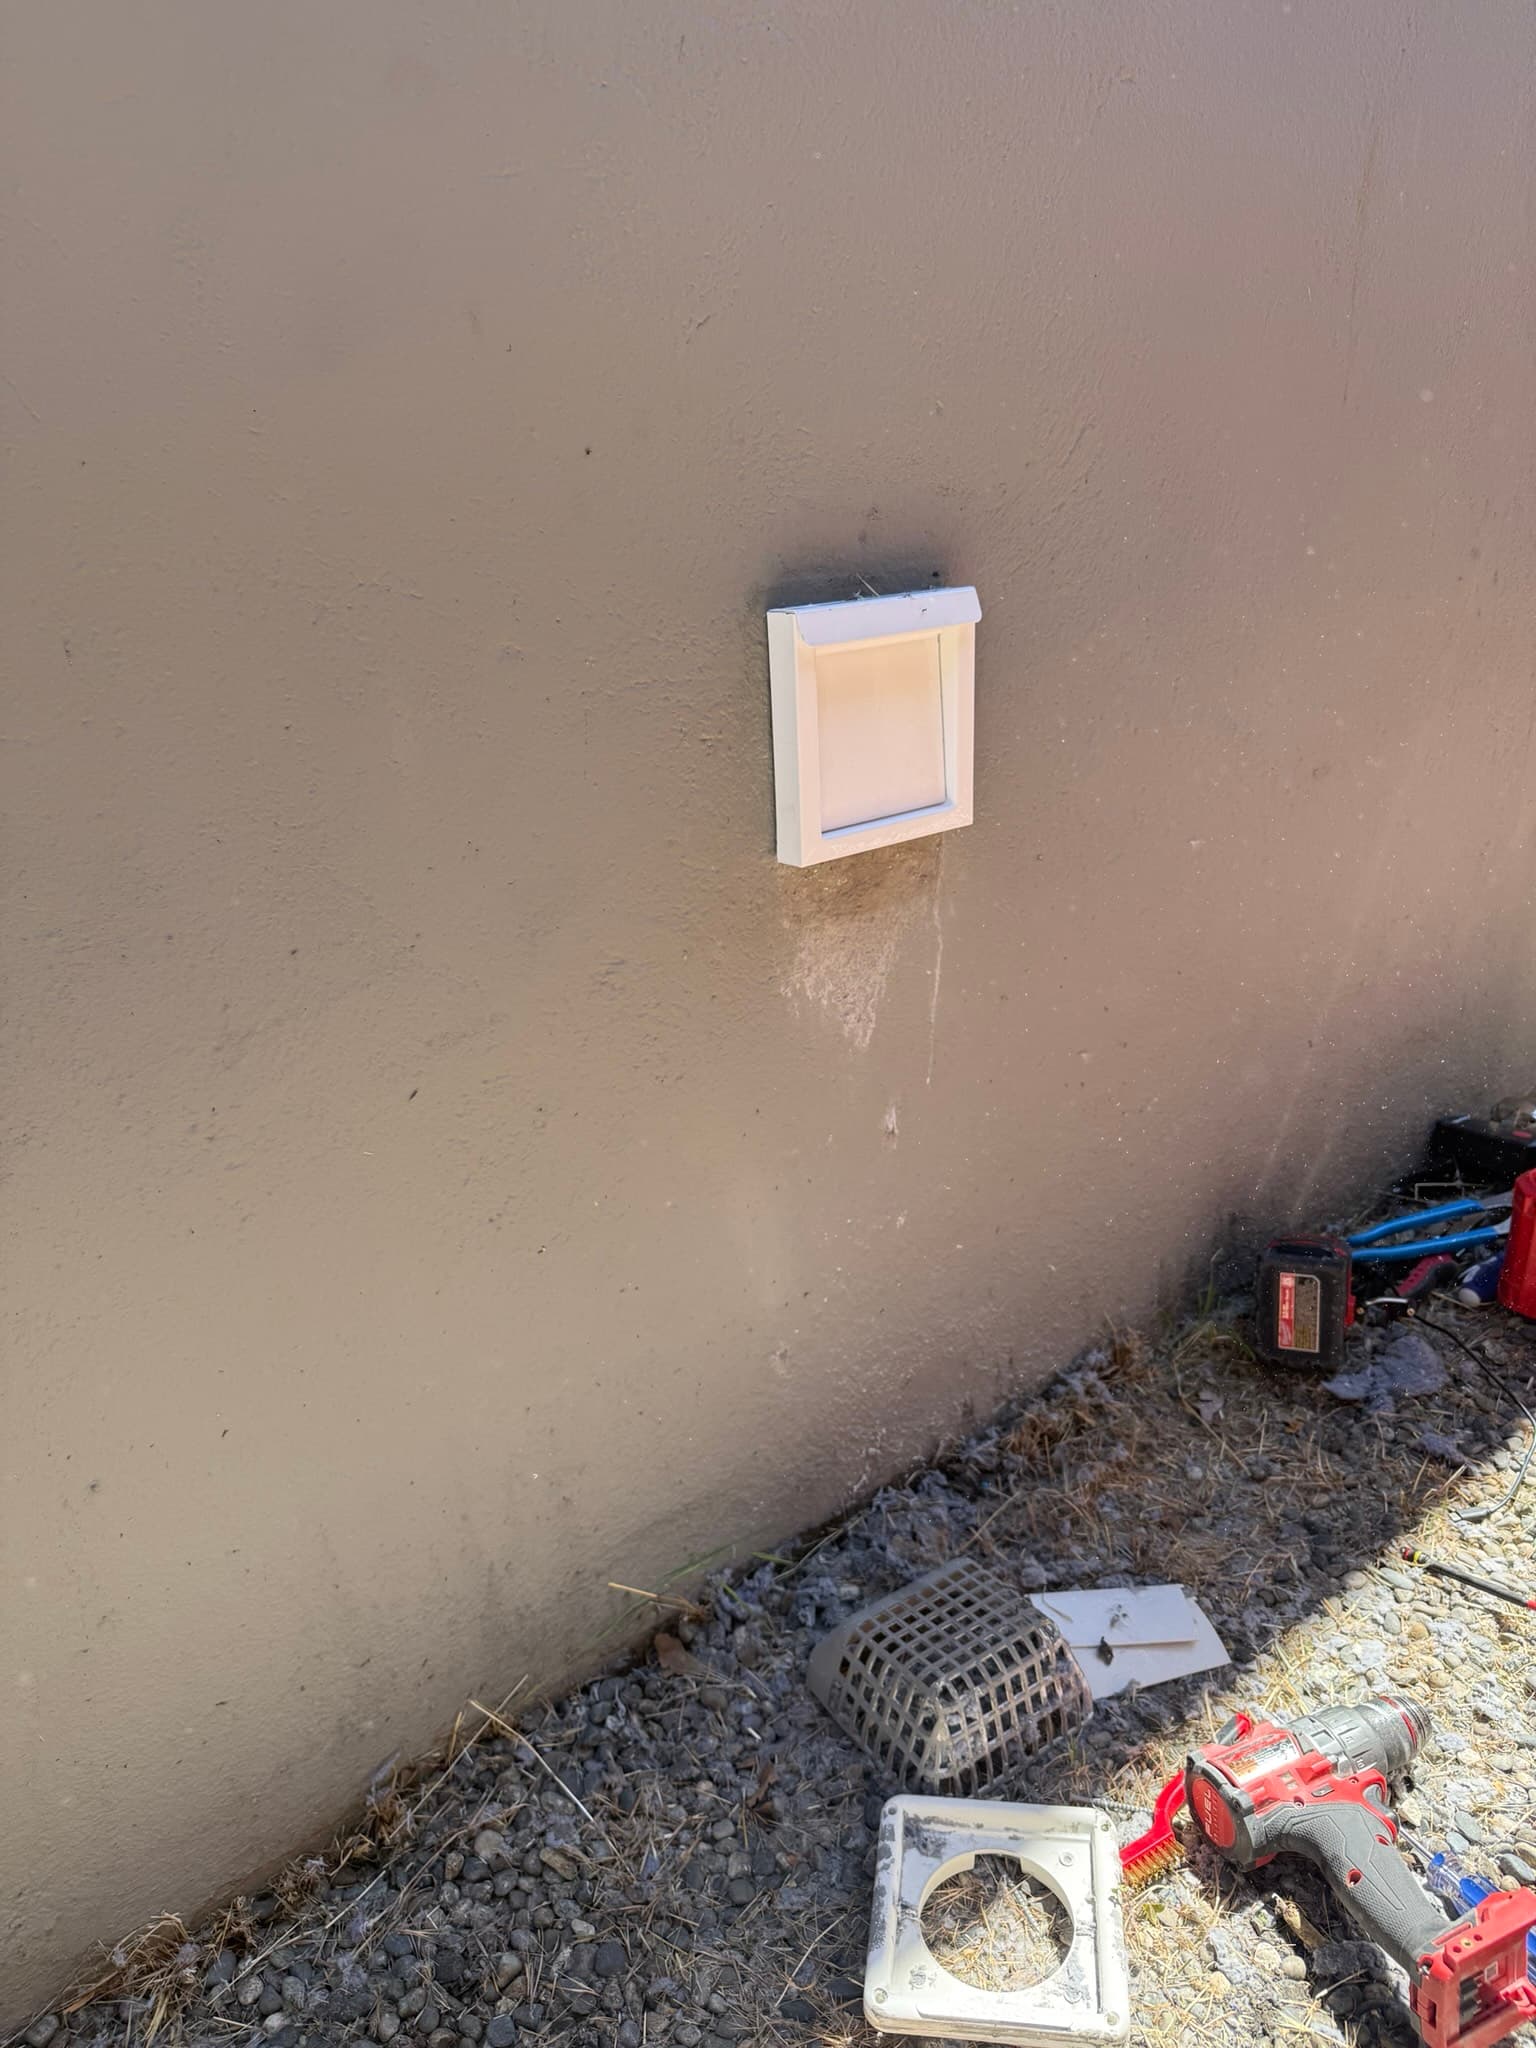
Before and after: the old plastic louvered cap replaced with a new code-compliant exterior wall vent
What We Found
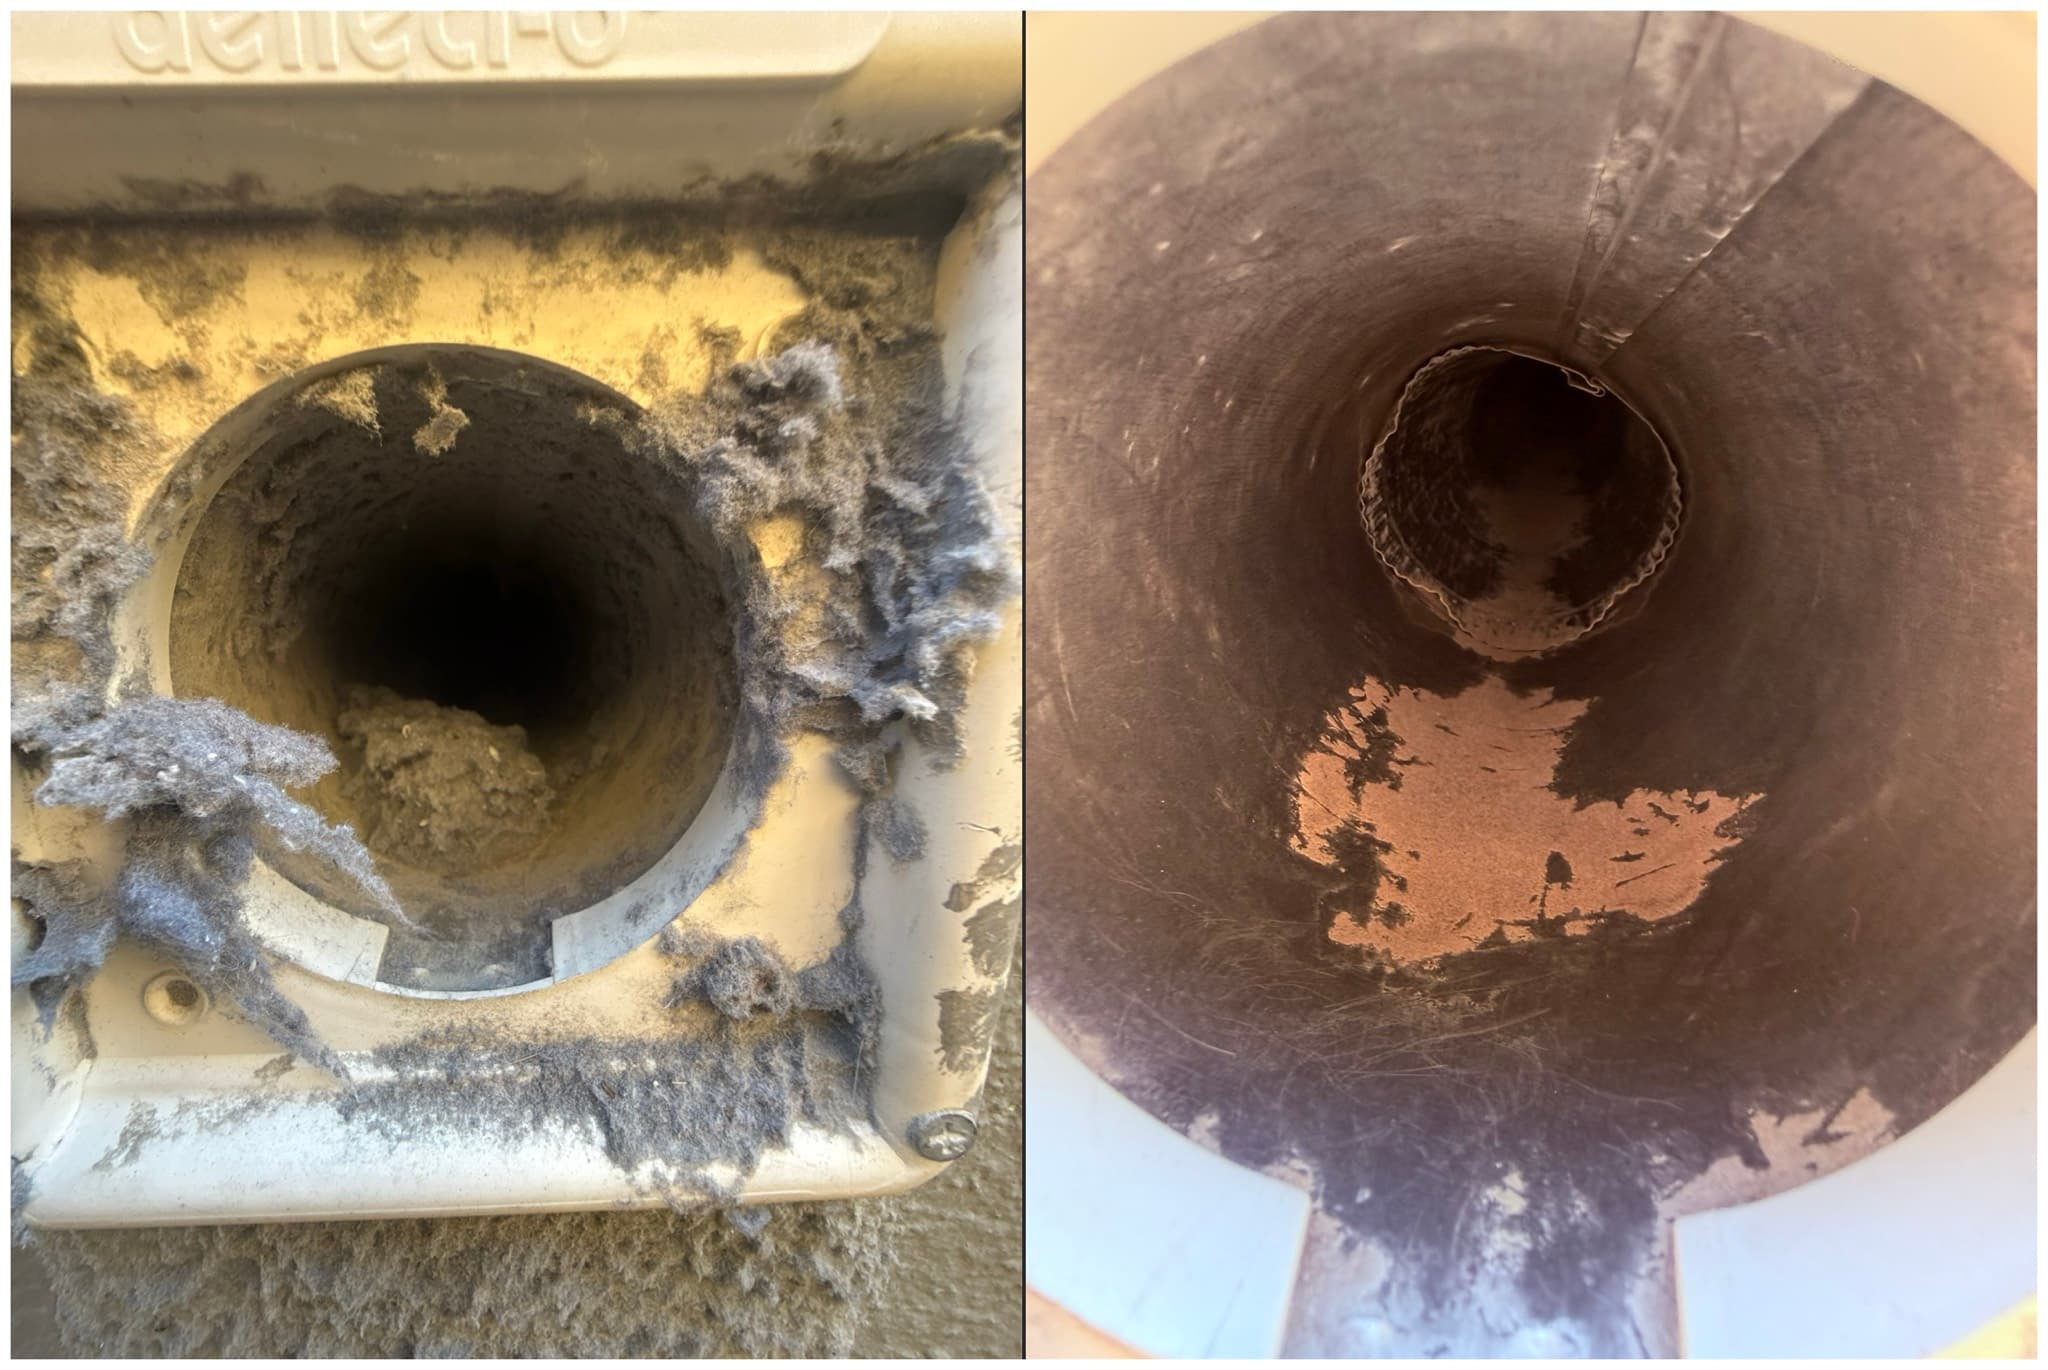
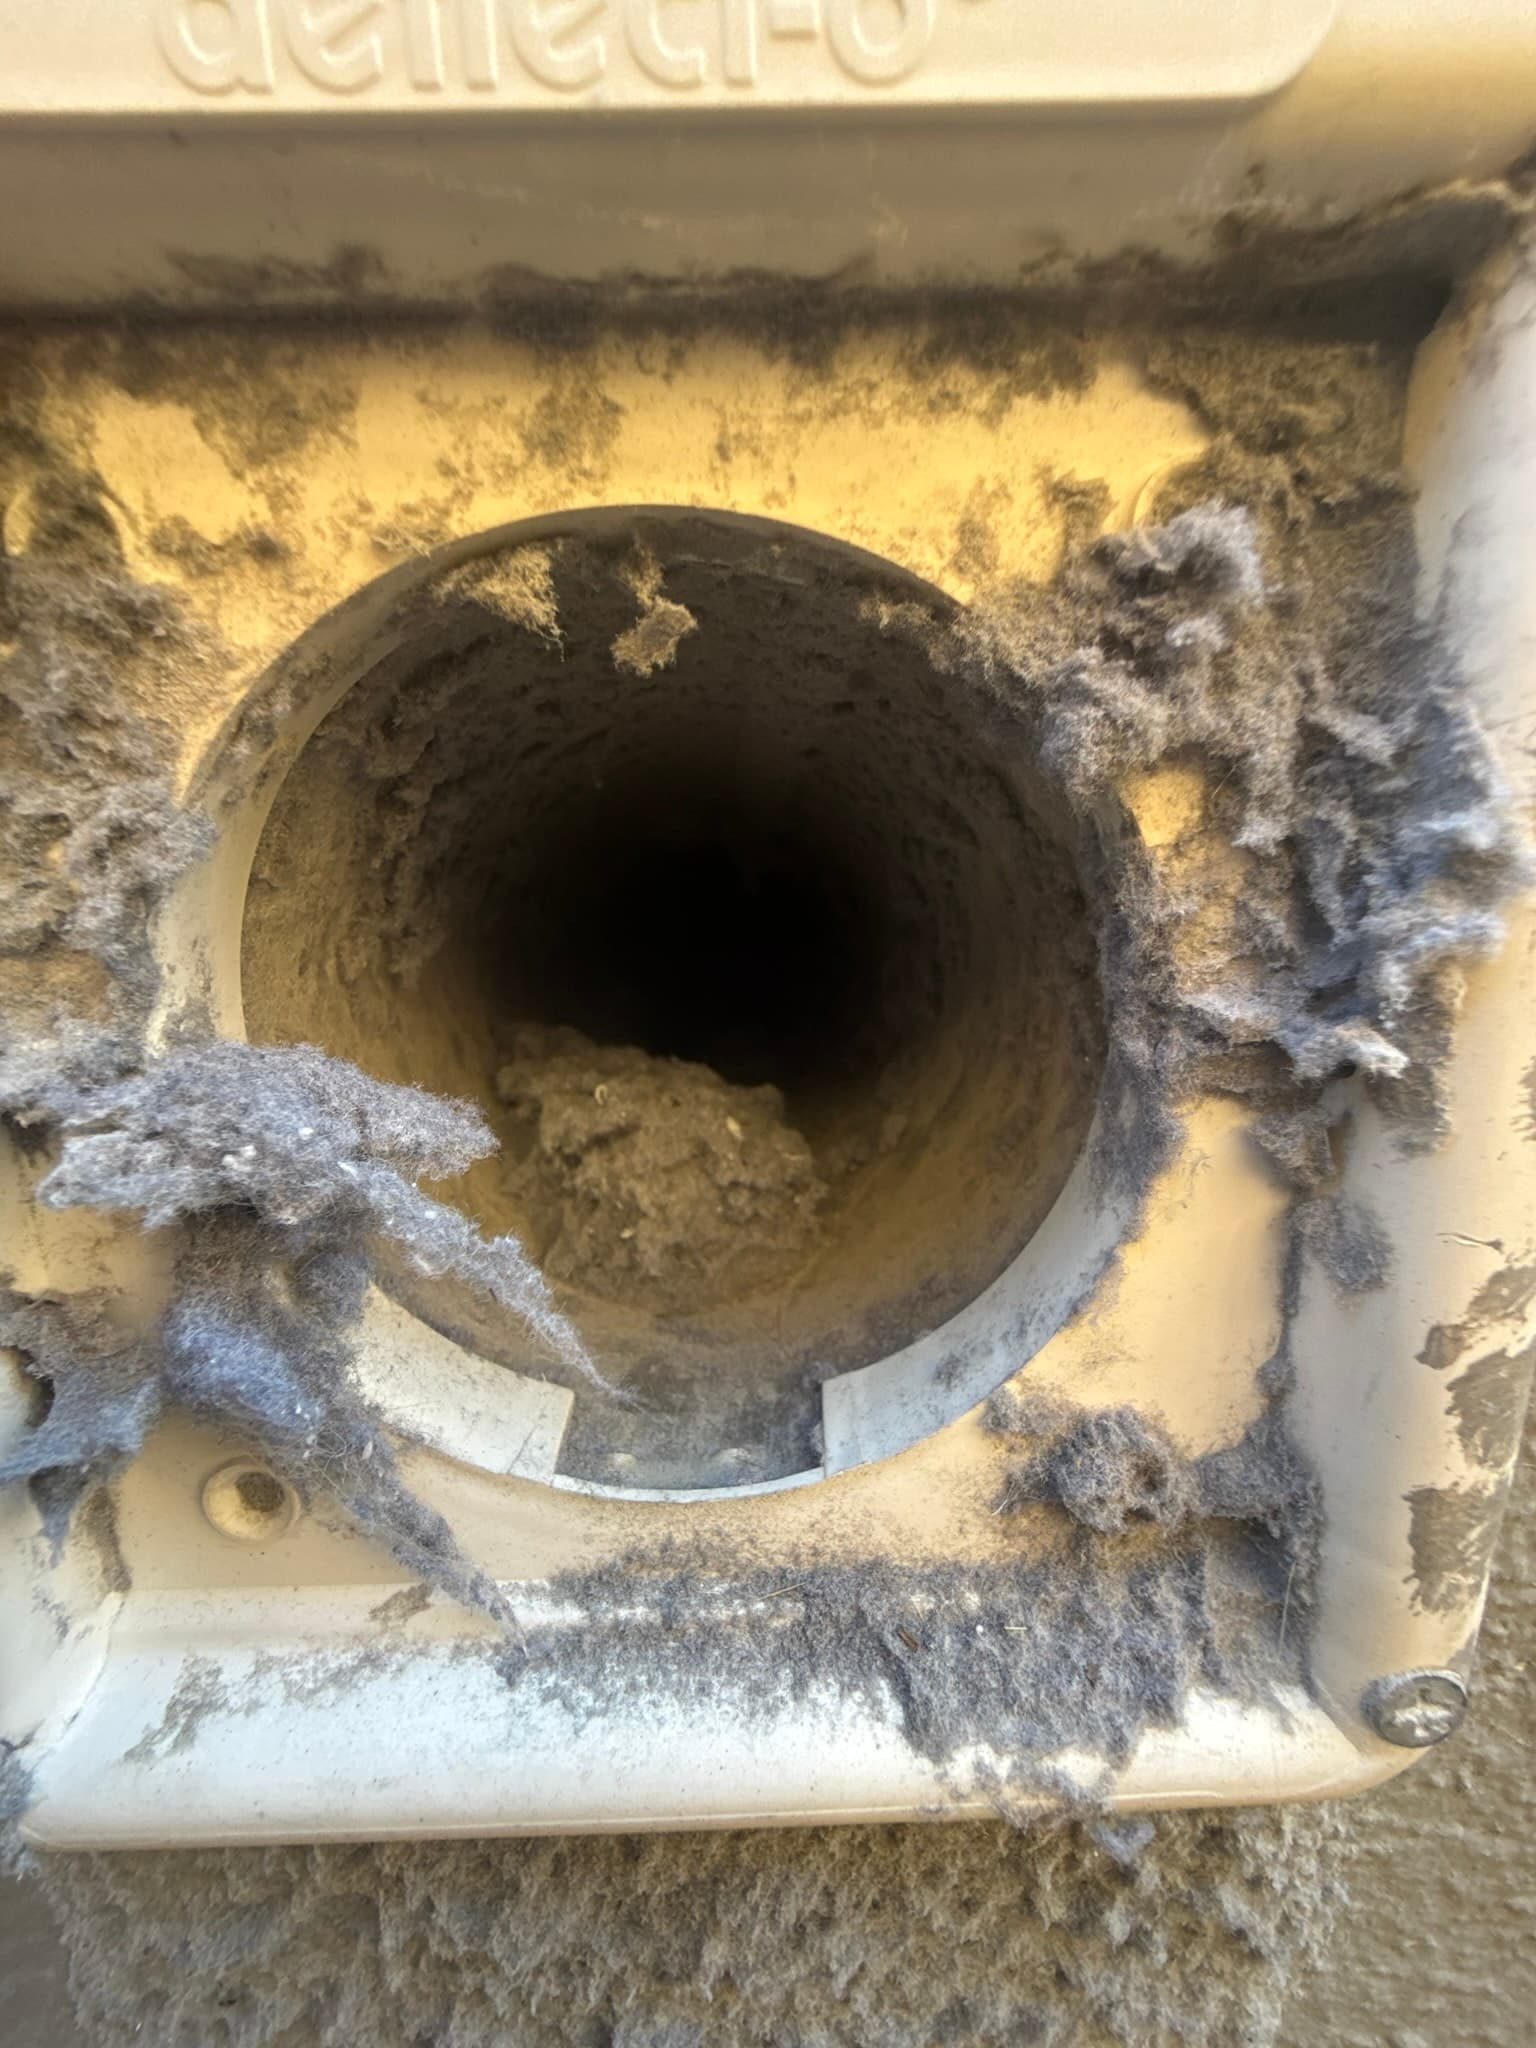
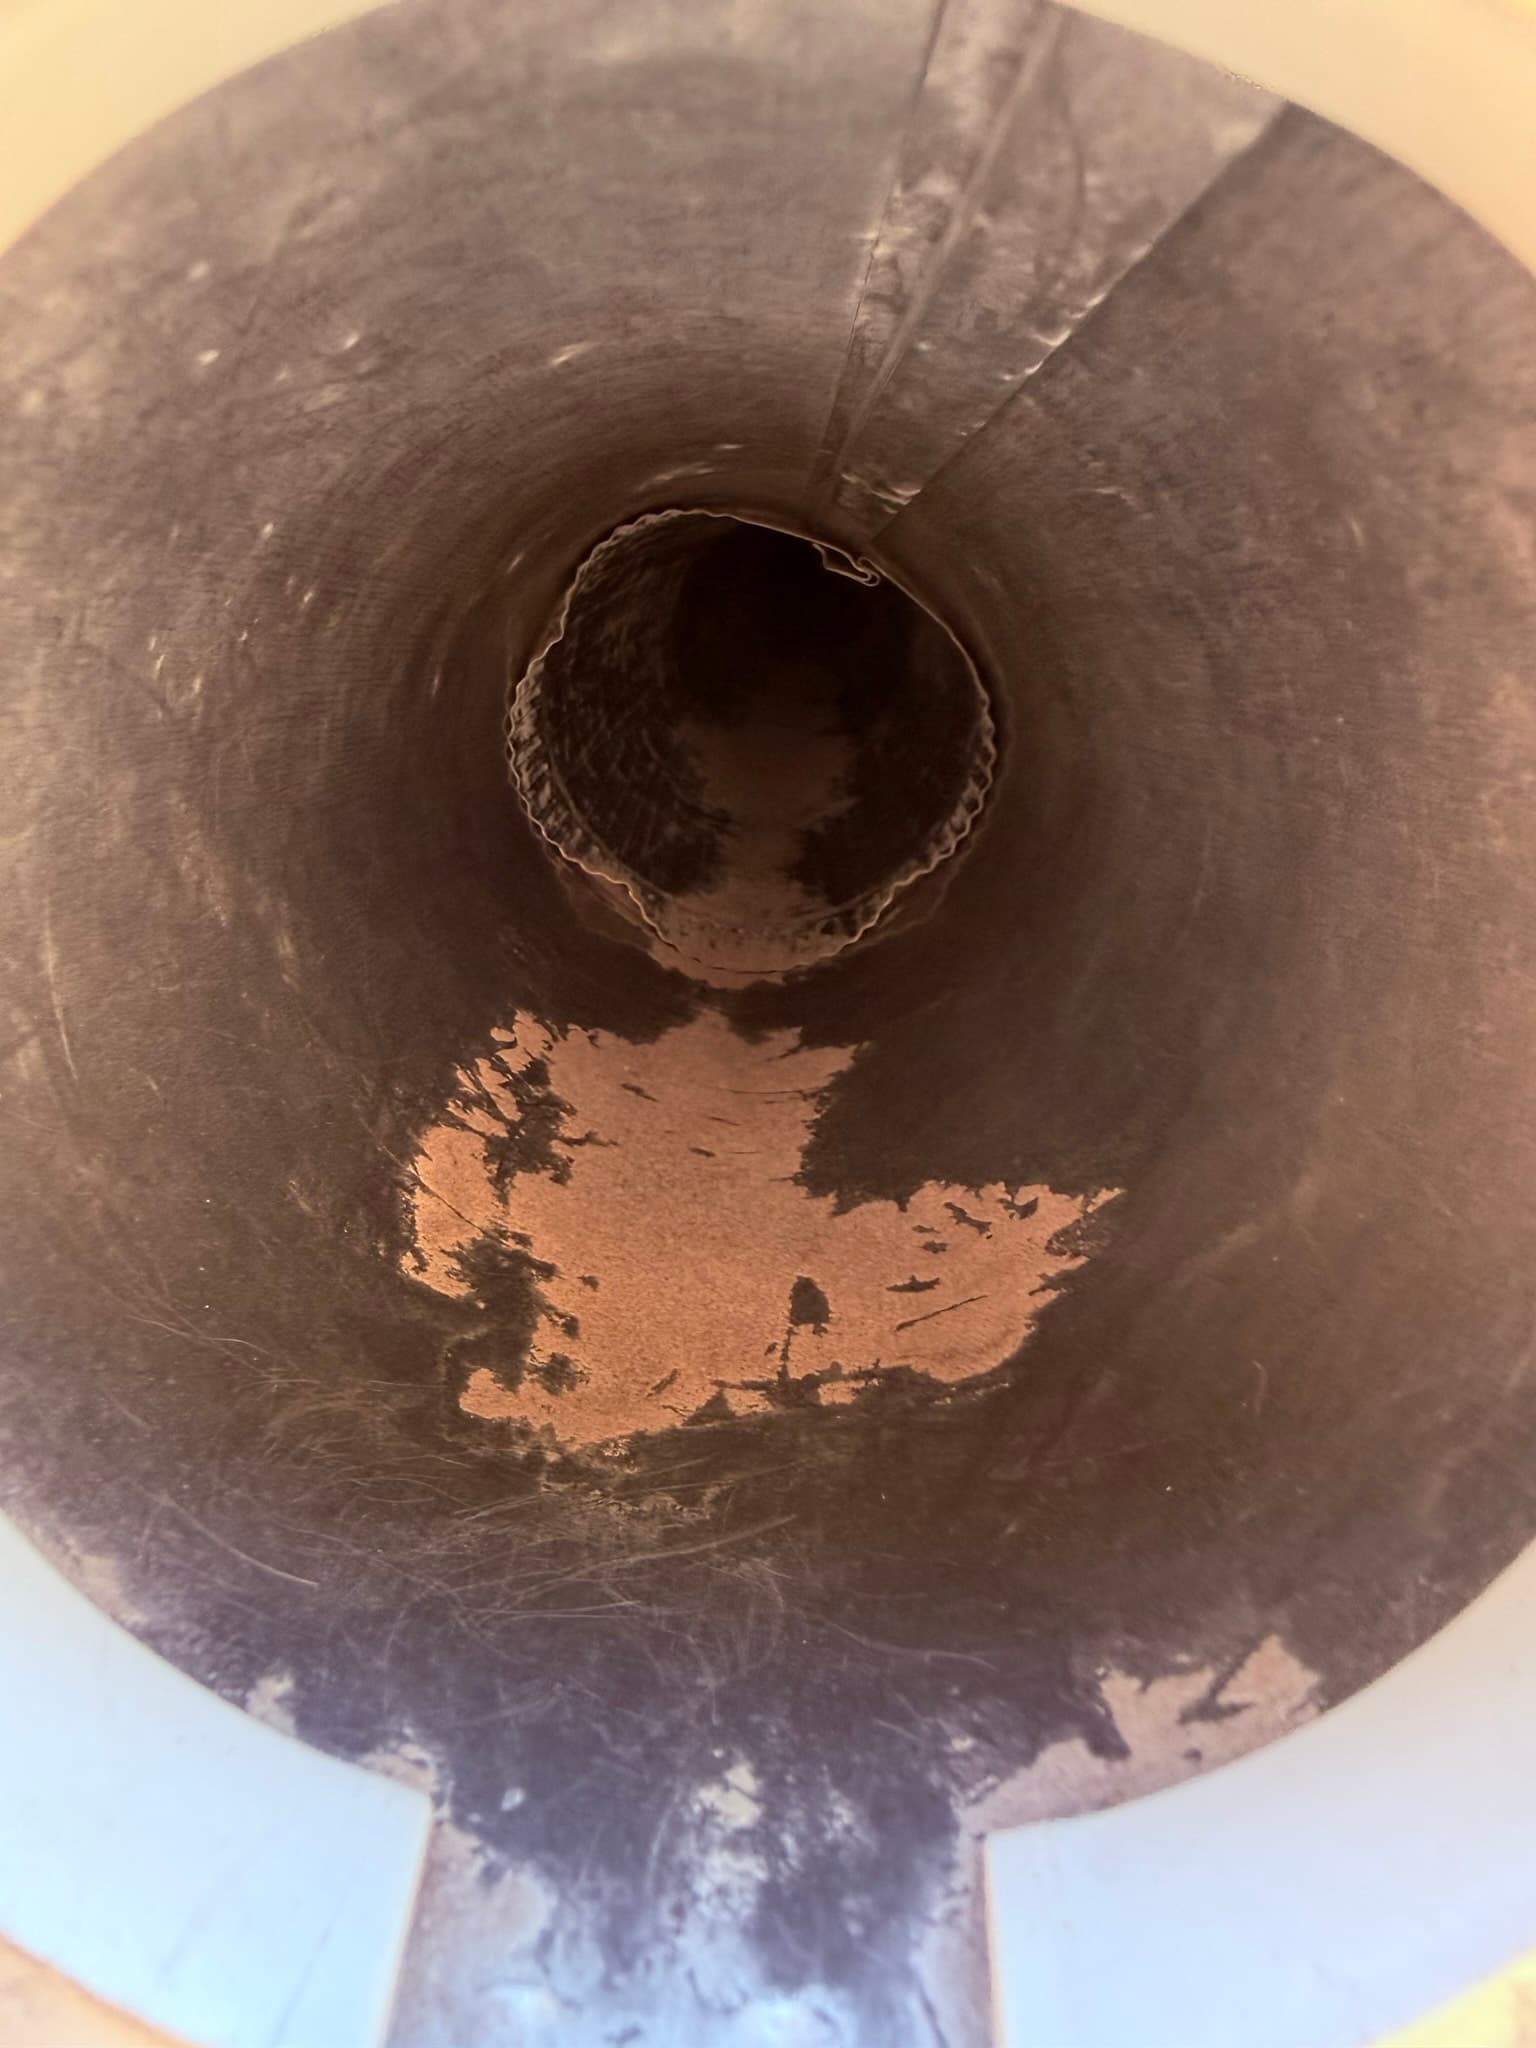
When our technician arrived at this Burlingame residence, a thorough inspection of the dryer exhaust system revealed conditions that are unfortunately common in older installations but no less serious for that. The interior of the duct was more than half blocked with compacted lint, coating the duct walls from the dryer connection all the way through the run. Heavy lint deposits were visible at the dryer outlet collar, partially obstructing the opening, and an interior view looking through the duct showed just a narrow passage remaining at the far end. Lint buildup of this severity restricts airflow well below the 300 CFM that most dryer manufacturers require for proper operation, forces extended drying cycles, and is recognized by the U.S. Fire Administration as the leading factor in the approximately 2,900 residential dryer fires reported each year.
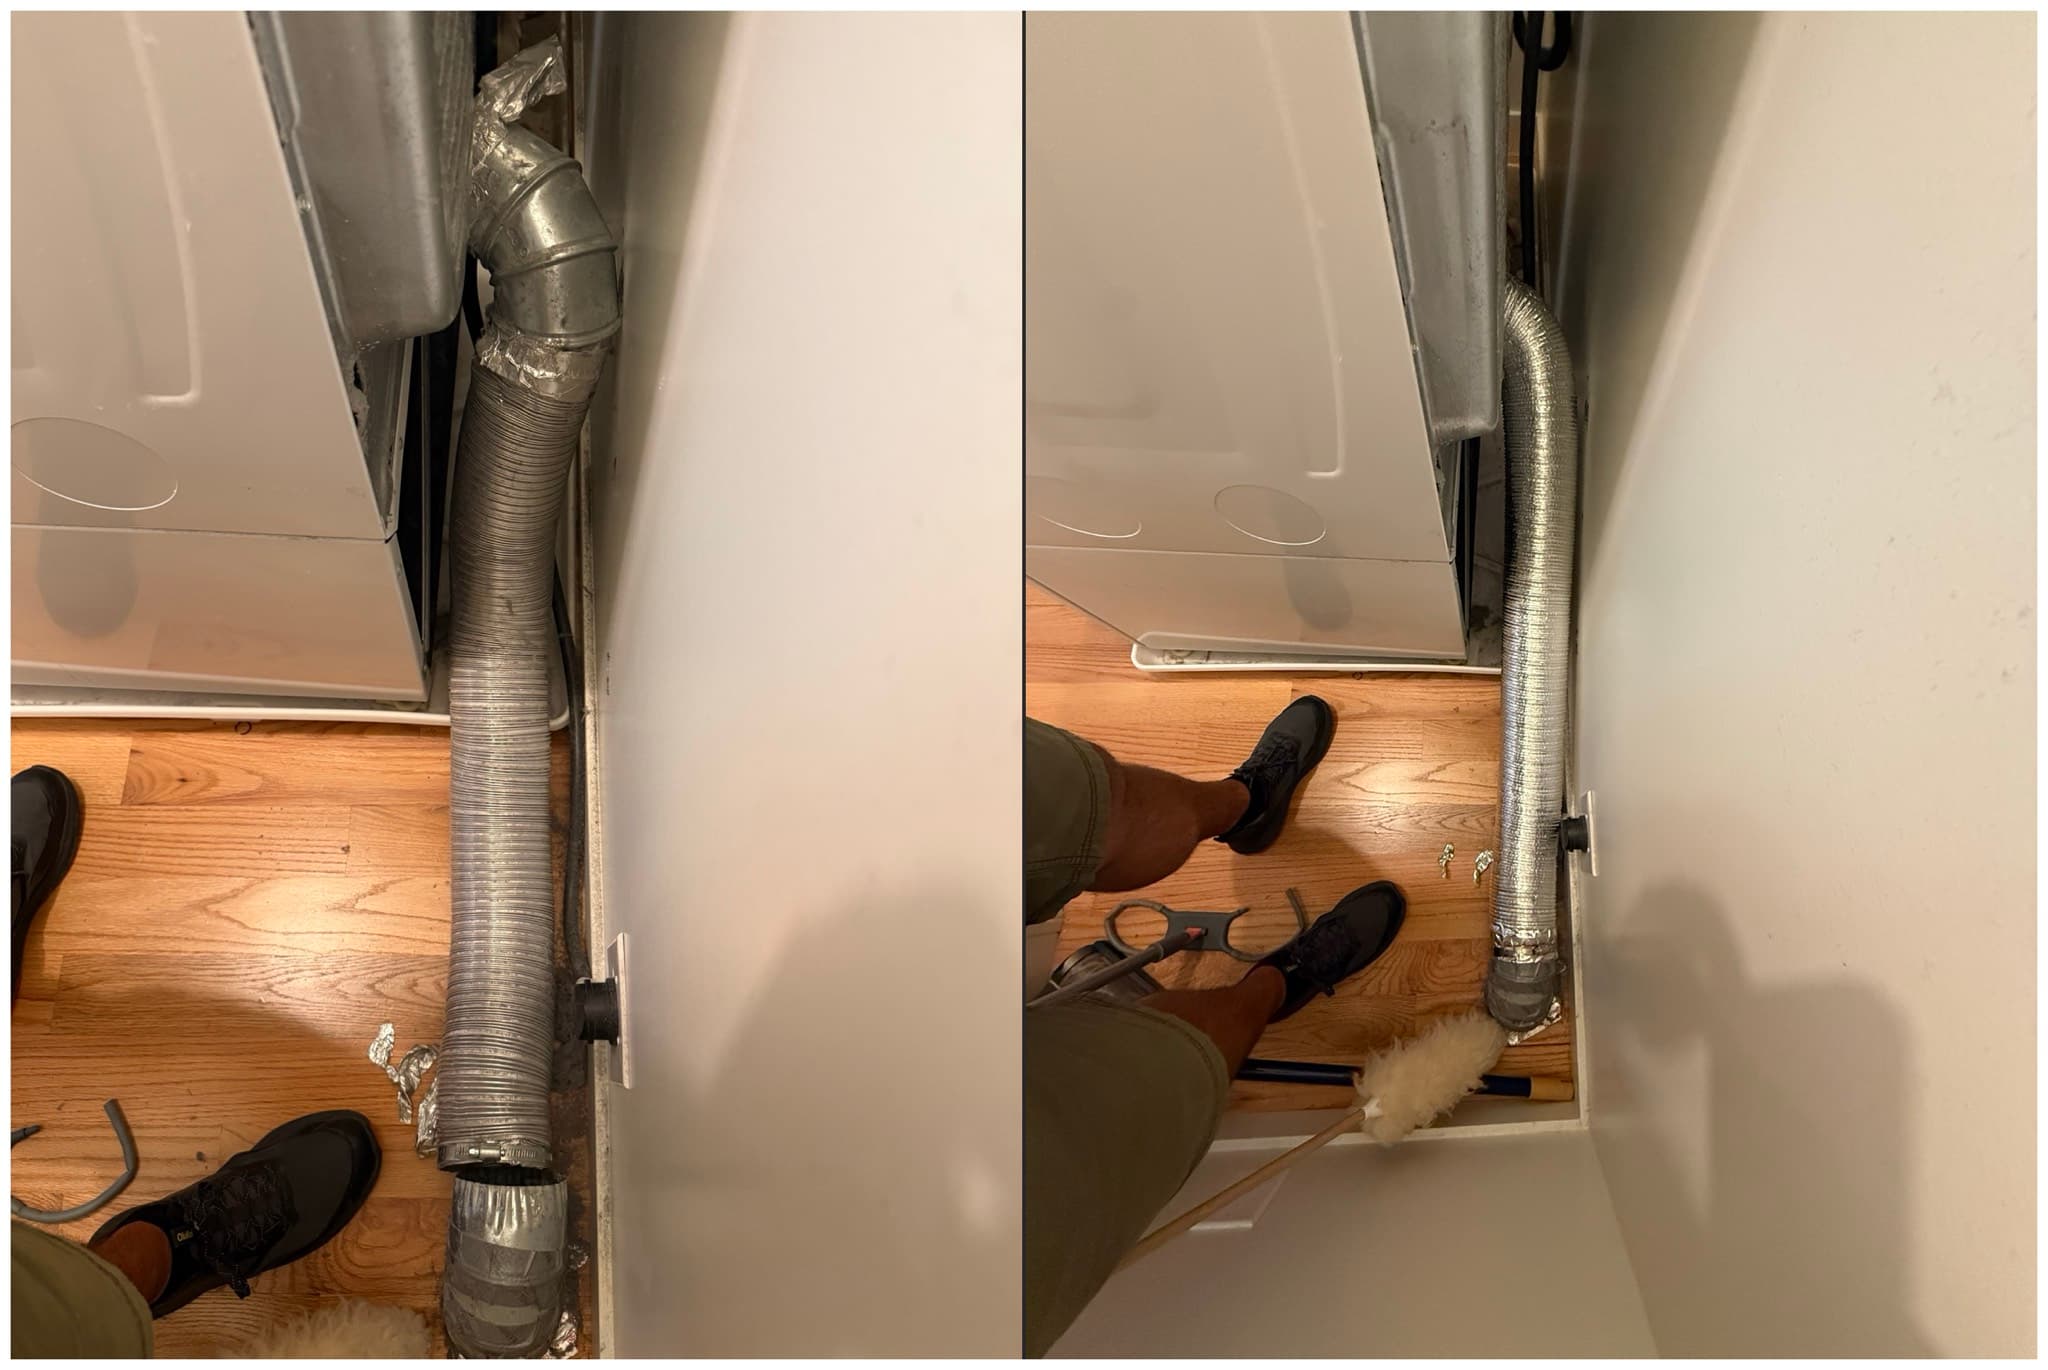
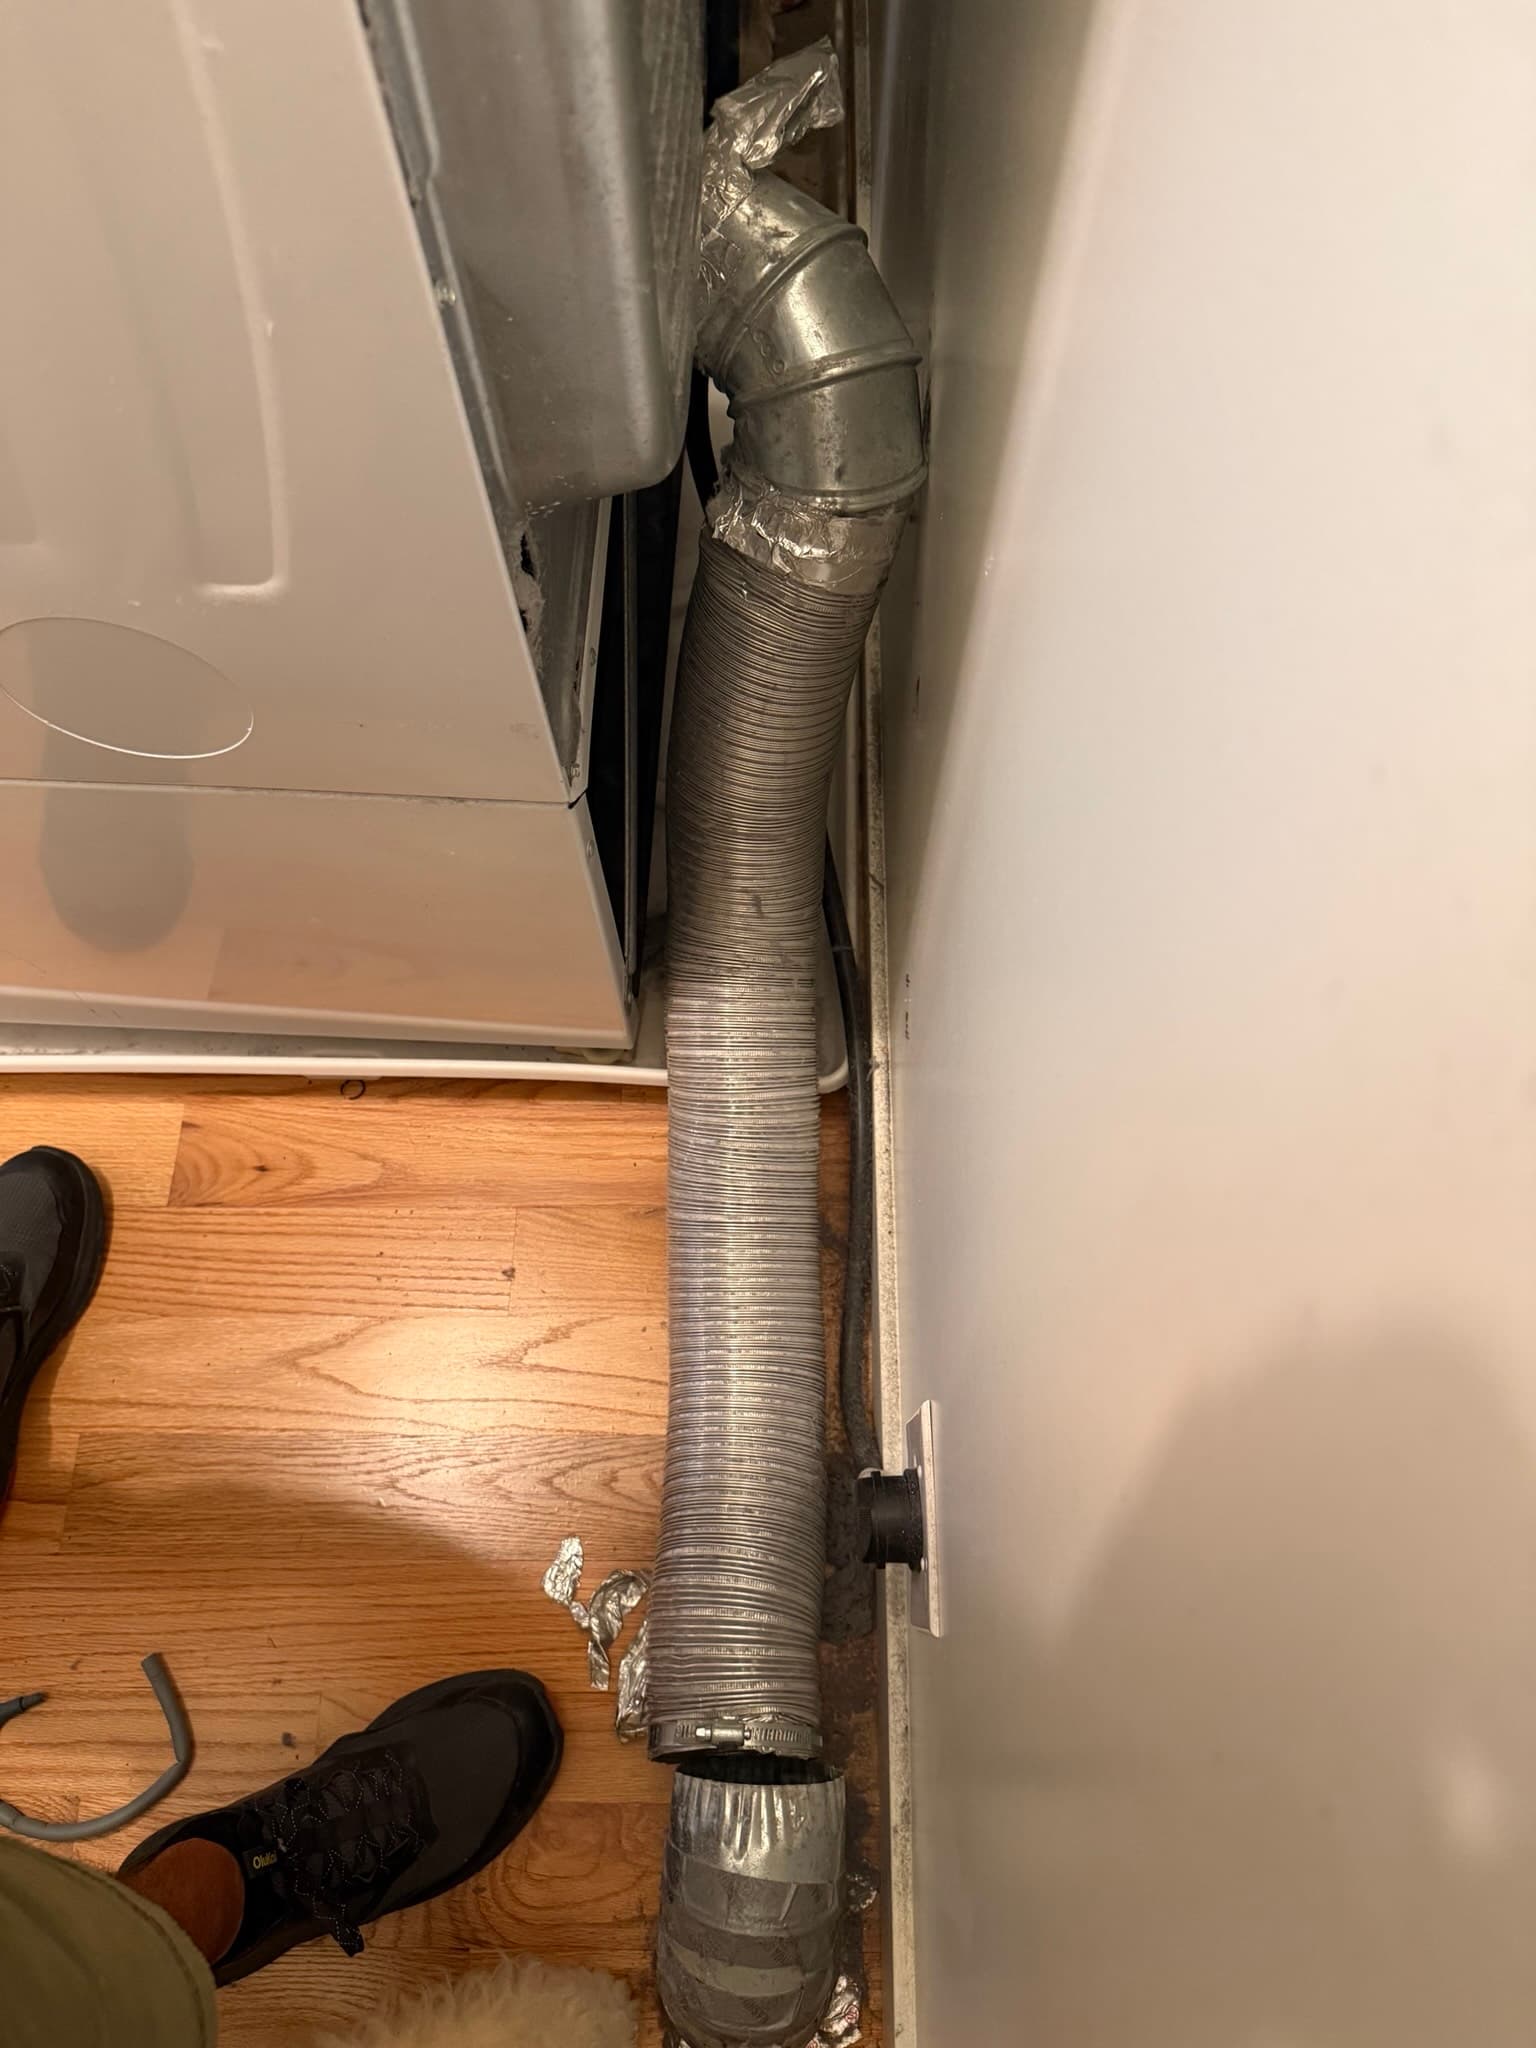
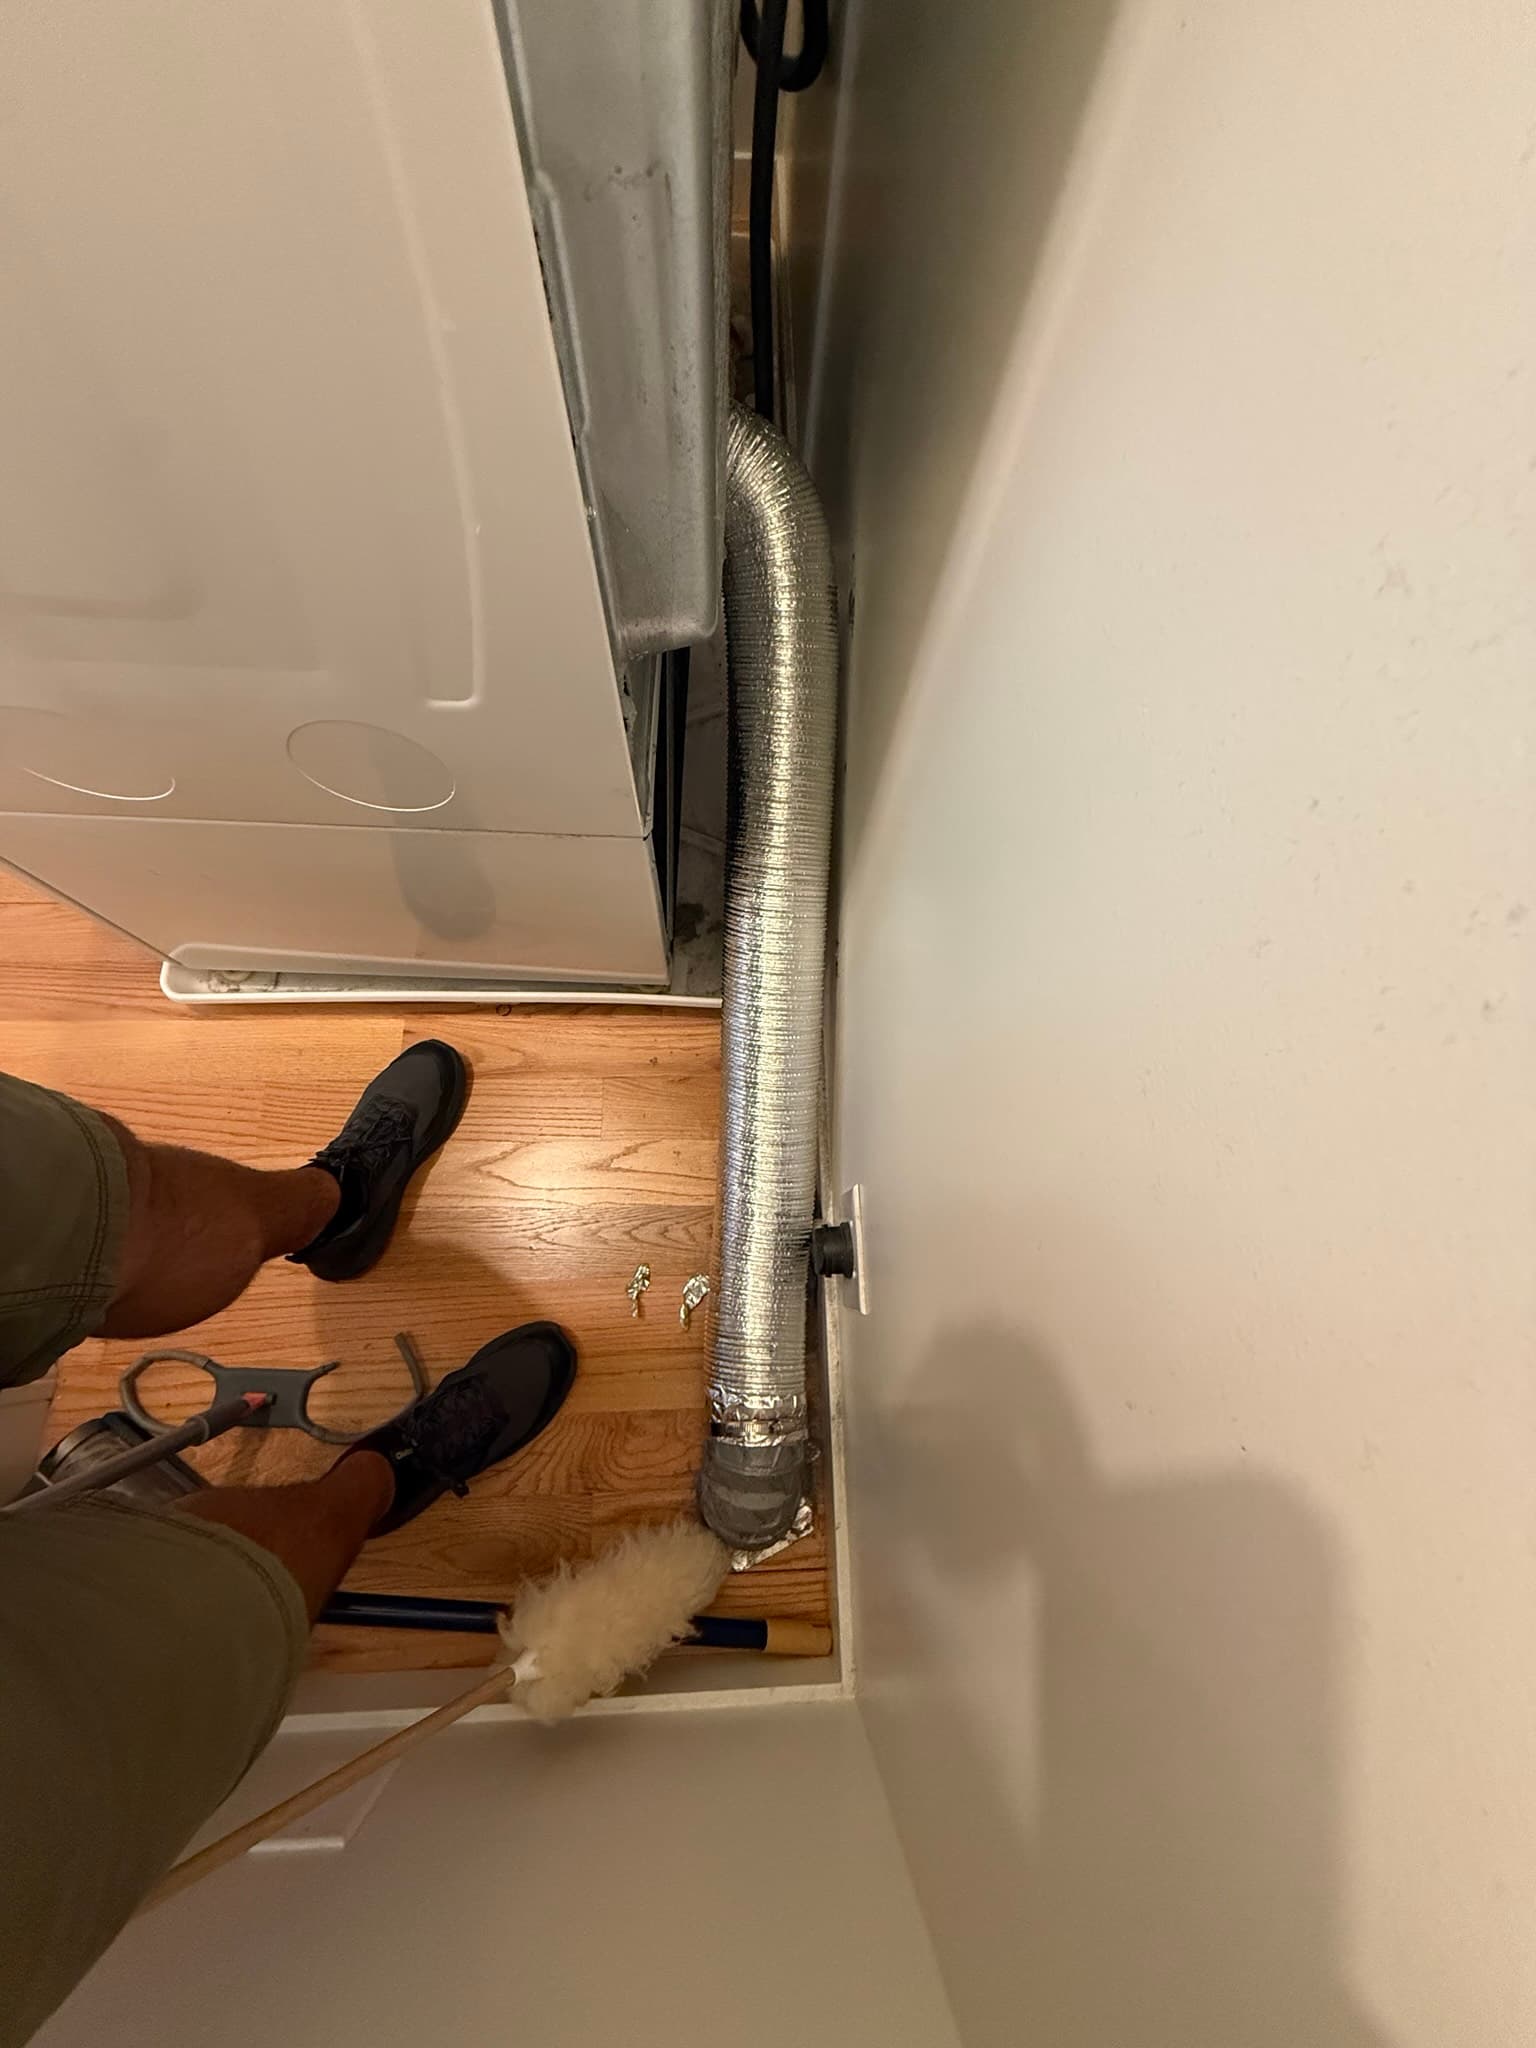
The existing transition duct connecting the dryer to the in-wall duct run also presented problems. It was a semi-rigid flexible metallic hose with connections secured by duct tape at multiple points rather than proper mechanical fasteners. Cloth-backed or general-purpose duct tape degrades under the repeated heat cycling of dryer exhaust and is not an approved method of joint sealing under IRC M1502.4.2, which requires joints to be mechanically fastened and sealed with listed metal foil tape. In addition to the connection issues, the duct showed slack and improper support that can trap lint over time and restrict airflow in ways that are difficult to detect without a professional inspection.
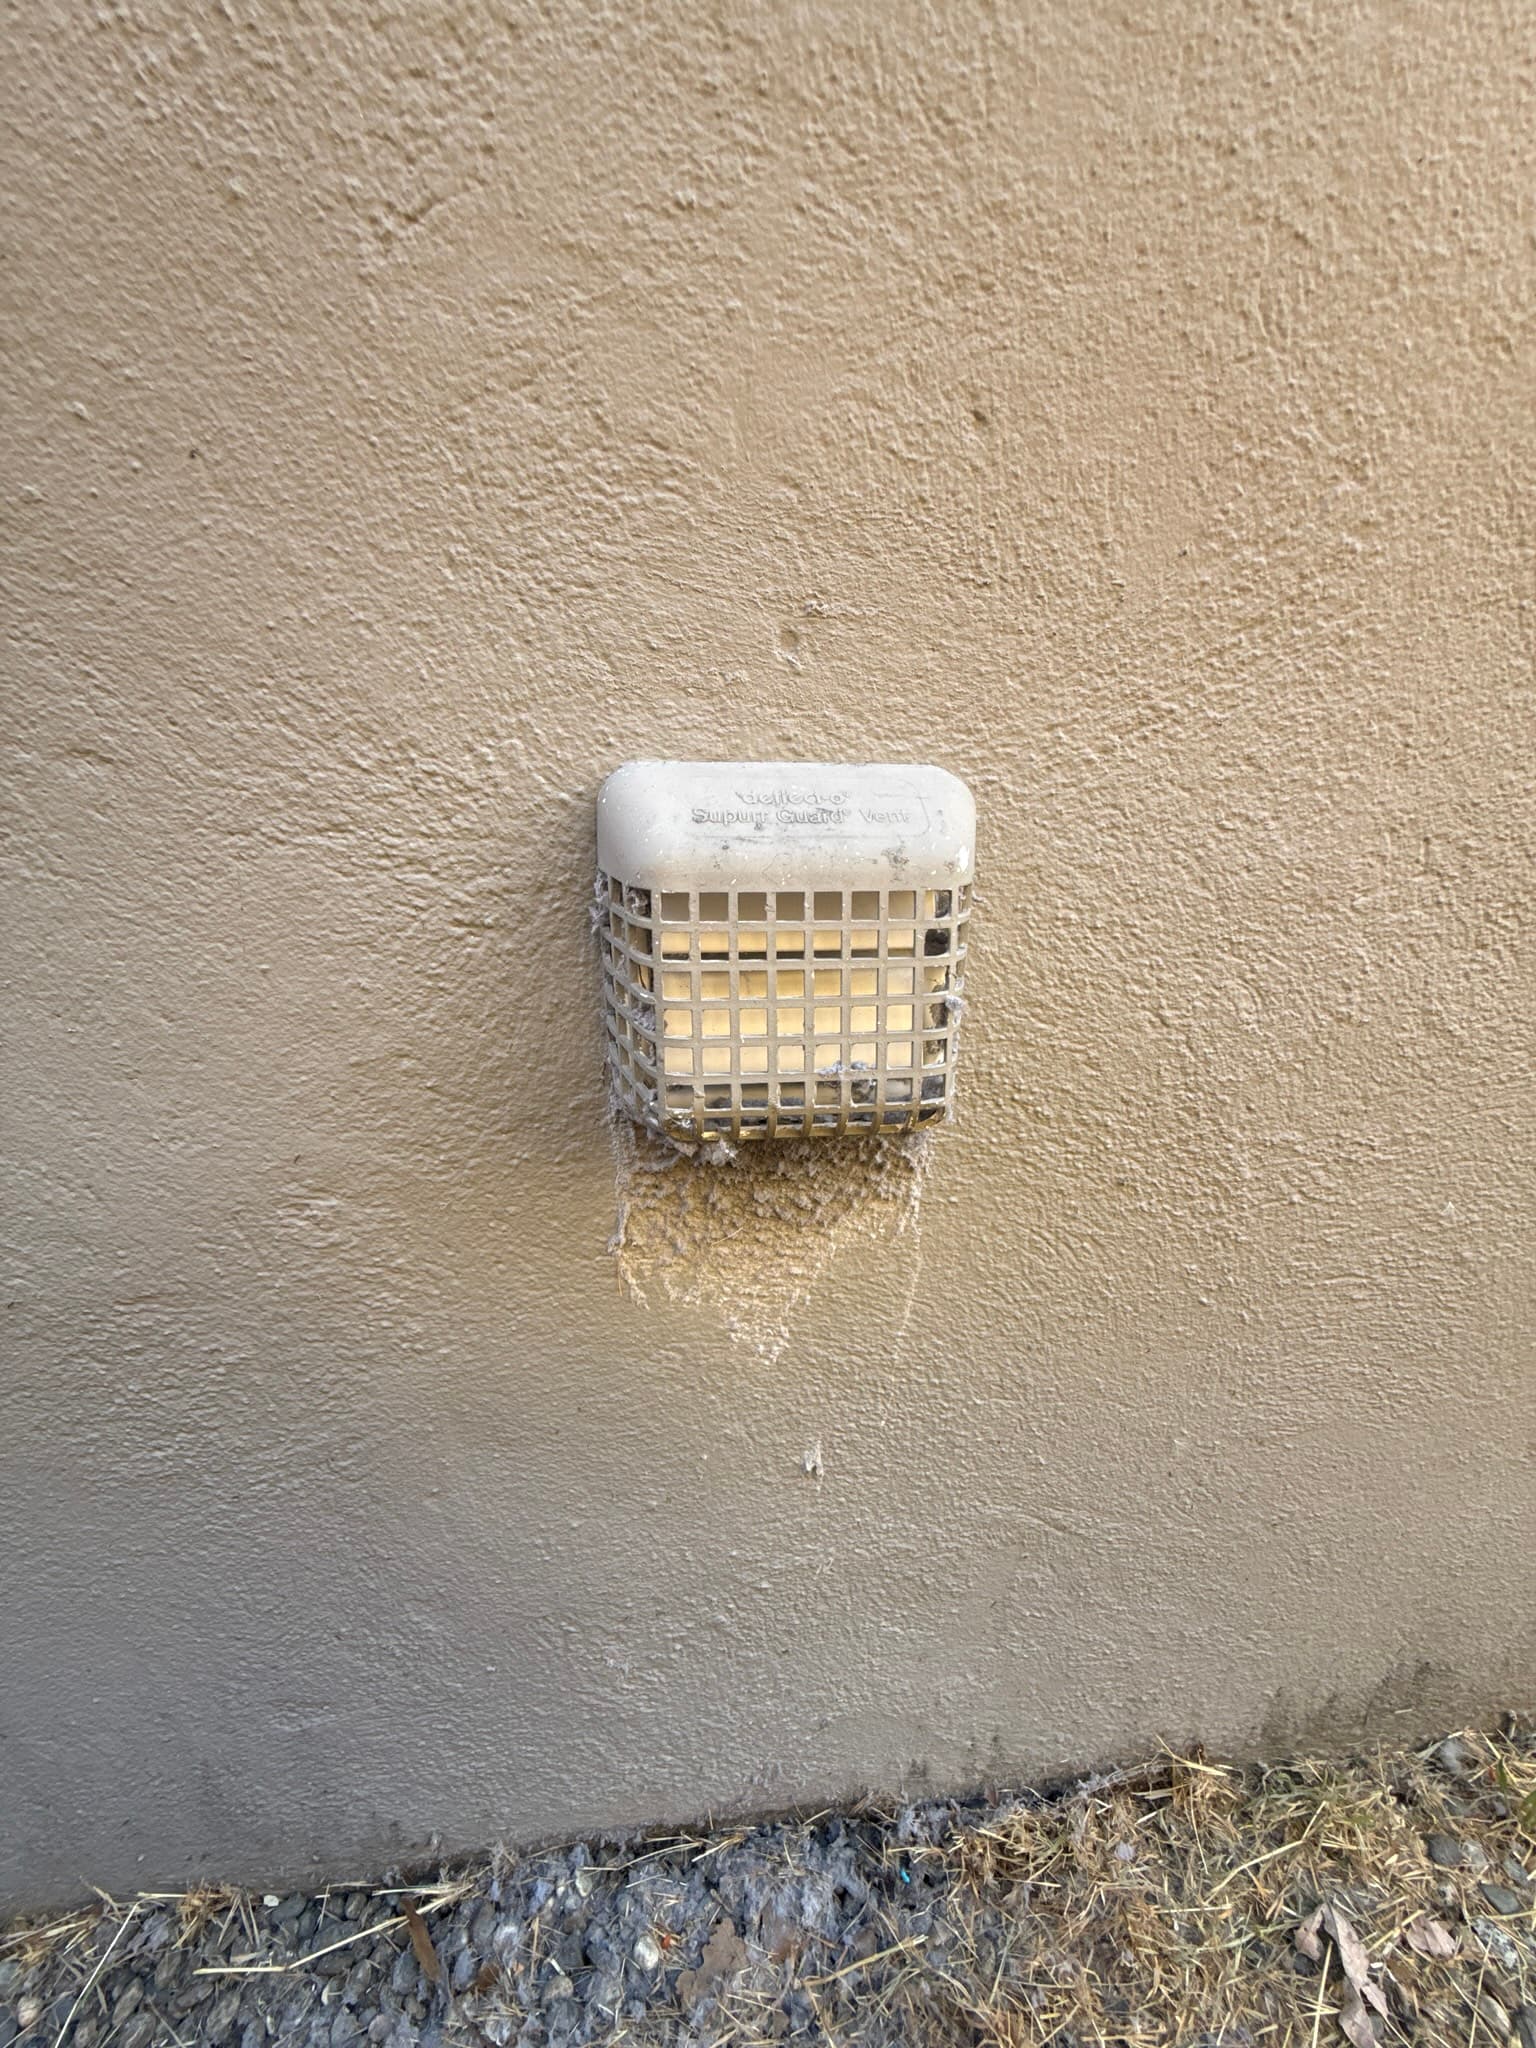
The exterior termination cap was an older plastic louvered design with visible lint staining and discoloration around the opening, indicating years of restricted exhaust passing through it. Louver-style caps with multiple narrow slats are prone to lint accumulation on the blades and can restrict airflow more than purpose-built dryer vent terminations. The cap also lacked the reliable backdraft damper action required by IRC M1502.3 to prevent outside air, insects, and pests from entering the duct when the dryer is not running.
What We Did
Deep Cleaning and Inspection
We performed a full residential dryer exhaust cleaning and inspection using a drill-attachment rotary brush paired with a high-powered shop vacuum. This combination drives compacted lint loose from the duct walls while simultaneously extracting it, rather than simply pushing debris toward the termination. We worked the brush through every inch of the duct run, from the dryer connection point to the exterior cap opening, until airflow through the system was unobstructed. The interior surfaces visible after cleaning showed no remaining significant lint accumulation.
Transition Duct Replacement
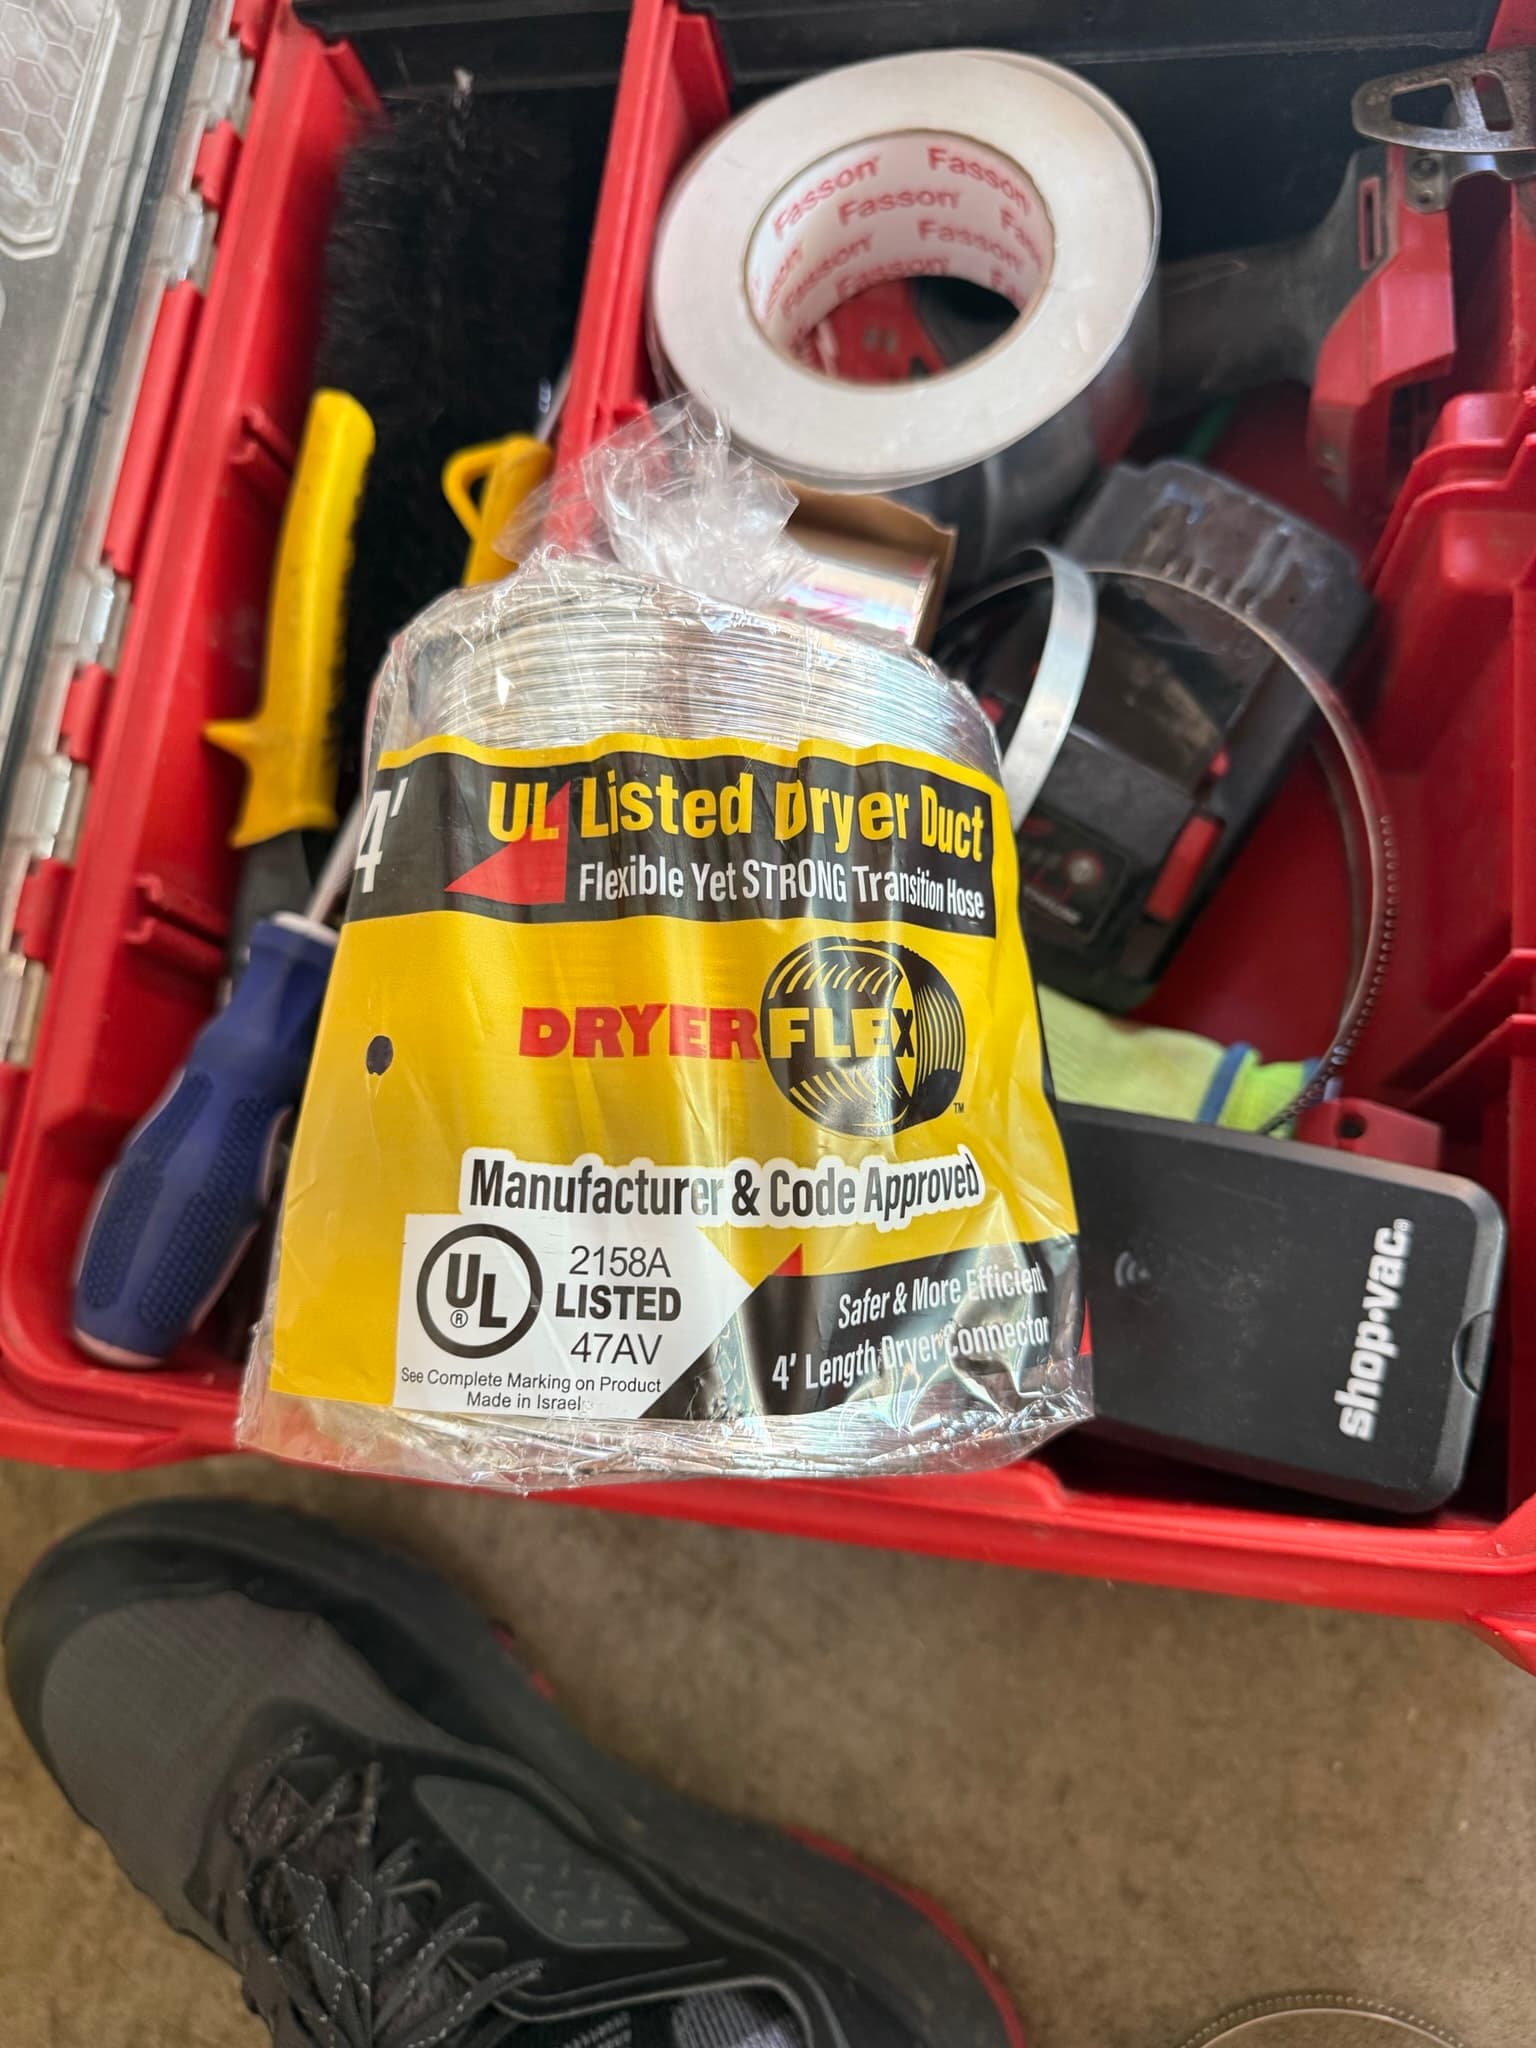
The old semi-rigid transition duct and its tape-secured connections were removed entirely. In their place, we installed 4 feet of DryerFlex transition duct, secured at both ends with two DryerClamps. DryerFlex is a UL 2158A-listed product specifically engineered for dryer exhaust duty, rated for the temperature and lint load that dryer exhaust carries. The metal clamps provide the mechanical fastening required by IRC M1502.4.2, and the 4-foot length keeps the transition well within the 8-foot maximum for transition ducts that are not concealed within construction.
Exterior Wall Vent Installation
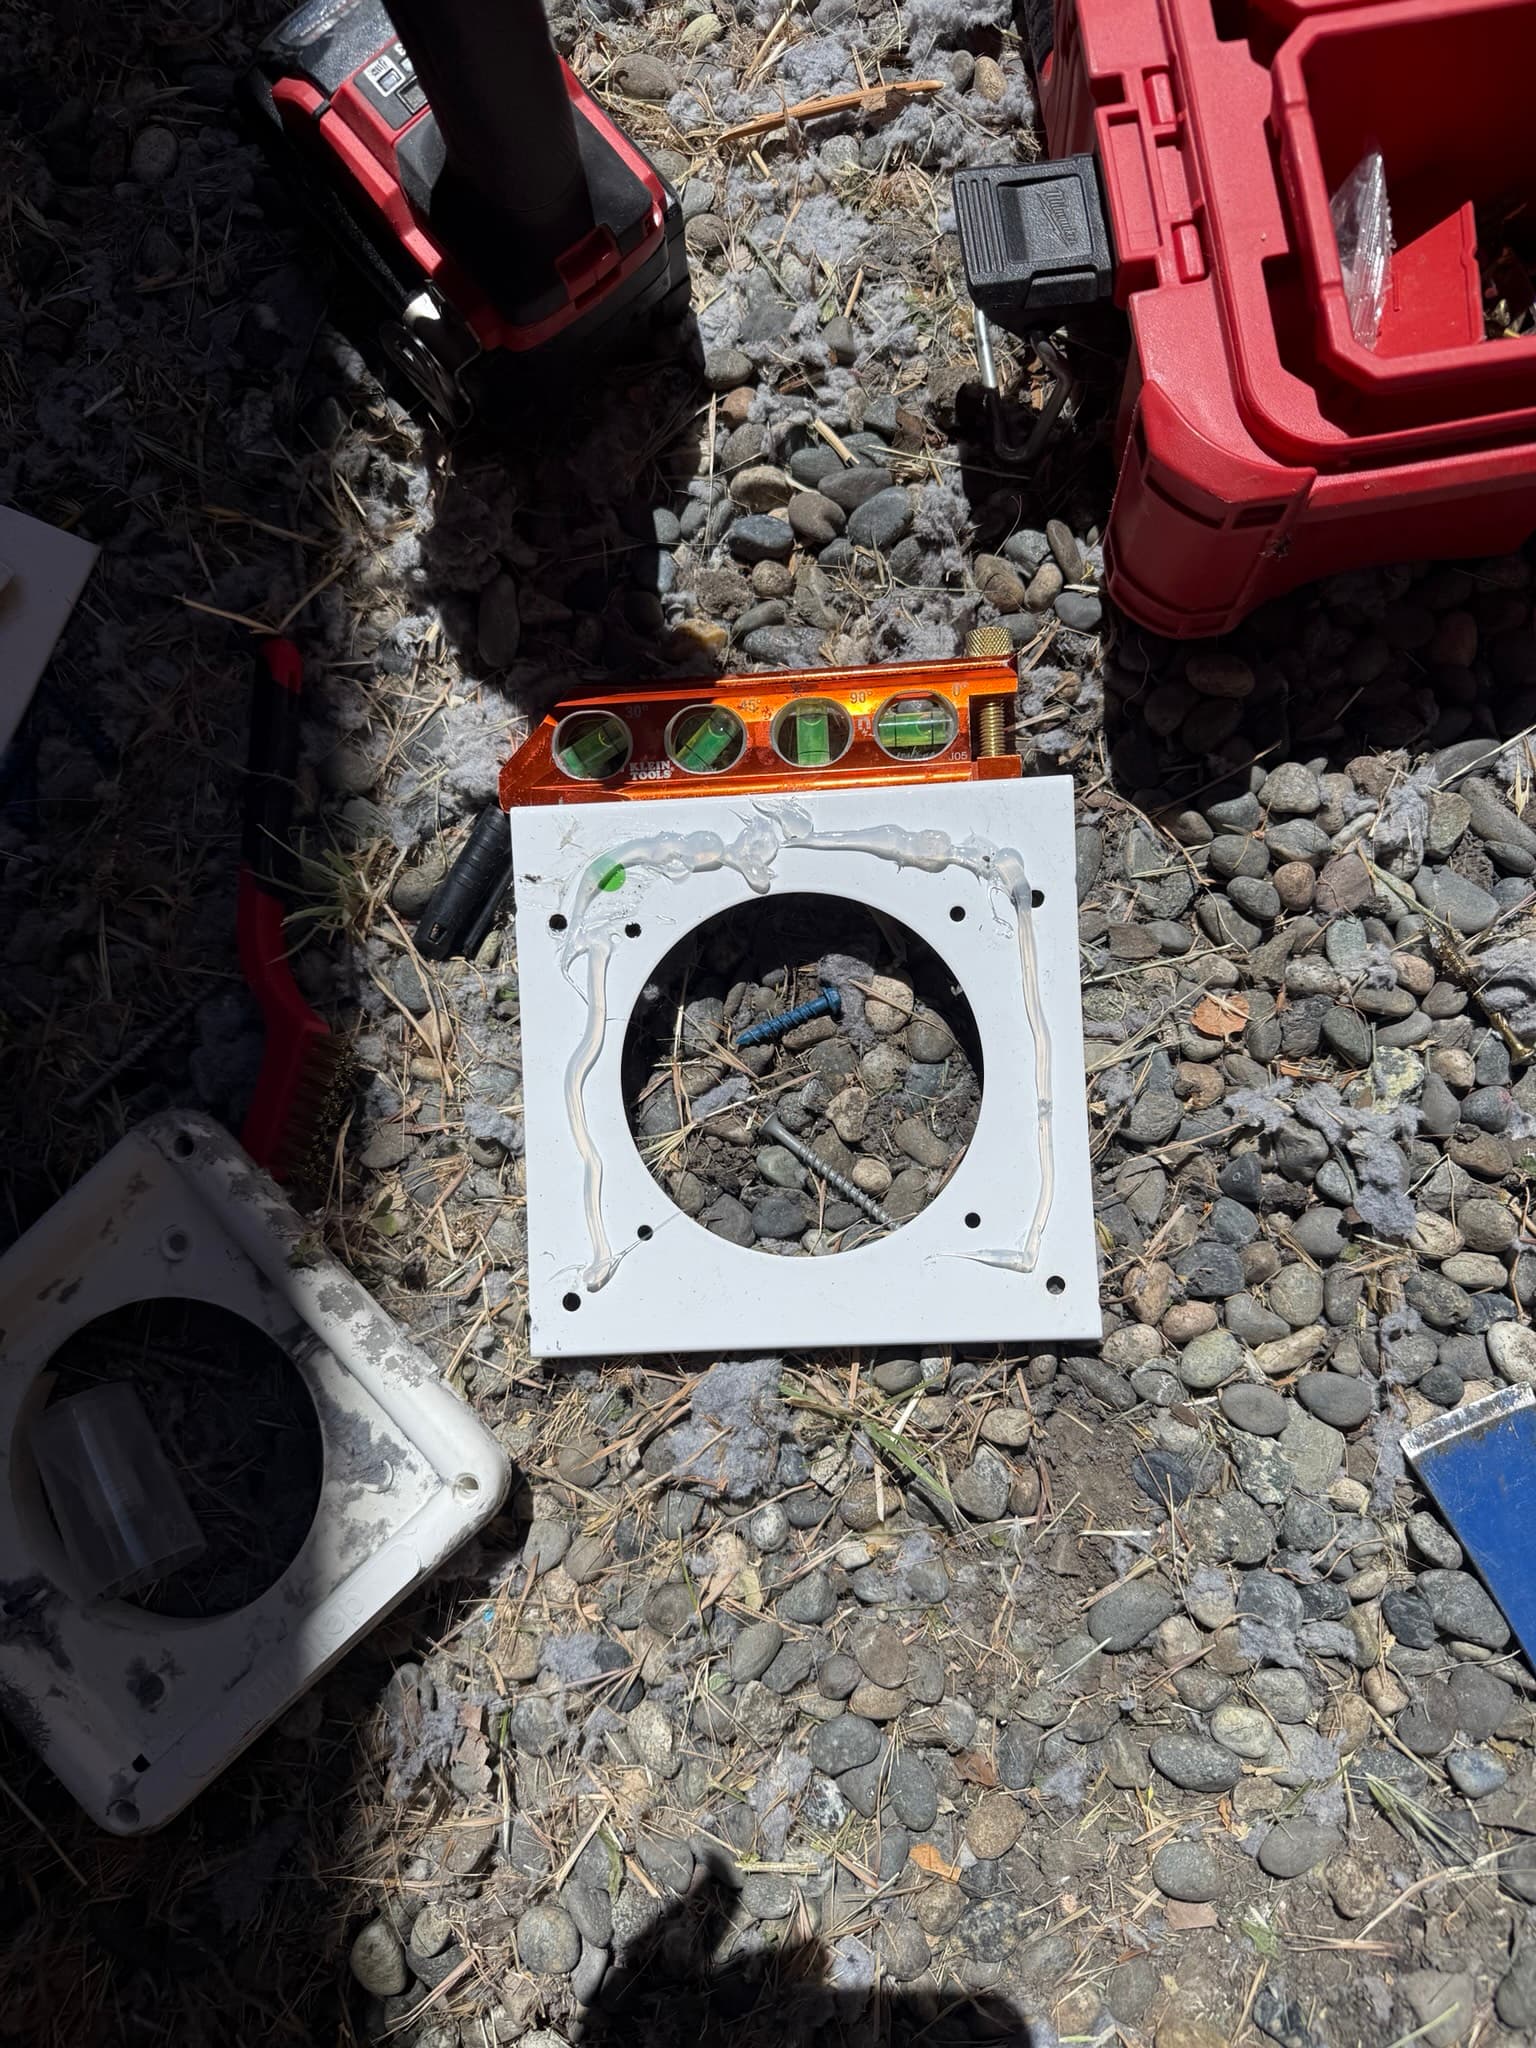
We removed the old plastic louvered cap and installed a new exterior dryer wall vent. The new enclosure features a heavy-gauge Galvalume steel body with powder coating for long-term weather resistance, and it meets or exceeds all applicable code requirements for dryer vent terminations. The mounting flange was set against the wall and sealed at the perimeter with silicone caulk, which is the correct sealant for an outdoor application where standard latex caulk would break down from UV exposure and temperature swings. Silicone creates a durable, weatherproof seal that prevents water intrusion behind the flange. The new cap includes a functional backdraft damper that opens under dryer airflow and closes by gravity when the dryer stops, satisfying the requirement of IRC M1502.3.
The Outcome
With the duct thoroughly cleaned, the transition duct replaced with a properly clamped DryerFlex section, and the exterior termination upgraded to a code-compliant wall vent with a reliable backdraft damper, this Burlingame home's dryer exhaust system now operates as intended. Airflow through the duct is unobstructed, moisture and lint are carried efficiently to the exterior, and the system is protected against backdrafting, pest intrusion, and the fire risk associated with severe lint accumulation. National fire safety guidance recommends a professional dryer vent inspection annually, and this installation gives the homeowner a clean, well-documented baseline to build on going forward.
Project photos
12 photos
Need similar work in Burlingame?
Get a free quote - same-week appointments usually available.