San Francisco · Residential Dryer Exhaust Cleaning Inspection
Dryer Vent Cleaning & Transition Duct Repair in San Francisco
A San Francisco home's stacked washer/dryer closet had a damaged transition duct and heavy lint buildup; our technician cleaned the full exhaust path and repaired the duct connection to restore safe, efficient airflow.
Completed November 2, 2026
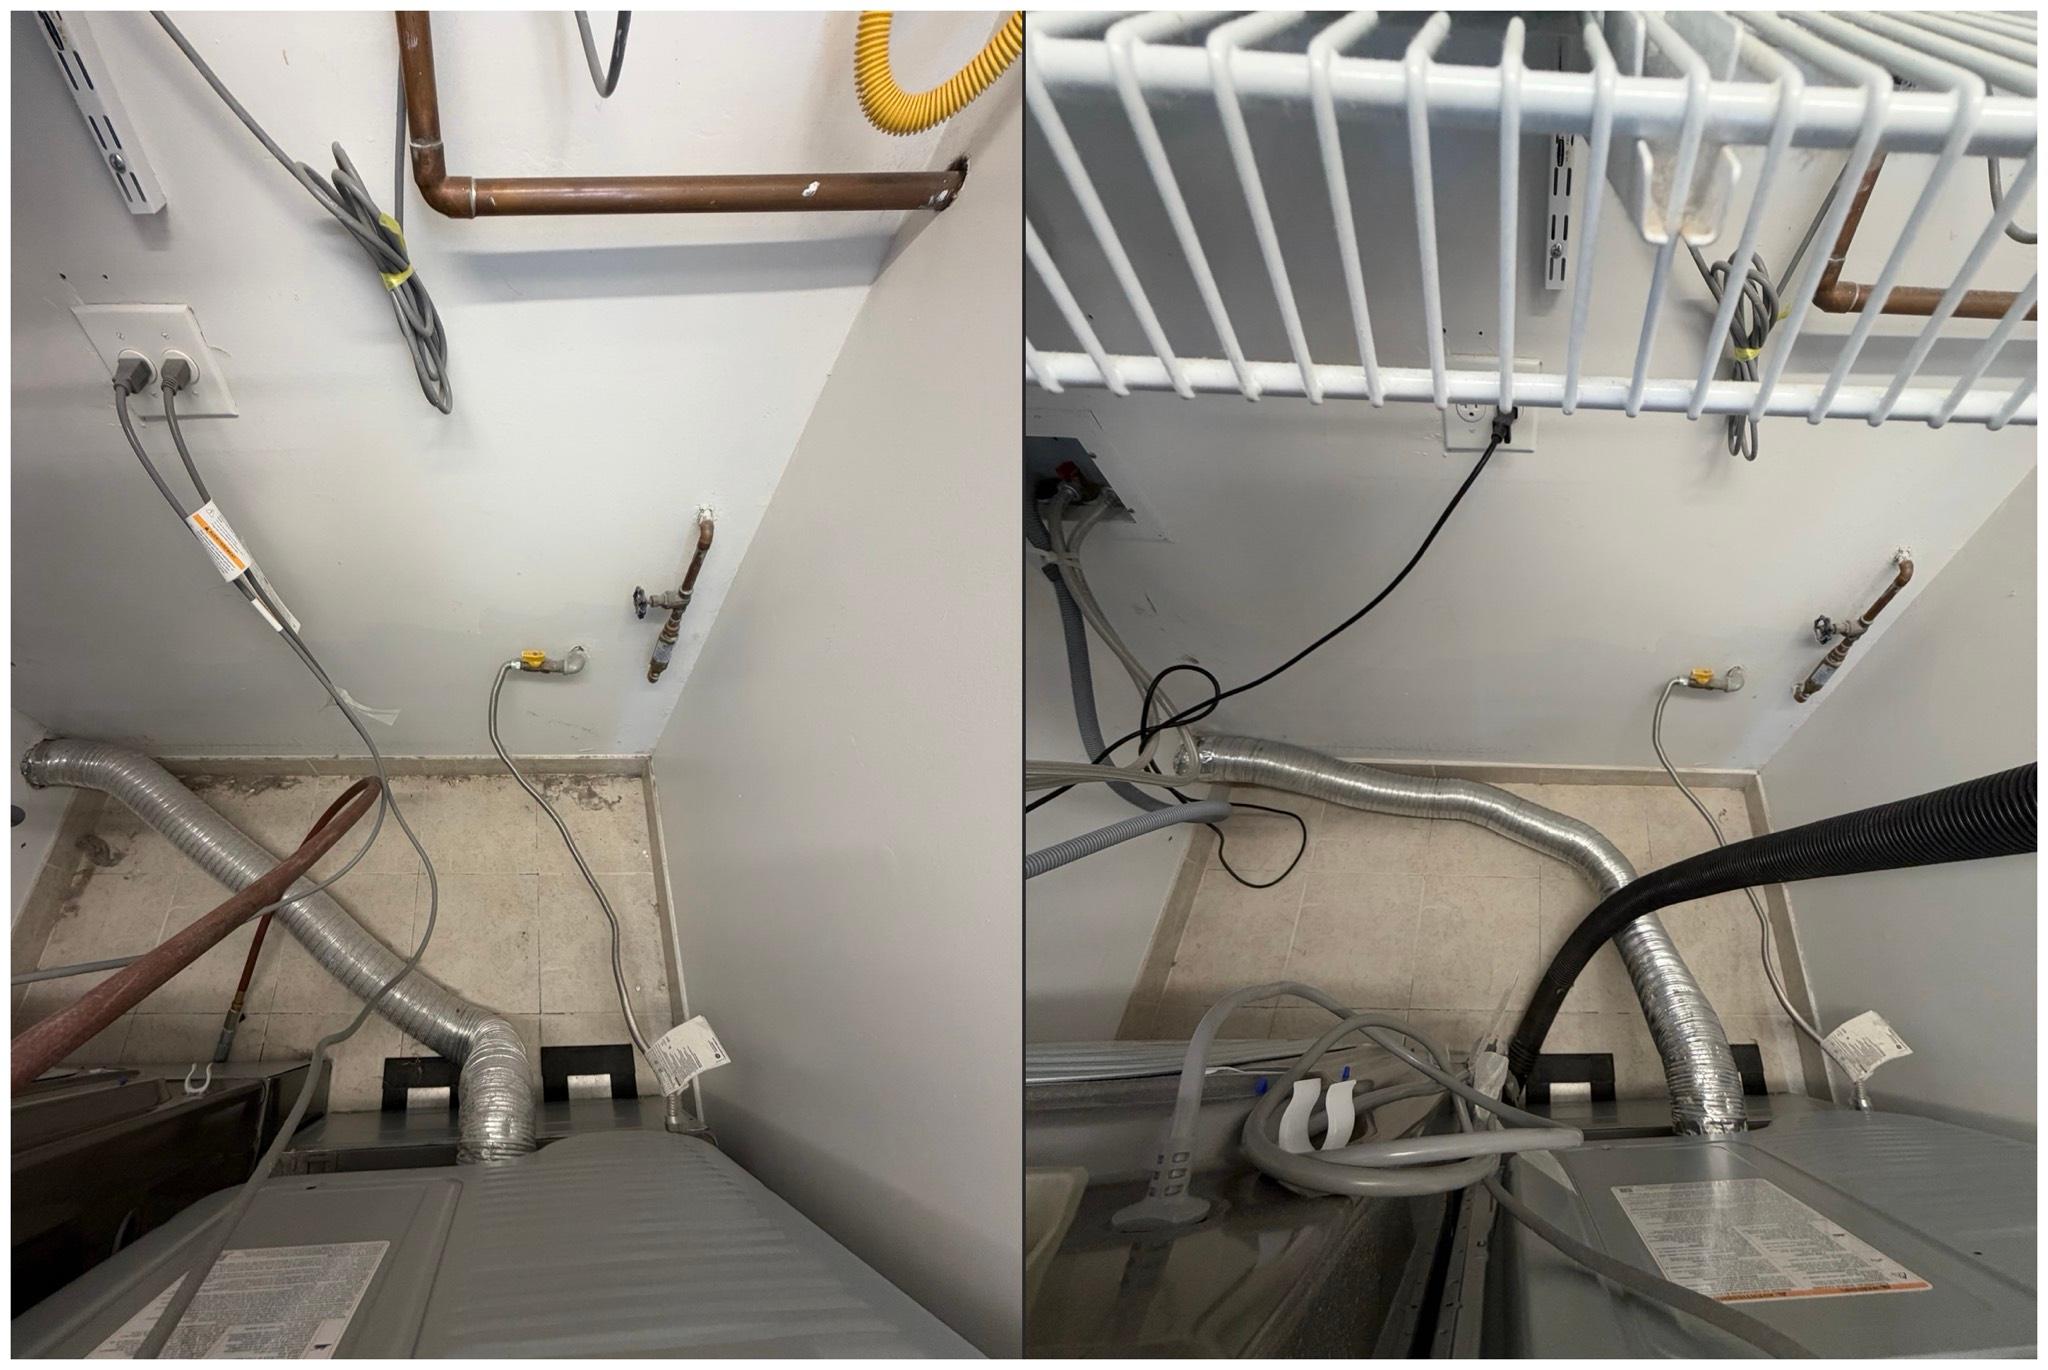
Transition duct repaired and reseated at both connection points.
What We Found
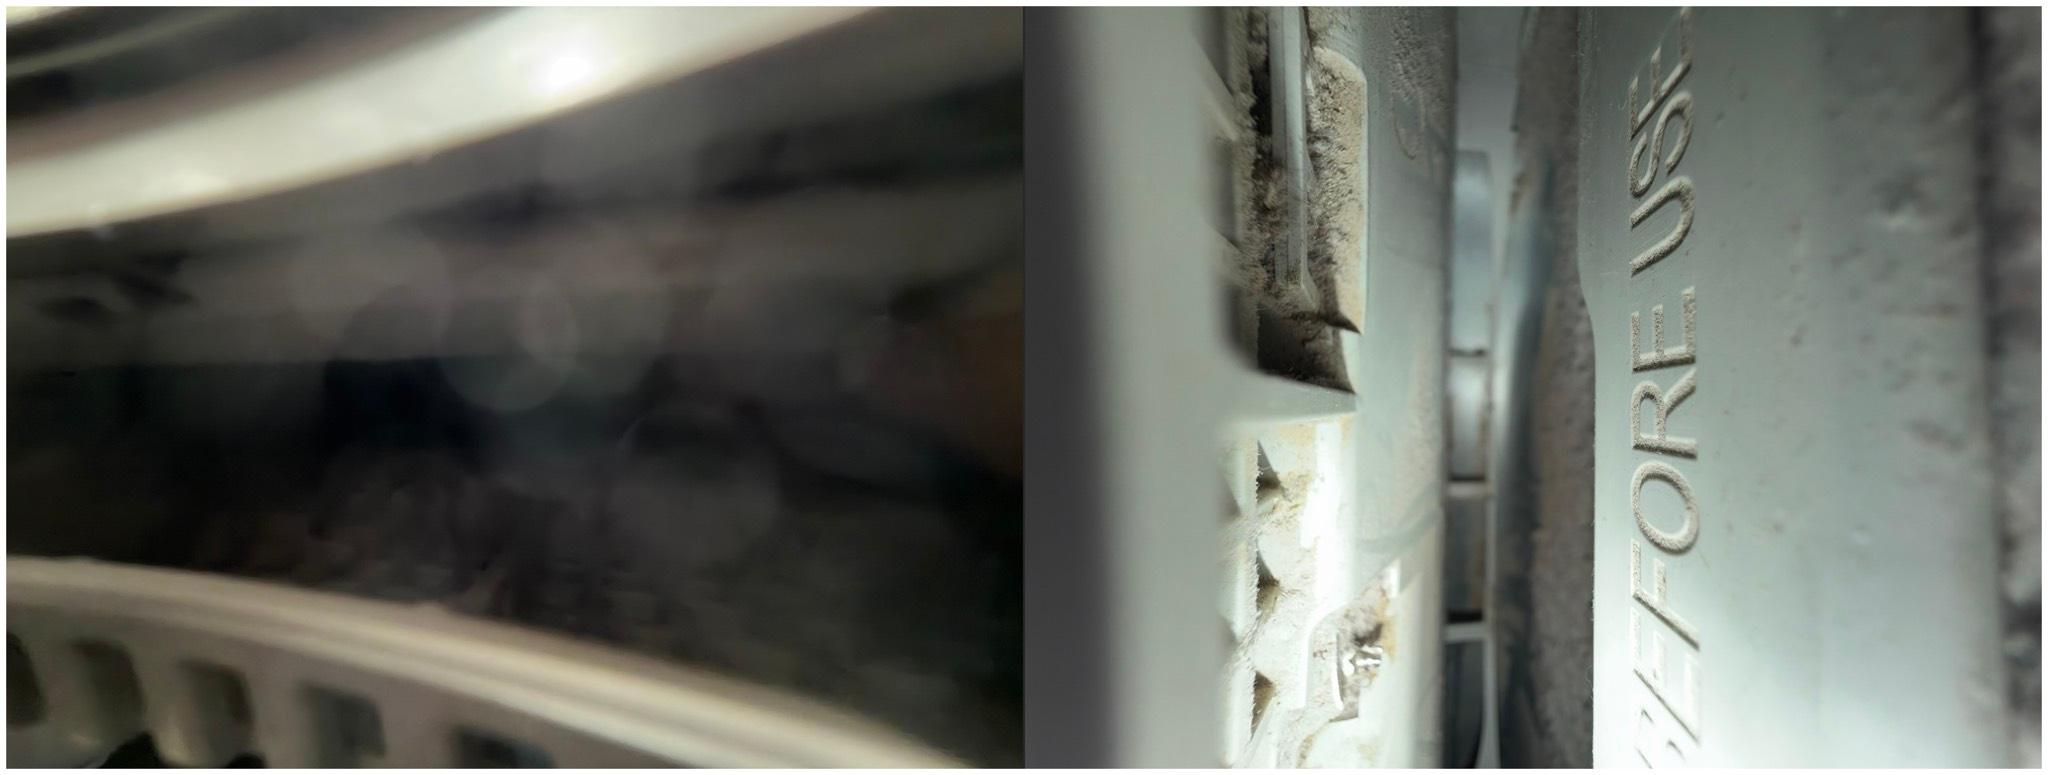
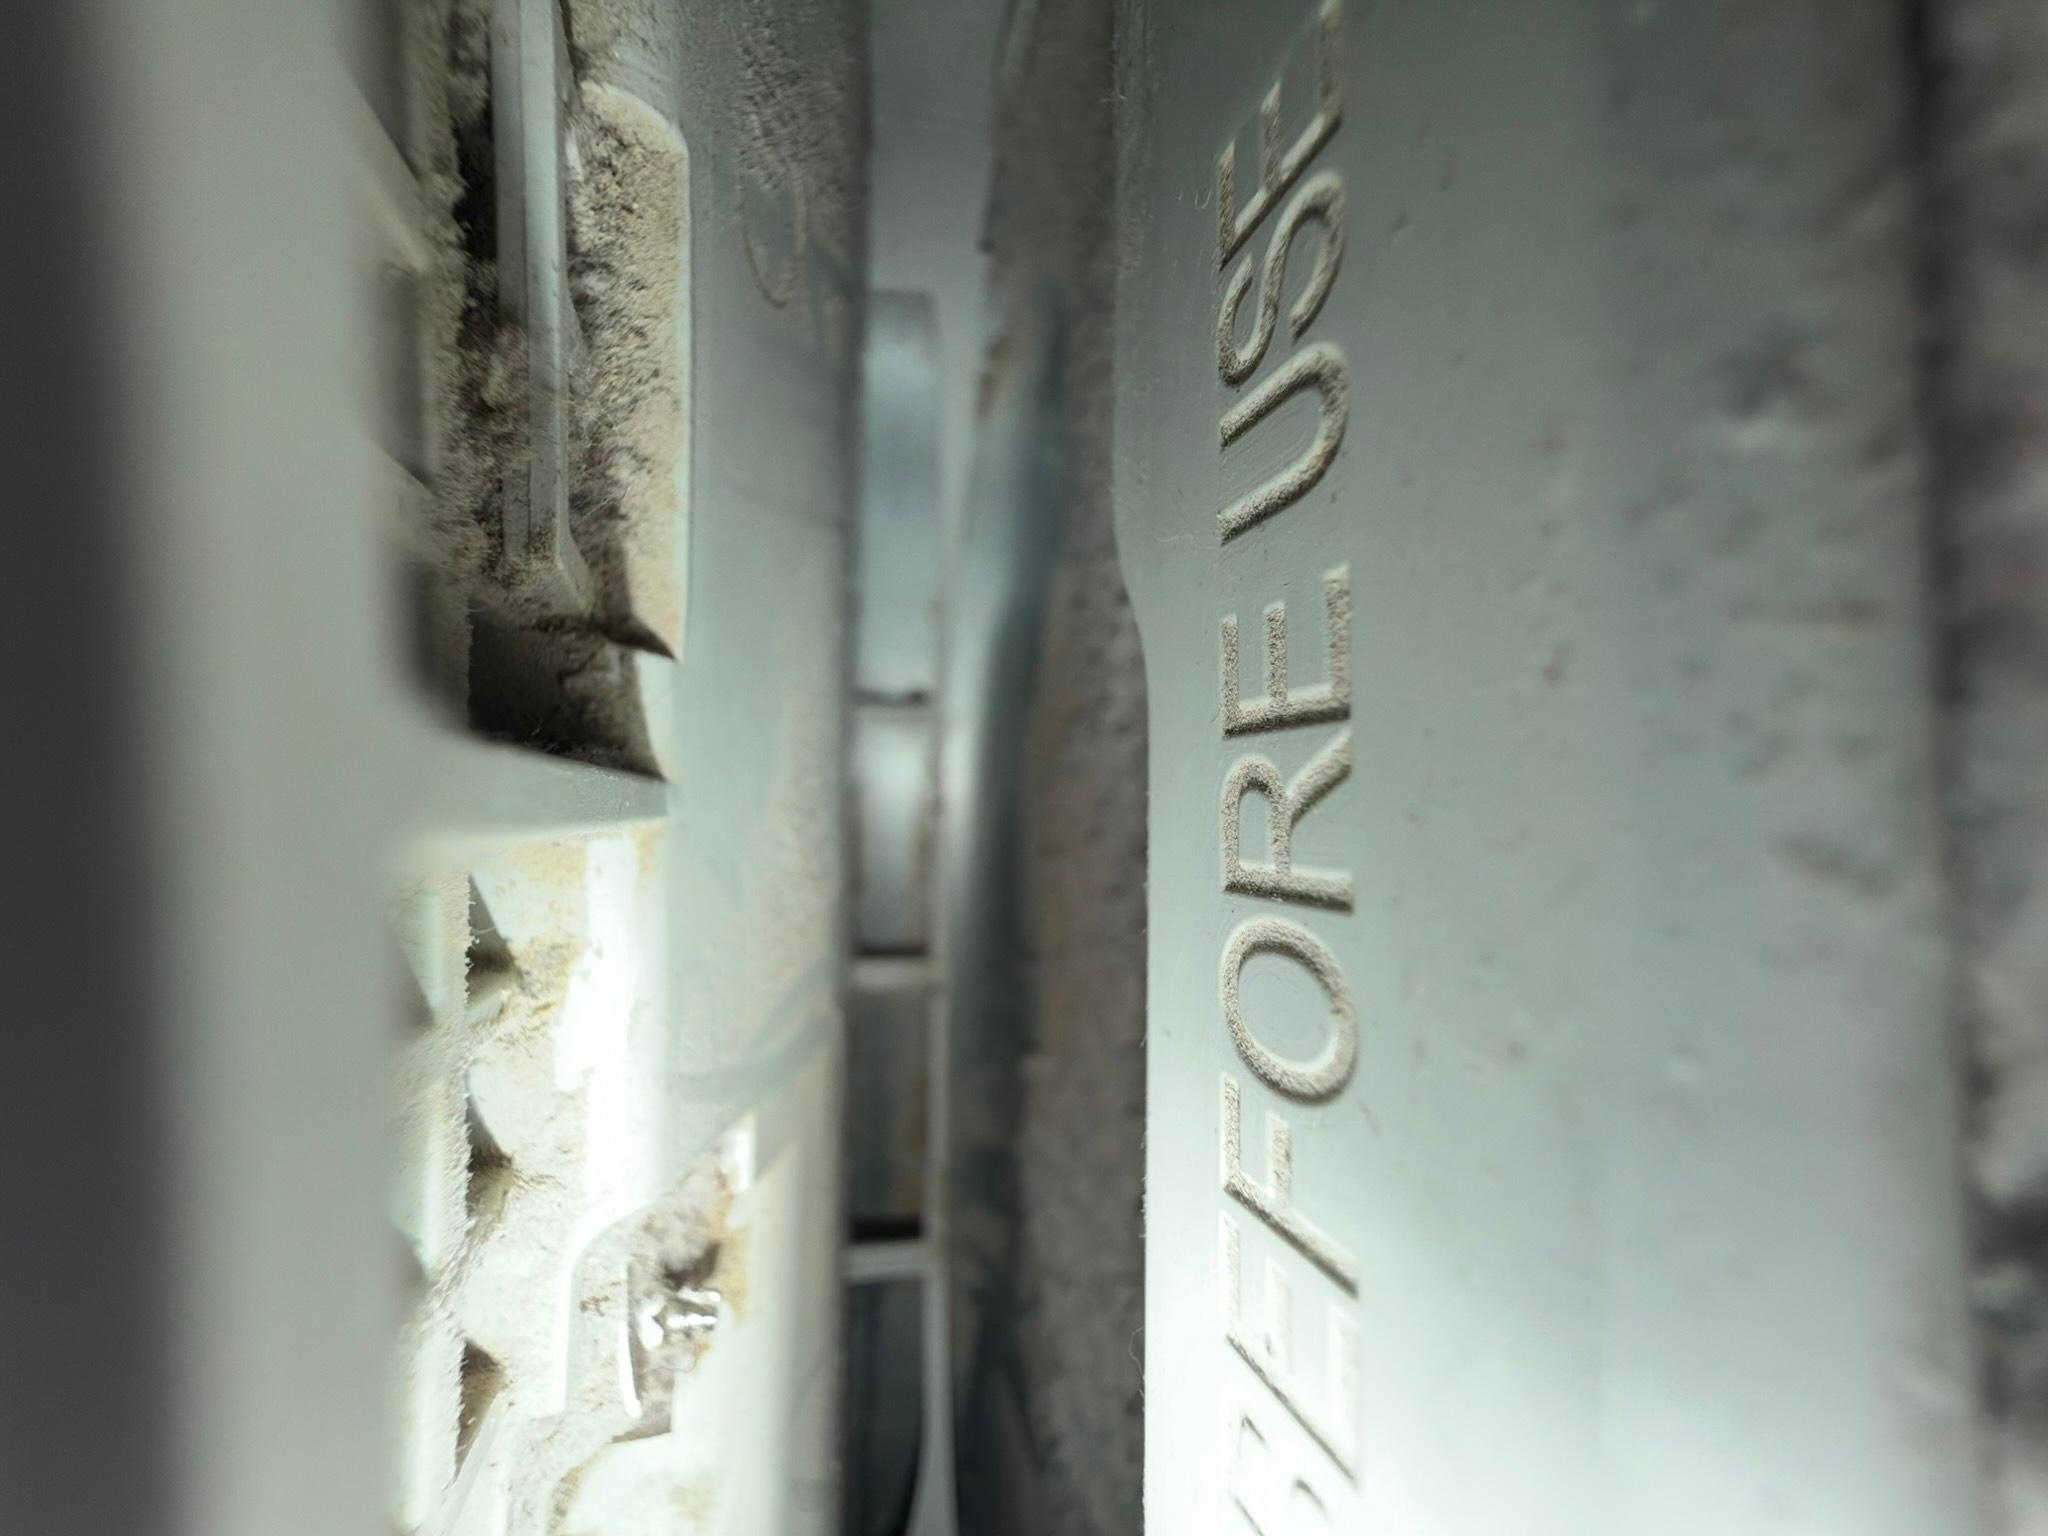
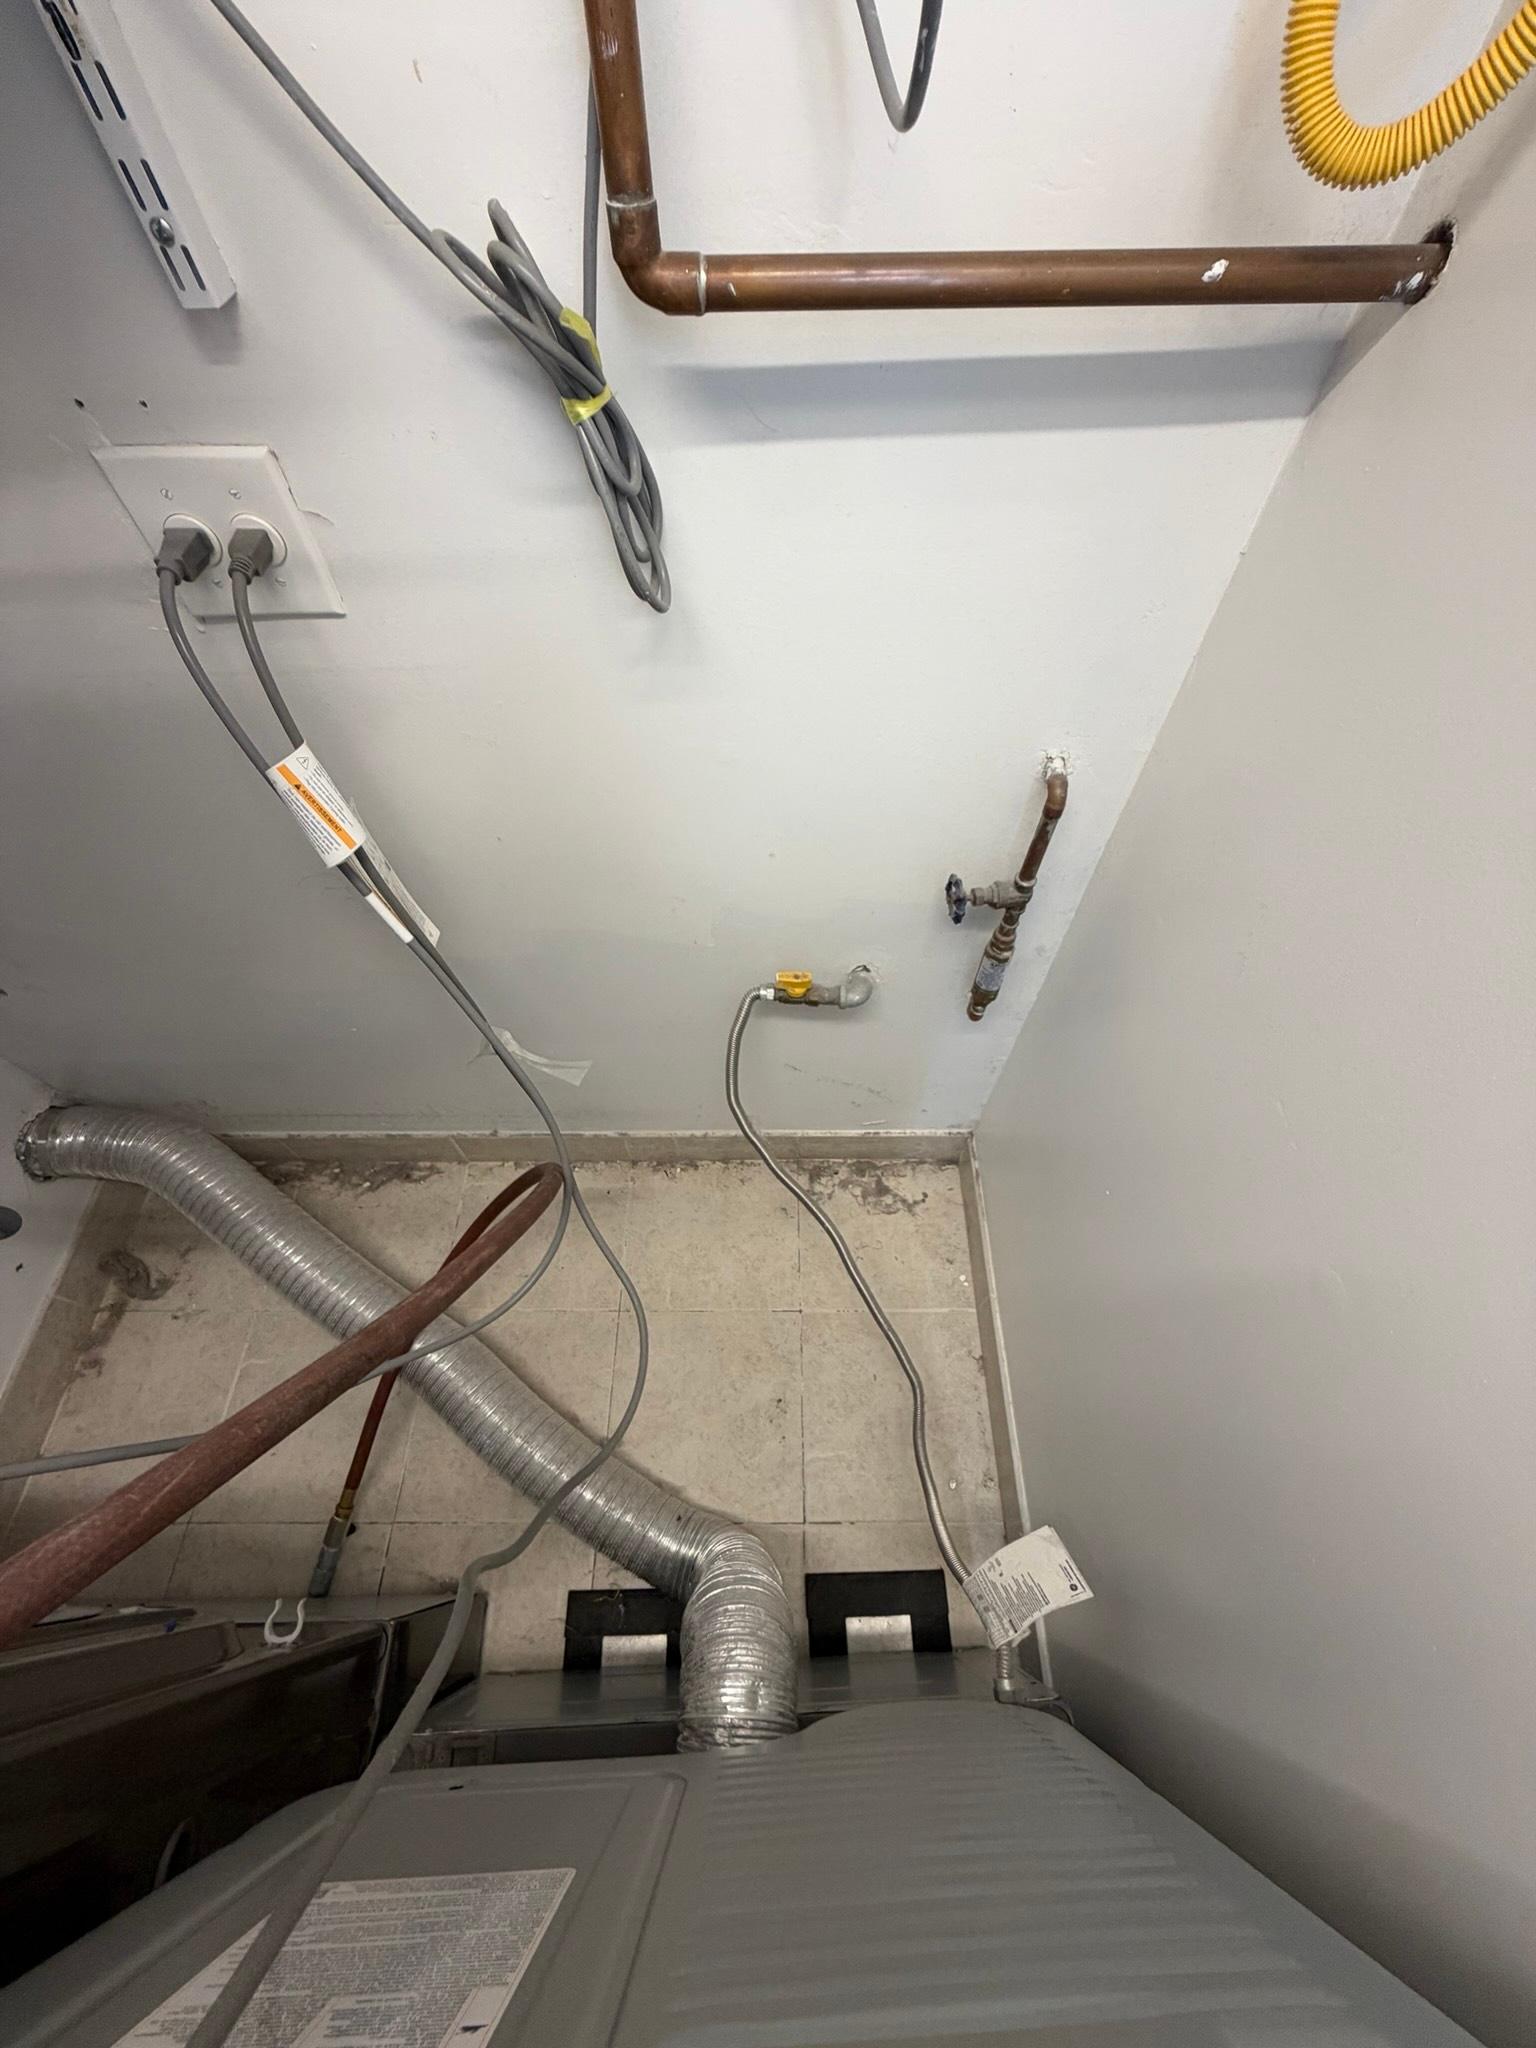
This job was a return visit to a San Francisco residence we had previously serviced, and the condition of the dryer exhaust system showed why regular cleaning matters. The dryers were installed side by side in a tight closet with closely spaced plumbing and electrical lines, which made access to the duct run more difficult than usual. On inspection, the technician found the lint trap housing and dryer exhaust outlet coated in heavy, matted lint buildup packed into the grille slats and along the back panel edge, with fine dust collecting at the lint screen opening and adjacent panel ribs. This kind of compacted lint is exactly the condition the U.S. Fire Administration points to as the leading cause of the roughly 15,000 home dryer fires reported each year, since it chokes airflow and raises exhaust temperatures right at the connection point.
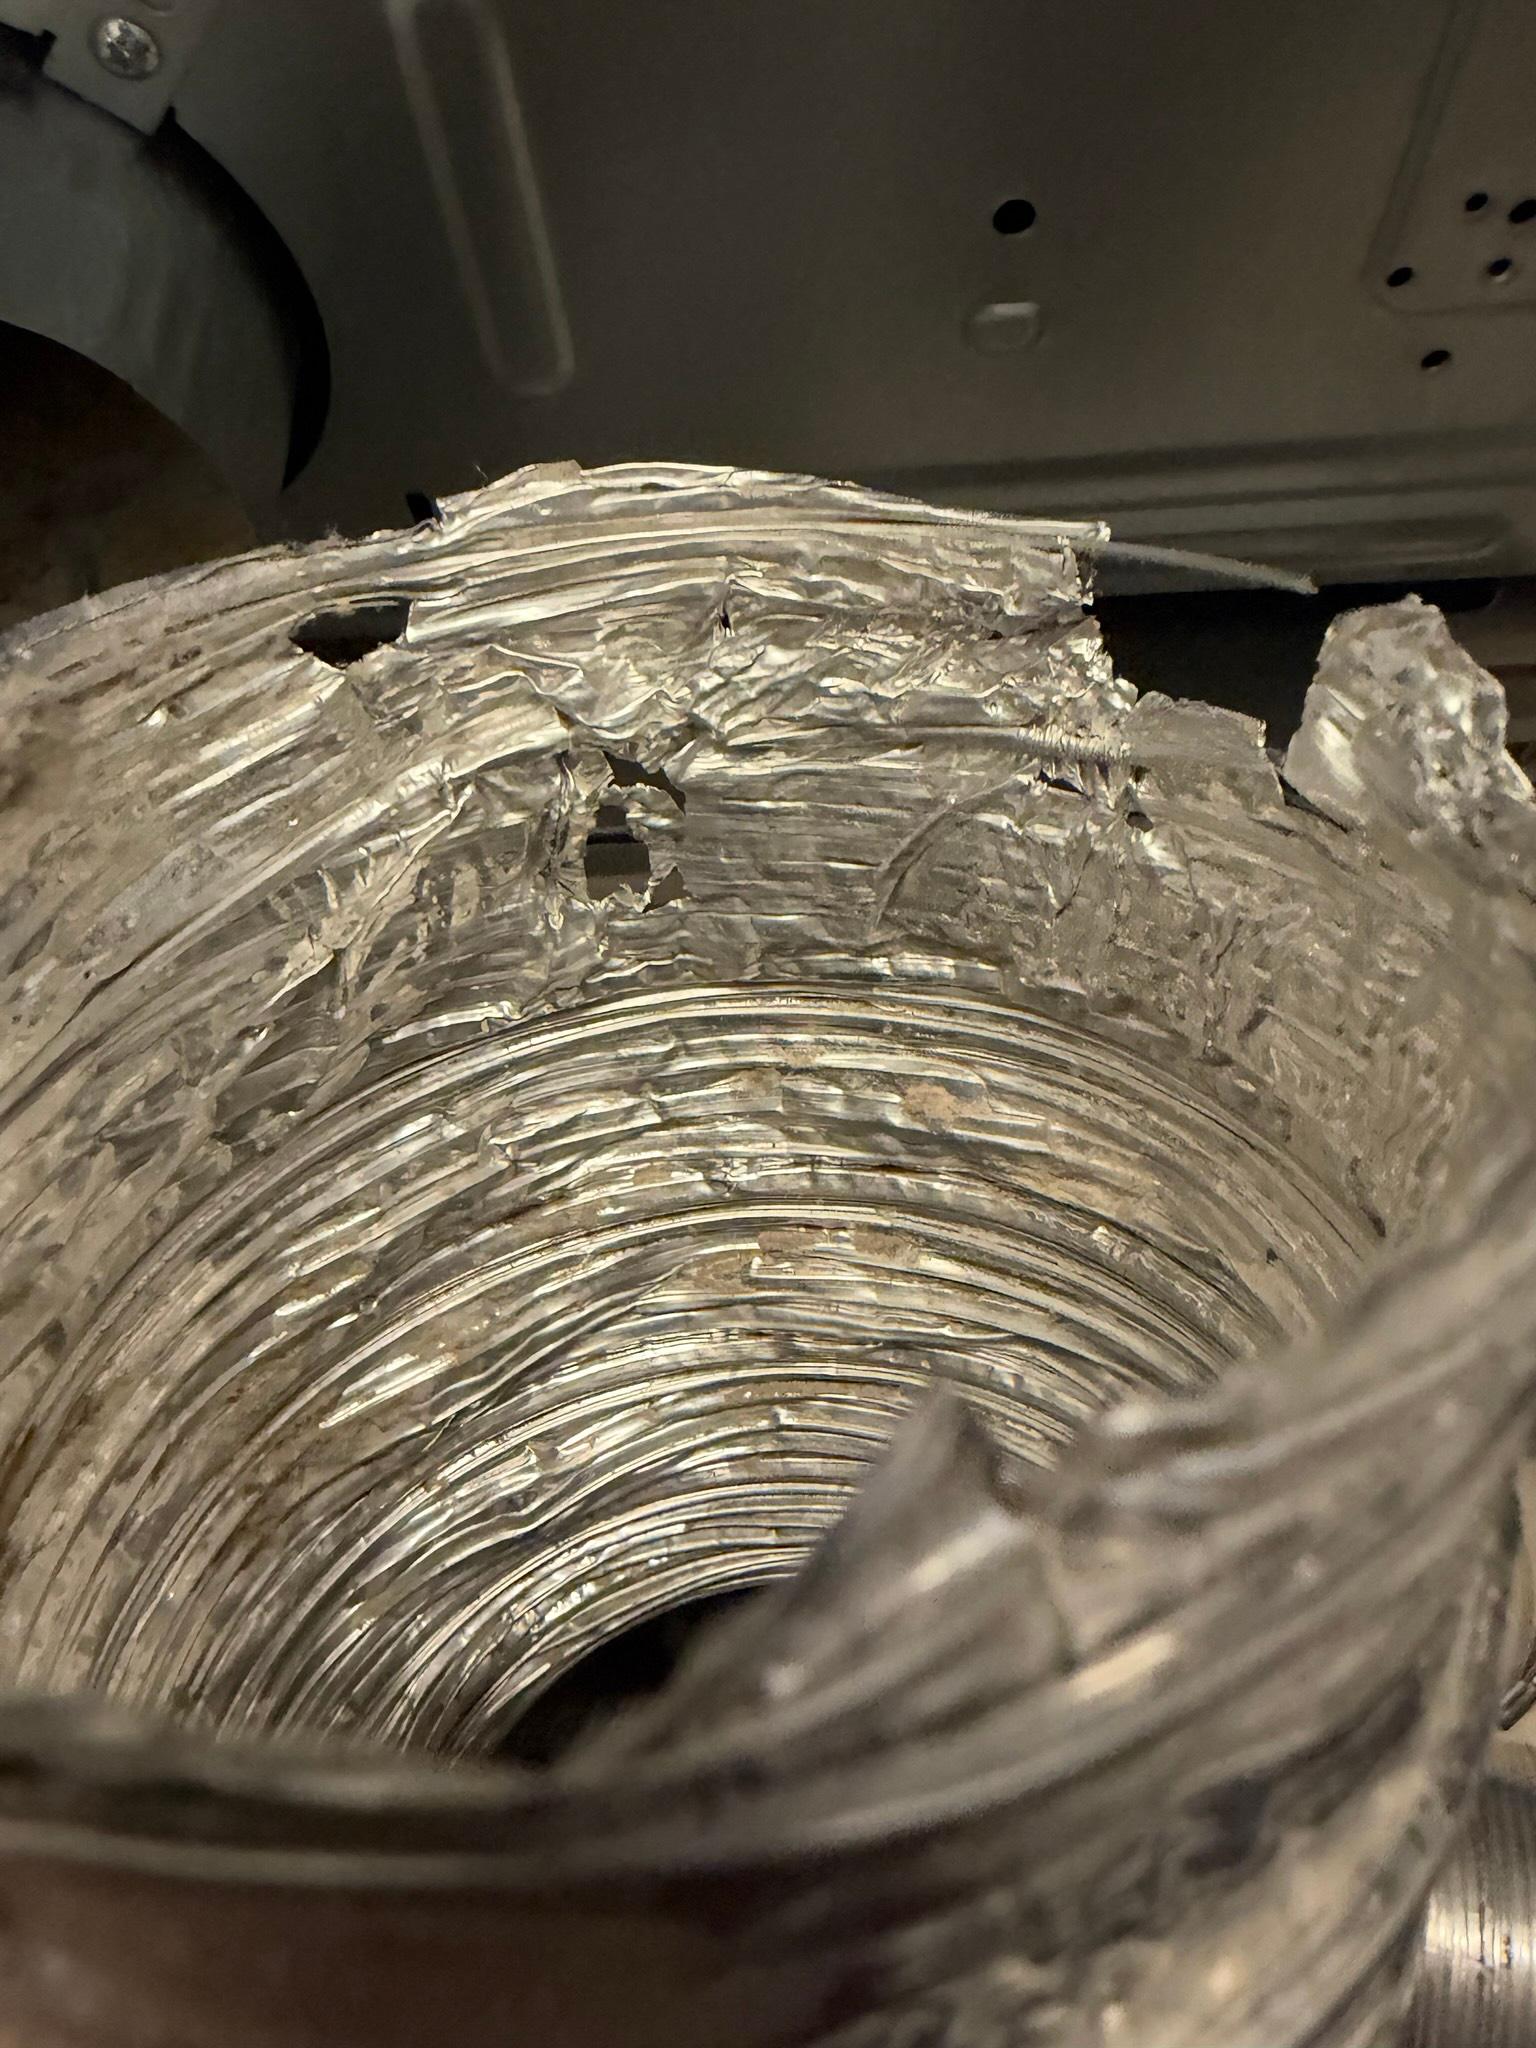
The flexible transition duct running from the dryer's back panel to the wall termination was also found to be crushed and torn in one section, with multiple punctures and shredded foil along the ribbed wall where it met the back panel. A connection in this condition restricts airflow well below the 300 CFM most dryer manufacturers require and creates a point where lint can accumulate and ignite. Per IRC M1502.4.3, transition ducts must be a single UL 2158A listed section, not concealed within construction, and in good physical condition, so a damaged section like this needs to be addressed rather than left in place.
What We Did
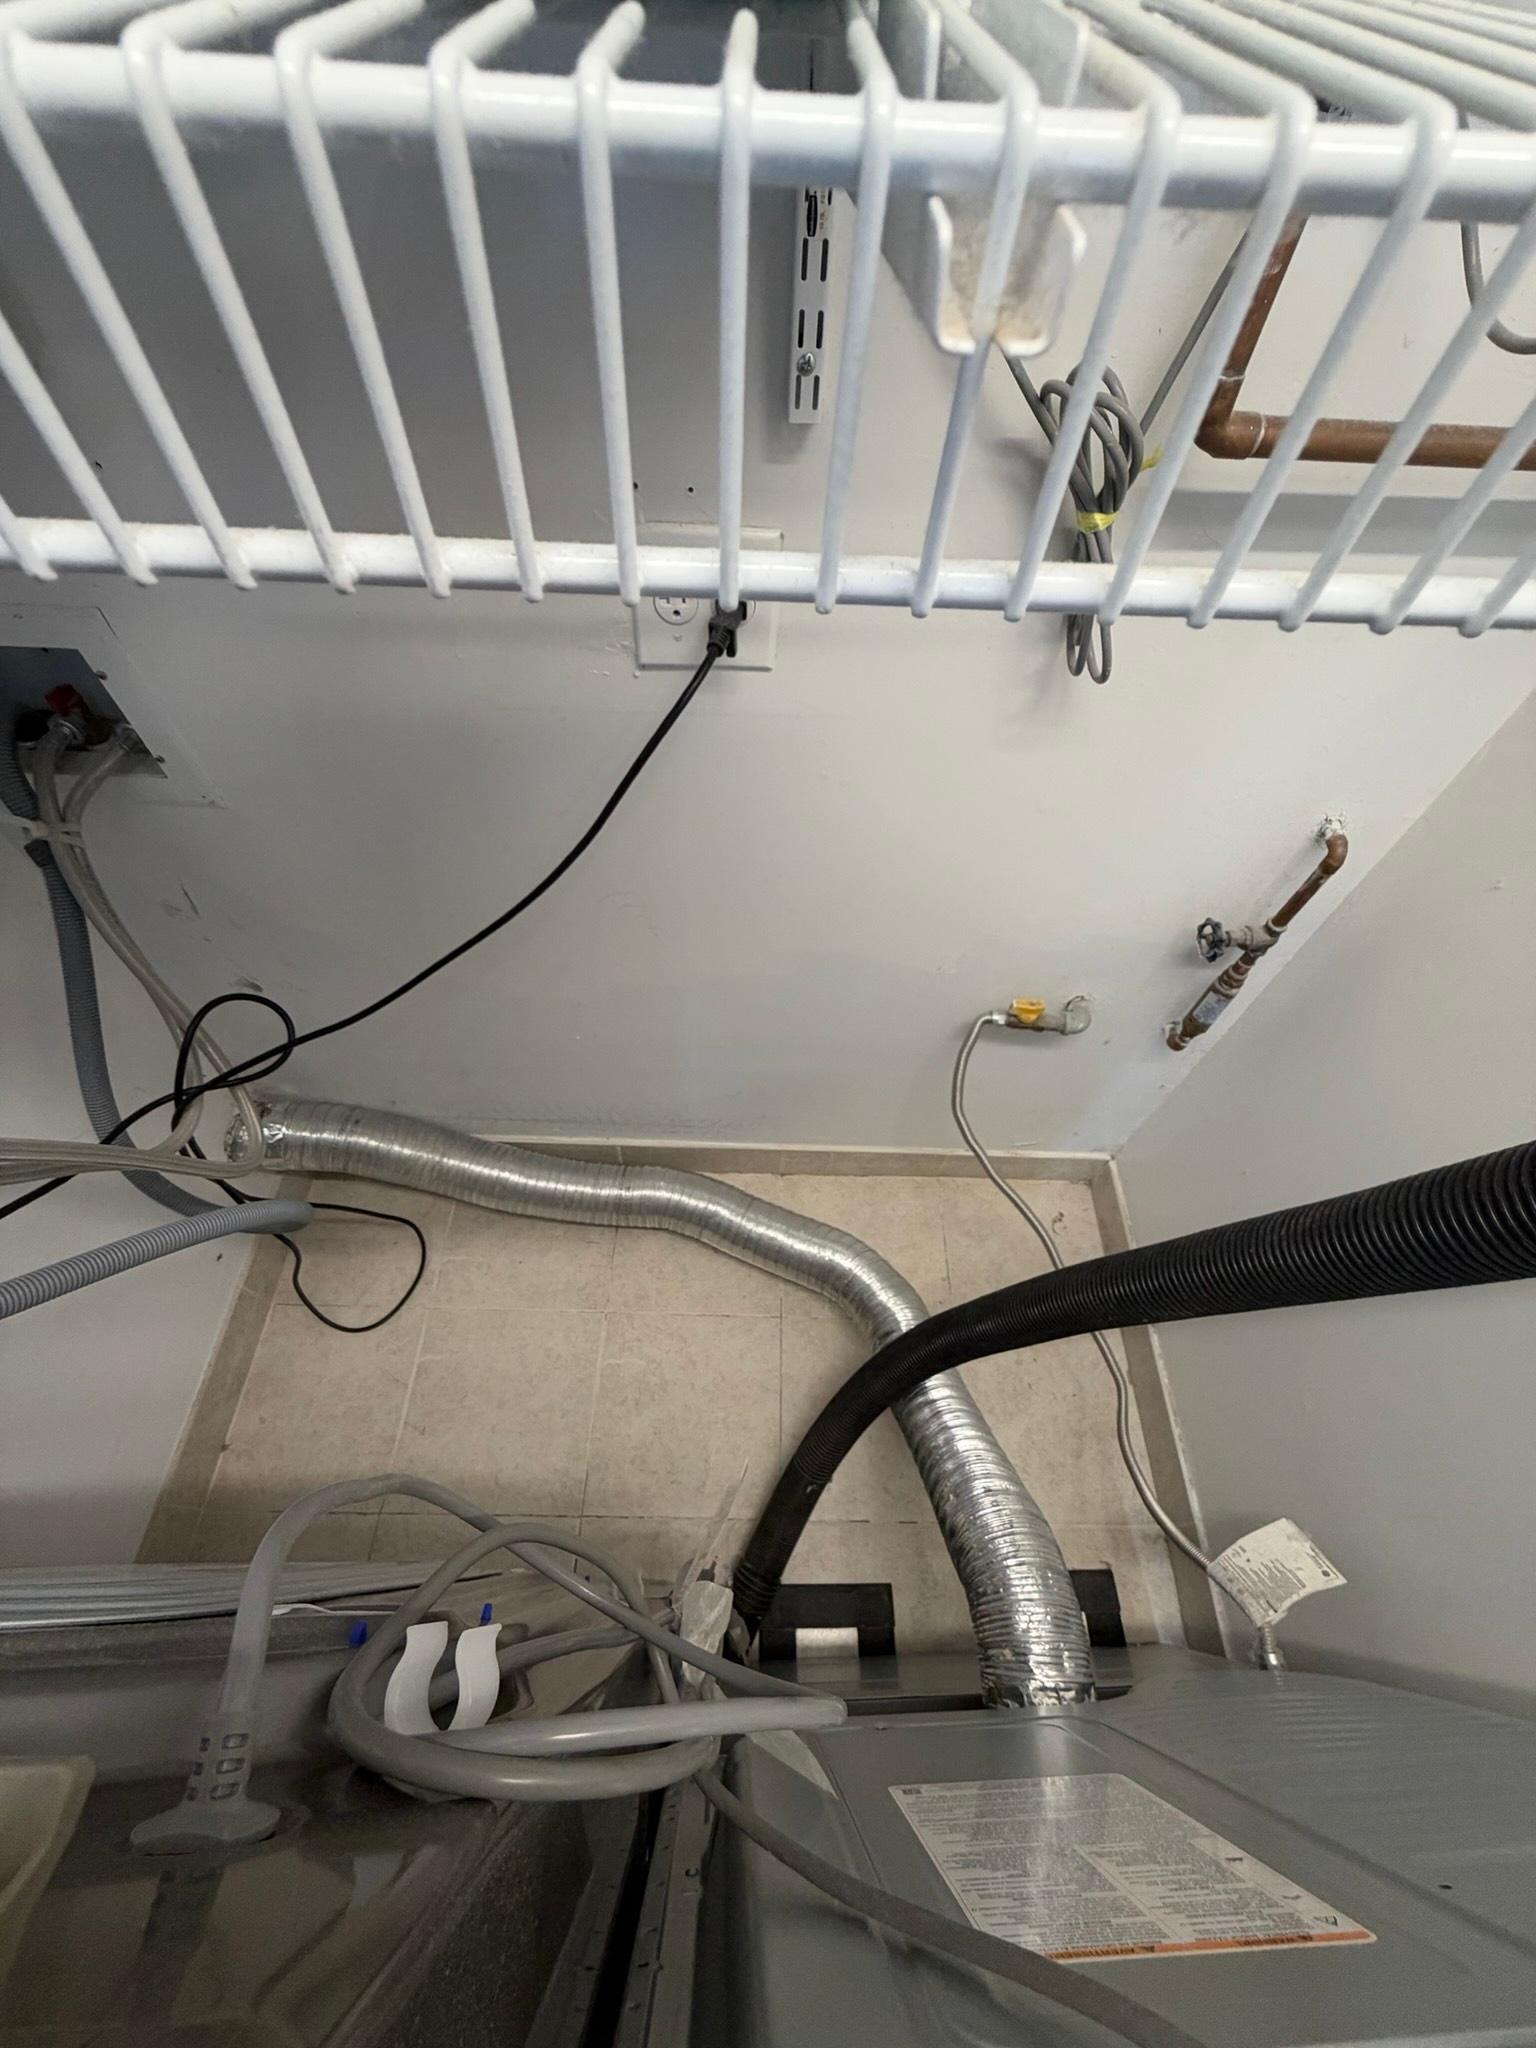
The technician performed a full residential dryer exhaust cleaning and inspection, which included pulling both washer and dryer units out from the wall to gain full access to the duct path. Using a drill-attachment rotary brush and a high-powered shop vacuum, the crew cleaned every accessible inch of the exhaust system, from the dryer connection point through the transition duct and on toward the exterior termination, removing the compacted lint from the lint trap housing, back panel, and duct interior. An airflow test was run as part of the inspection to confirm the system was performing properly after cleaning.
During this service, the damaged section of the flexible transition duct was repaired at the connection point behind the units. The compromised ribbed section was addressed and the duct was reseated and reinforced at both the dryer back panel and the wall termination, restoring a secure, properly routed connection consistent with UL 2158A transition duct requirements. Once the repair and cleaning were complete, both washer and dryer units were reconnected and pushed back into place in good working order.
The Outcome
With the lint trap, back panel, and duct interior cleared of buildup and the transition duct connection repaired and reseated, the exhaust path is clear from the dryer outlet to the point of exterior termination. The post-service photos show only light residual dusting along the vent slots where heavy matted lint had been packed before, and the transition duct is now intact and properly connected at both ends behind the stacked units. This reduces strain on the dryer motor, helps bring drying times back to normal, and removes a fire hazard that had been building since the system's last cleaning two years earlier.
Given the tight closet layout and the crowded plumbing and electrical lines behind these units, we recommend this household keep to an annual inspection schedule consistent with national fire-safety guidance for vented appliances, so buildup and duct wear are caught early rather than allowed to progress to the level found on this visit.
Project photos
7 photos
Need similar work in San Francisco?
Get a free quote - same-week appointments usually available.