
San Francisco · Dryer Wall Vent Installation
Dryer Vent Cleaning, Cap Replacement & DryerFlex Install - San Francisco
A San Francisco home received a full dryer vent cleaning, a new DryerFlex transition duct installation, and a complete exterior wall vent replacement to restore safe, code-compliant exhaust airflow.
Completed September 16, 2026
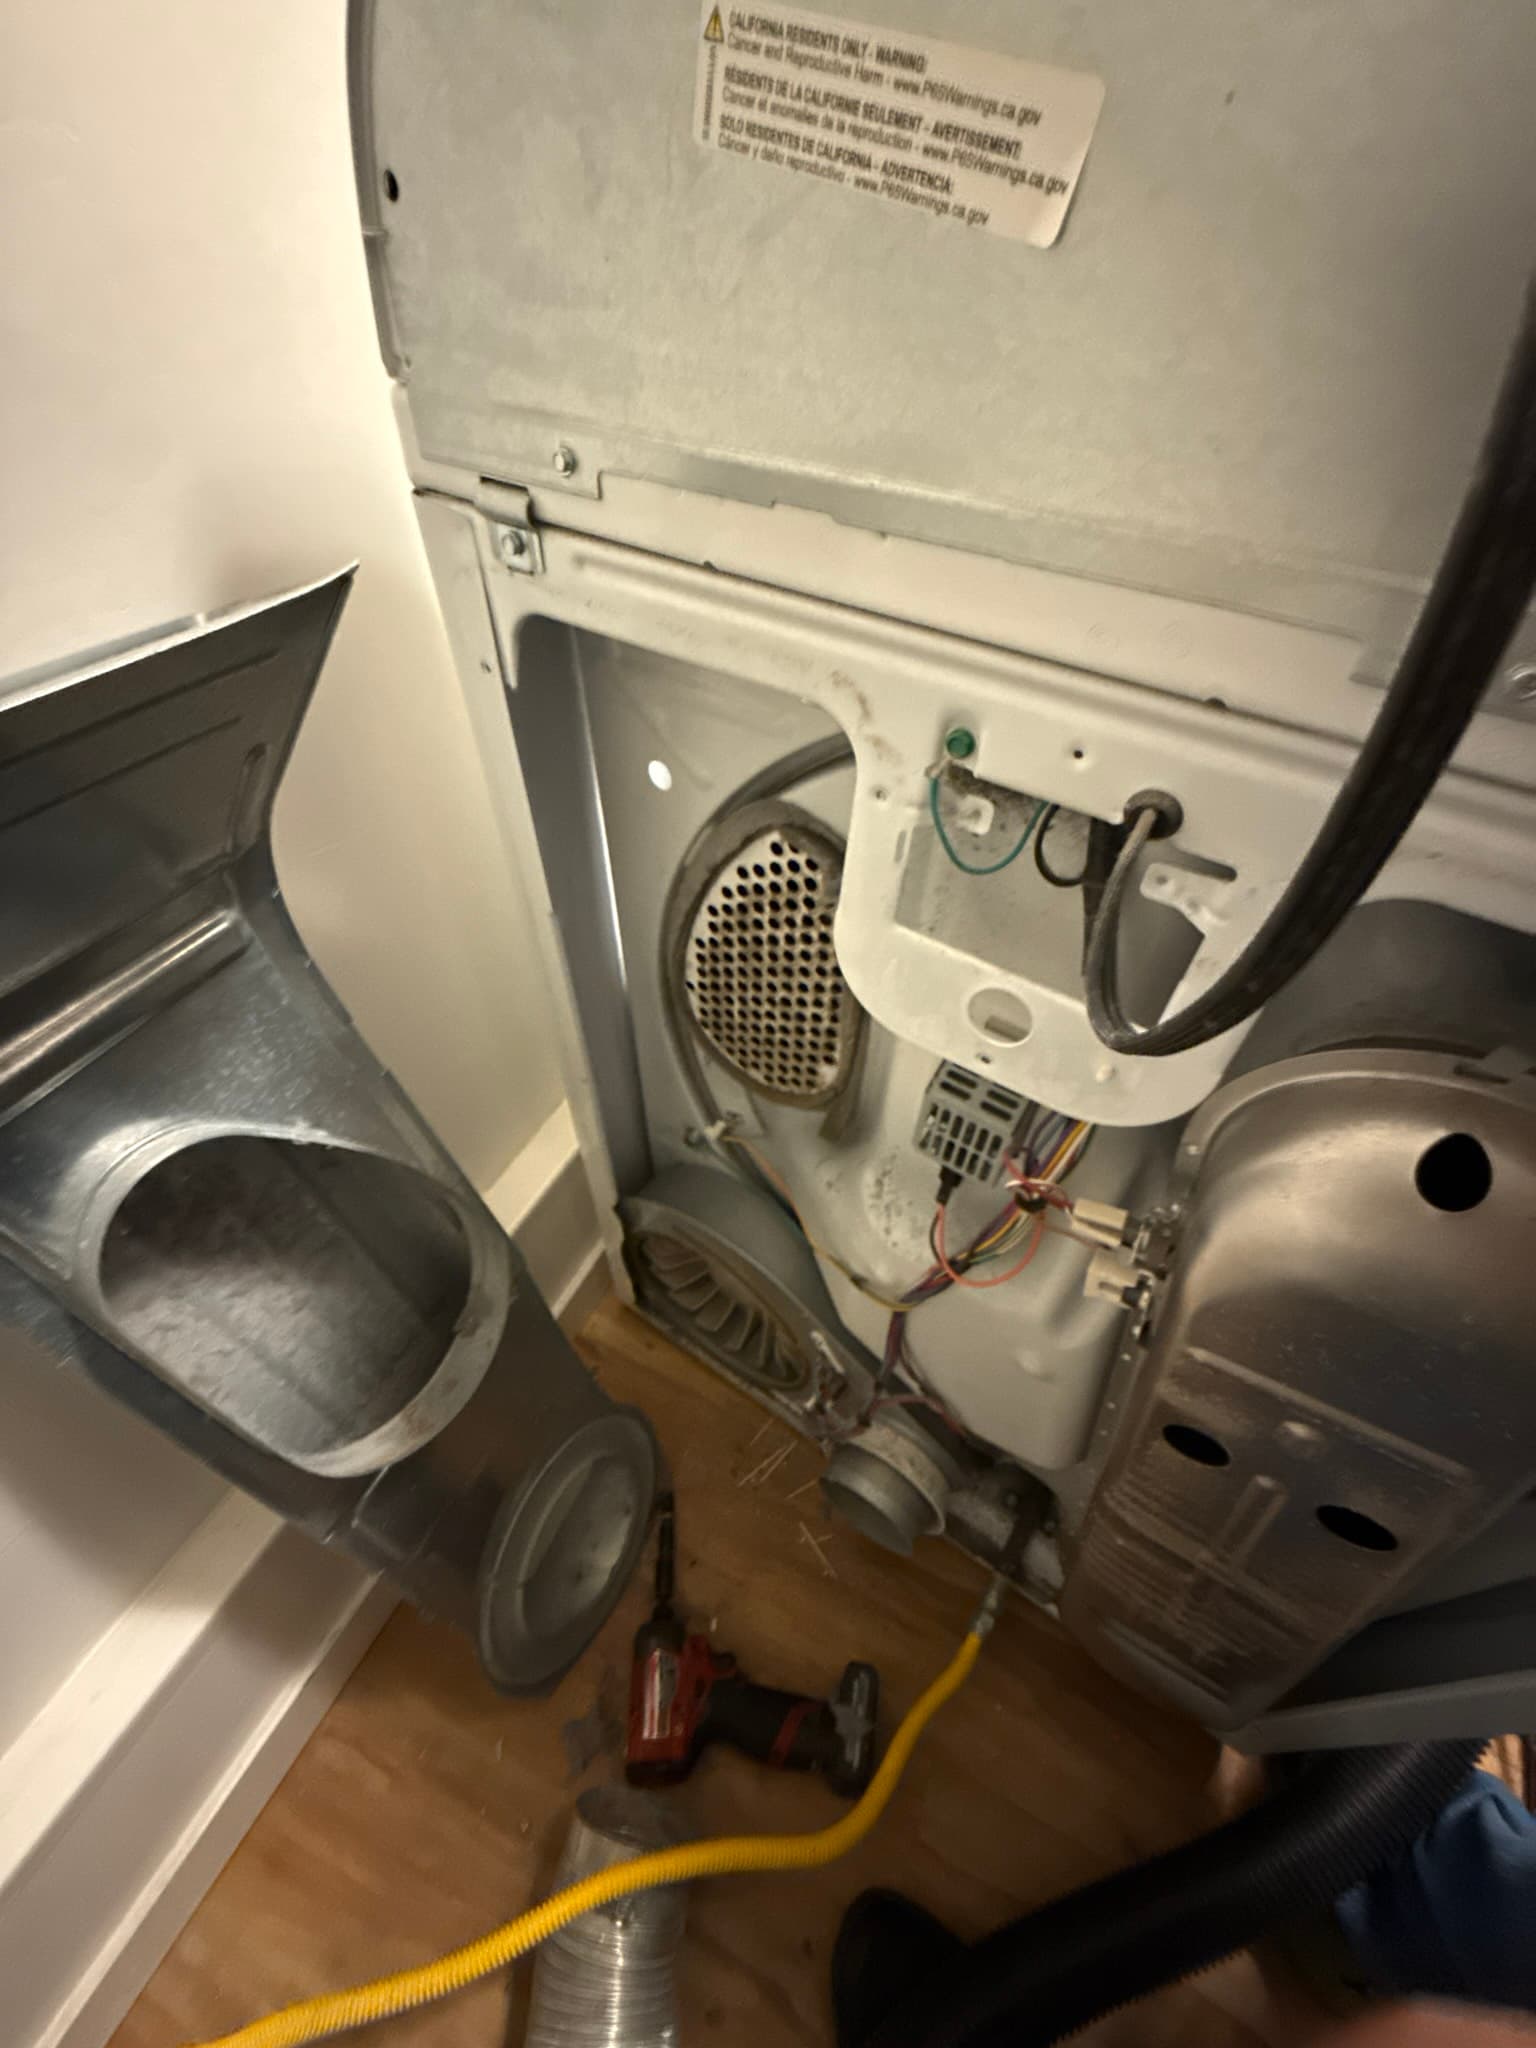
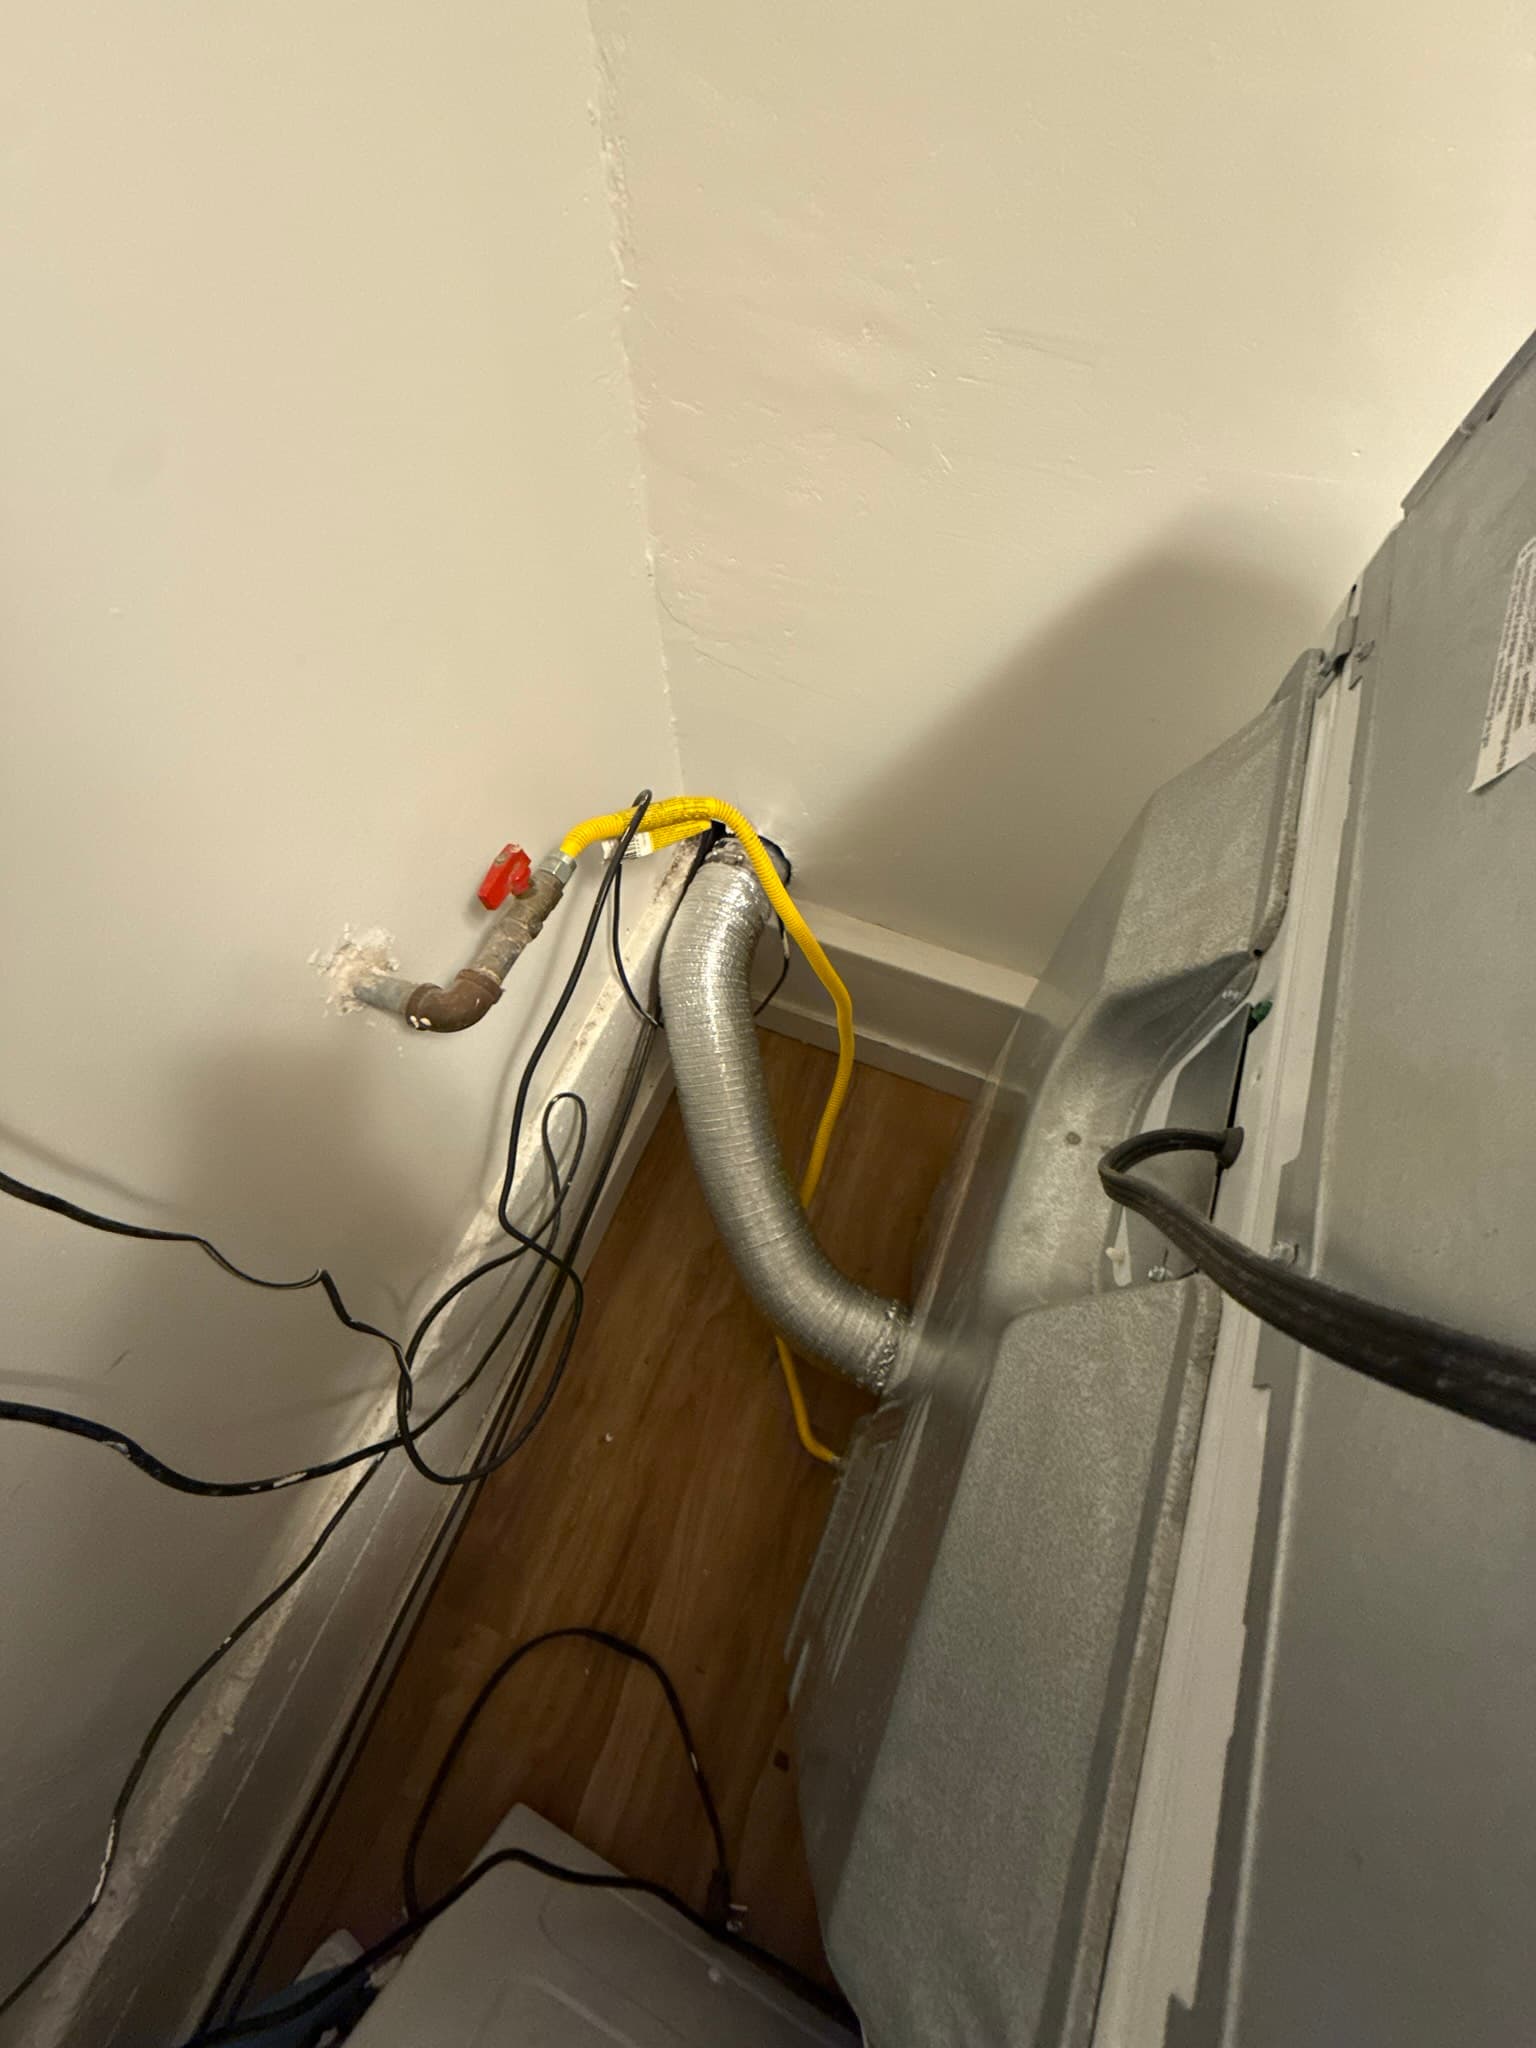
Dryer rear panel opened for inspection, exposing the exhaust outlet connection and internal components
What We Found
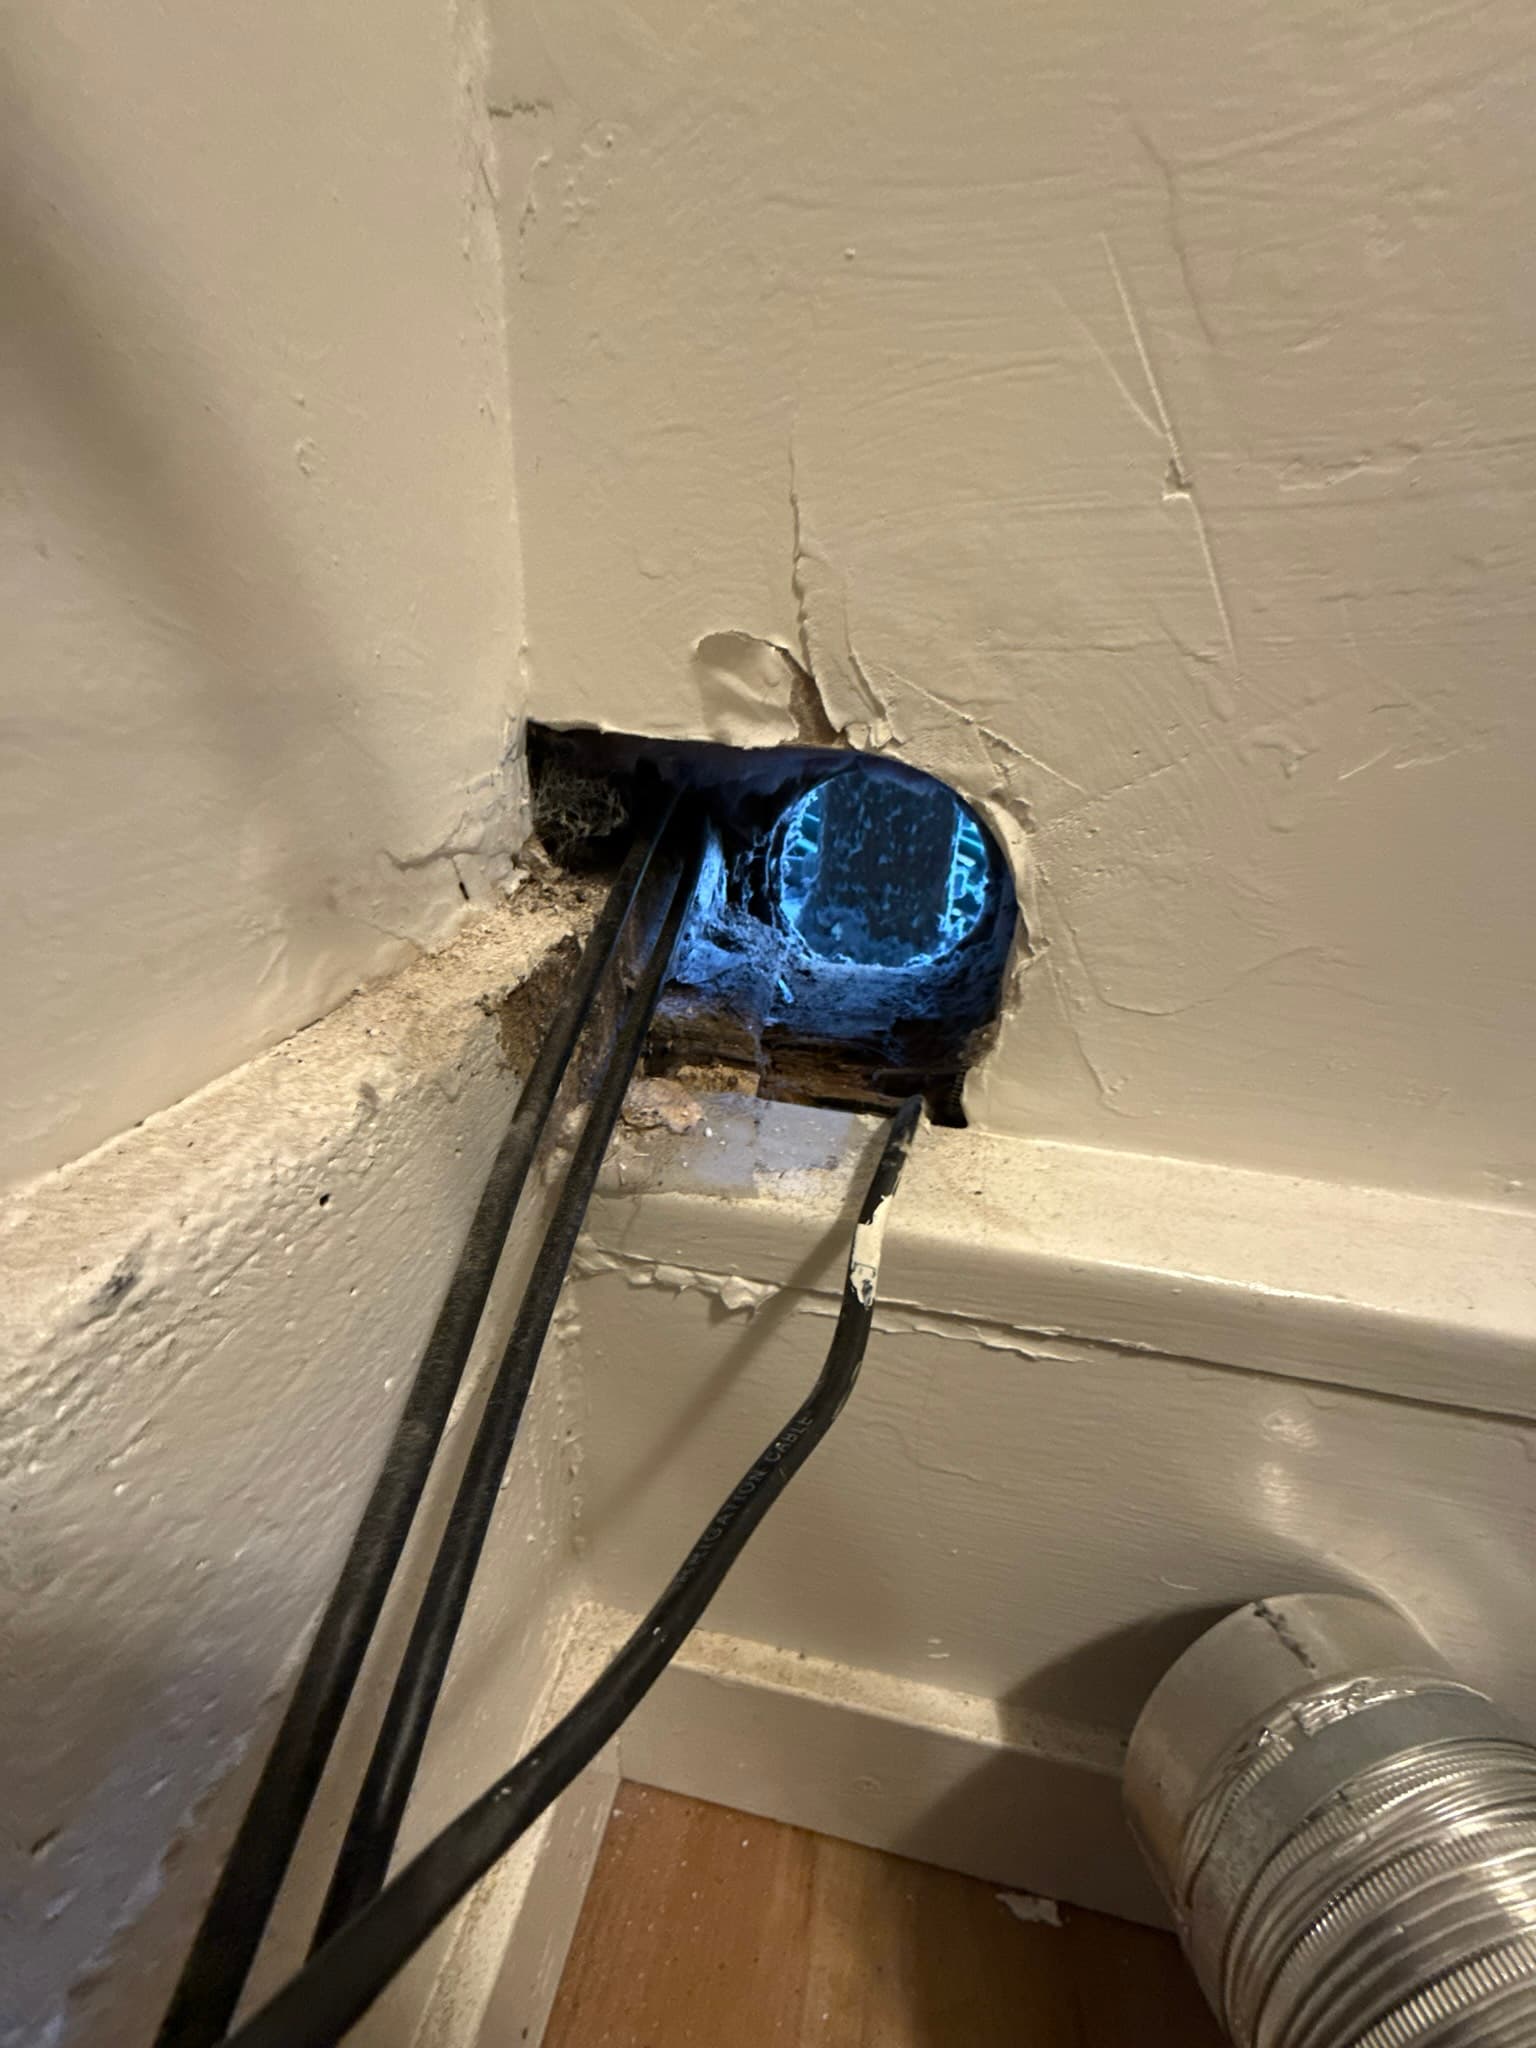
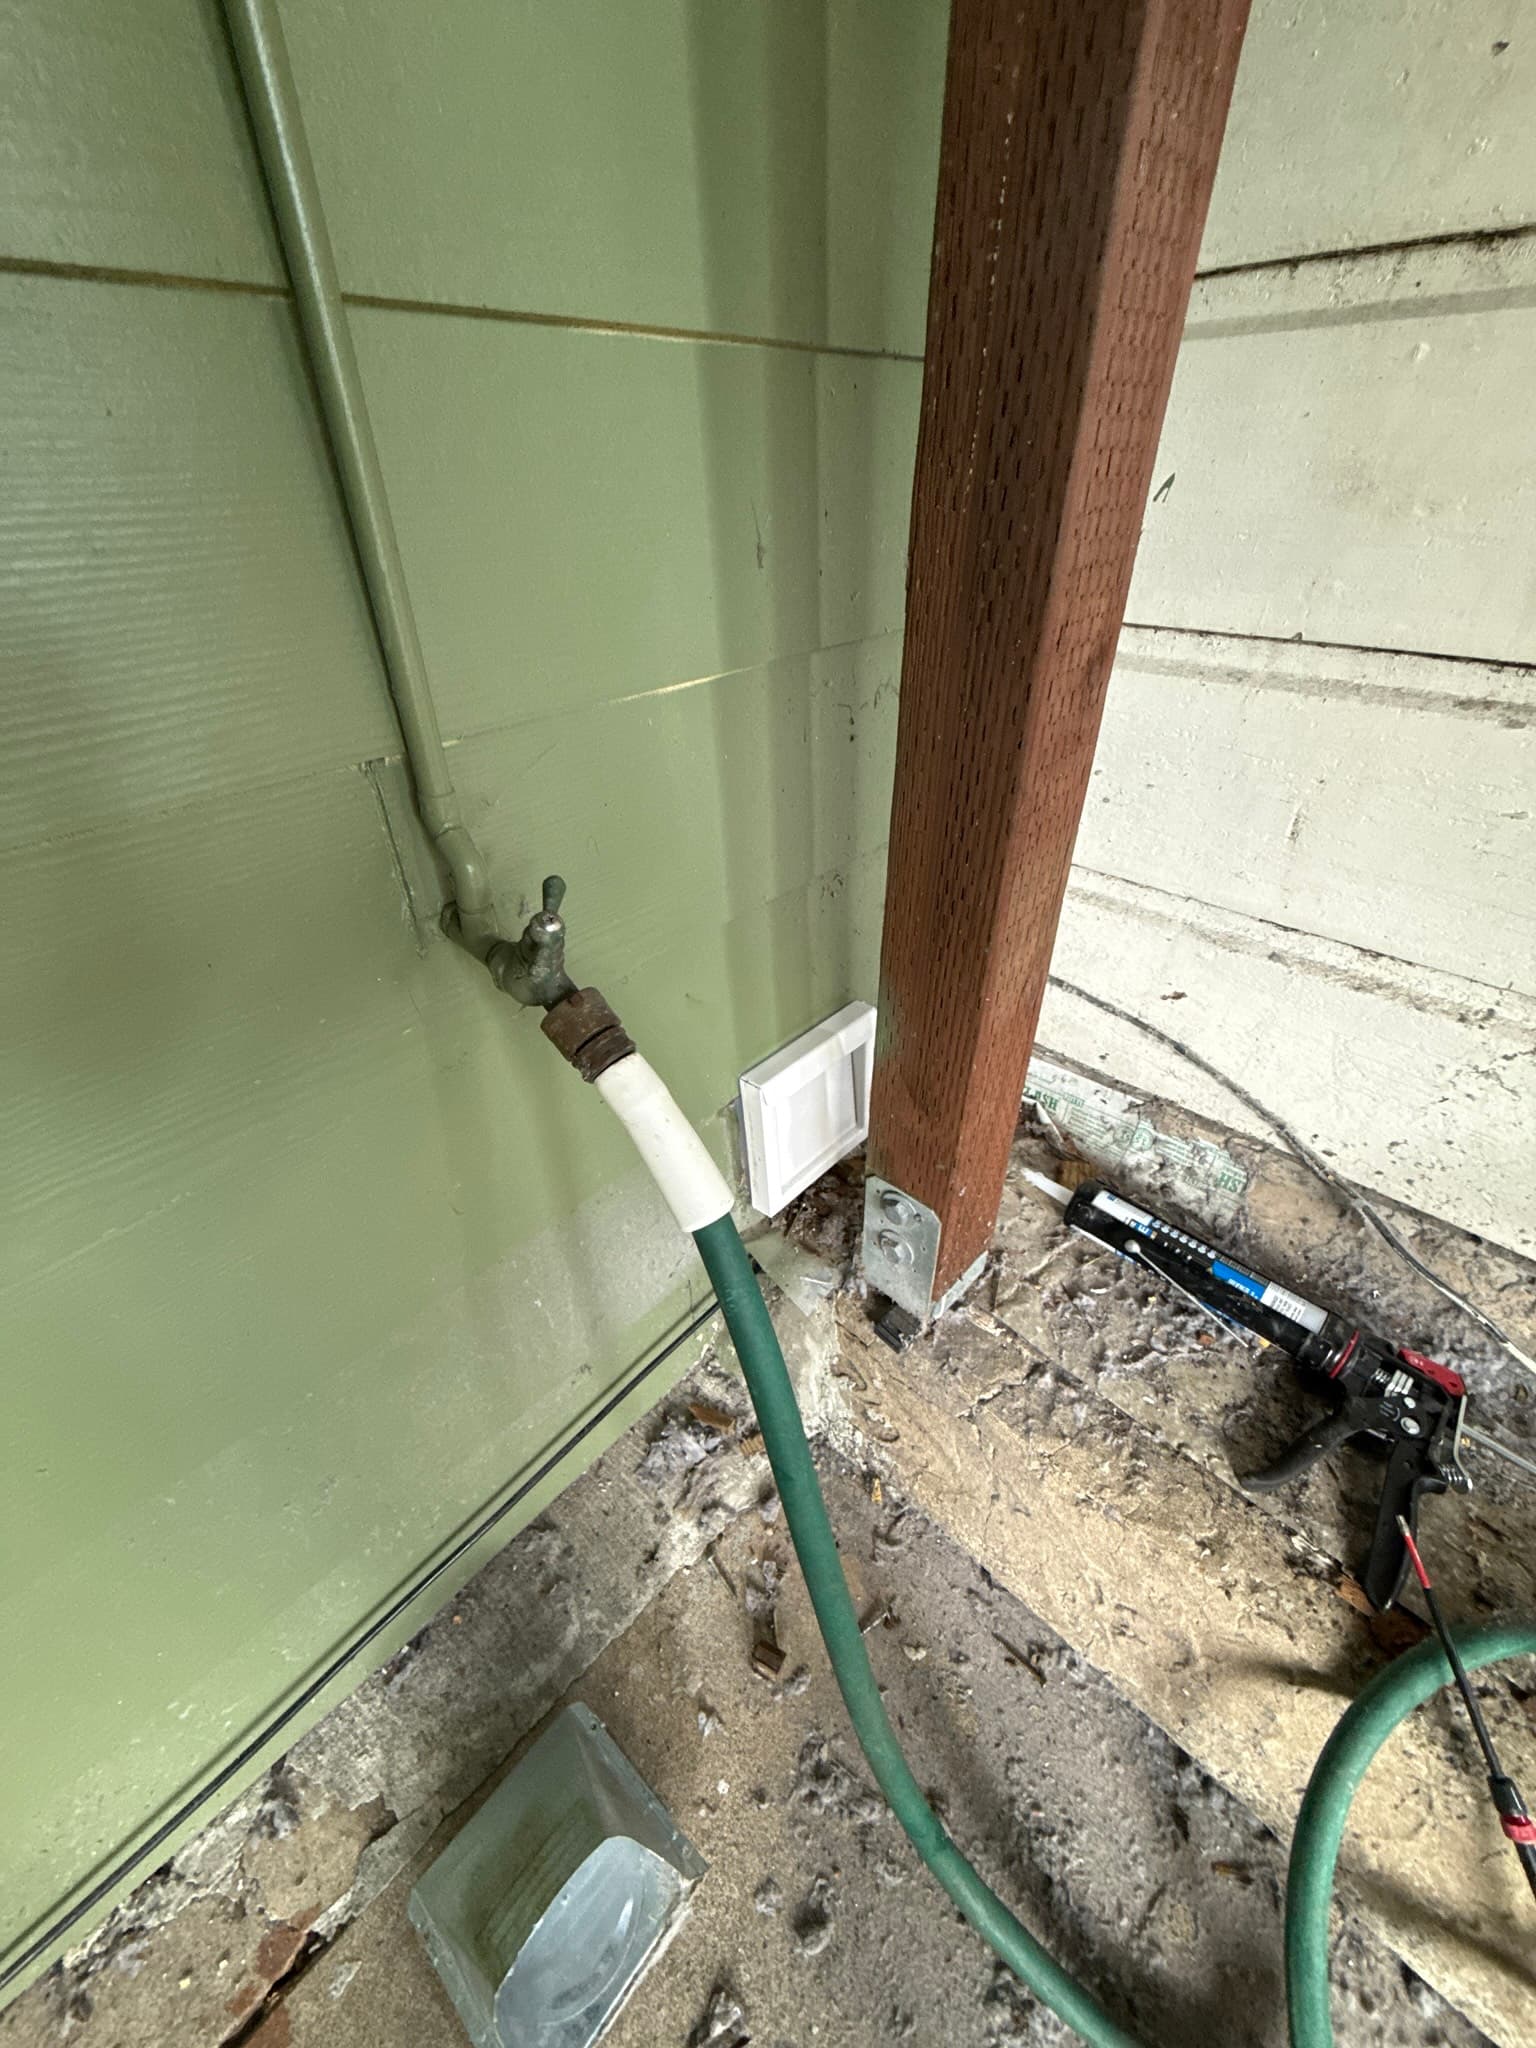
When our technician arrived at this San Francisco residence, the dryer exhaust system showed several conditions that warranted immediate attention. The existing transition duct connecting the dryer to the wall was not a listed semi-rigid product and was not meeting the performance and safety expectations required by IRC M1502.4.3, which mandates that transition ducts be a single length listed and labeled in accordance with UL 2158A. The exterior wall vent cap was also in poor condition. Photos taken during the visit show the cap heavily fouled with accumulated lint and debris, with evidence of corrosion on the metal components surrounding the wall penetration. Lint and debris were visible at the termination opening, indicating that exhaust airflow had been restricted over time. The homeowner had specifically requested that the cap be inspected as part of the service, and the inspection confirmed that replacement was the right call.
The Condition of the Duct Interior
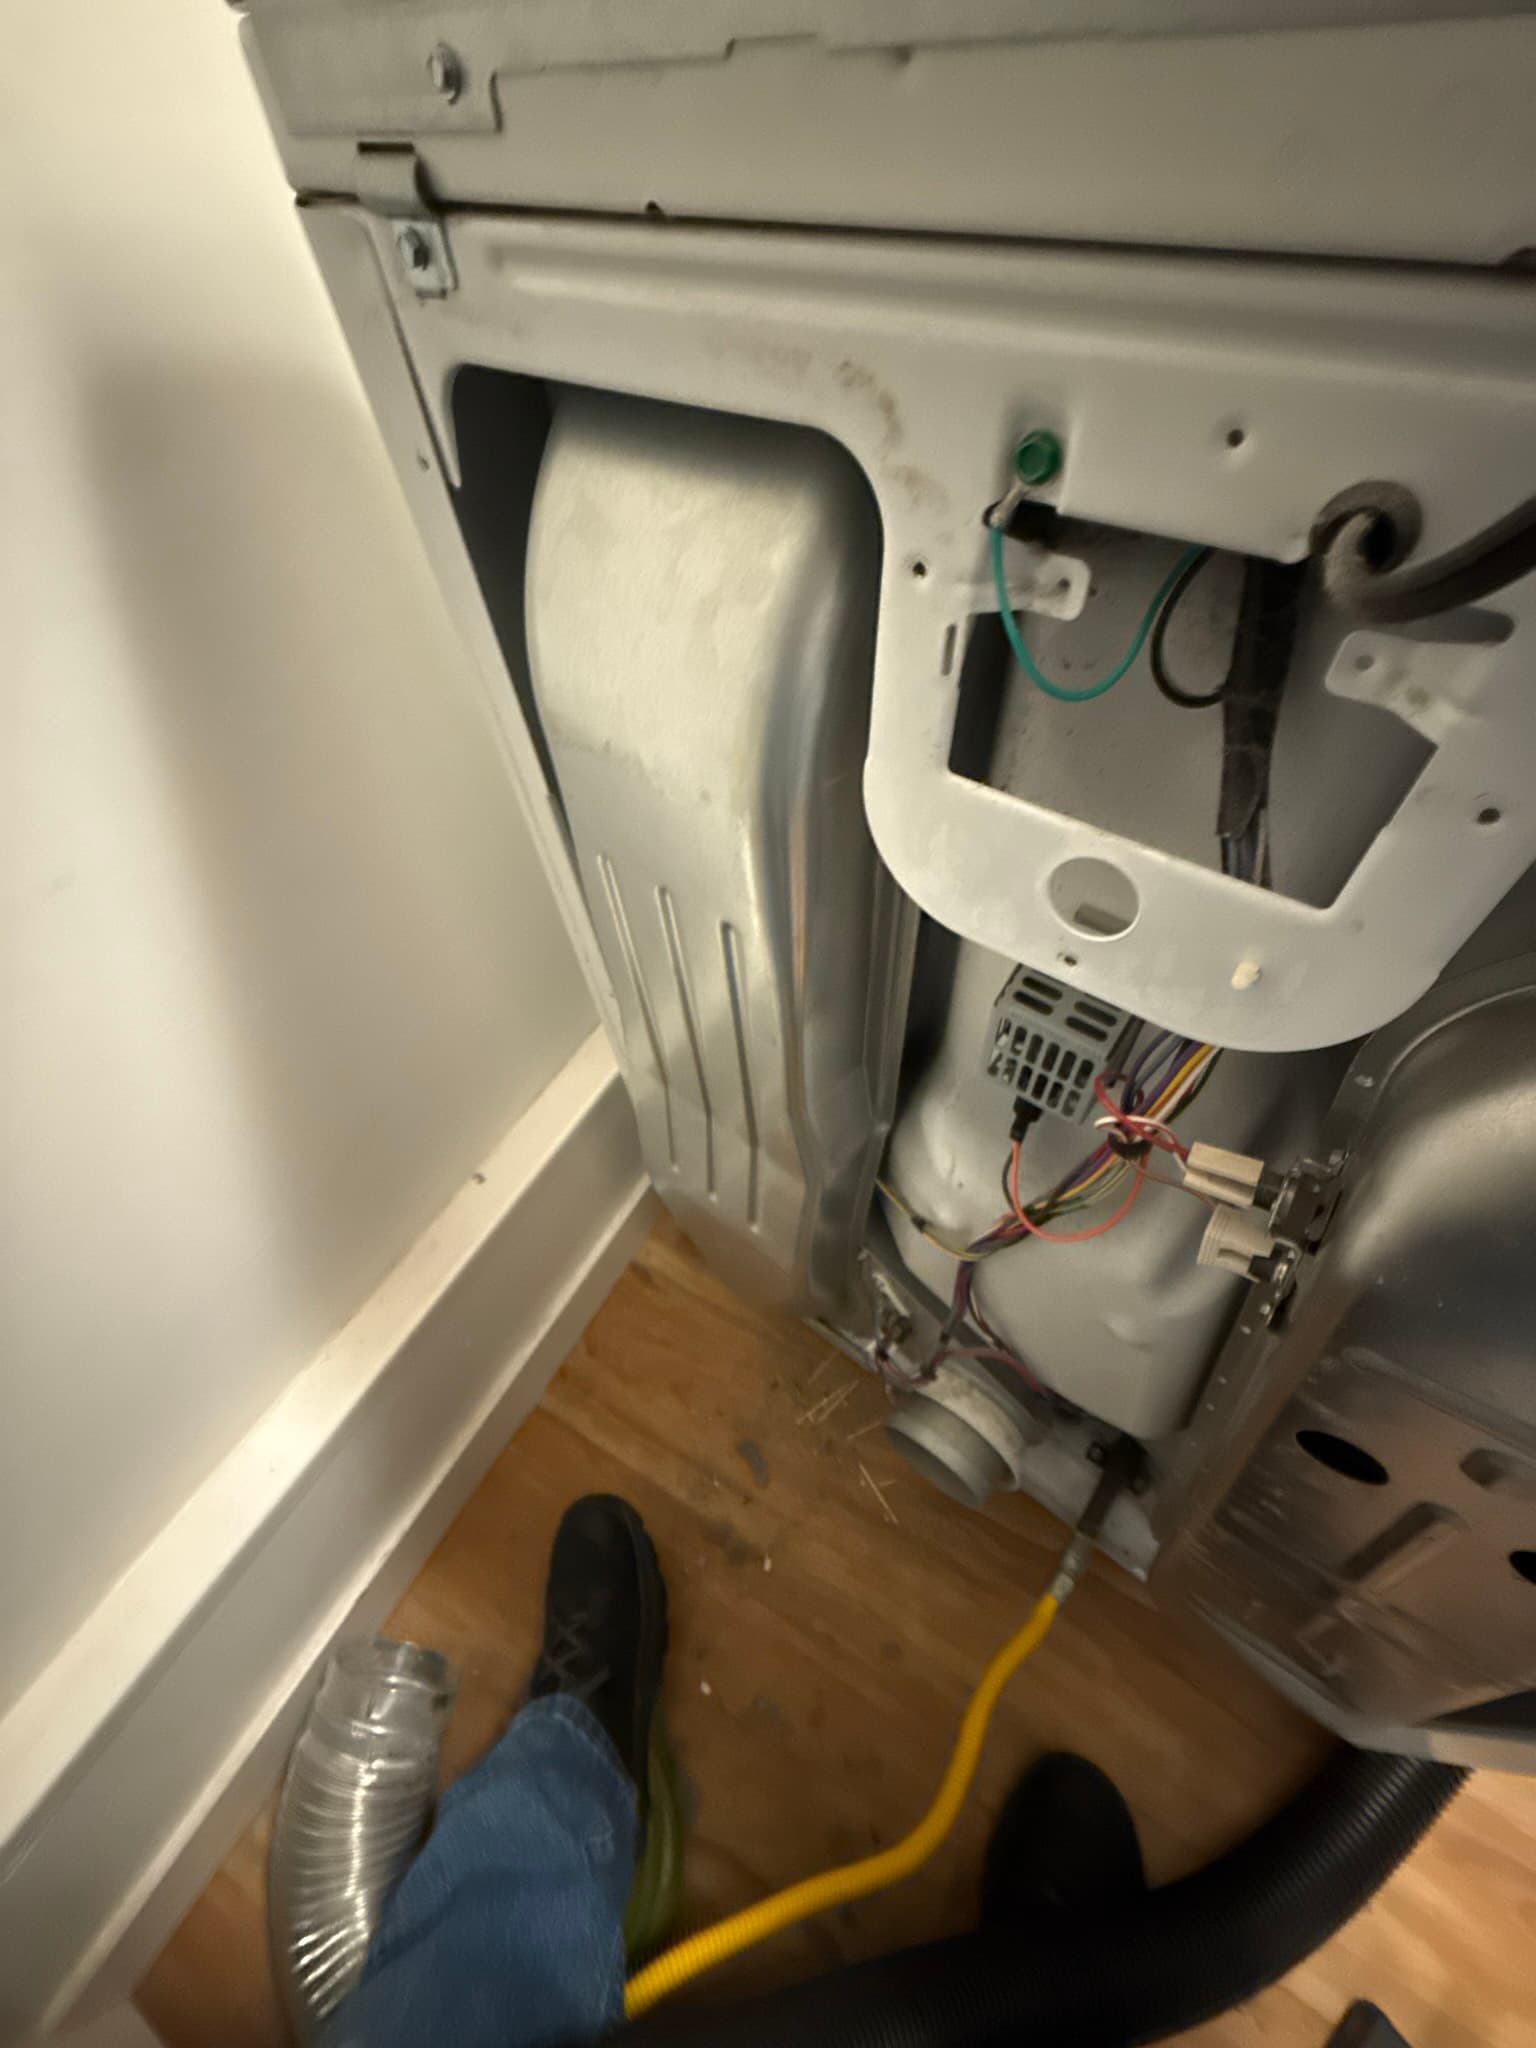
A full dryer cleaning was performed to clear lint that had accumulated throughout the exhaust system. Lint buildup inside a dryer vent is the leading cause of residential dryer fires, with the U.S. Fire Administration attributing roughly 15,000 home dryer fires each year primarily to failure to clean. Beyond fire risk, restricted airflow forces the dryer motor to work harder, extends drying times, and drives up energy costs. Our technician performed a thorough cleaning of the duct interior and the dryer's internal components to remove accumulated lint from all accessible surfaces. The rear panel of the dryer was opened to inspect the exhaust outlet, blower wheel area, and internal surfaces, ensuring that lint was removed not just from the duct run but also from the dryer itself where buildup commonly hides near the exhaust connection and heating components.
DryerFlex Transition Duct Installation
With the system cleaned, we installed 48 inches of DryerFlex semi-rigid transition duct to connect the dryer to the wall. DryerFlex is specifically engineered to combine the flexibility needed to work in tight laundry spaces with the structural integrity and fire resistance of semi-rigid aluminum. Critically, it carries a UL 2158A listing, which IRC M1502.4.3 requires for all dryer transition ducts. DryerFlex's UL listing goes further than the baseline, with the material rated to withstand fire exposure up to 482 degrees Fahrenheit while minimizing smoke and flame emission. The kit included two DryerClamps to secure the connections at the dryer outlet and at the wall collar, creating a mechanically fastened joint on each end as required by IRC M1502.4.2. Using a properly listed transition duct eliminates the fire and airflow risks associated with vinyl or standard foil flex products, which are prohibited by code.
Exterior Wall Vent Cap Replacement
The old exterior cap was removed and replaced with a new DryerWallVent 4-inch flush-mount wall vent (white, no-collar configuration). This heavy-gauge Galvalume steel body with powder-coat finish is engineered to meet or exceed all code requirements for dryer vent termination. To complete the wall penetration, we installed a through-the-wall collar and a 4-inch by 4-inch vent collar, ensuring the wall opening is properly supported and sealed around the duct. IRC M1502.3 requires that dryer exhaust duct terminations be equipped with a backdraft damper and that no screen be installed at the opening. The new flush-mount cap satisfies both requirements: its integrated gravity backdraft damper closes when the dryer is off, keeping pests and outside air out, while the unscreened opening ensures lint can exit freely without accumulating at the termination. IRC M1502.3.1 further specifies that the terminal passageway provide a minimum of 12.5 square inches of open area, a threshold the new cap is designed to meet.
The Outcome
After the cleaning was complete and all components were installed, the exhaust system was confirmed to be flowing freely from the dryer connection through to the exterior termination. The new DryerFlex transition duct routes cleanly behind the dryer without kinking or compression, maintaining the full 4-inch nominal diameter required by IRC M1502.4.1 throughout the connection. The flush-mount wall cap presents a clean, low-profile appearance on the exterior of the home while providing a durable, long-service termination point. San Francisco's dense residential building stock means dryer vents in many homes have not been serviced in years; annual professional cleaning and periodic cap inspection are the most effective ways to keep the exhaust system safe and the dryer running efficiently between visits.
Project photos
5 photos
Need similar work in San Francisco?
Get a free quote - same-week appointments usually available.