
San Francisco · Residential Fire Code Compliance Install
Dryer Exhaust Repair & Cleaning in San Francisco: Disconnected Duct Fixed
A San Francisco home's dryer exhaust had come apart at the wall penetration, venting lint and moisture into the crawlspace. Our technicians cleaned the full system and rebuilt the exhaust run with a new exterior wall vent, UL 2158A transition duct, and 11 feet of rigid metal ducting.
Completed October 13, 2026
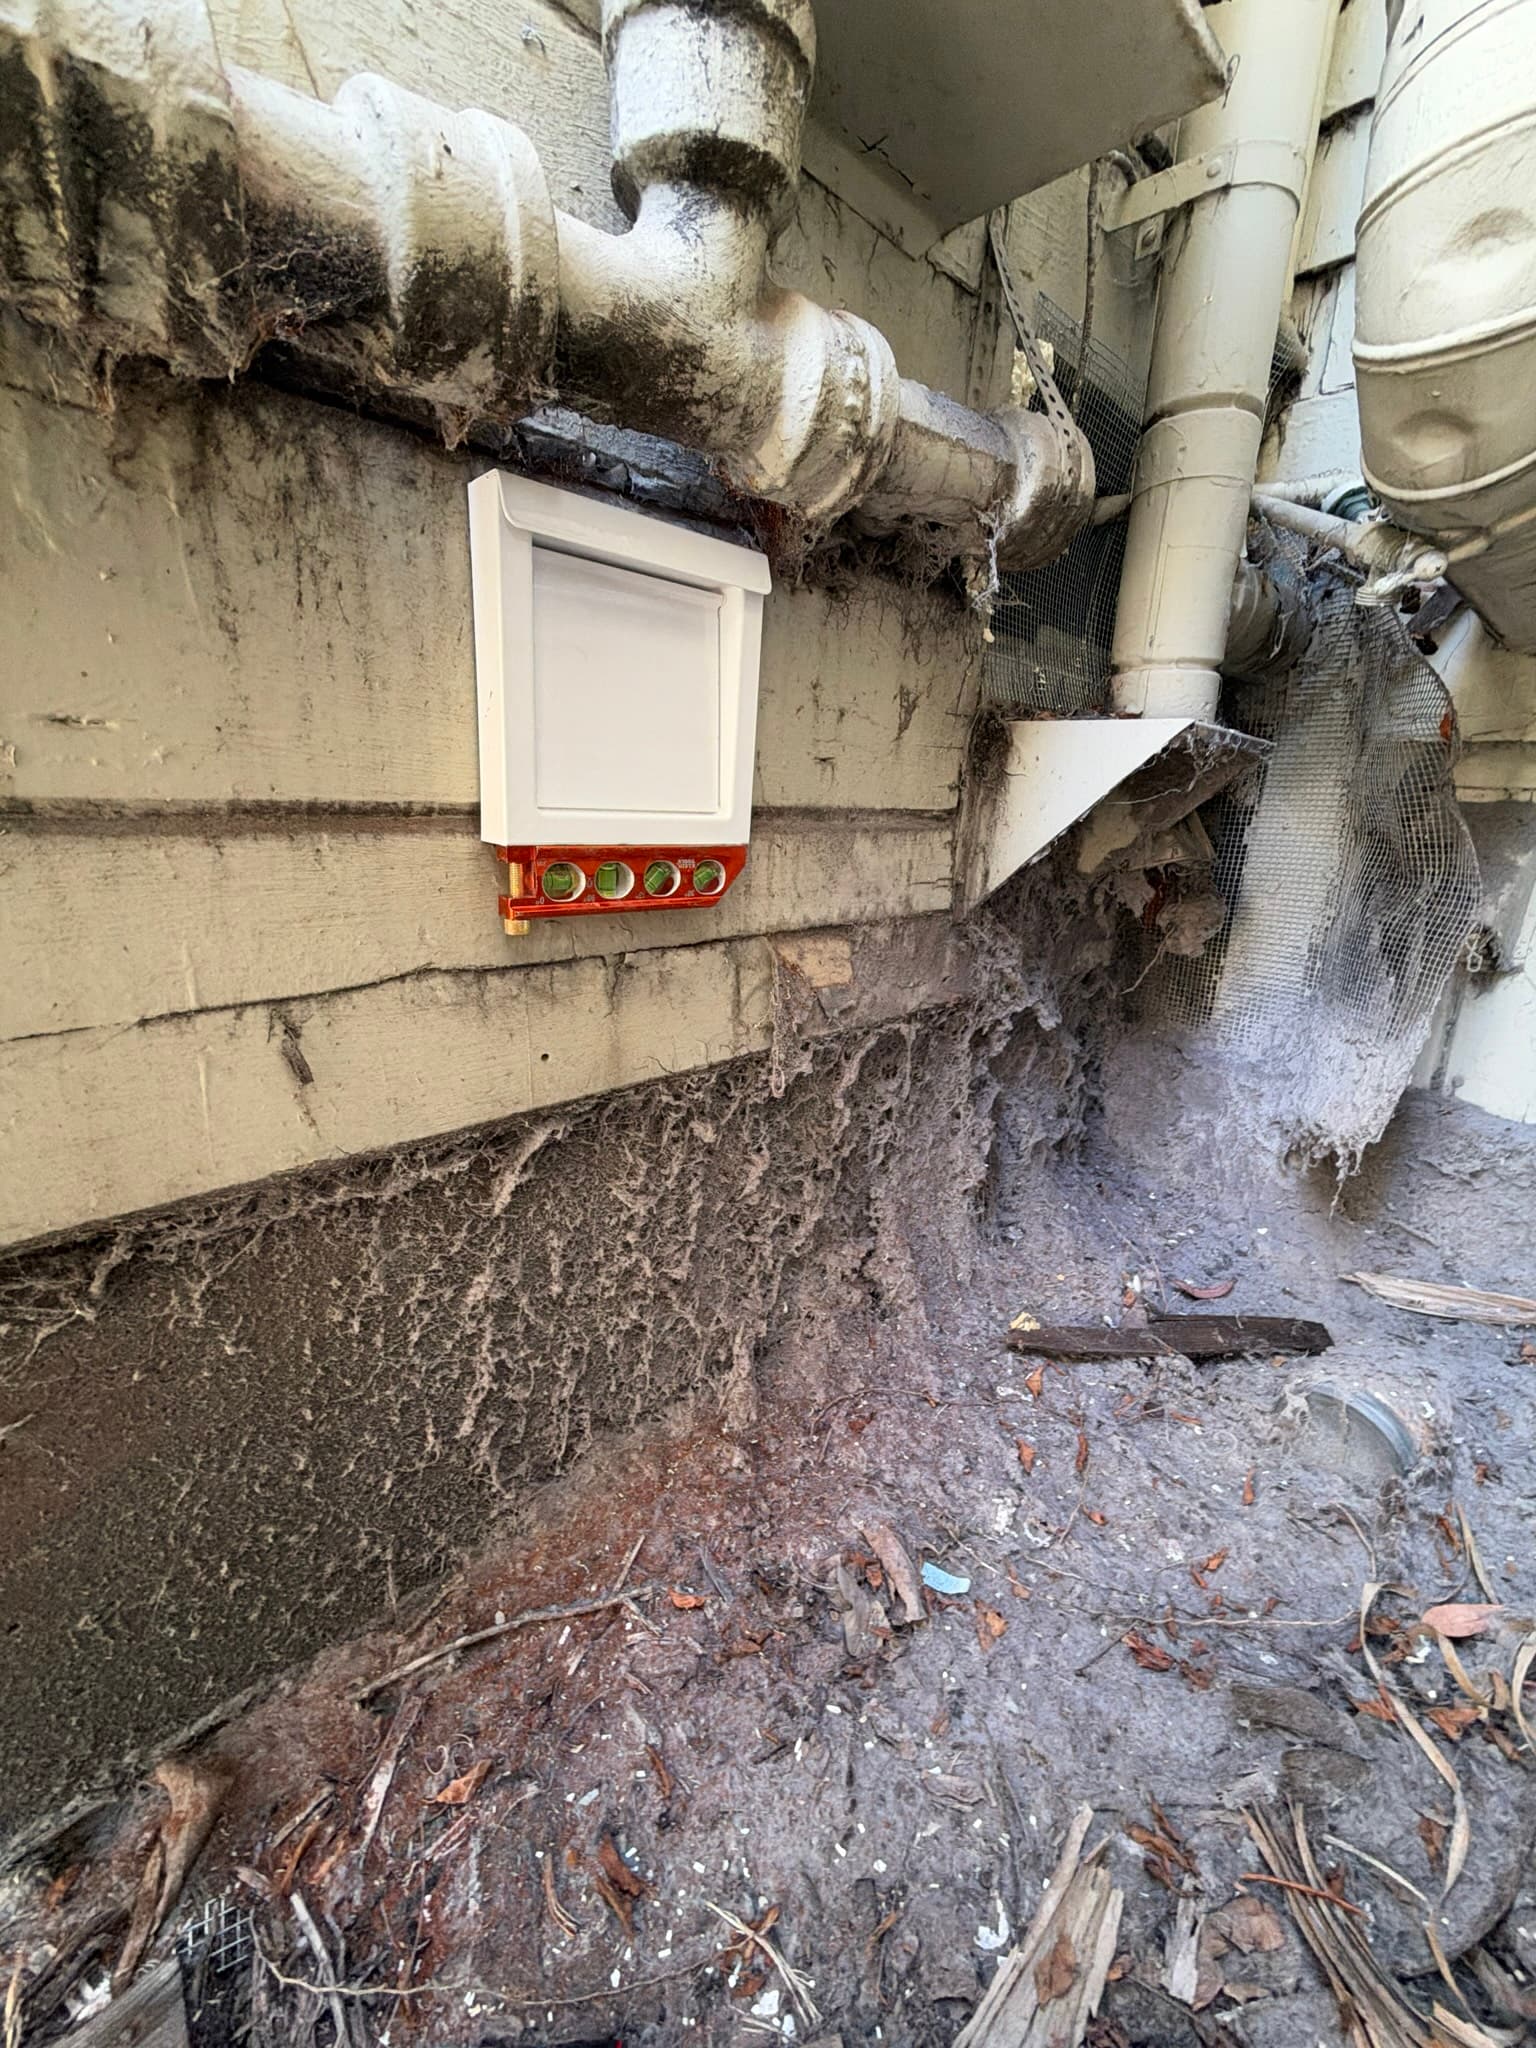
The new exterior wall vent provides a clean, accessible termination point for future cleanings.
What We Found
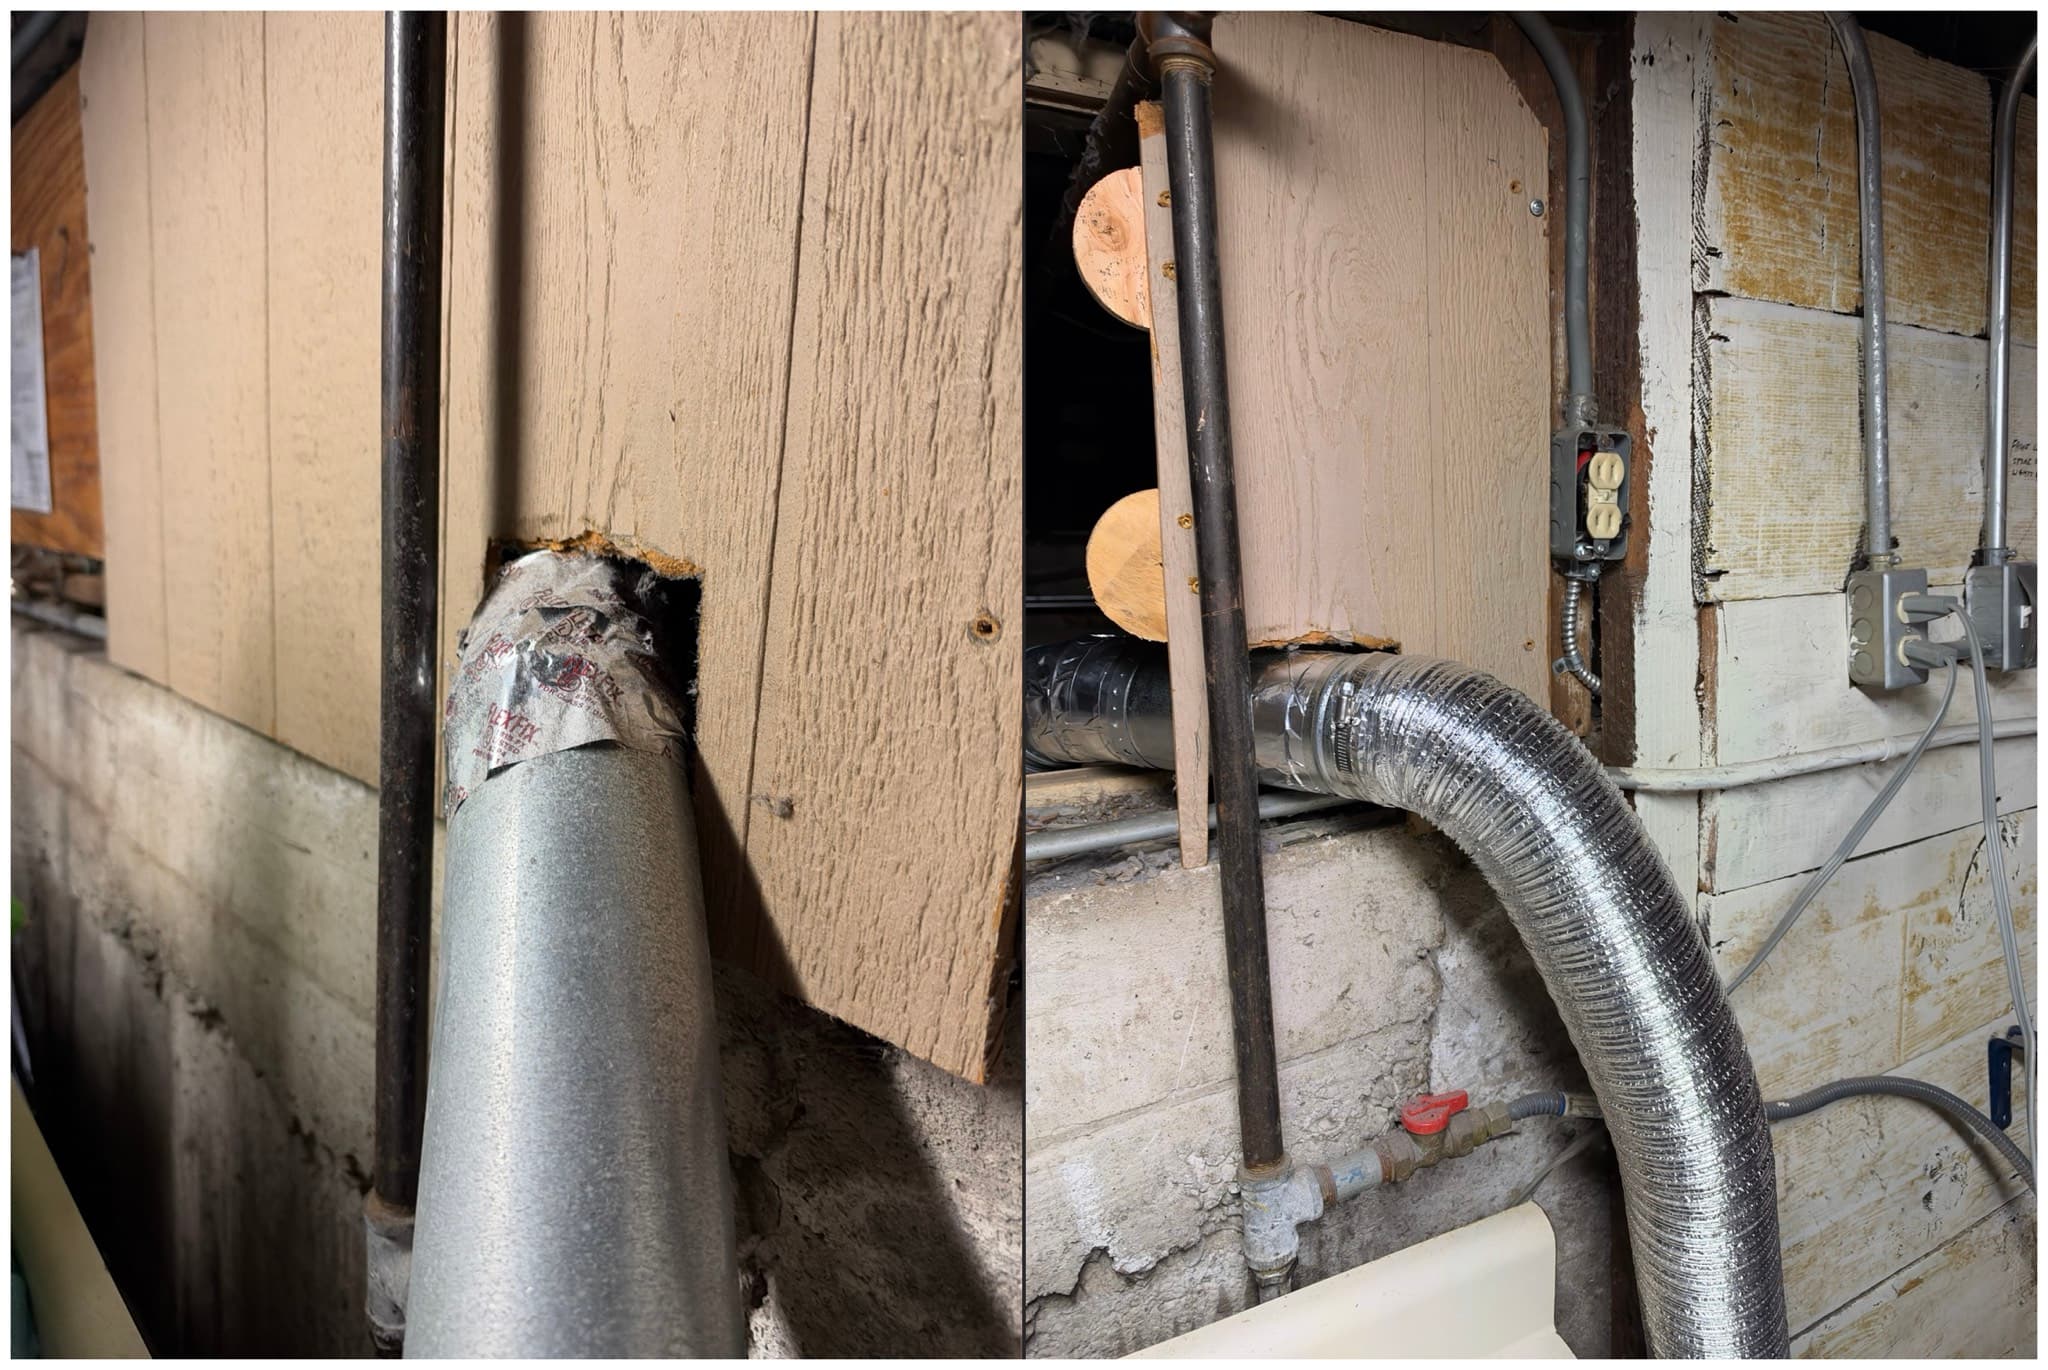
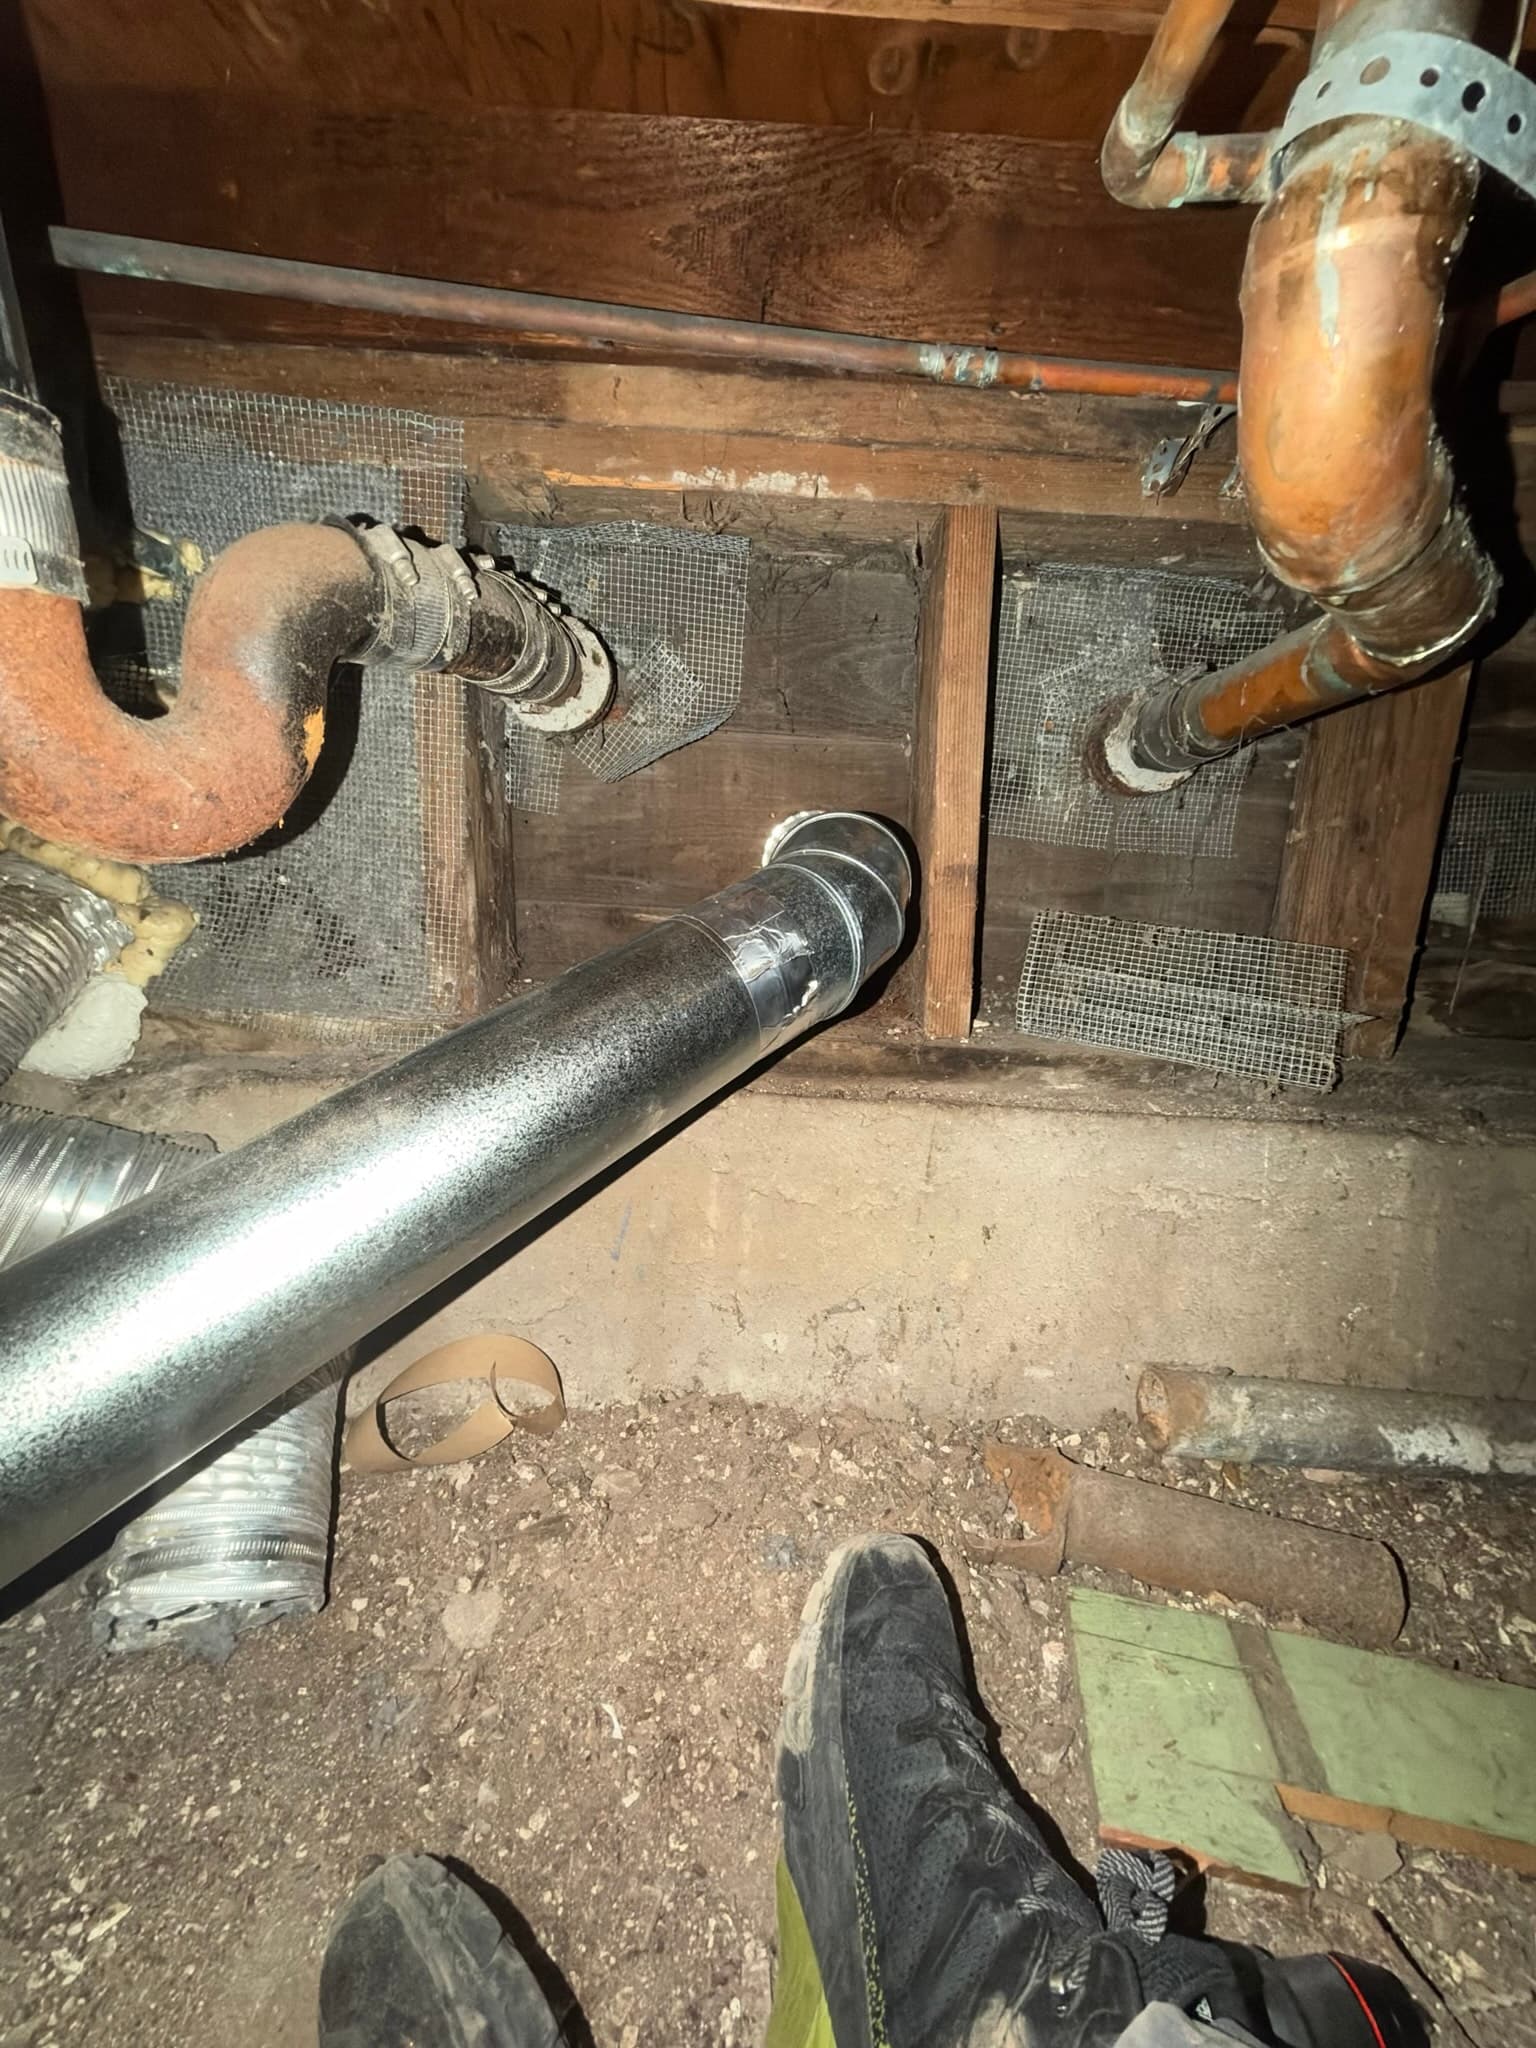
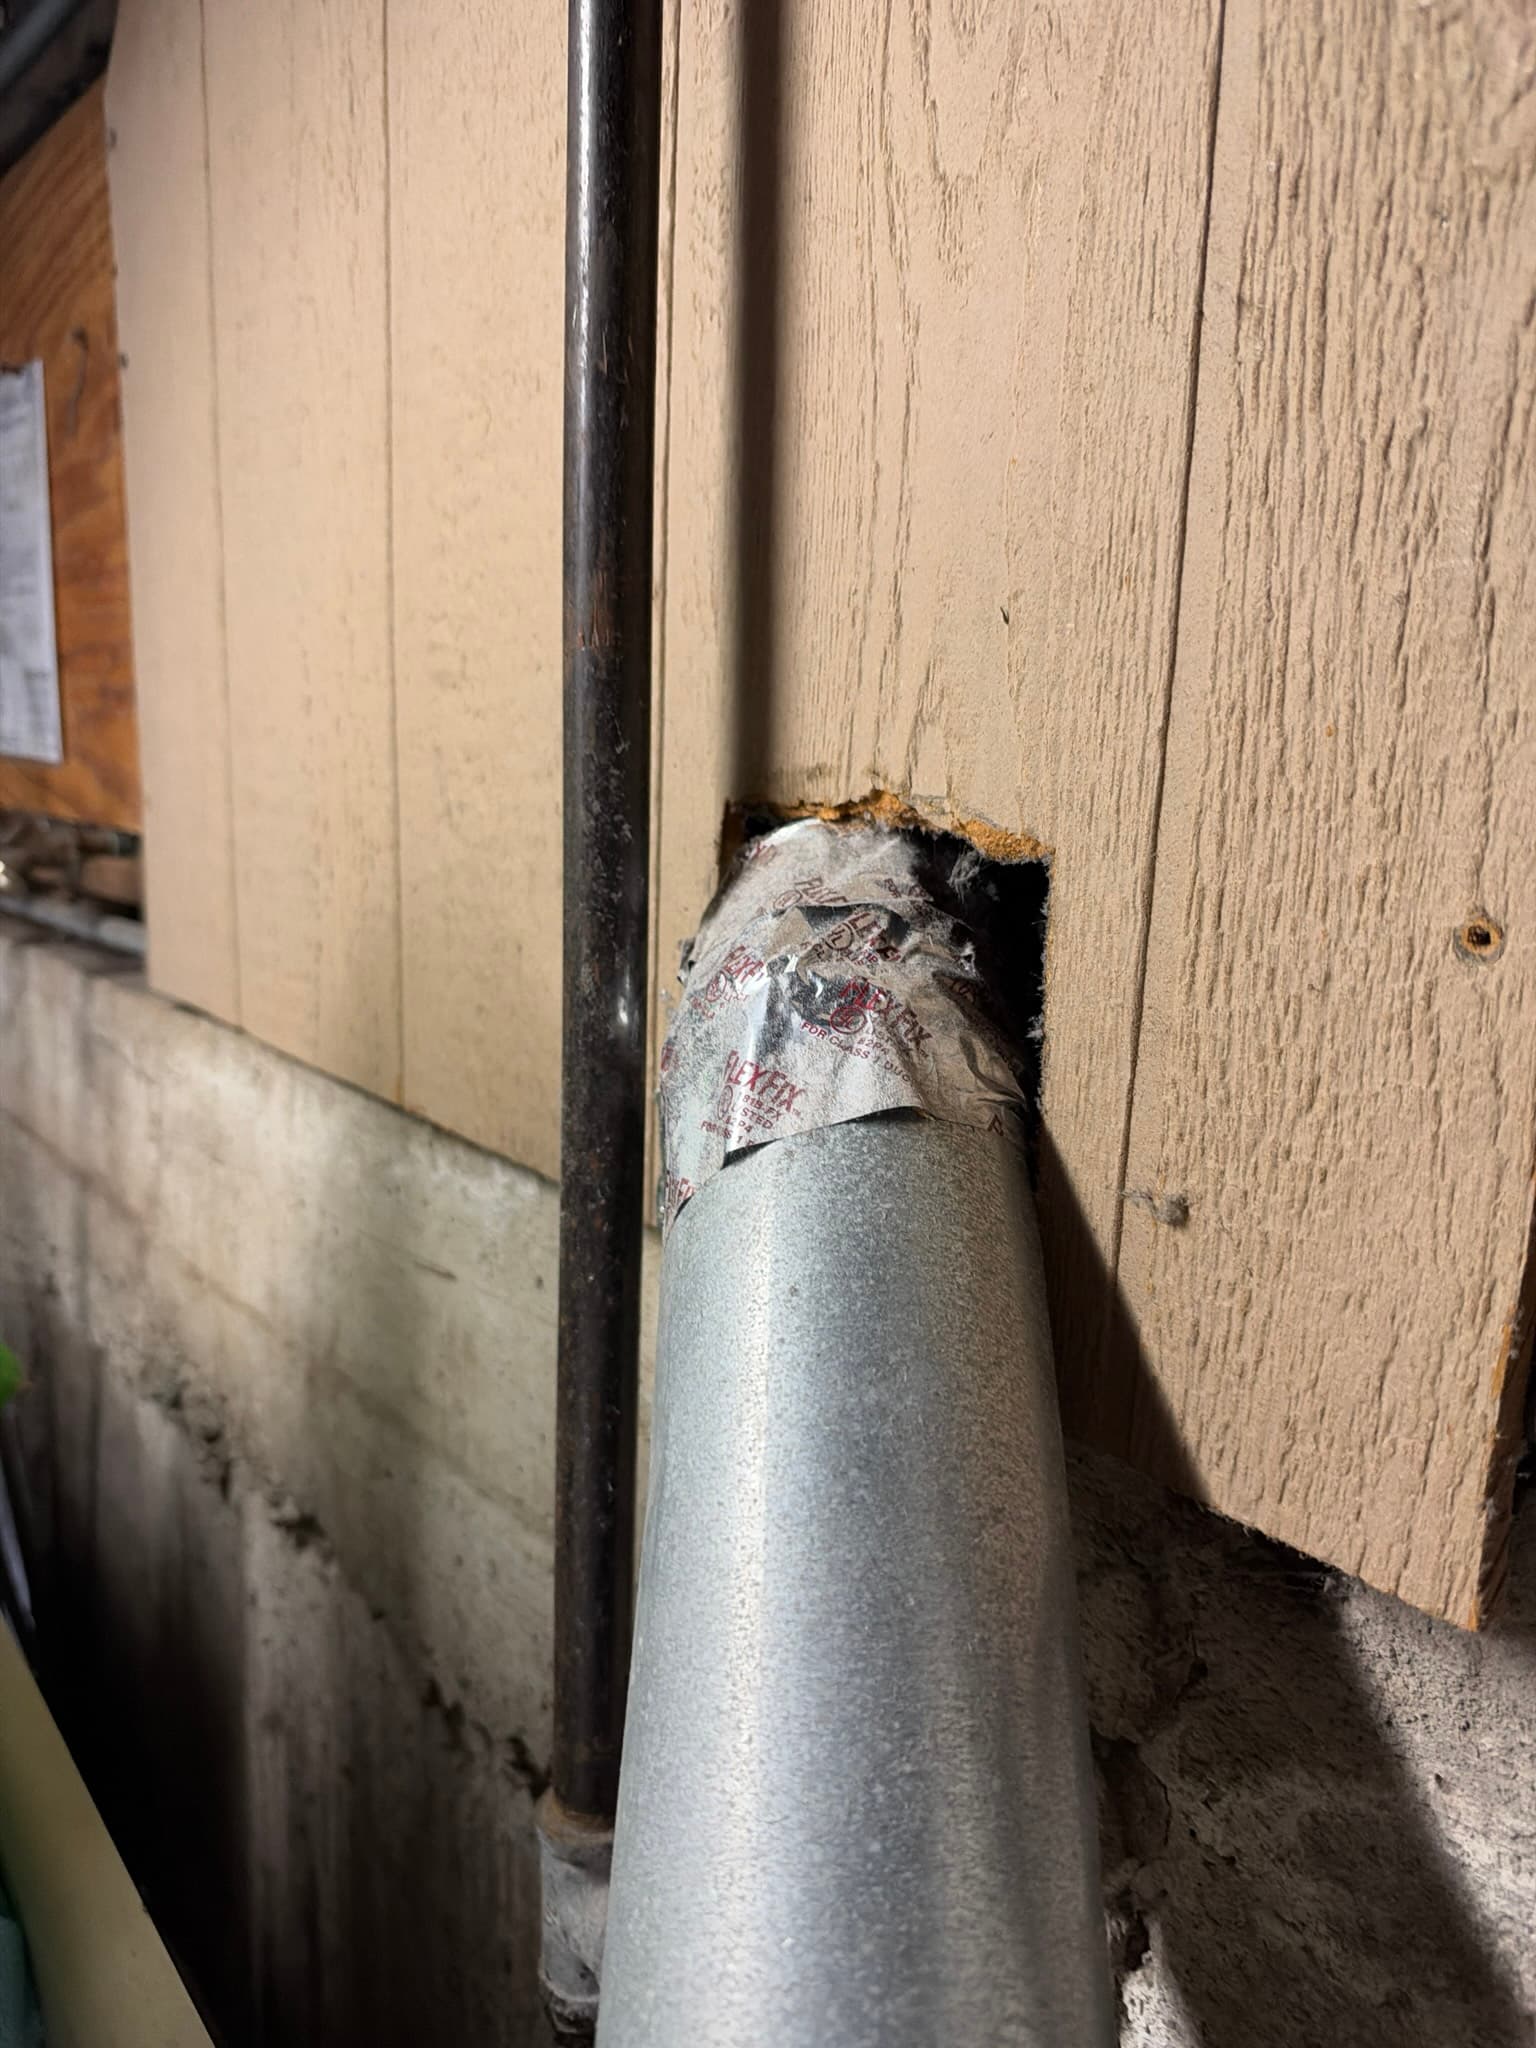
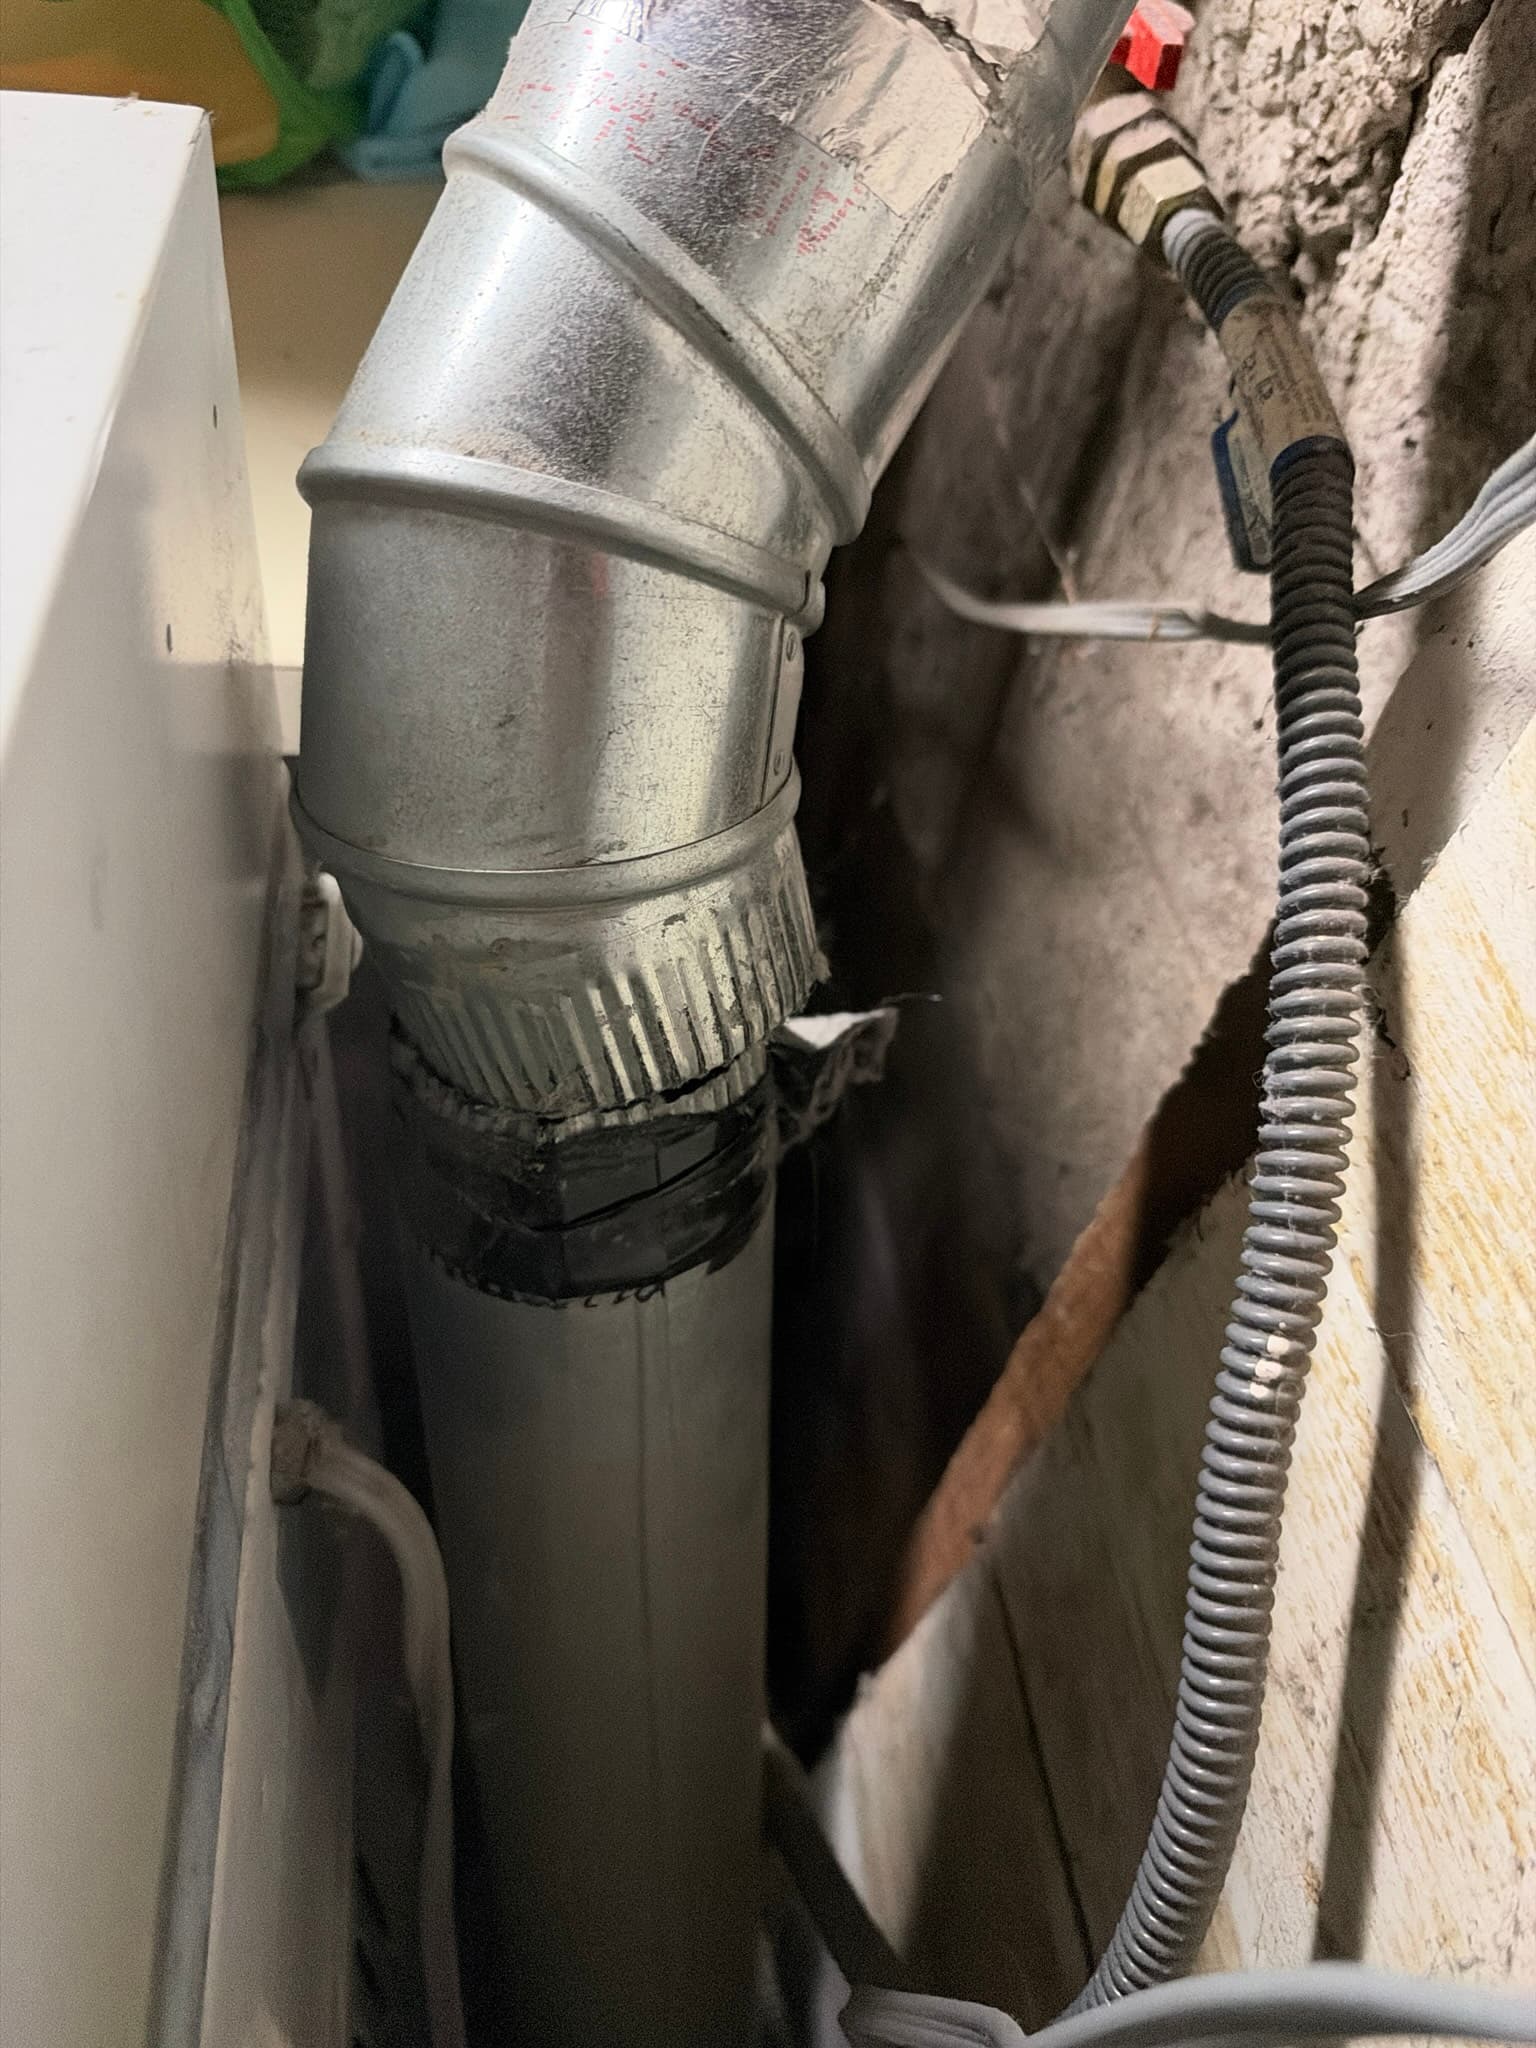
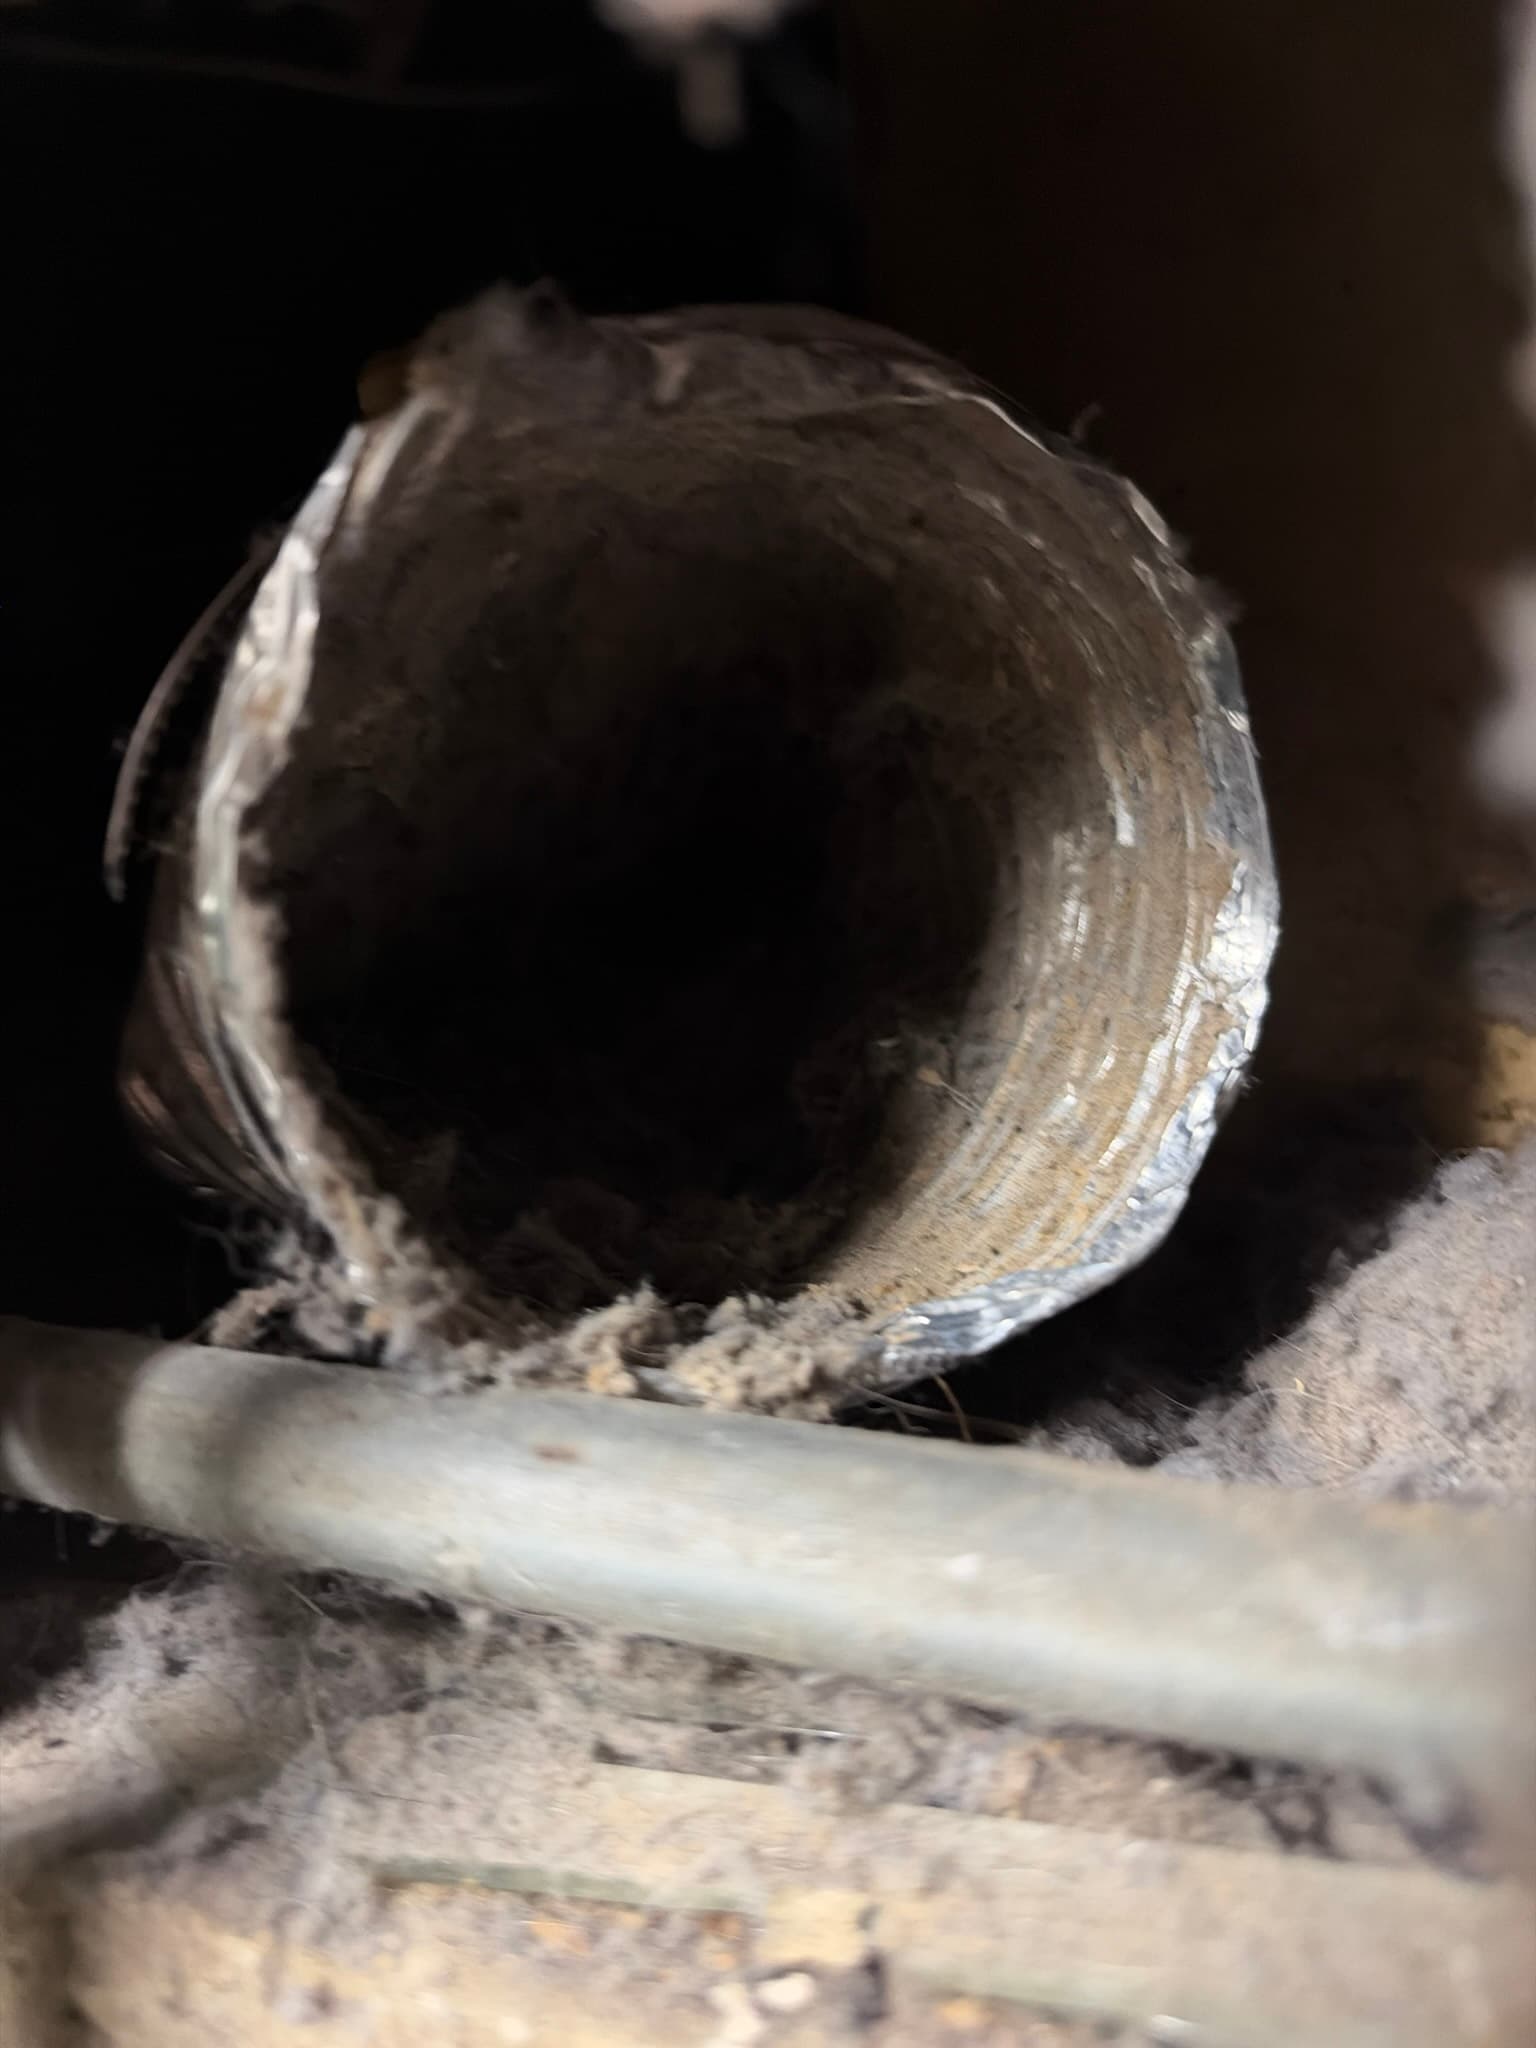
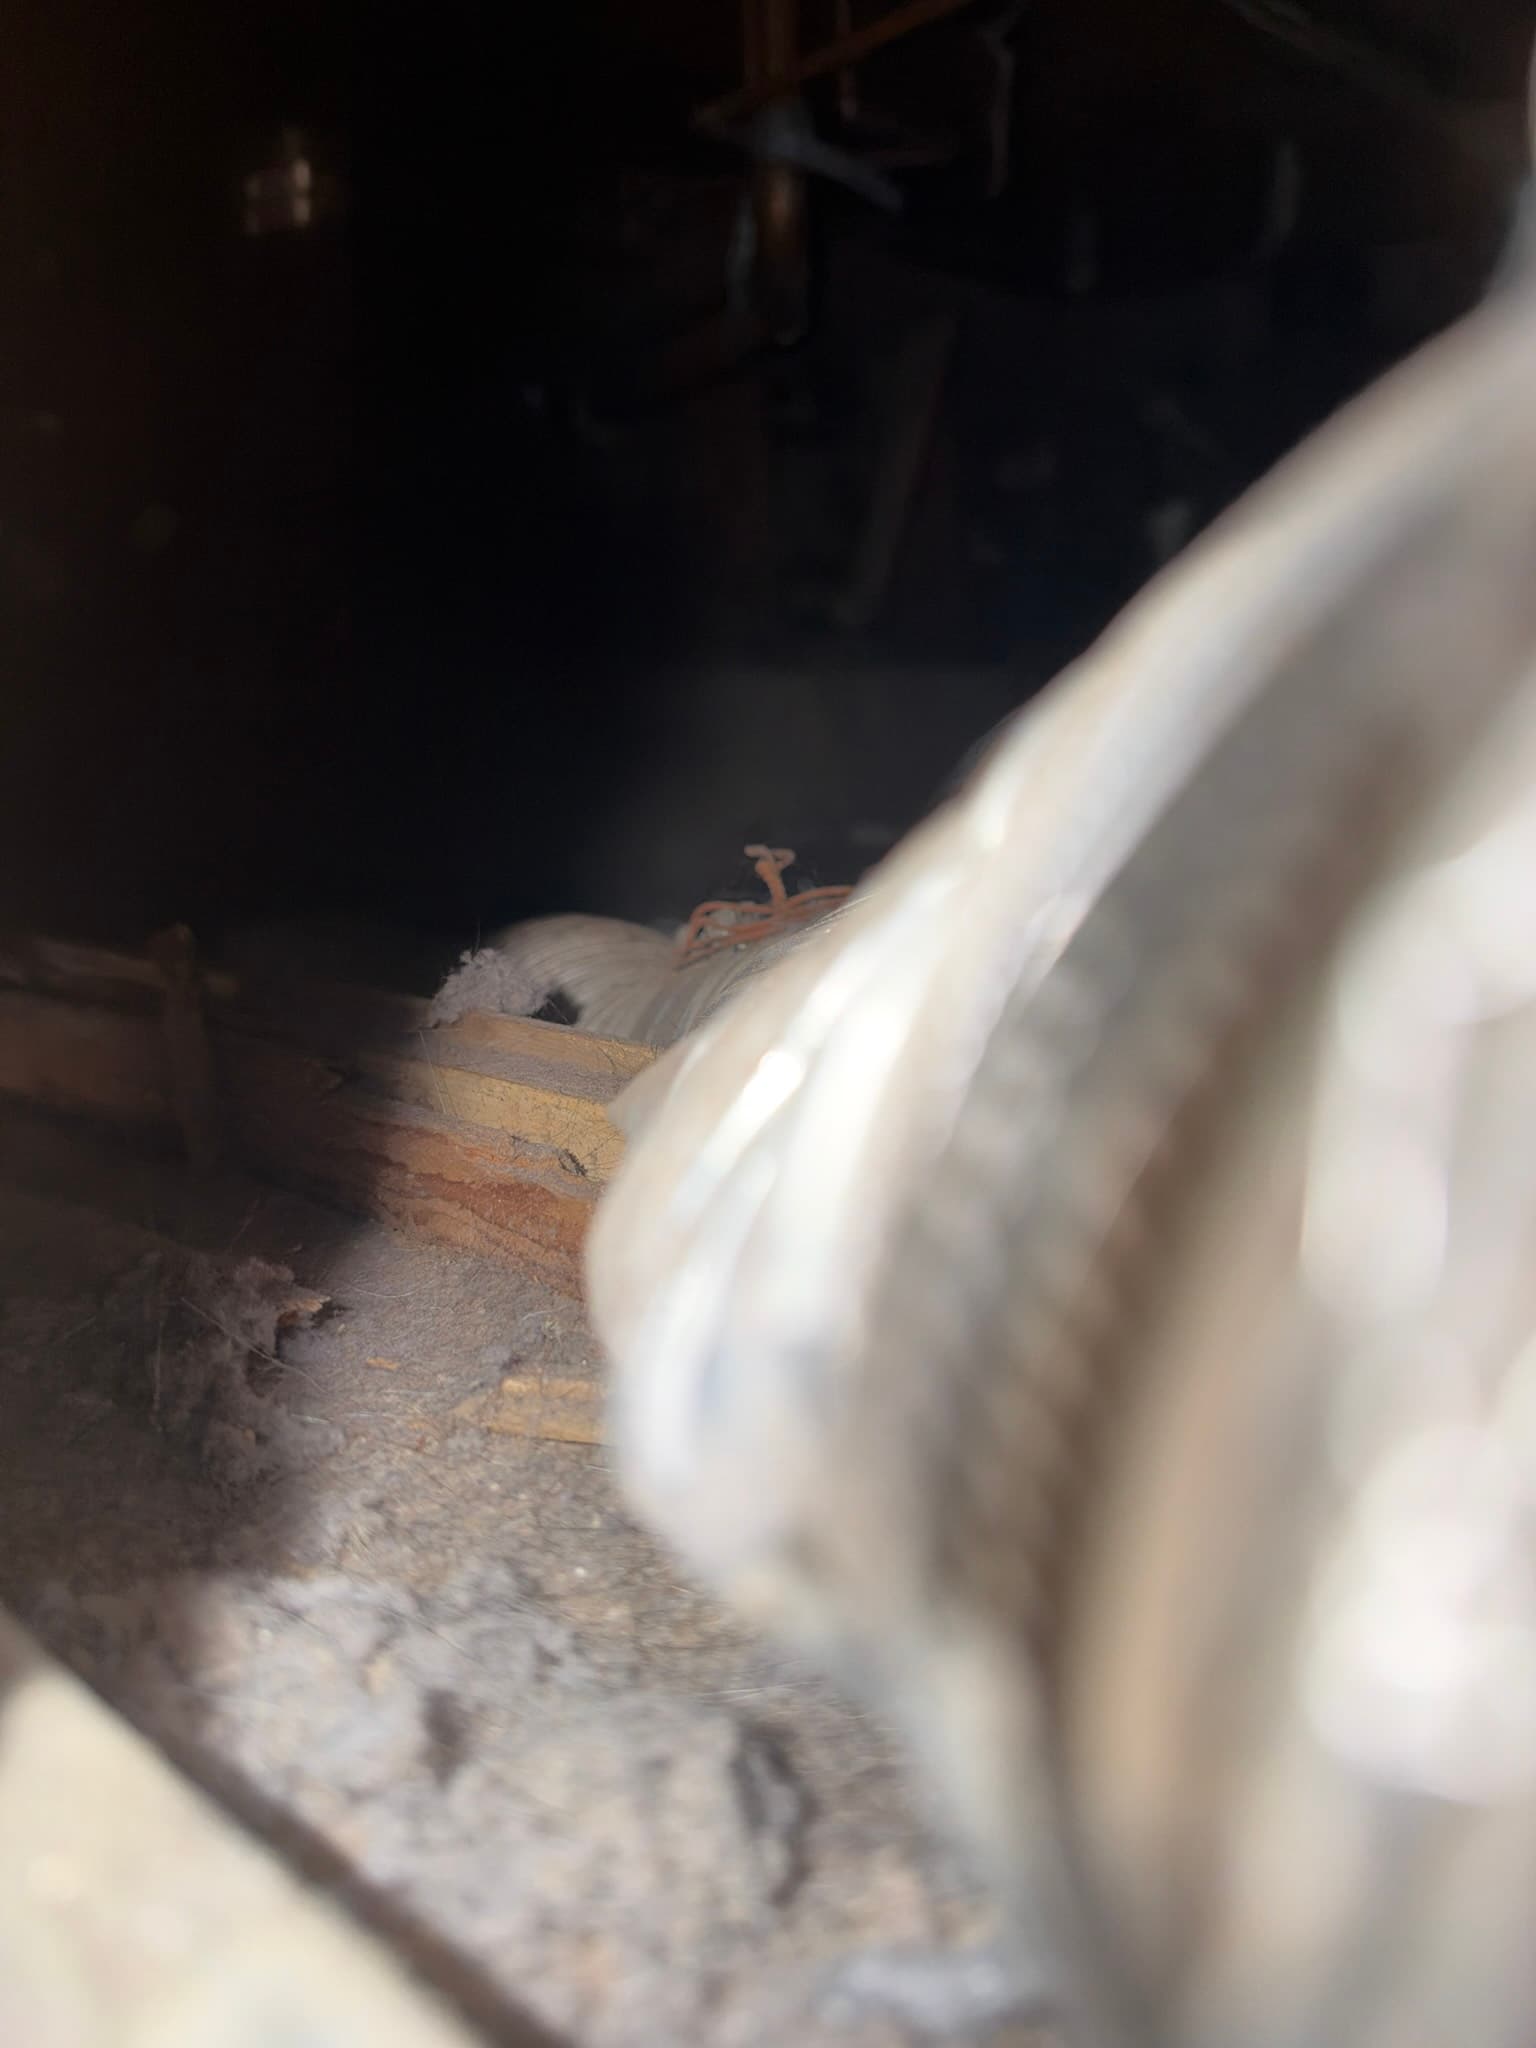
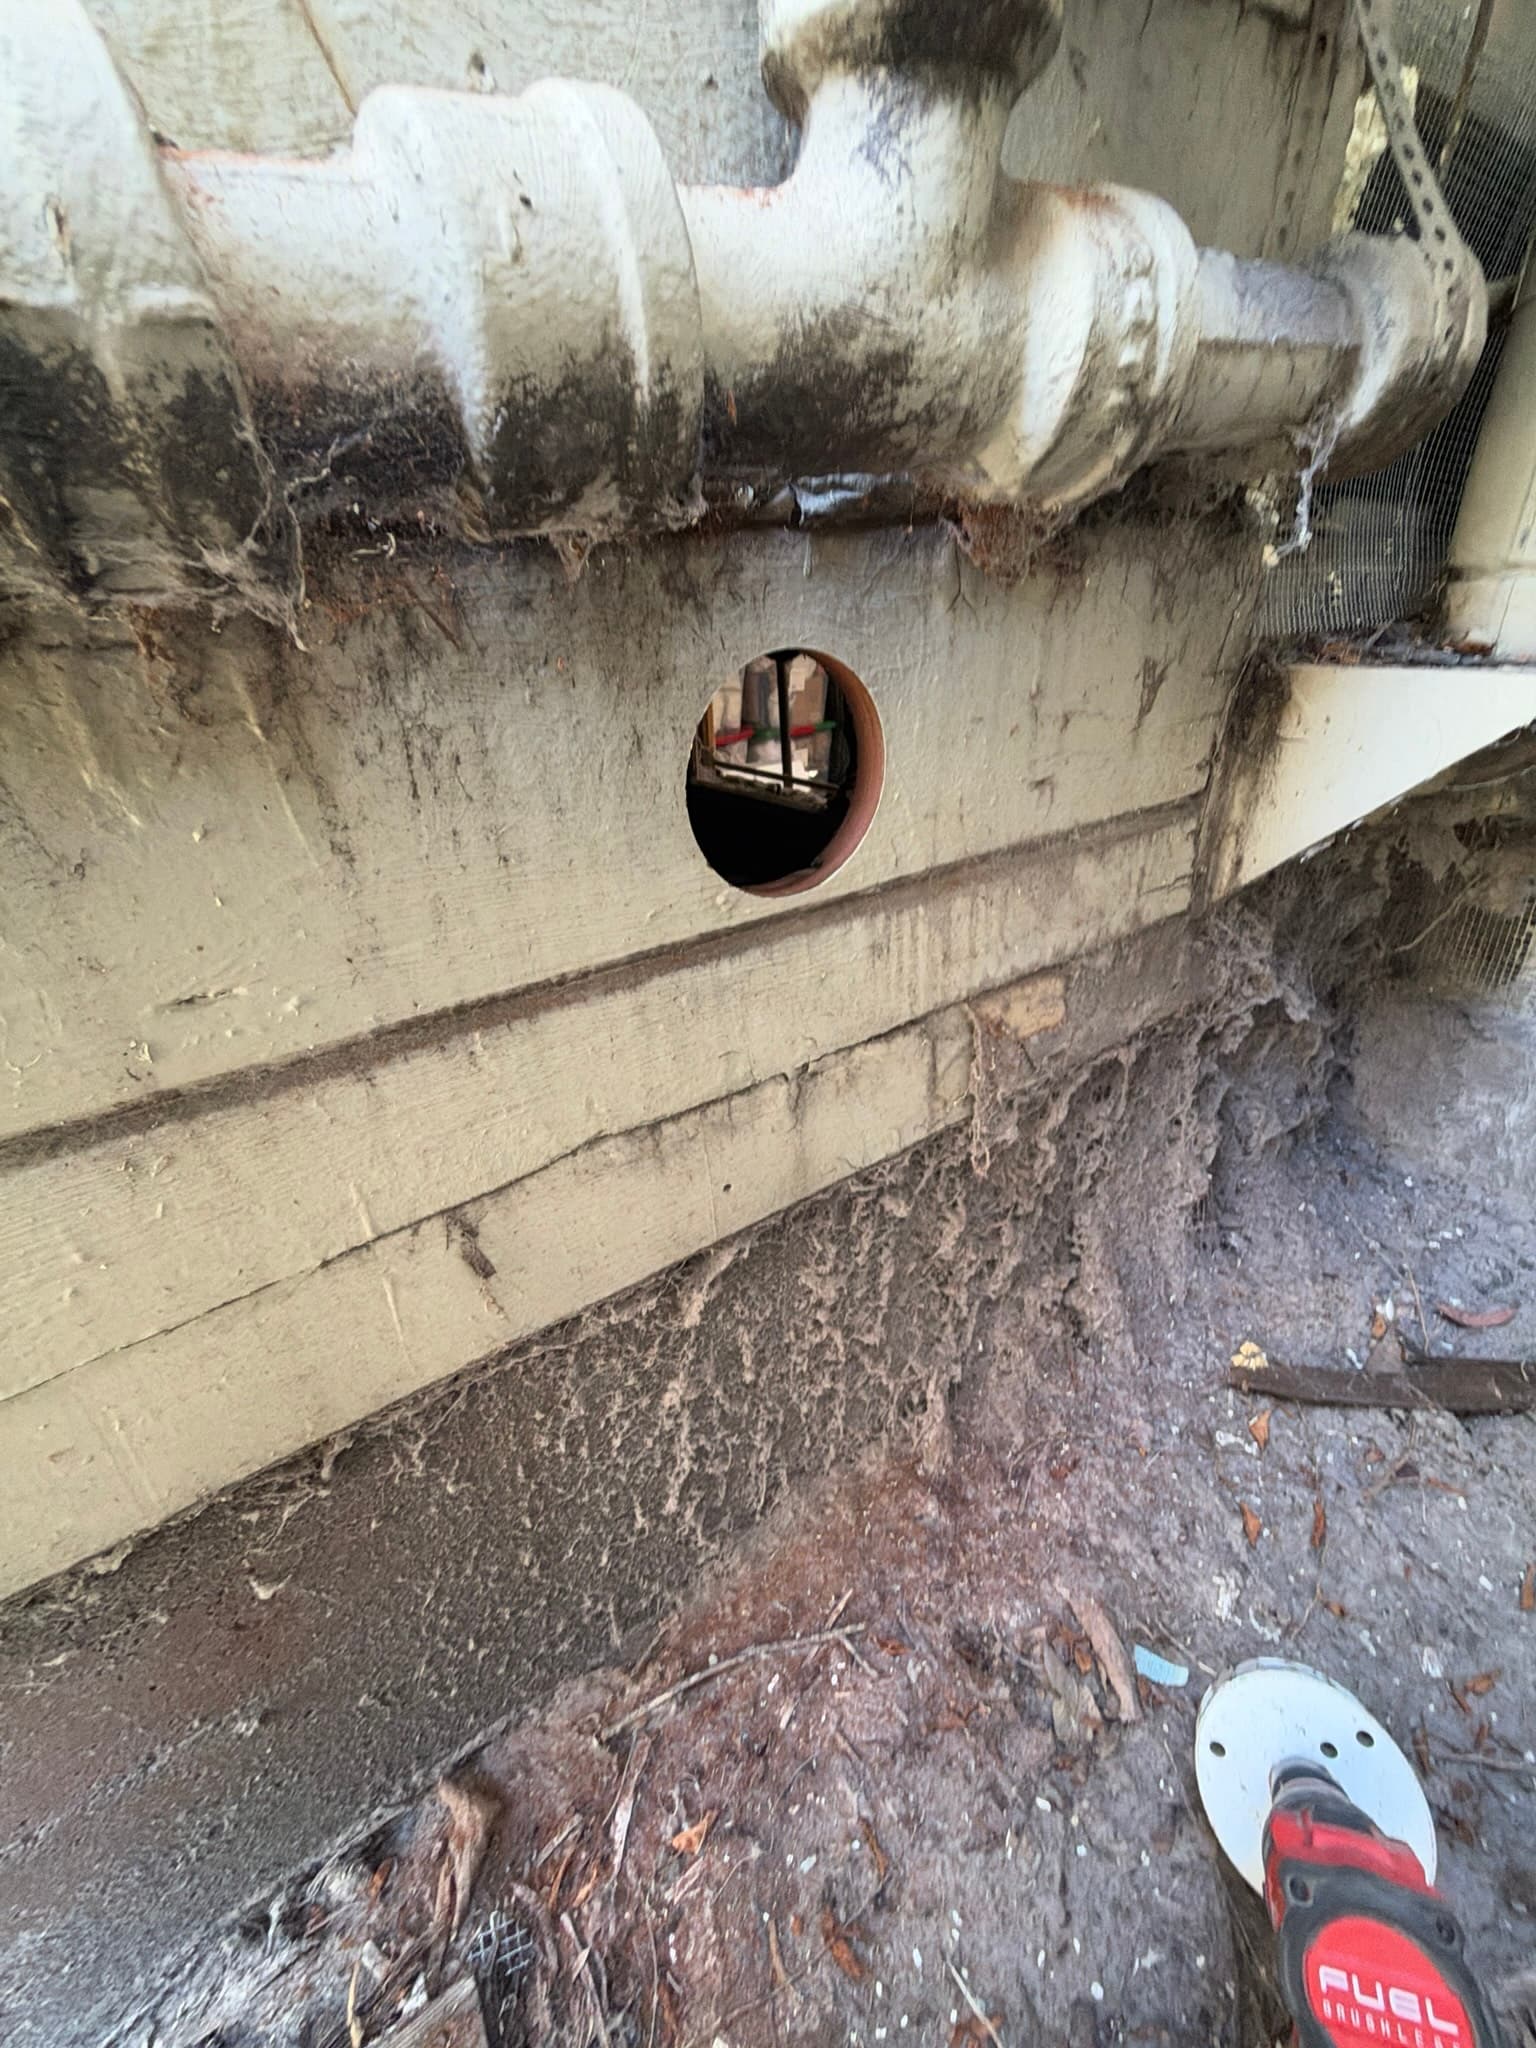
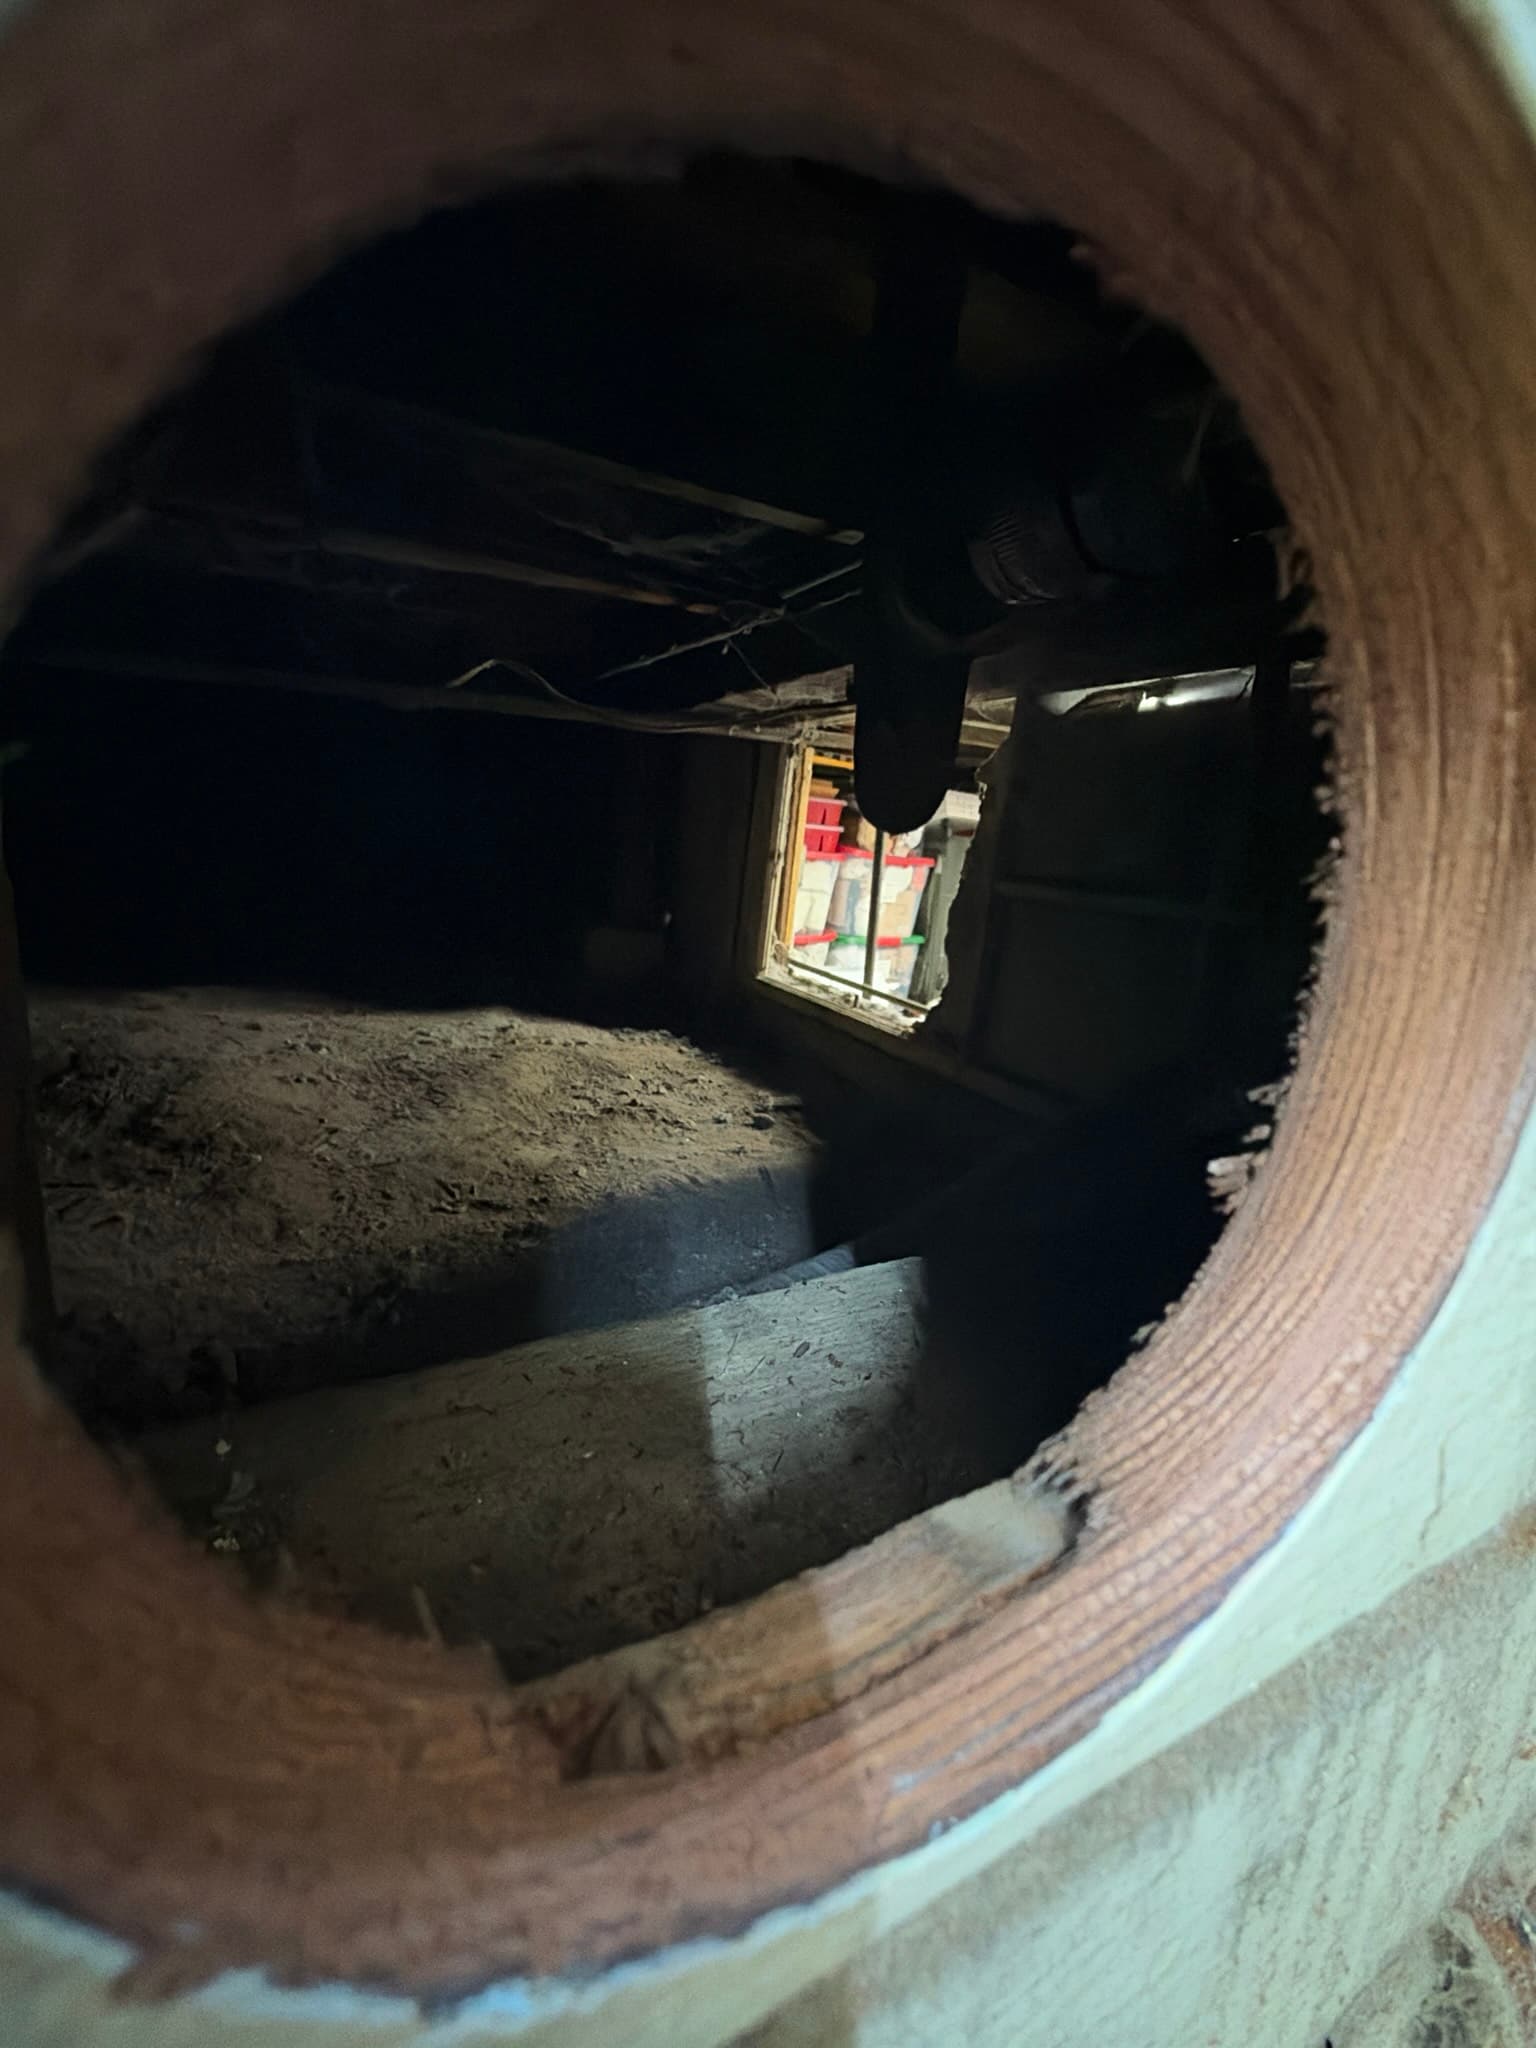
This San Francisco laundry room, tucked in a basement utility area, had a dryer exhaust system that had quietly failed behind the walls. The transition duct running from the dryer had come loose from its connection and was found resting on the floor rather than attached to the duct run leading outside, a classic disconnected duct condition under IRC M1502.2, which requires dryer exhaust to be conveyed independently to the outdoors. Hot, moist air loaded with lint had been discharging into the basement and wall cavity instead of leaving the structure. At the exterior termination, the rigid metal duct penetrated the siding through a roughly cut opening that had never been fitted with a proper wall cap. The joint was sealed with ordinary foil tape rather than a finished termination fitting, and there was no backdraft damper or cover protecting the opening from the weather. Heavy, compacted lint coated the siding, trim, foundation, and ground beneath the exterior penetration, along with cobwebs and debris on nearby plumbing and mesh screening, all consistent with a long period of exhaust leaking at the wall rather than venting cleanly outside. Inside, sections of the existing transition duct showed heavy lint accumulation along the interior walls, and one open duct end was found with fibrous buildup nearly obstructing the passage.
What We Did
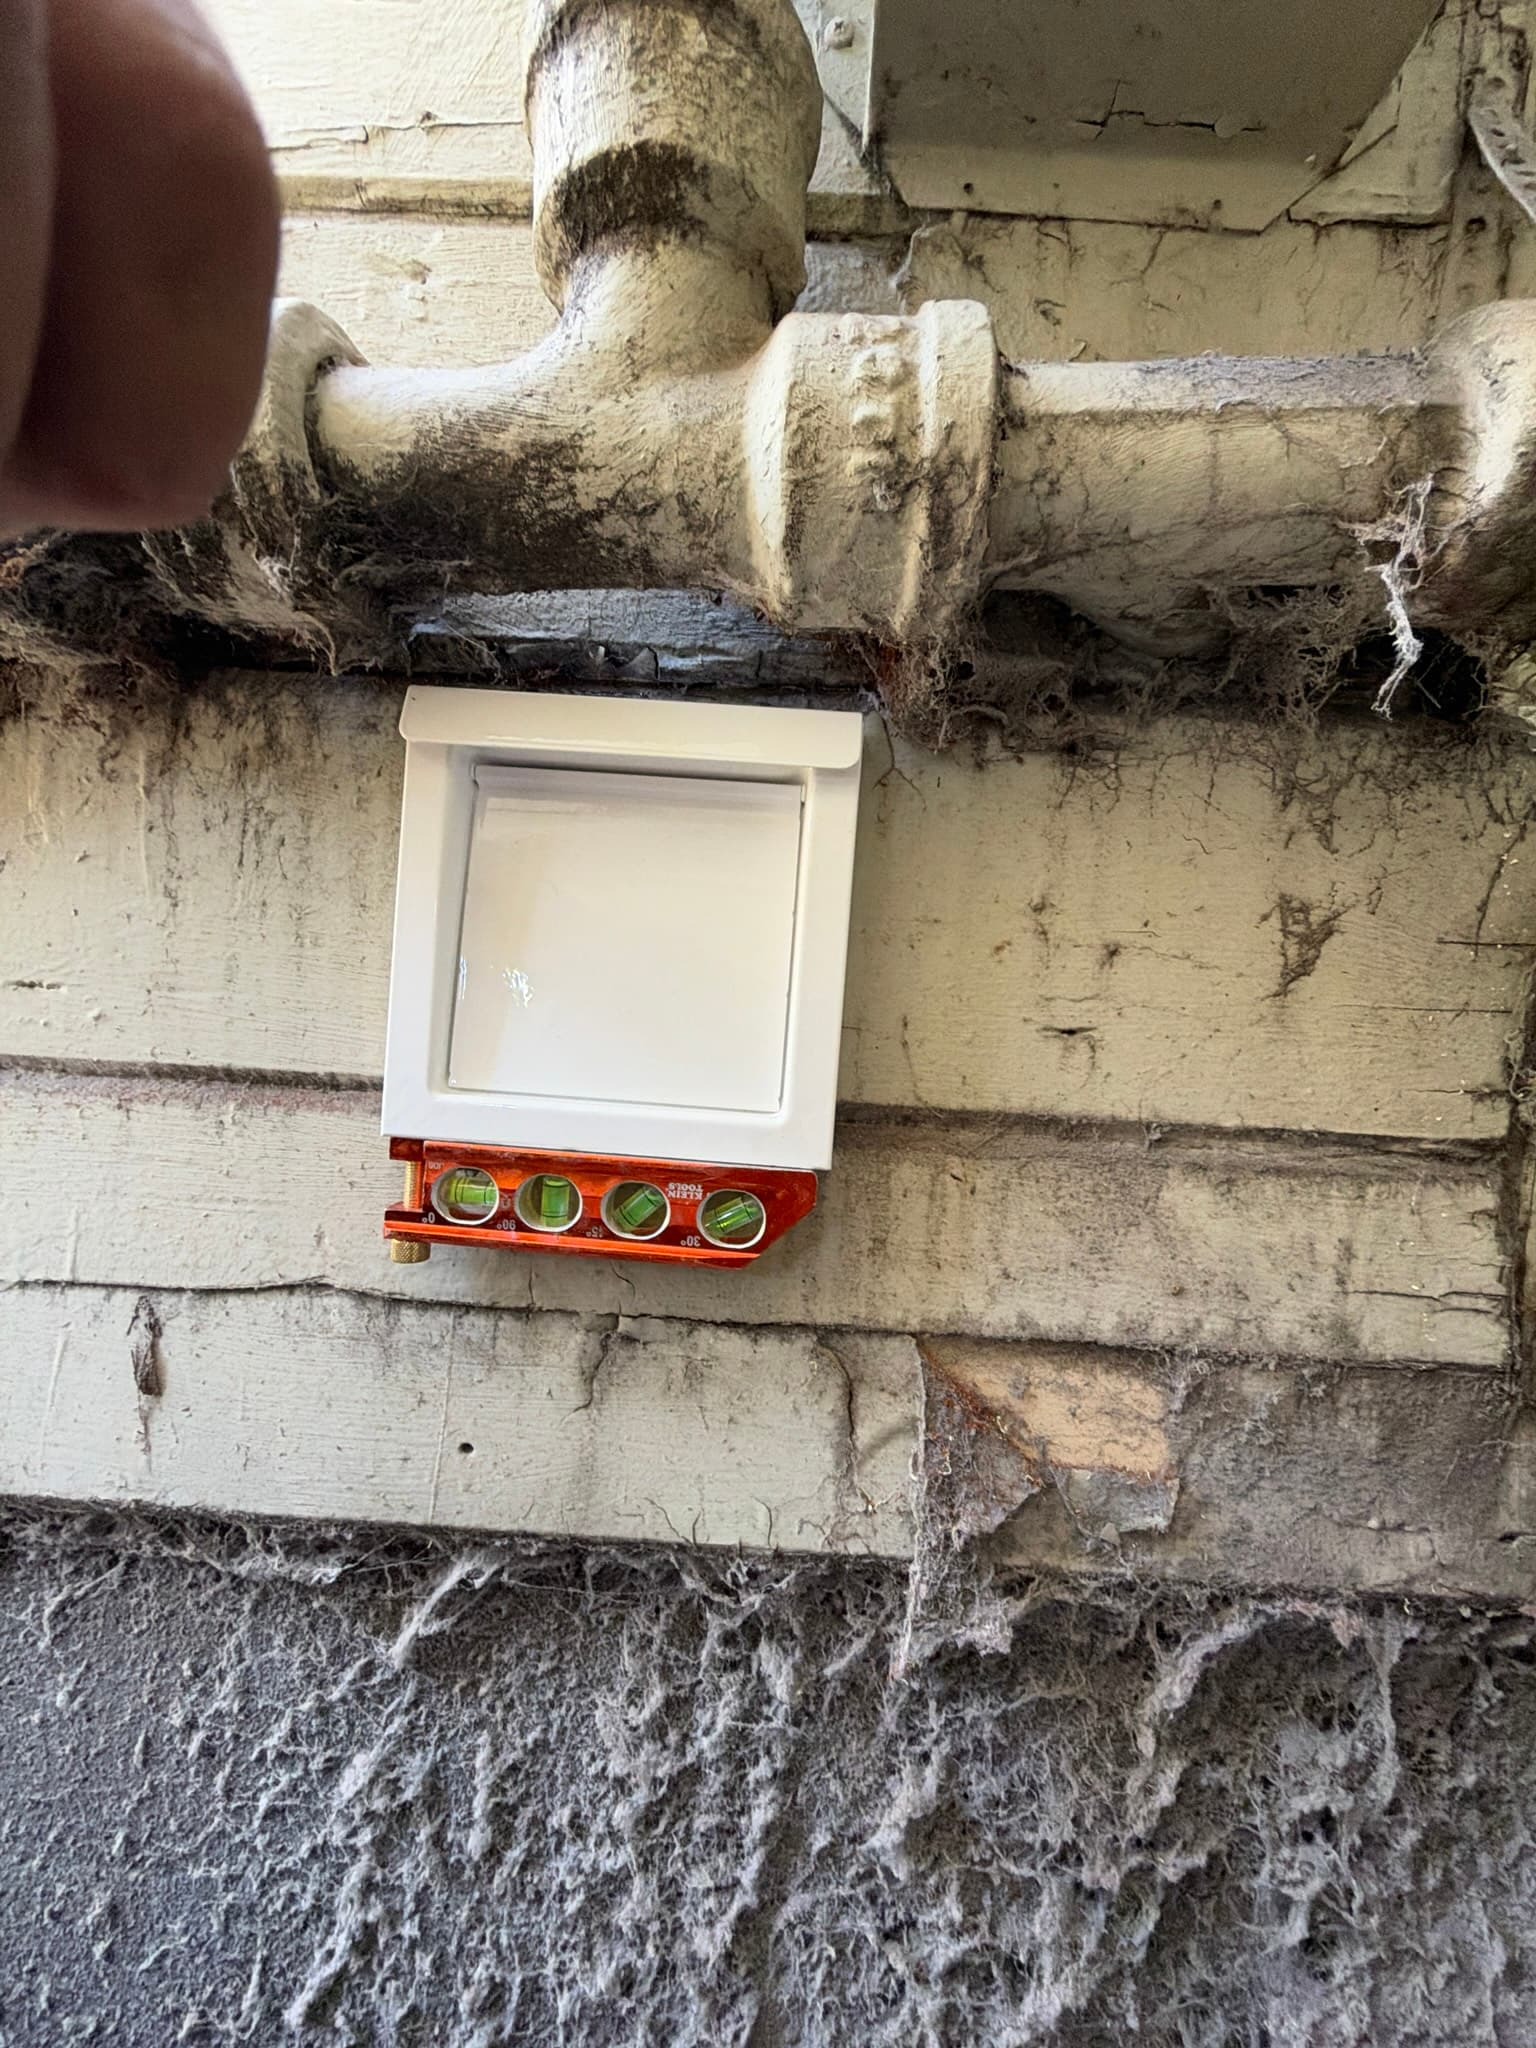
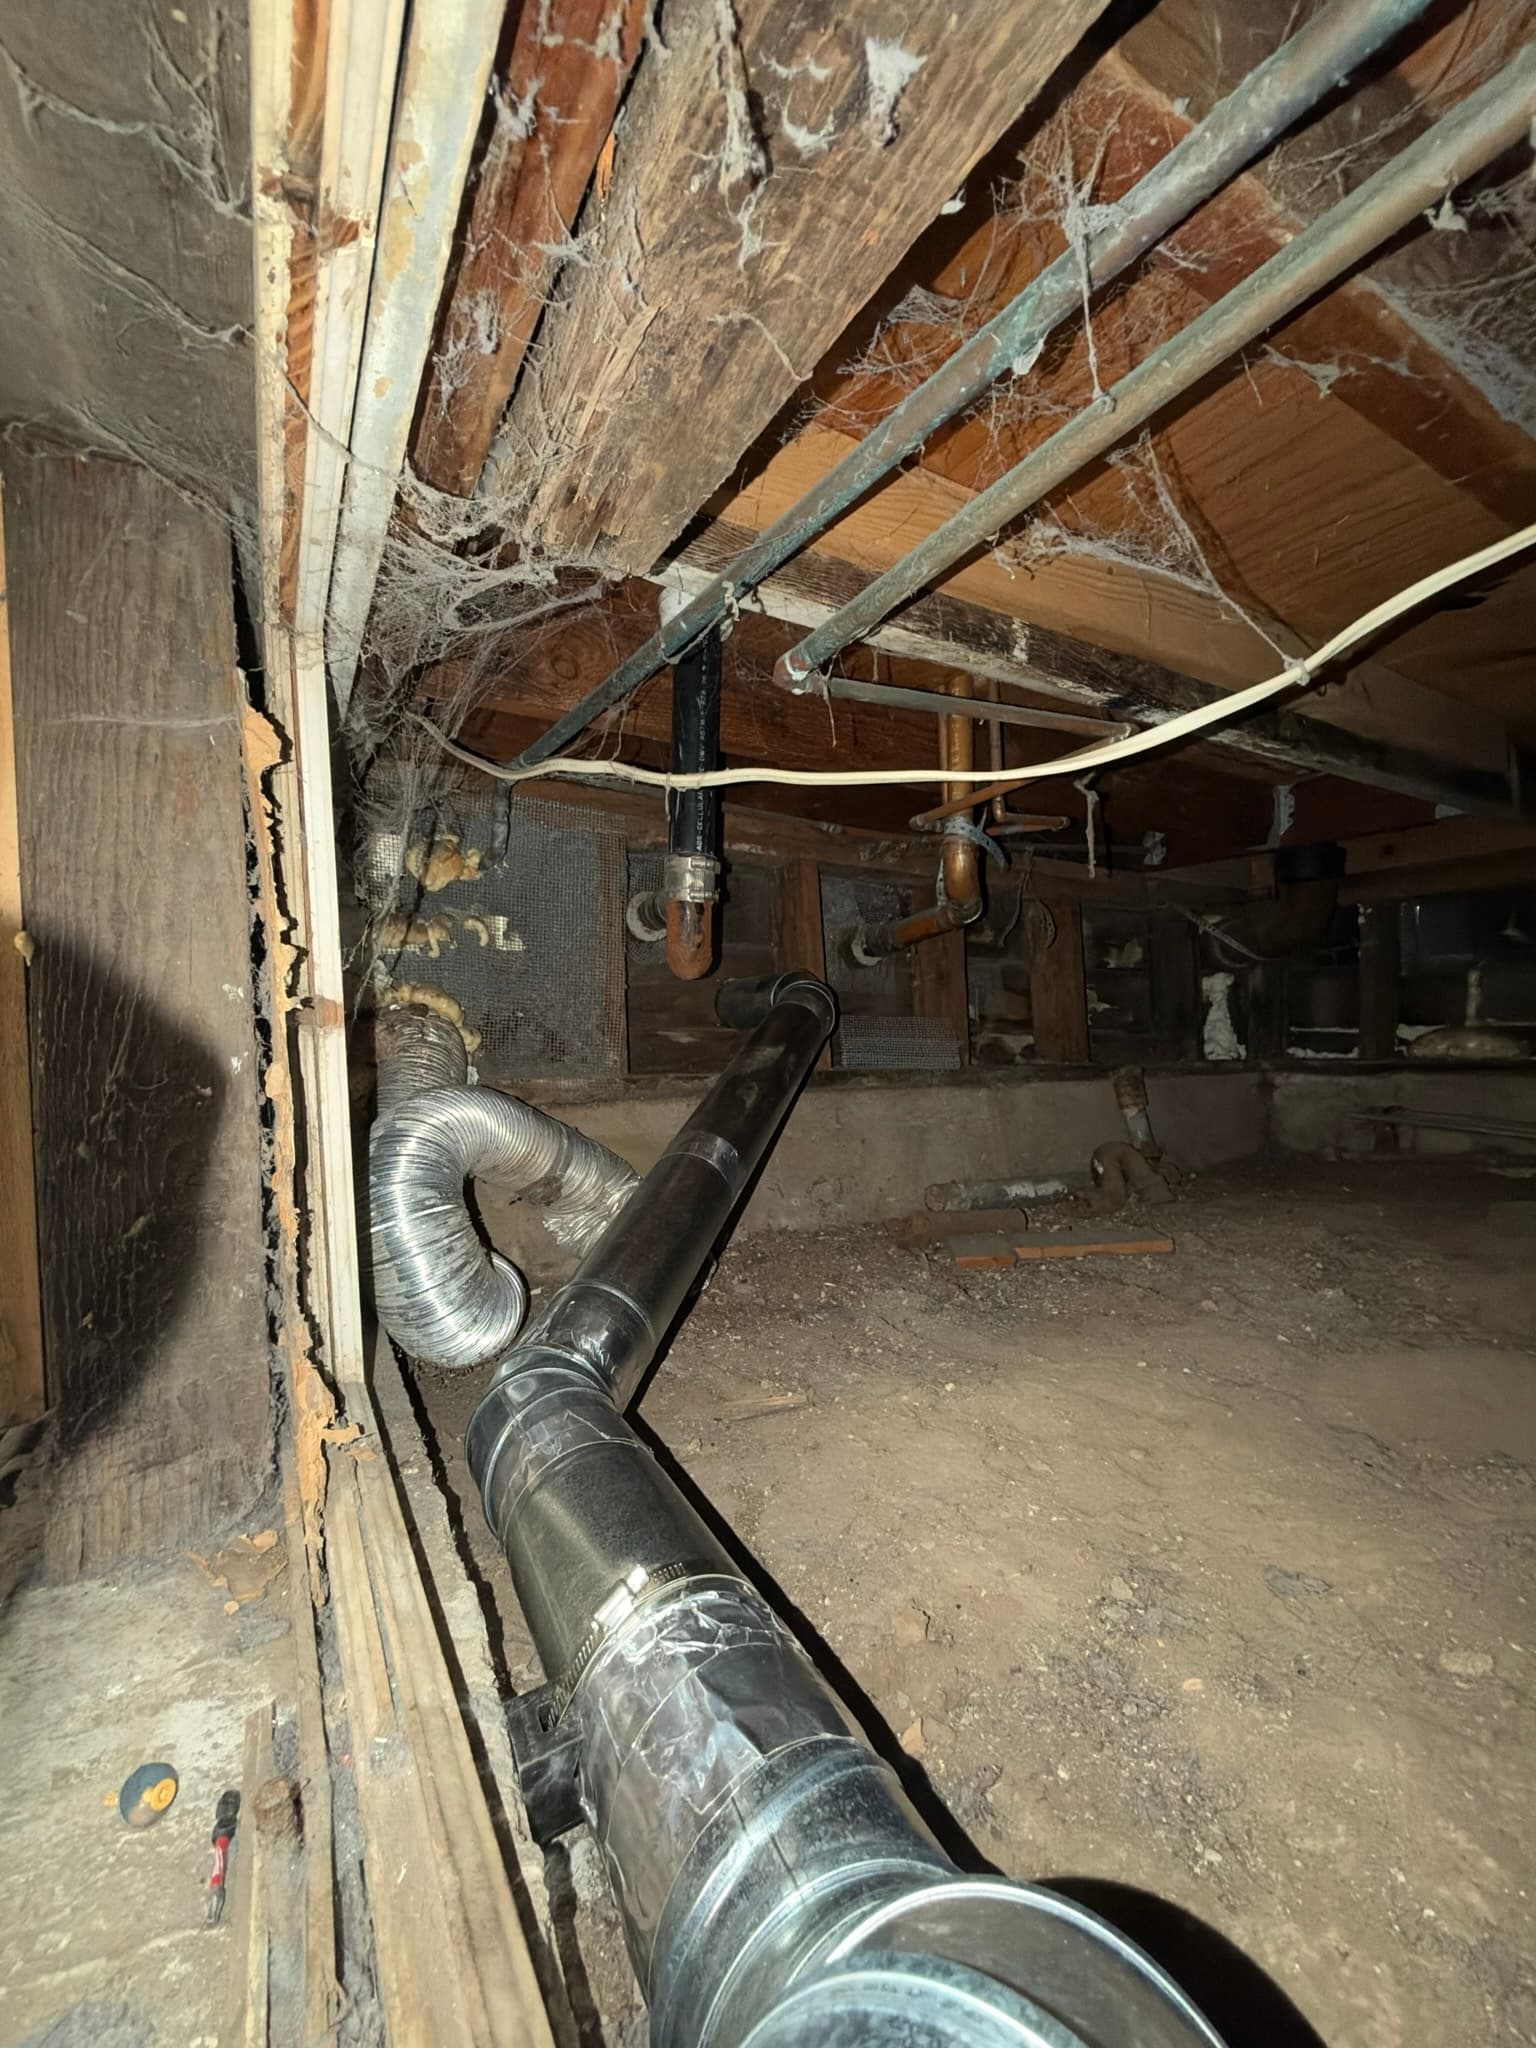
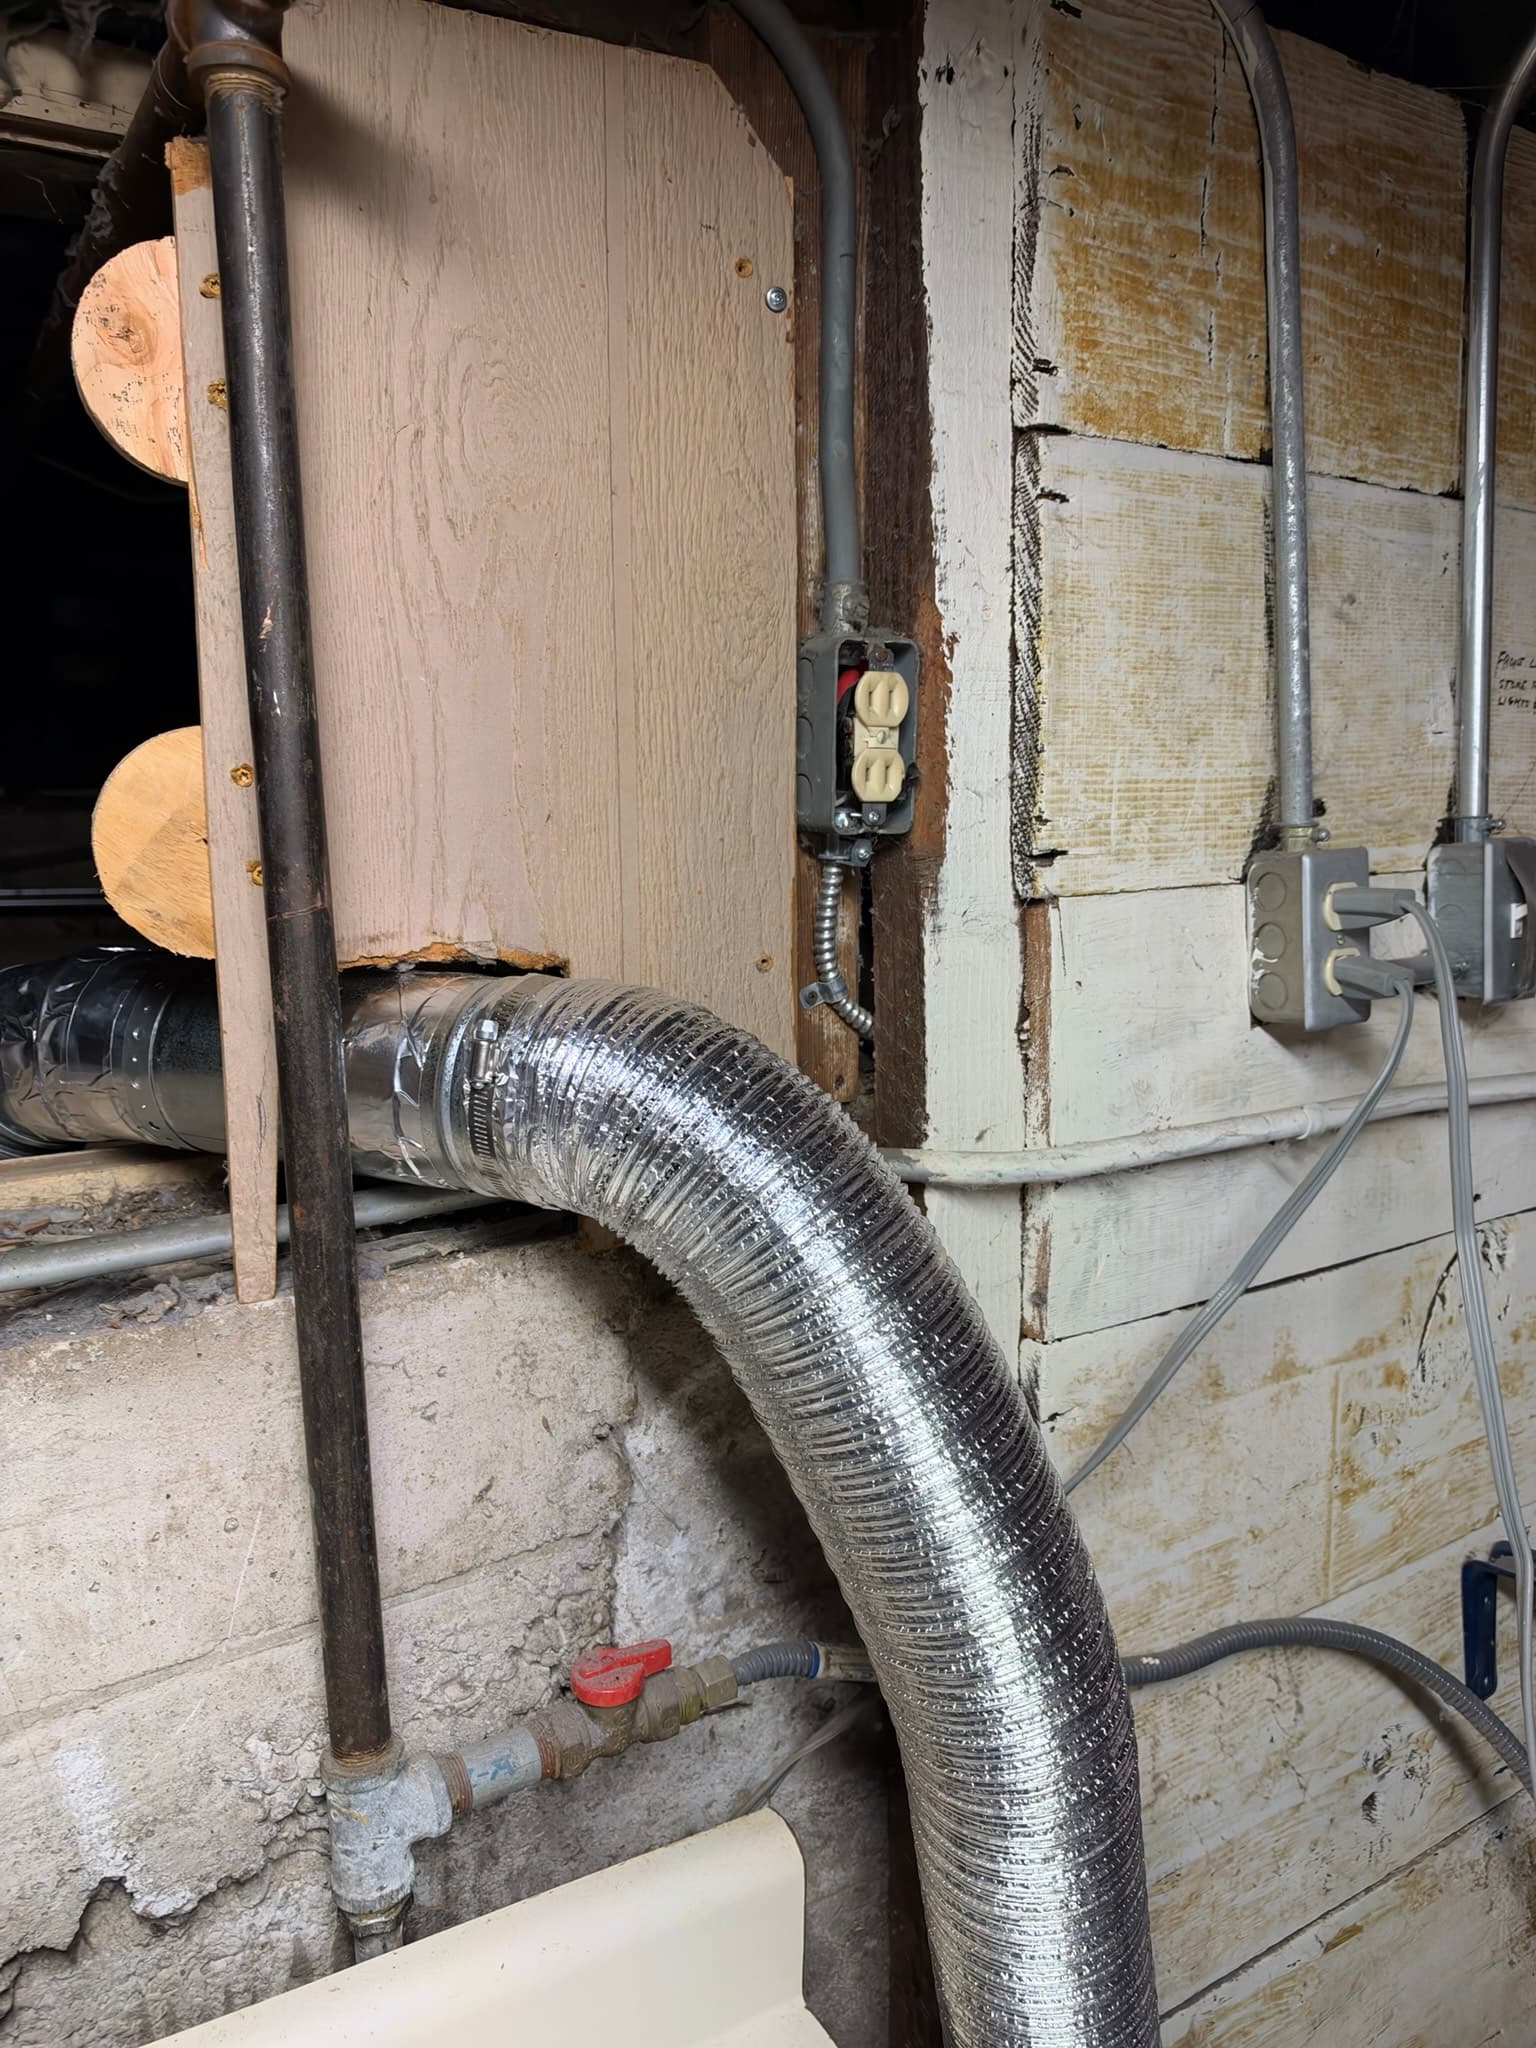
We began with a full cleaning of the exhaust path, clearing the compacted lint from the transition duct and the accessible duct run using mechanical agitation and vacuum extraction to restore the interior to bare metal. With the system clean, we addressed the physical defects. At the exterior wall, we installed a new 4 inch flush-mount dryer wall vent with no raised collar, a heavy-gauge Galvalume steel hood with a powder-coated finish and a working gravity backdraft damper, properly sealed and leveled against the siding. This replaced the unfinished, uncapped penetration and gives the system a code-compliant termination point under IRC M1502.3, along with a vent that can be reopened for future cleaning access rather than a sealed-over patch. From the dryer connection, we installed a 4 foot section of 4 inch DryerFlex semi-rigid aluminum transition duct, supplied as a kit with two duct clamps. DryerFlex carries a UL 2158A listing, the standard required by IRC M1502.4.3 for any flexible connector between a dryer and its exhaust duct, and is rated to resist flame spread and smoke generation at temperatures up to 482°F, a meaningful upgrade over the unlisted foil hose previously in service. Beyond the transition section, we installed 11 linear feet of rigid duct to reconnect and repair the exhaust run between the dryer connection and the exterior termination, replacing the detached and improperly taped joint with a properly supported, mechanically fastened rigid metal run sloped toward the exterior for drainage, consistent with the joint and support requirements of IRC M1502.4.2.
The Outcome
The dryer exhaust system now runs as a single, continuous, sealed path from the appliance to the outdoors, with no disconnected joints and no exhaust discharging into the crawlspace or wall cavity. The new flush-mount wall vent gives the home a weathertight, code-compliant termination with a functioning backdraft damper to keep out drafts, pests, and moisture when the dryer isn't running, while still allowing easy access for the homeowner or a future technician to clean the vent cap. Replacing the old foil transition hose with UL 2158A listed DryerFlex addresses one of the most common fire-risk materials our technicians find in older installations, since unlisted hose can soften and trap lint at a much higher rate than rigid or listed semi-rigid duct. With the lint cleared from the system and the duct run reconnected and properly supported, the dryer should see shorter drying cycles, lower exhaust temperatures at the connection, and reduced strain on the motor going forward. We recommend an annual inspection and cleaning for this system, consistent with national fire-safety guidance calling for yearly servicing of dryer venting, especially given the basement routing and crawlspace access involved in this run.
Project photos
12 photos
Need similar work in San Francisco?
Get a free quote - same-week appointments usually available.