
San Francisco
Dryer Exhaust Cleaning & Wall Vent Replacement in San Francisco
A San Francisco home had its dryer exhaust fully cleaned and inspected after severe lint buildup and a deteriorated duct run were found, finishing with a new code compliant exterior wall vent.
Completed October 13, 2026
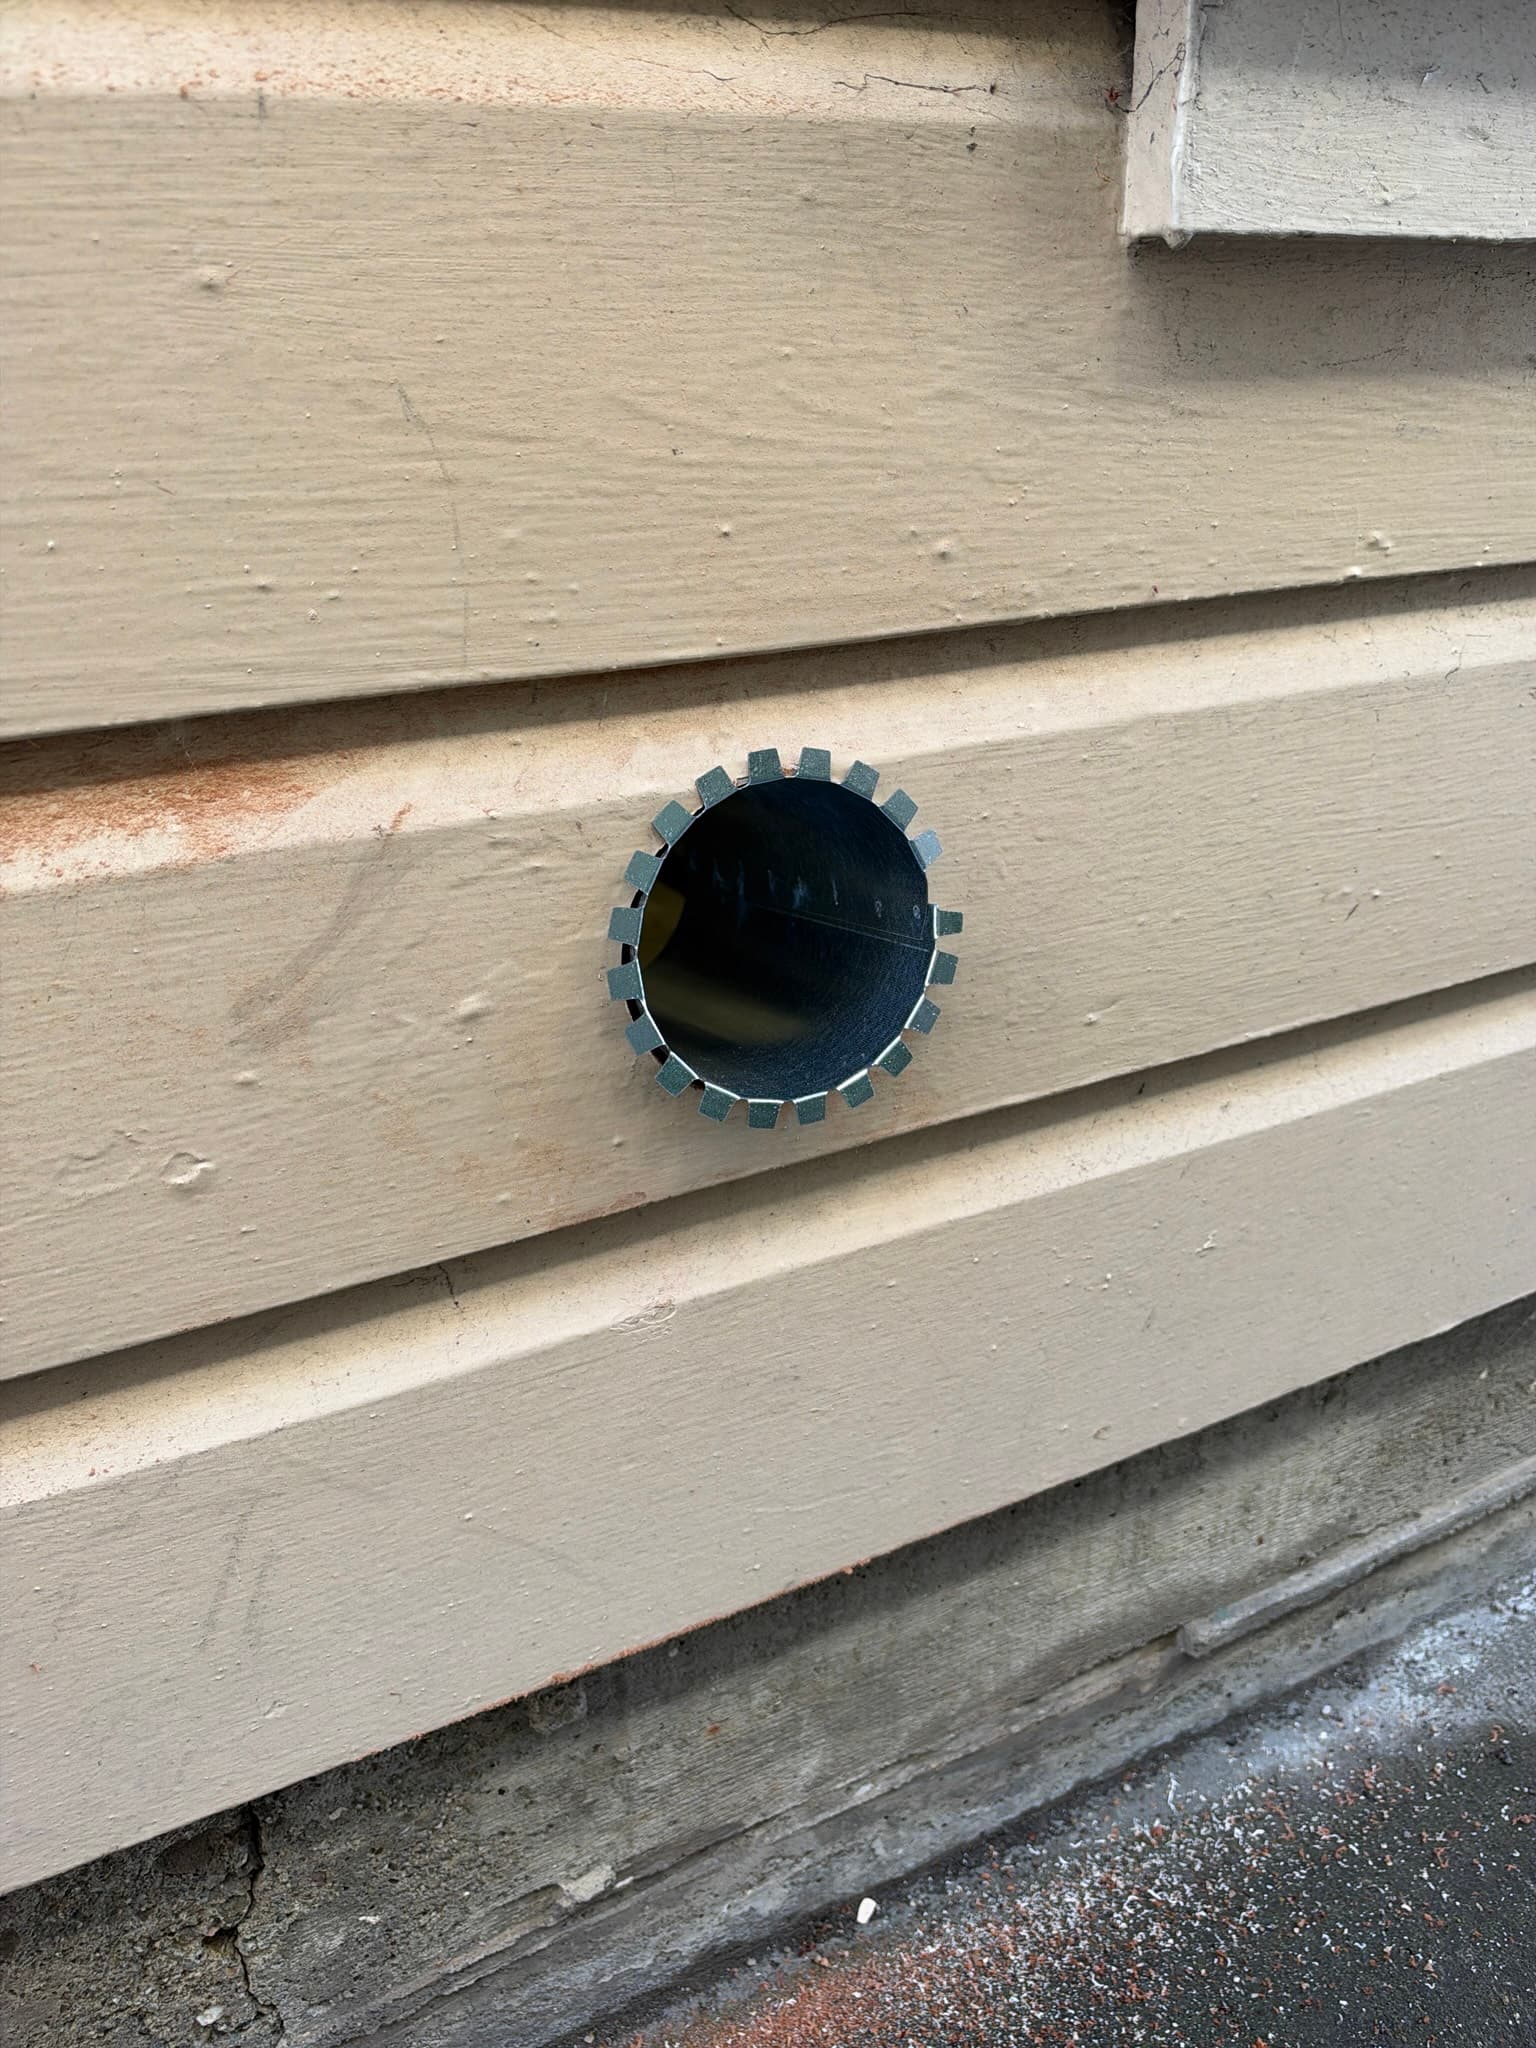
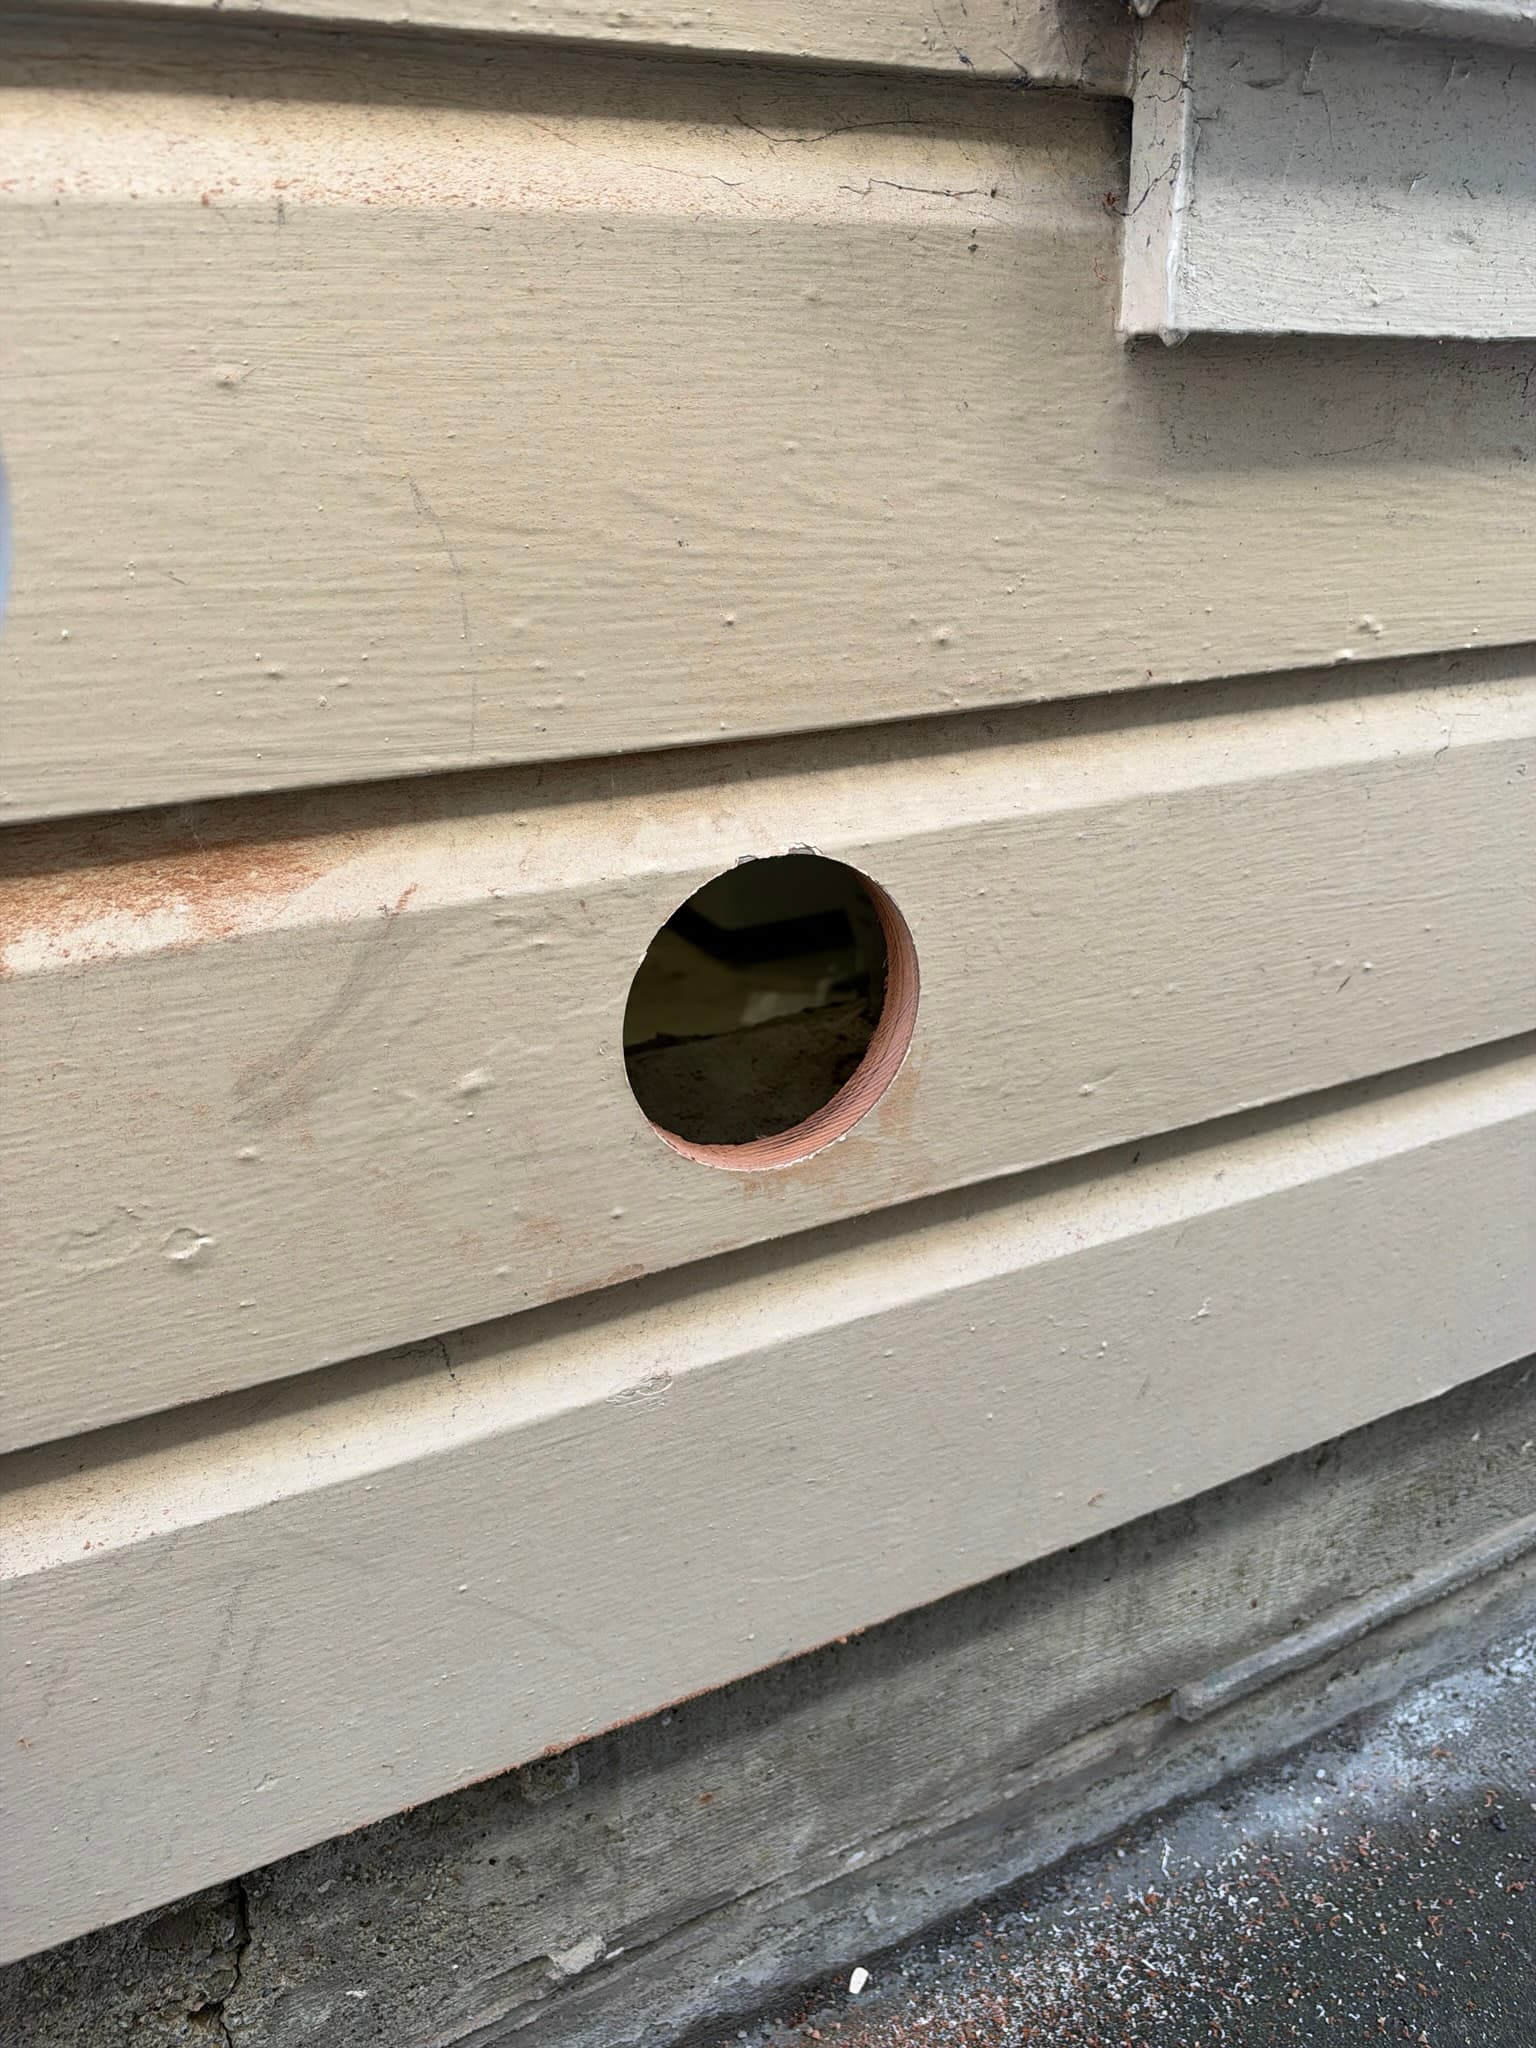
New wall penetration and rough-in collar prepared for the wall vent
What We Found
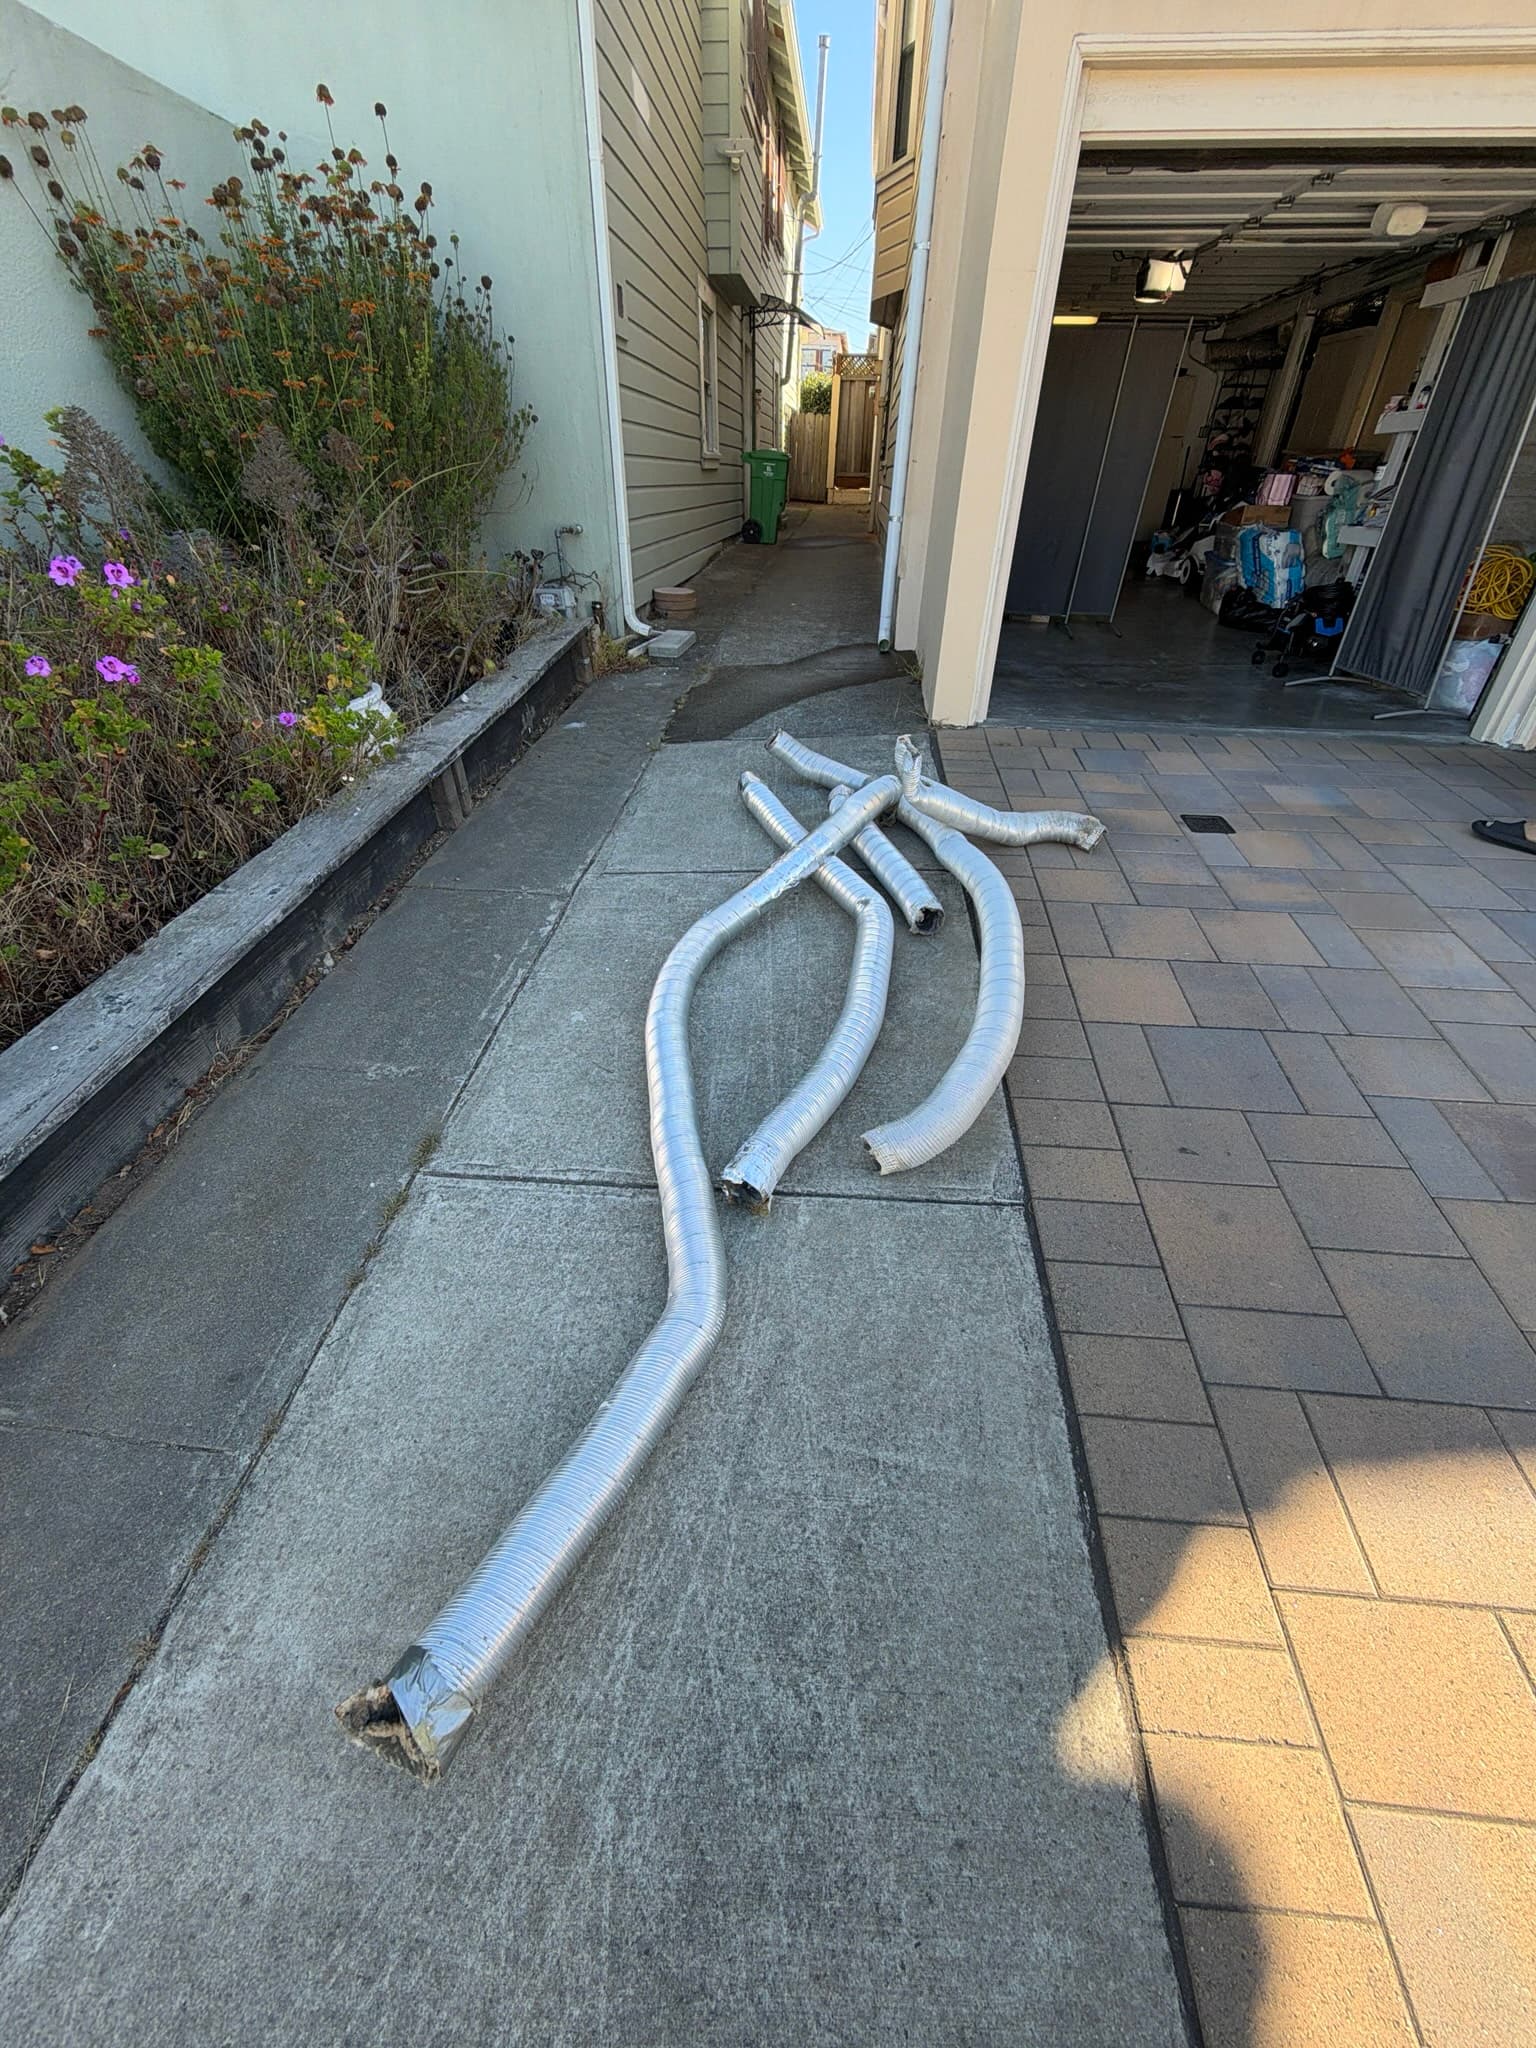
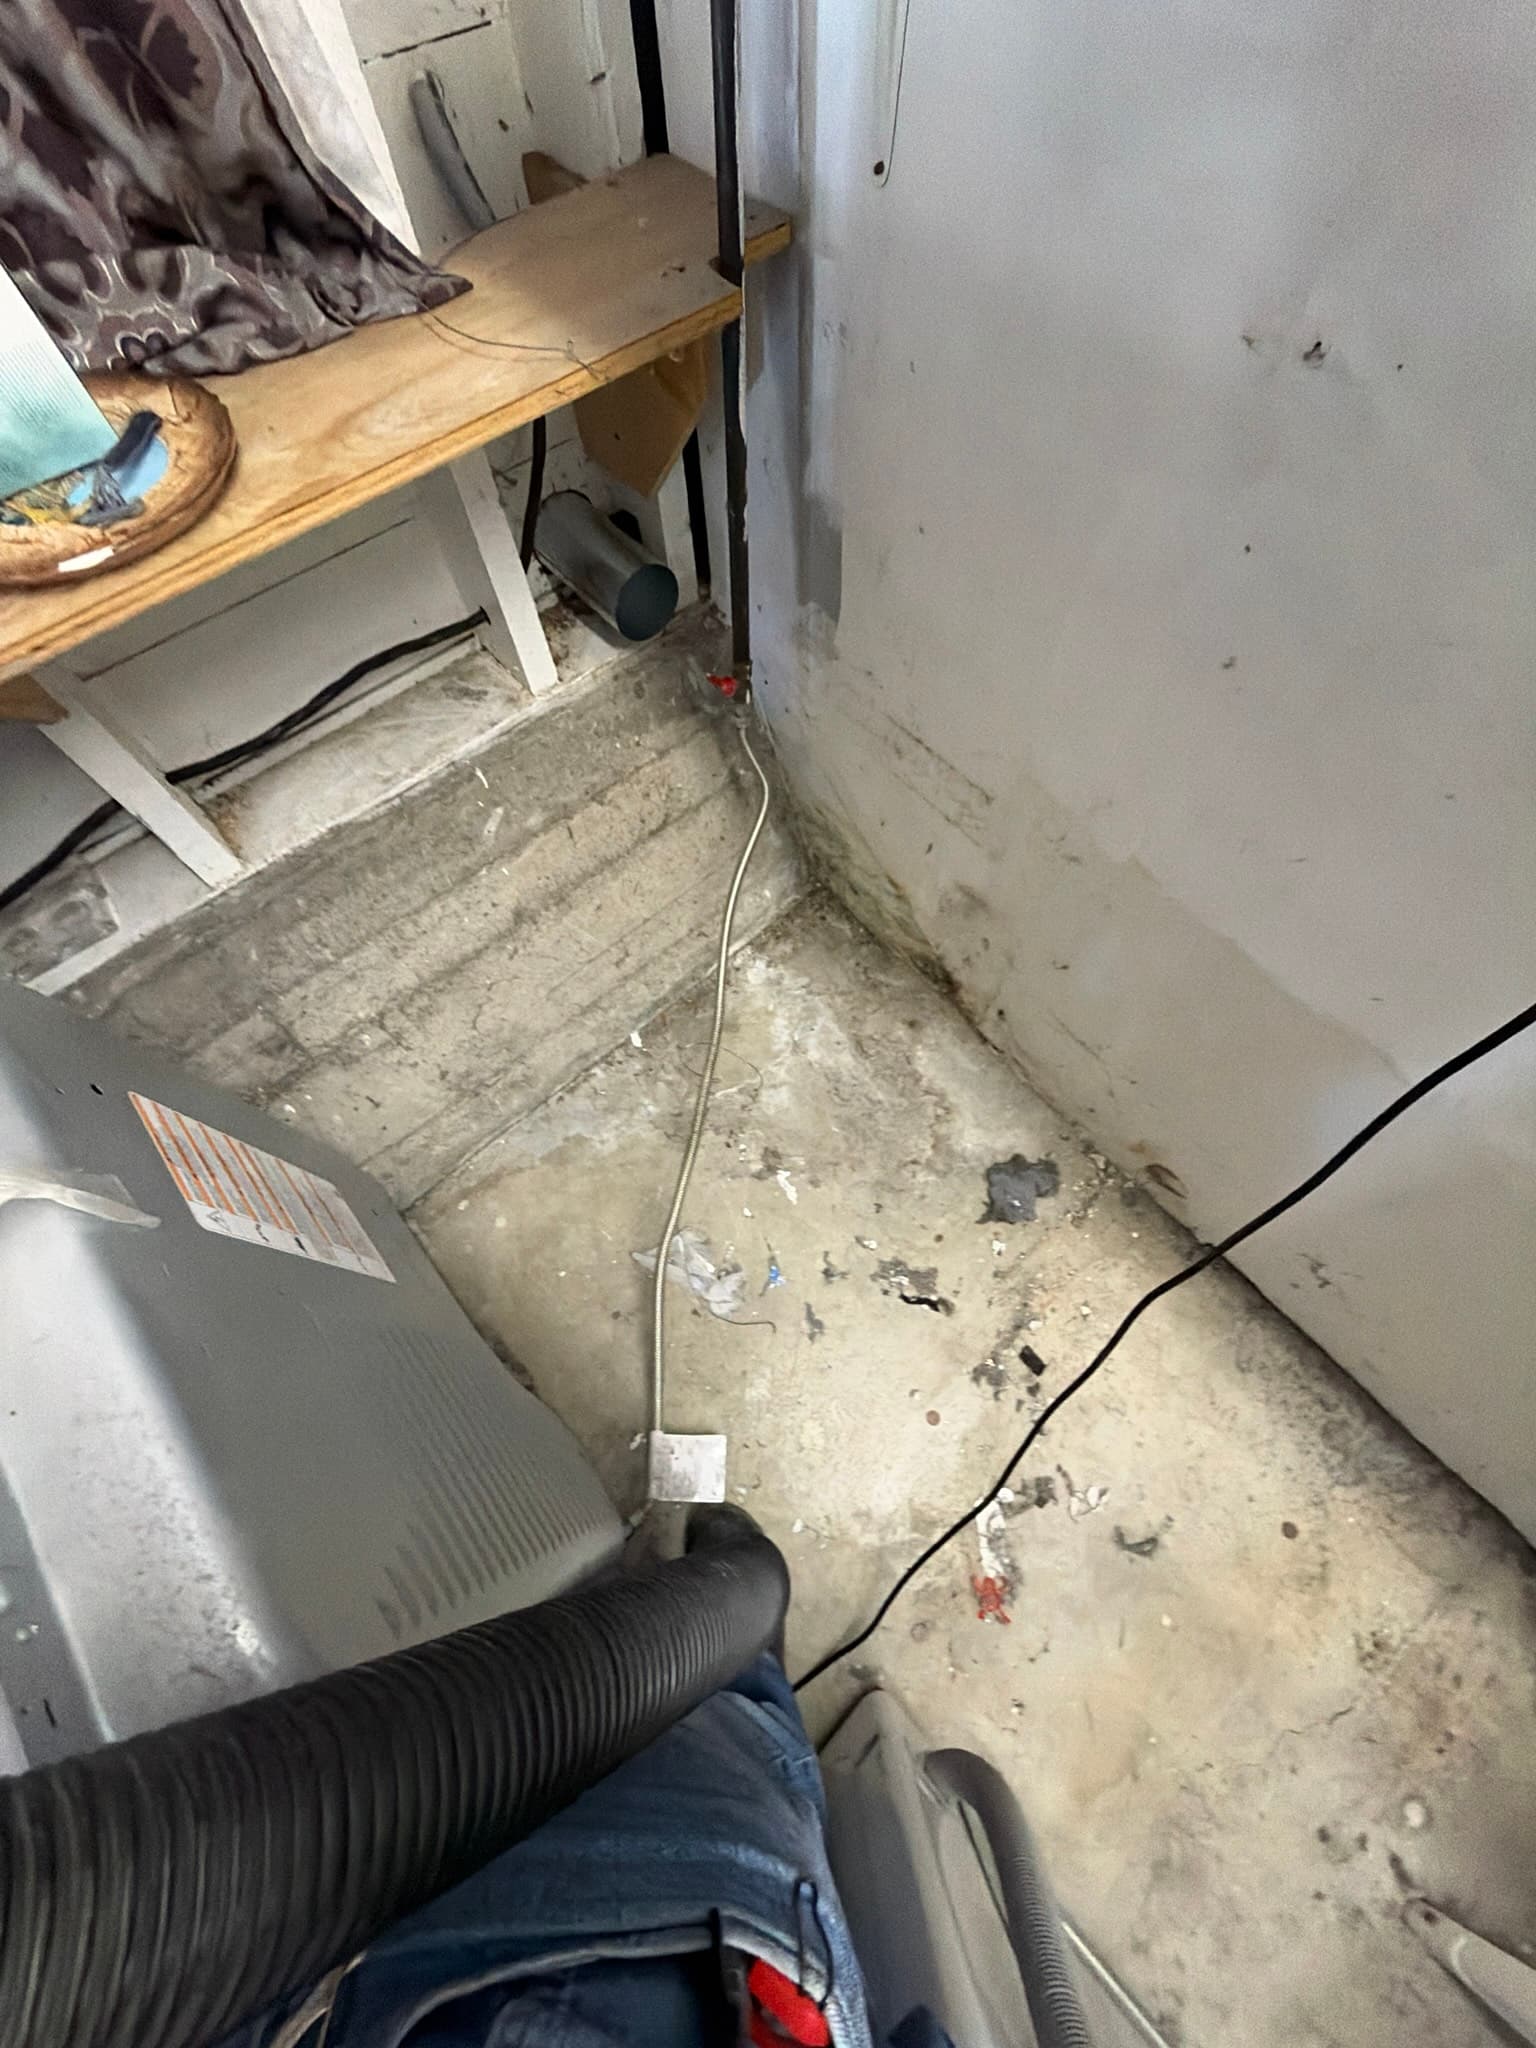
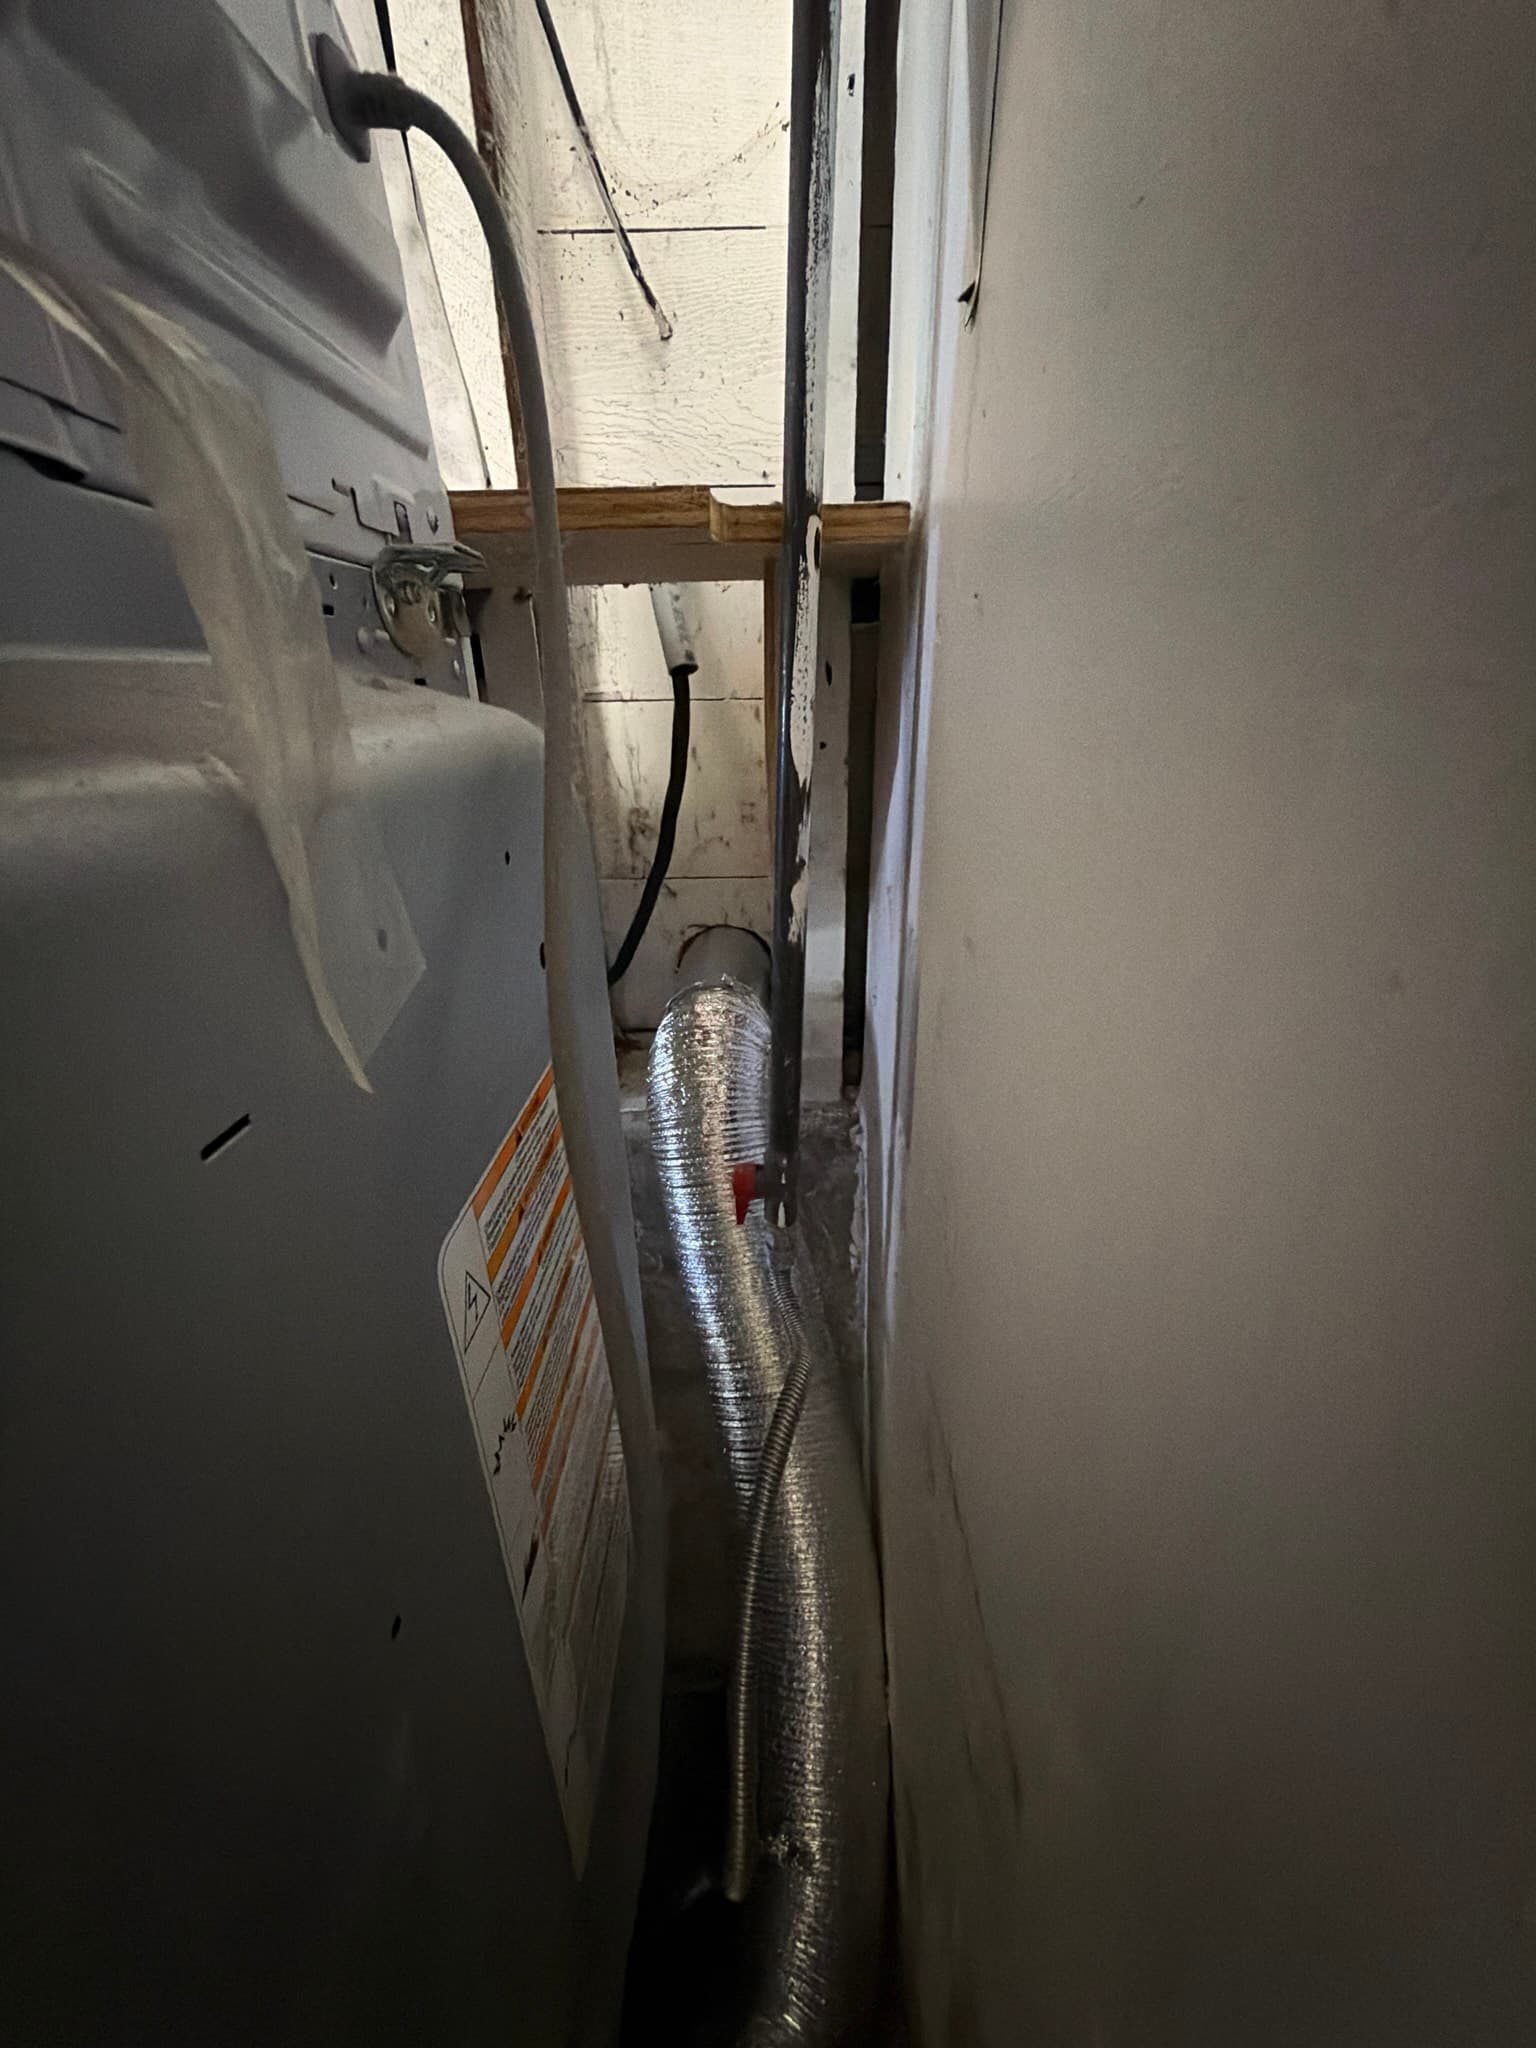
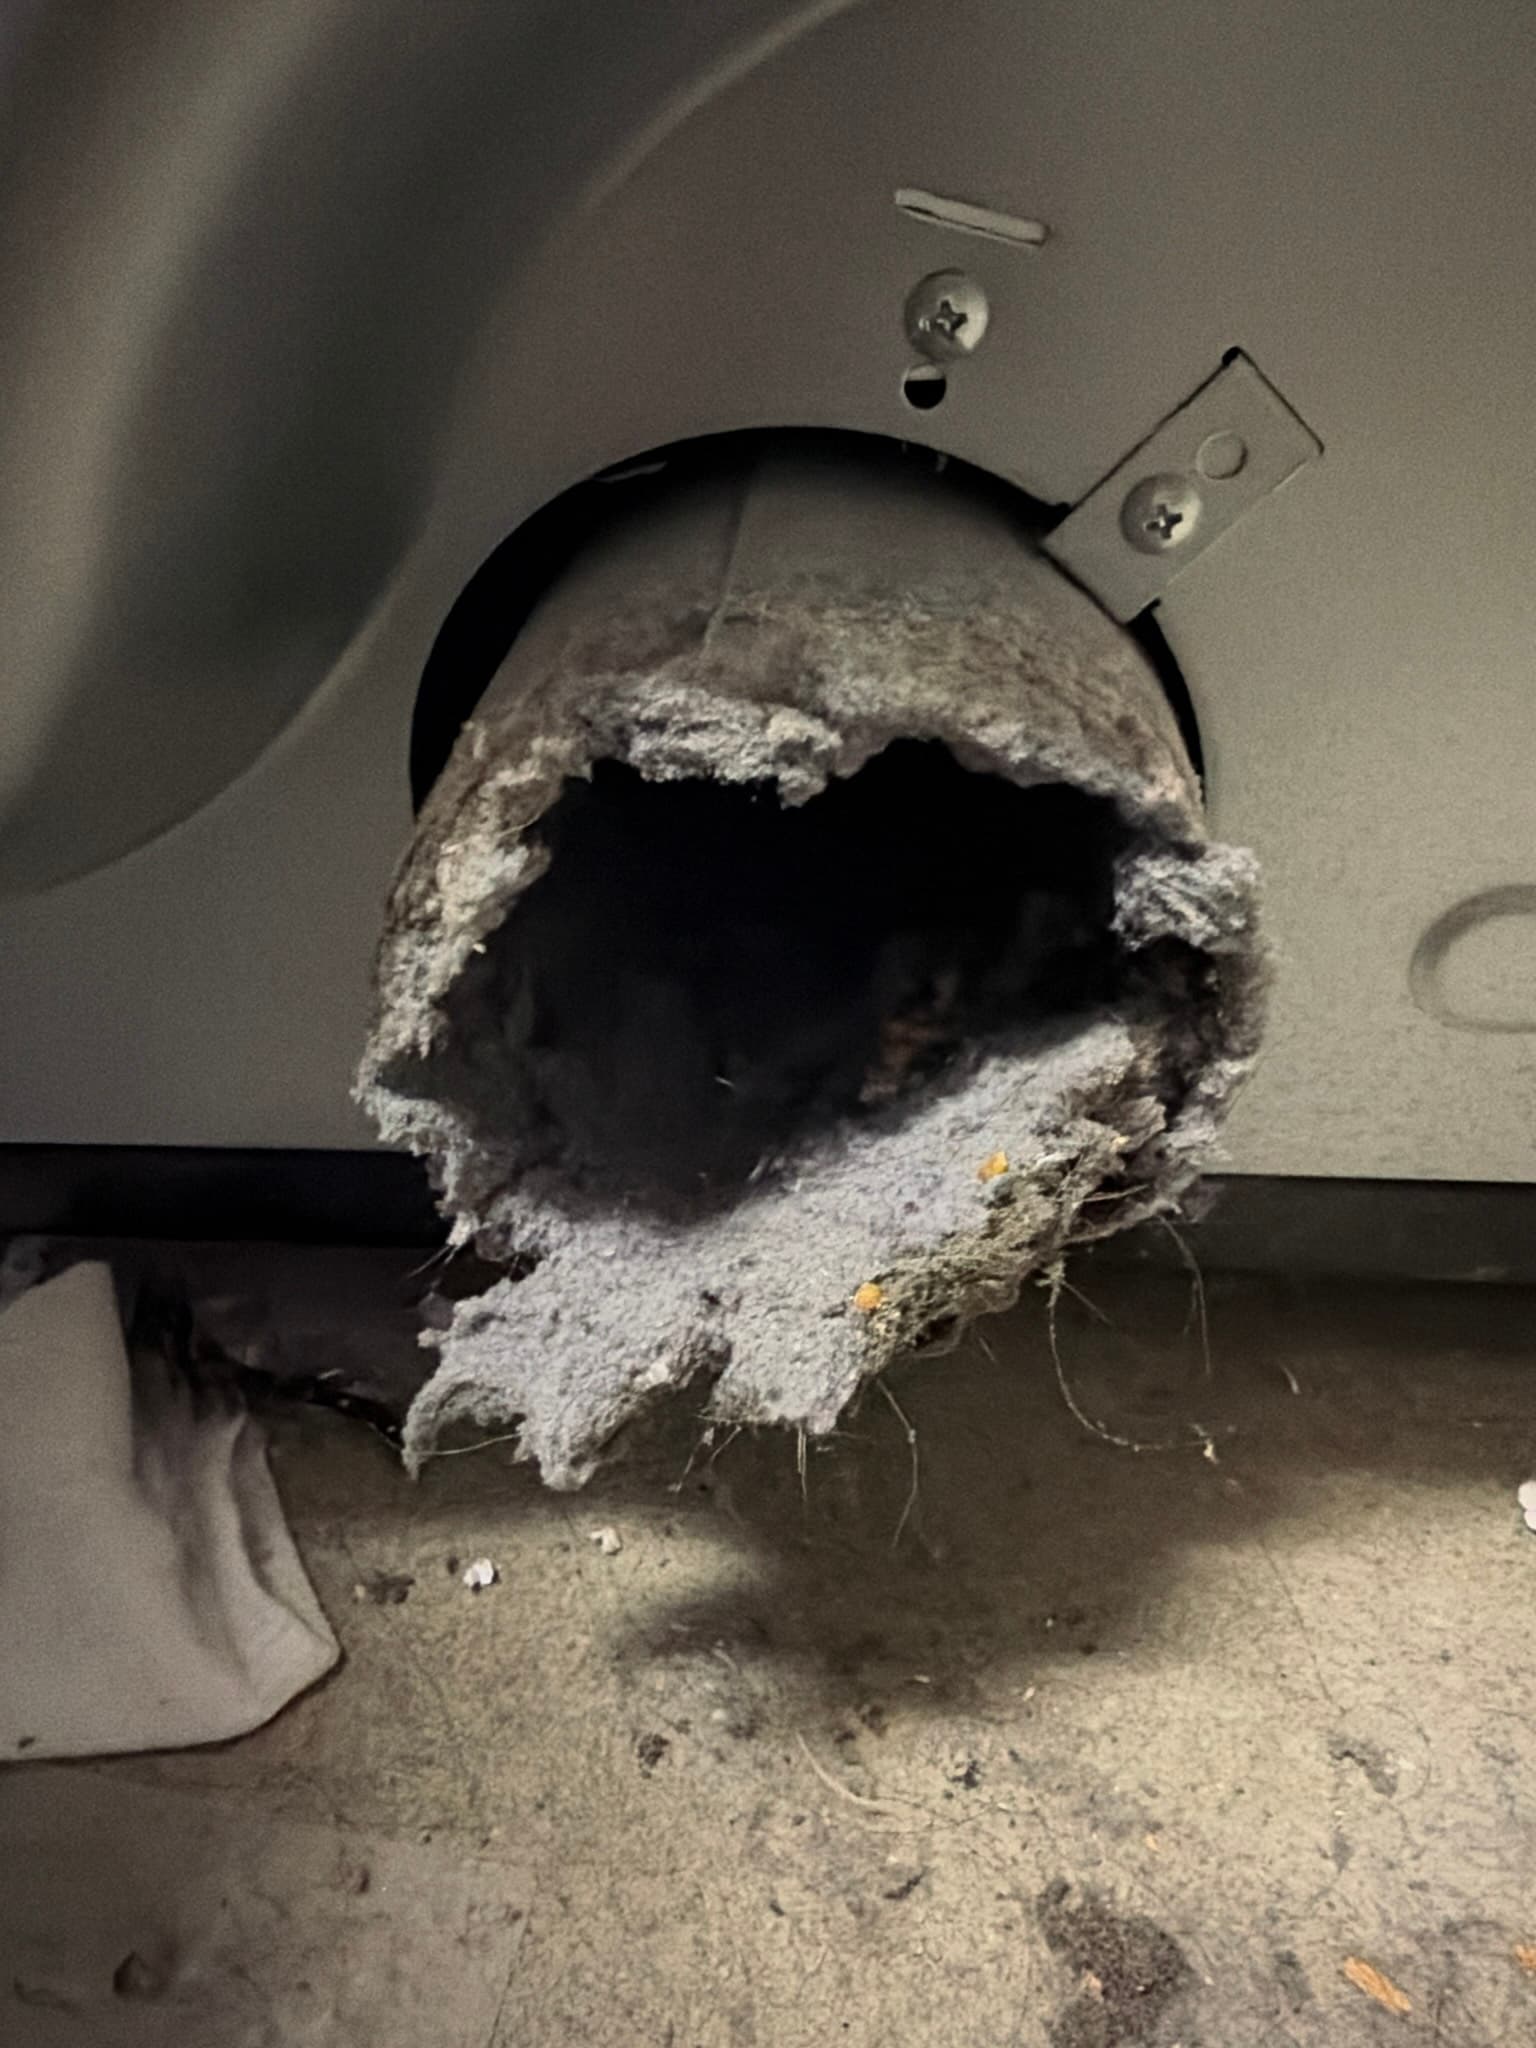
This San Francisco residence called us in for a residential dryer exhaust cleaning and inspection, and the system showed clear signs of long term neglect. At the rear exhaust port of the dryer, we found a thick, matted ring of lint completely encircling the opening, leaving only a small dark void at the center for air to pass through. This kind of severe buildup is the leading contributor to the roughly 2,900 home dryer fires reported annually by the U.S. Fire Administration, and it was already restricting airflow enough to extend drying times and overheat the exhaust path. Behind the dryer, the floor and wall showed scattered debris consistent with lint escaping at loose connections, and the existing duct run used older semi rigid transition ducting that had degraded over time, including sections we later found full of standing water and rusted through. At the exterior wall, the original termination point had no cap or hood of any kind, just a bare, rust stained opening cut through the siding with the interior duct exposed to the weather.
What We Did
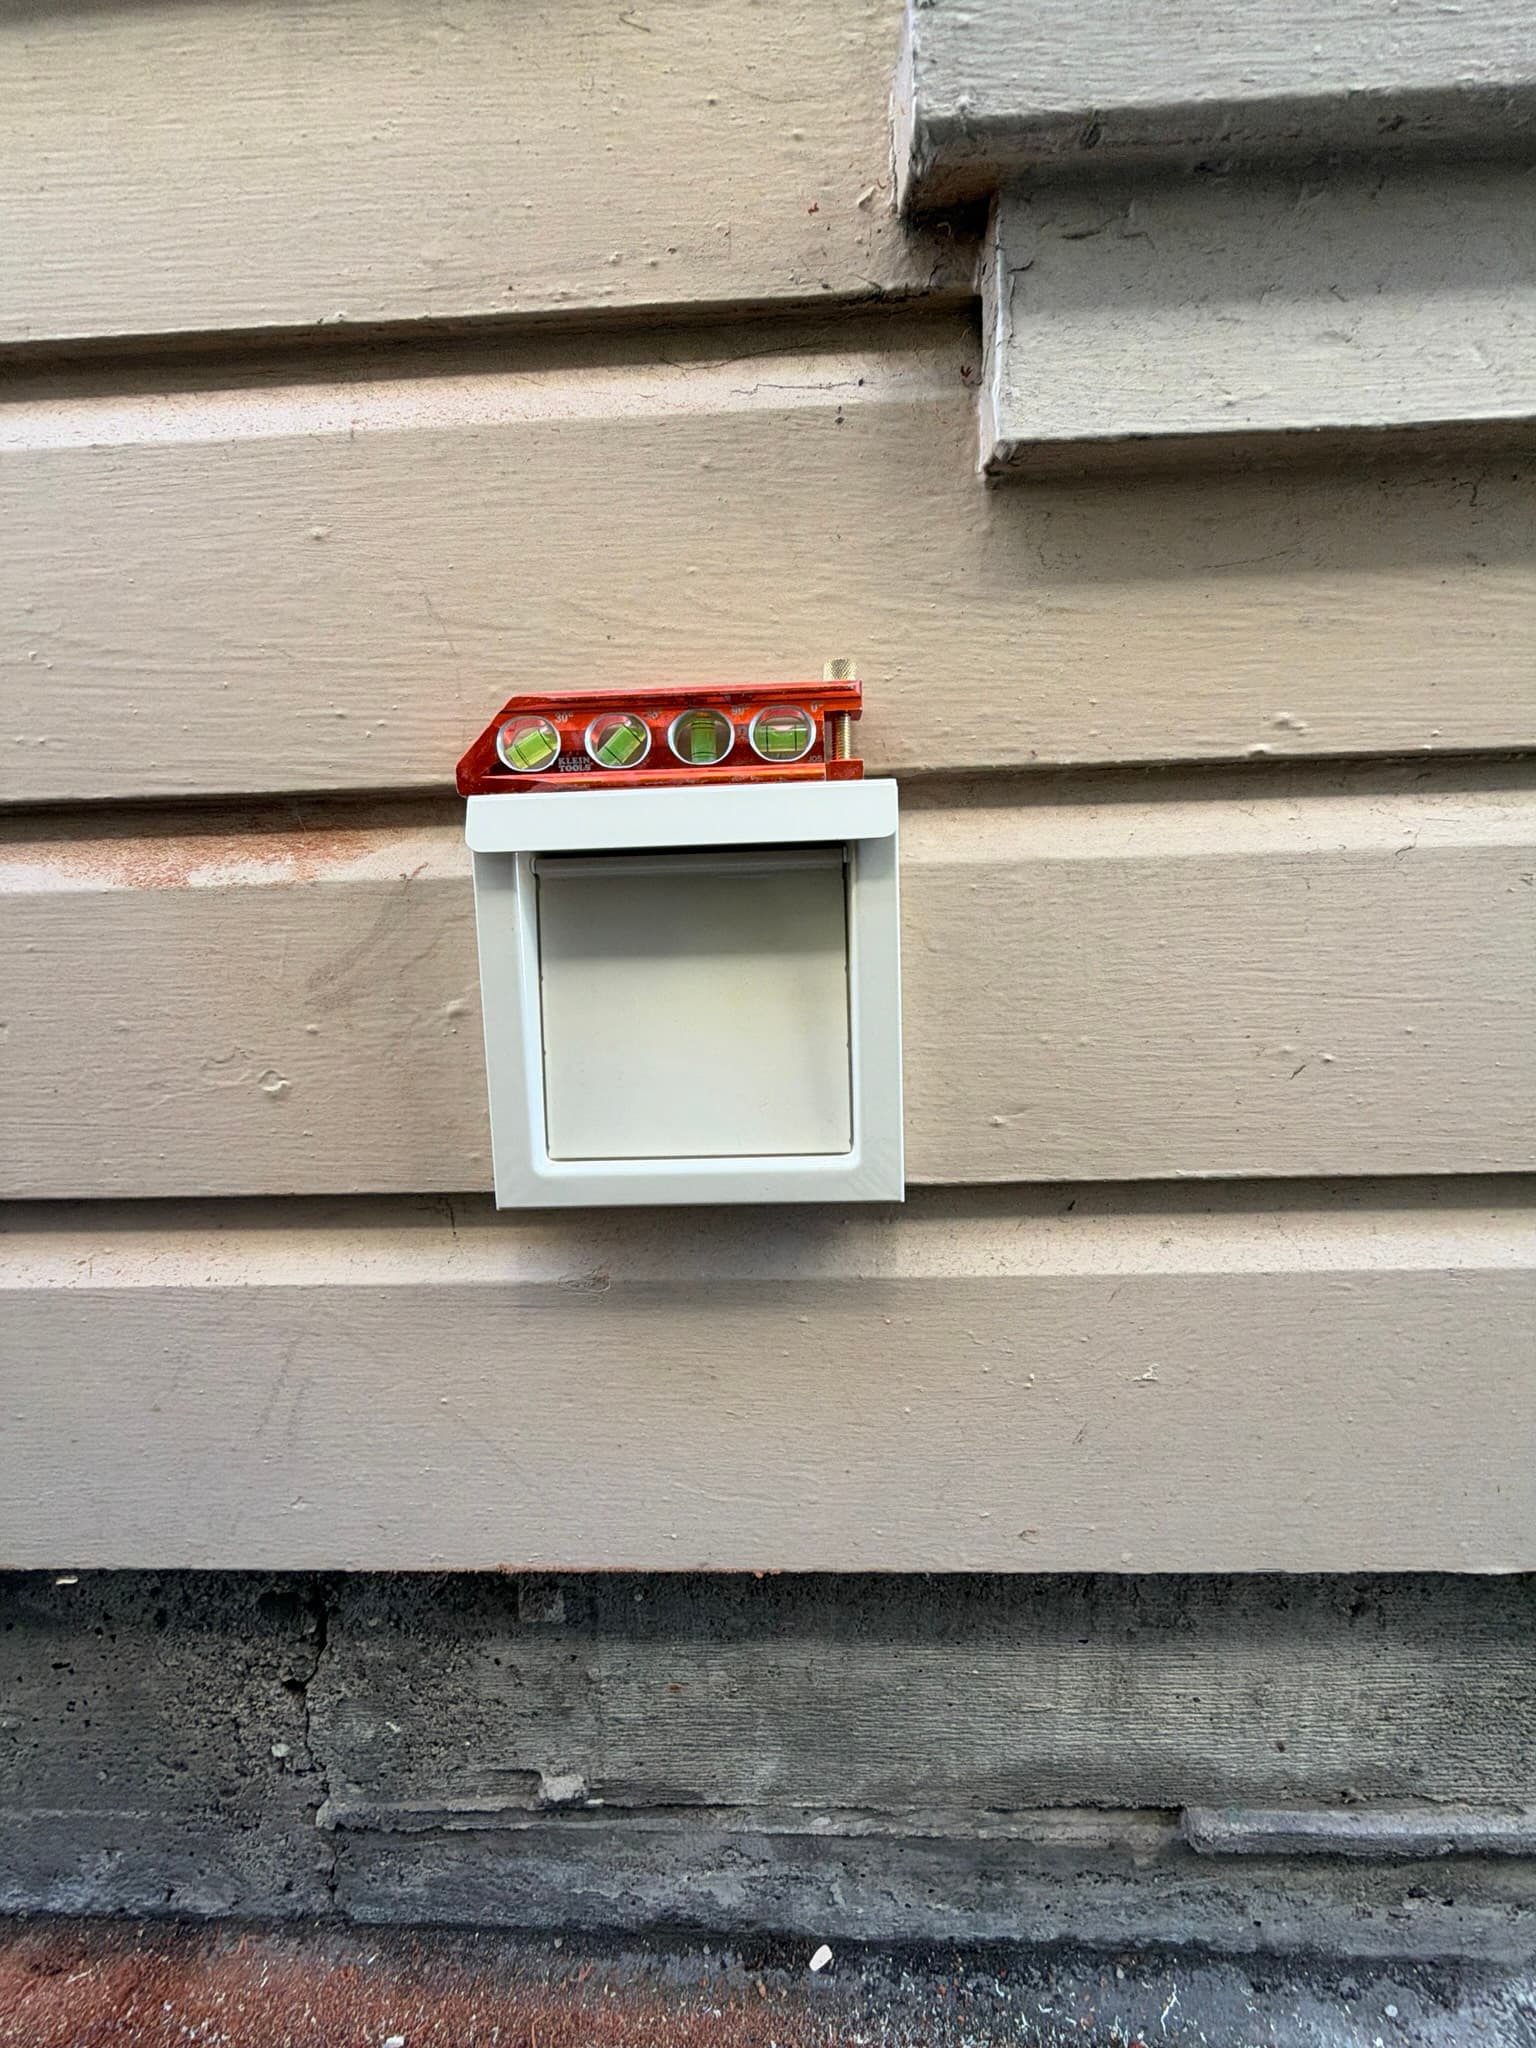
We began with a full cleaning of the exhaust path using a shop vacuum and manual extraction to clear the compacted lint from the dryer's exhaust port and the connecting ductwork, restoring the duct to its full interior diameter. From there we removed approximately 25 feet of the old semi rigid ductwork, which was compromised by trapped water and rust damage that had gone undetected until the duct was opened up. In its place, we installed new UL 2158A rated semi rigid transition duct, the listed metal ducting standard required under IRC M1502.4.3 for connecting a dryer to its exhaust run, replacing the corroded sections with duct that resists heat and crushing while maintaining a smooth interior for proper lint shedding. We created a new, clean penetration through the exterior wall and installed a short through wall collar to support a proper termination fitting rather than reusing the old rough opening. At that termination point we installed a new 4 inch flush mount wall vent with no visible collar, finished in white, built with a heavy gauge Galvalume steel body and powder coated for long term durability against San Francisco's coastal moisture and salt air. The new vent was set with a level to confirm a square, properly seated installation flush against the siding, with its gravity damper confirmed to operate freely and close fully when the dryer is off, satisfying the backdraft damper requirement of IRC M1502.3.
The Outcome
With the lint cleared, the damaged duct replaced, and a proper flush mount wall vent installed and leveled at the termination, this dryer exhaust system is now functioning as a single, continuous, code compliant path from the dryer to the outdoors. The new rigid and semi rigid materials used throughout the replaced section meet the smooth interior finish and thickness requirements of IRC M1502.4.1, the terminal fitting is free of the screens that trap lint and are explicitly prohibited at termination points under IRC M1502.3, and the open exterior penetration that had been exposing the ductwork to the elements is now sealed and finished. The homeowner can expect shorter drying times, lower energy costs from reduced strain on the dryer motor, and a significant reduction in fire risk now that the exhaust path is clear and properly supported. We recommend annual professional inspection and cleaning going forward, consistent with national fire safety guidance, to keep lint from reaccumulating to the level we found during this visit.
Project photos
7 photos
Need similar work in San Francisco?
Get a free quote - same-week appointments usually available.