San Francisco · Residential Dryer Exhaust Cleaning Inspection
Dryer Exhaust Cleaning & Inspection in San Francisco, CA
A San Francisco homeowner's dryer vent was found heavily coated in compacted lint from the dryer connection to the wall termination; our technician performed a full inspection, camera assessment, and deep cleaning to restore safe, efficient airflow.
Completed October 12, 2026
Verified customer review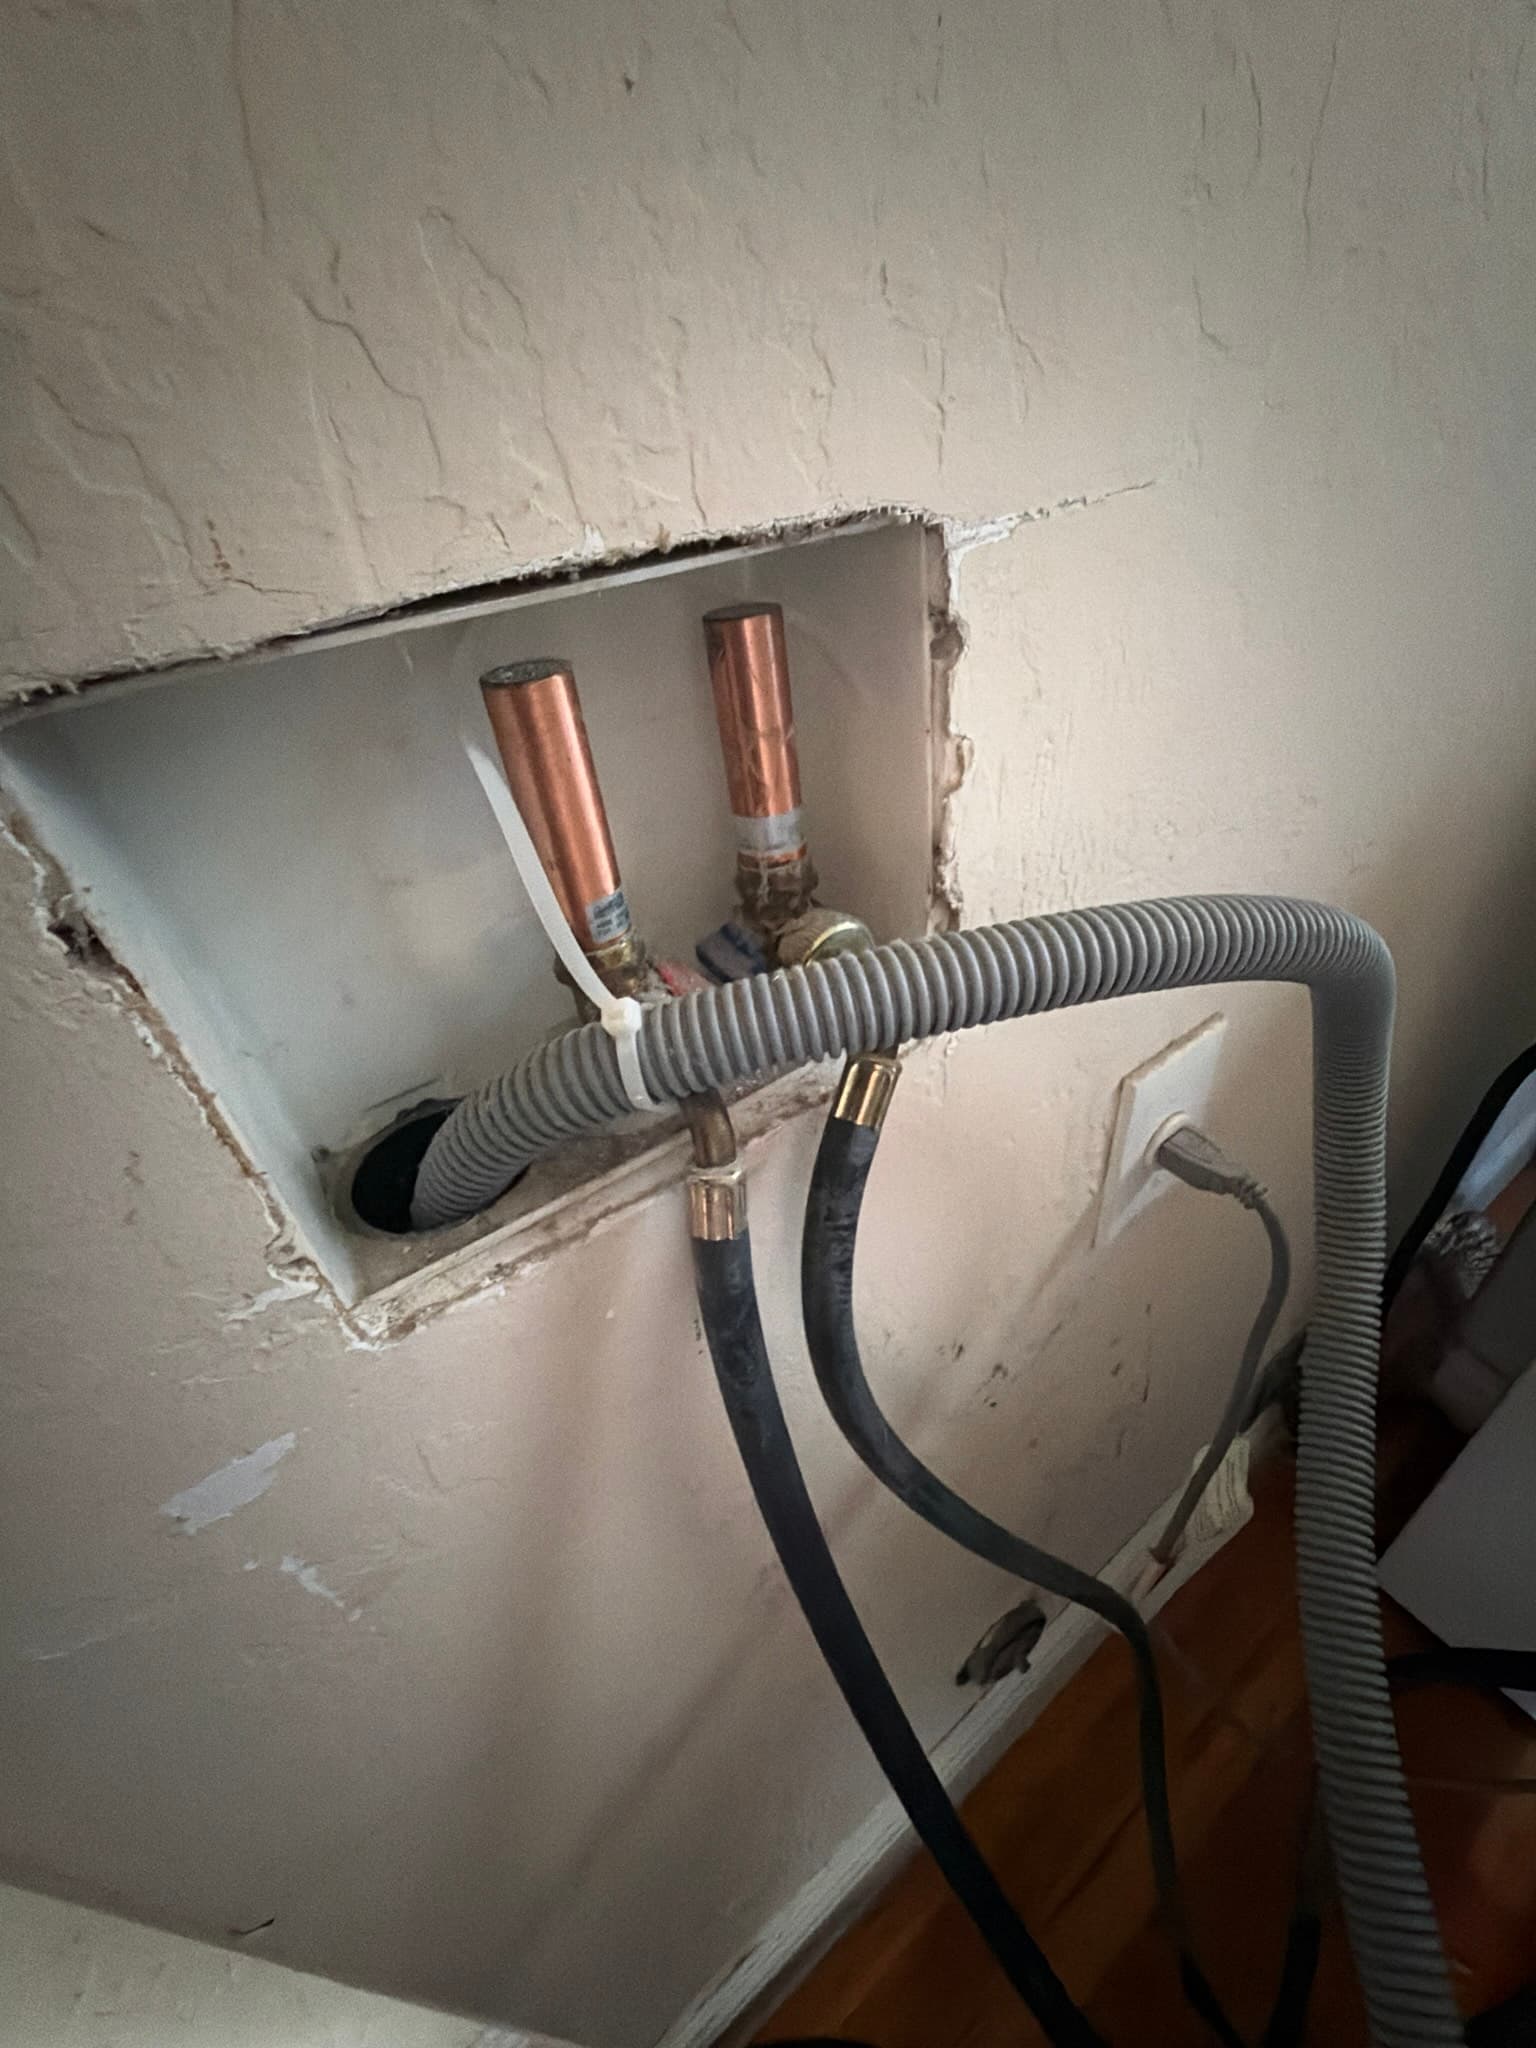
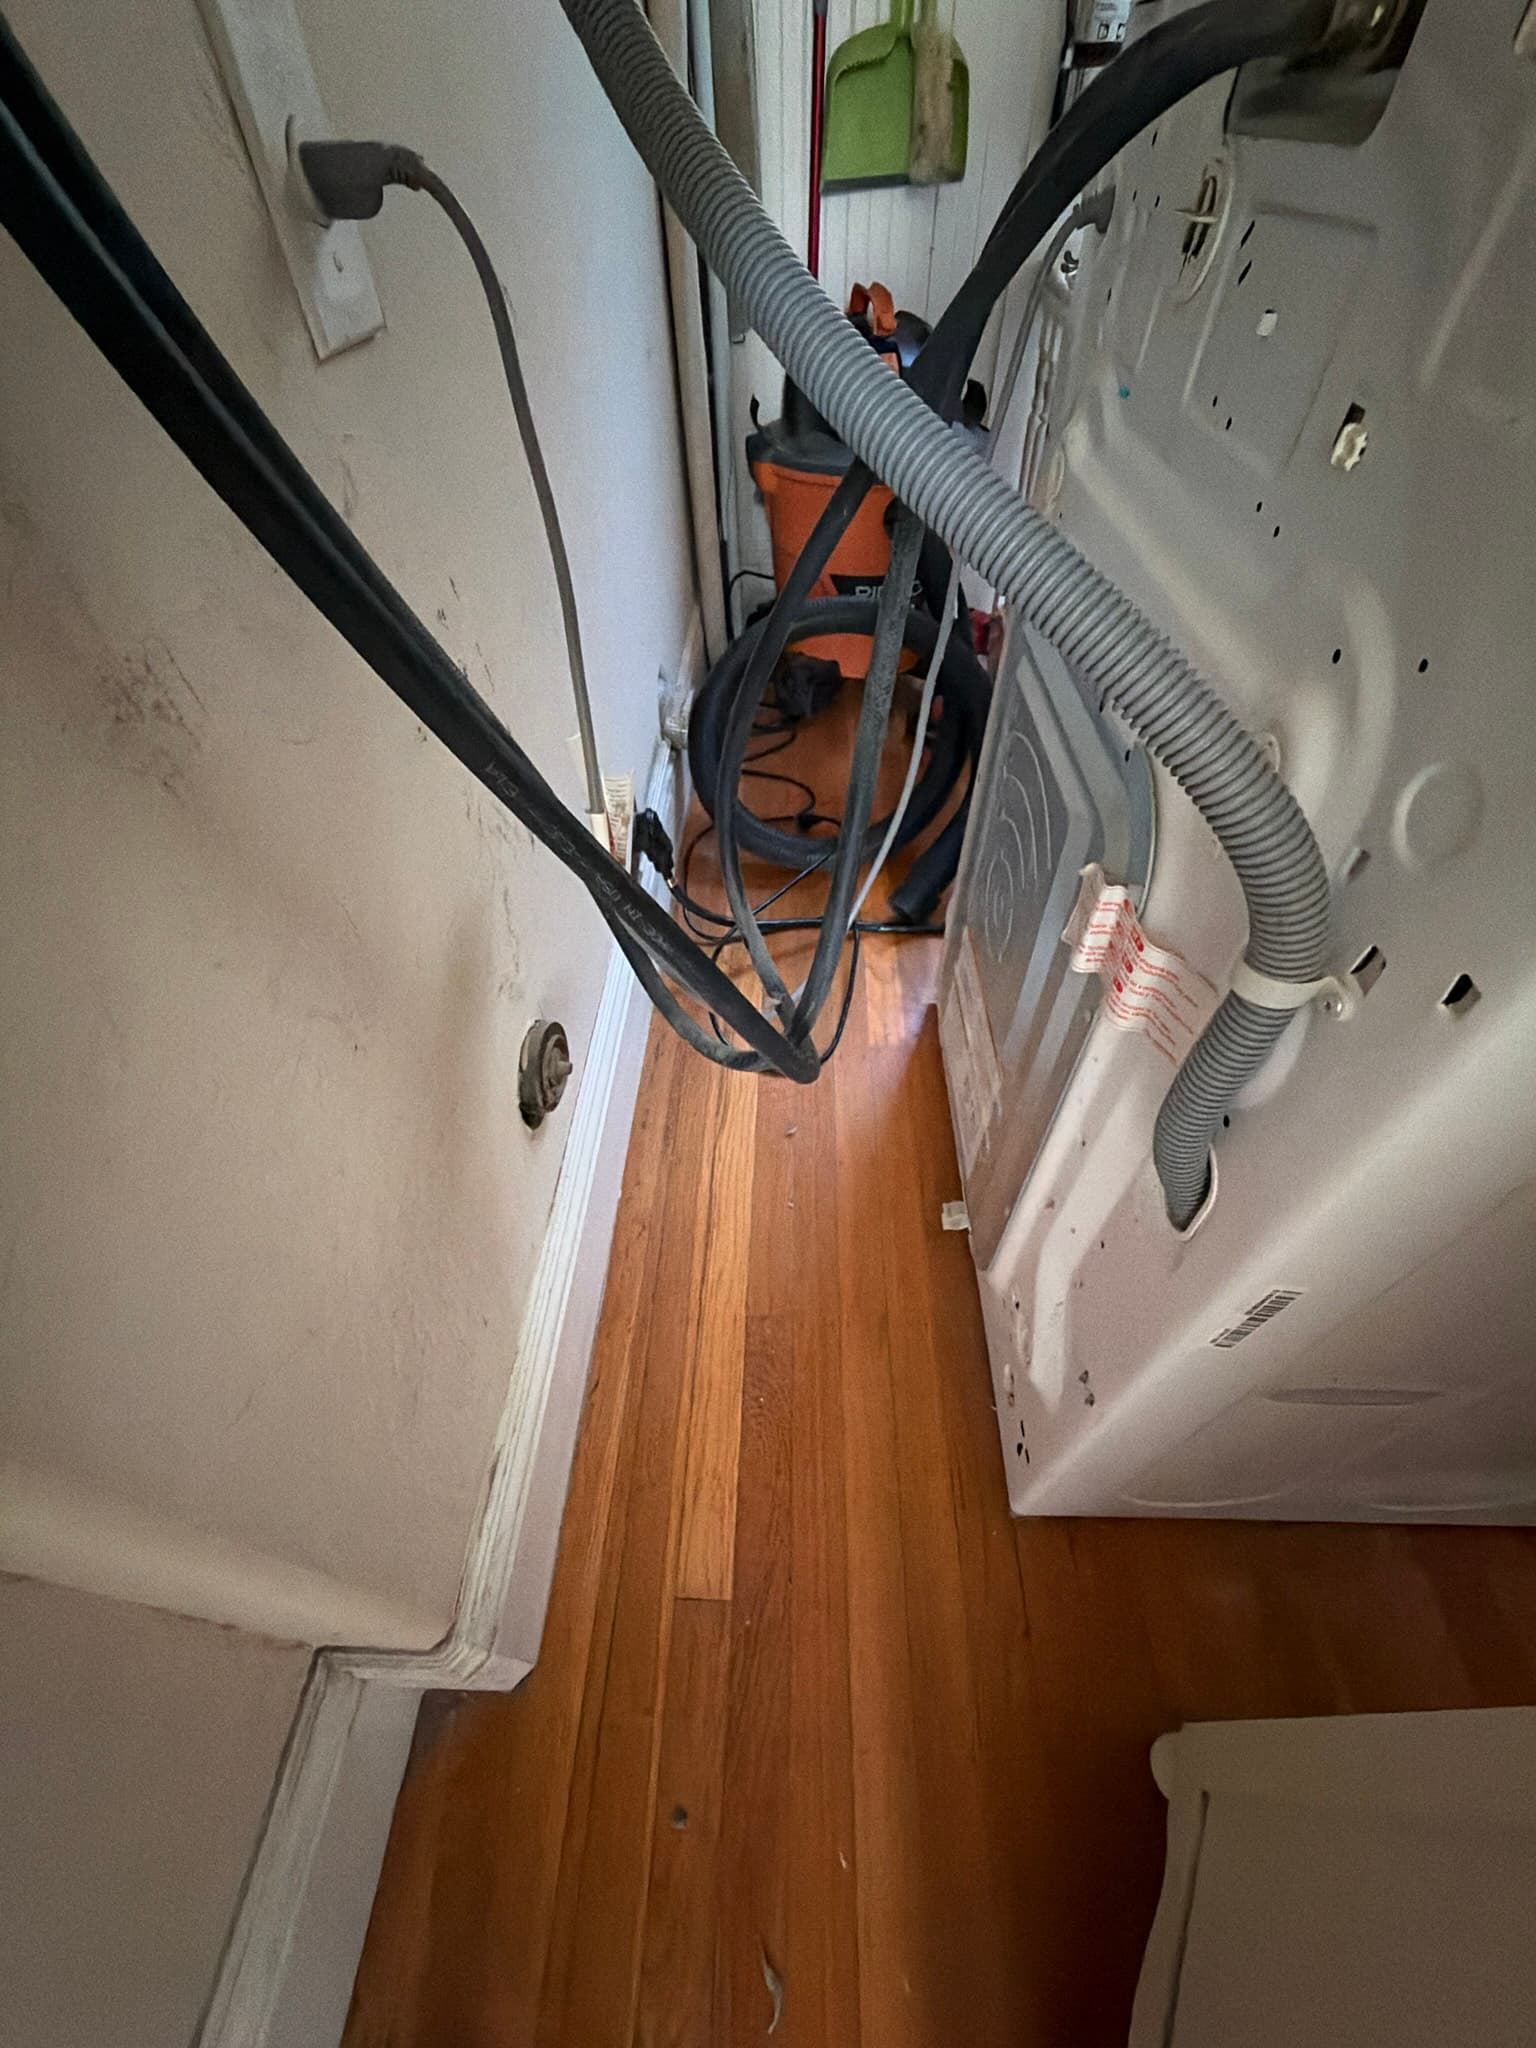
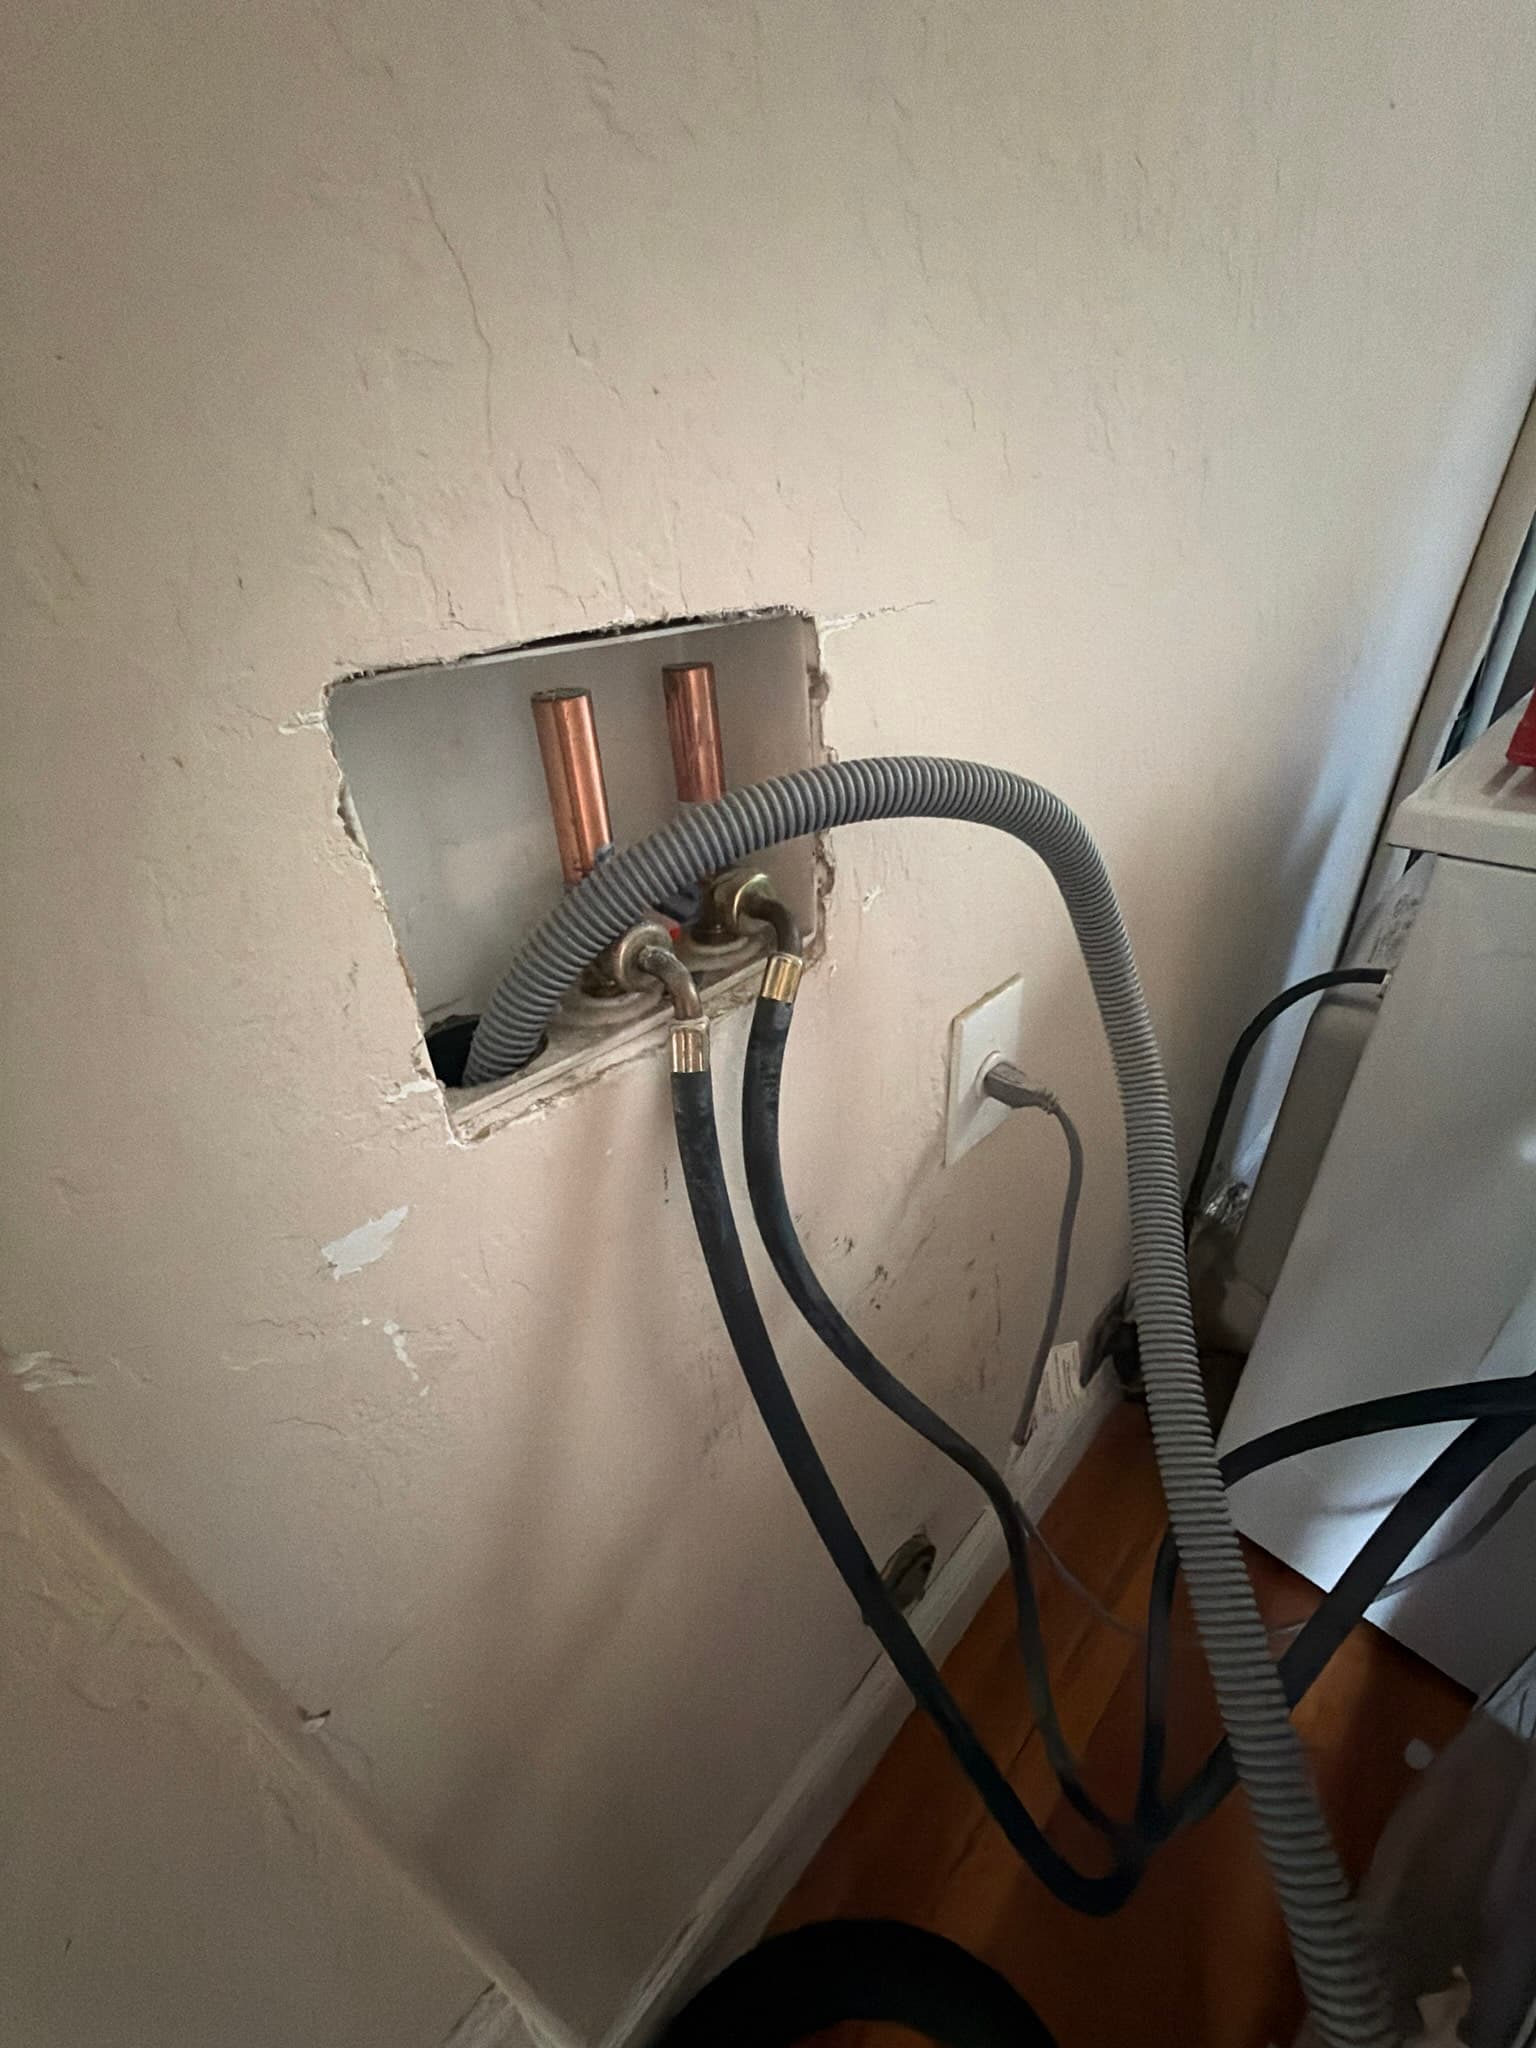
Zip tie added to secure the washing machine drain hose in place.
What We Found
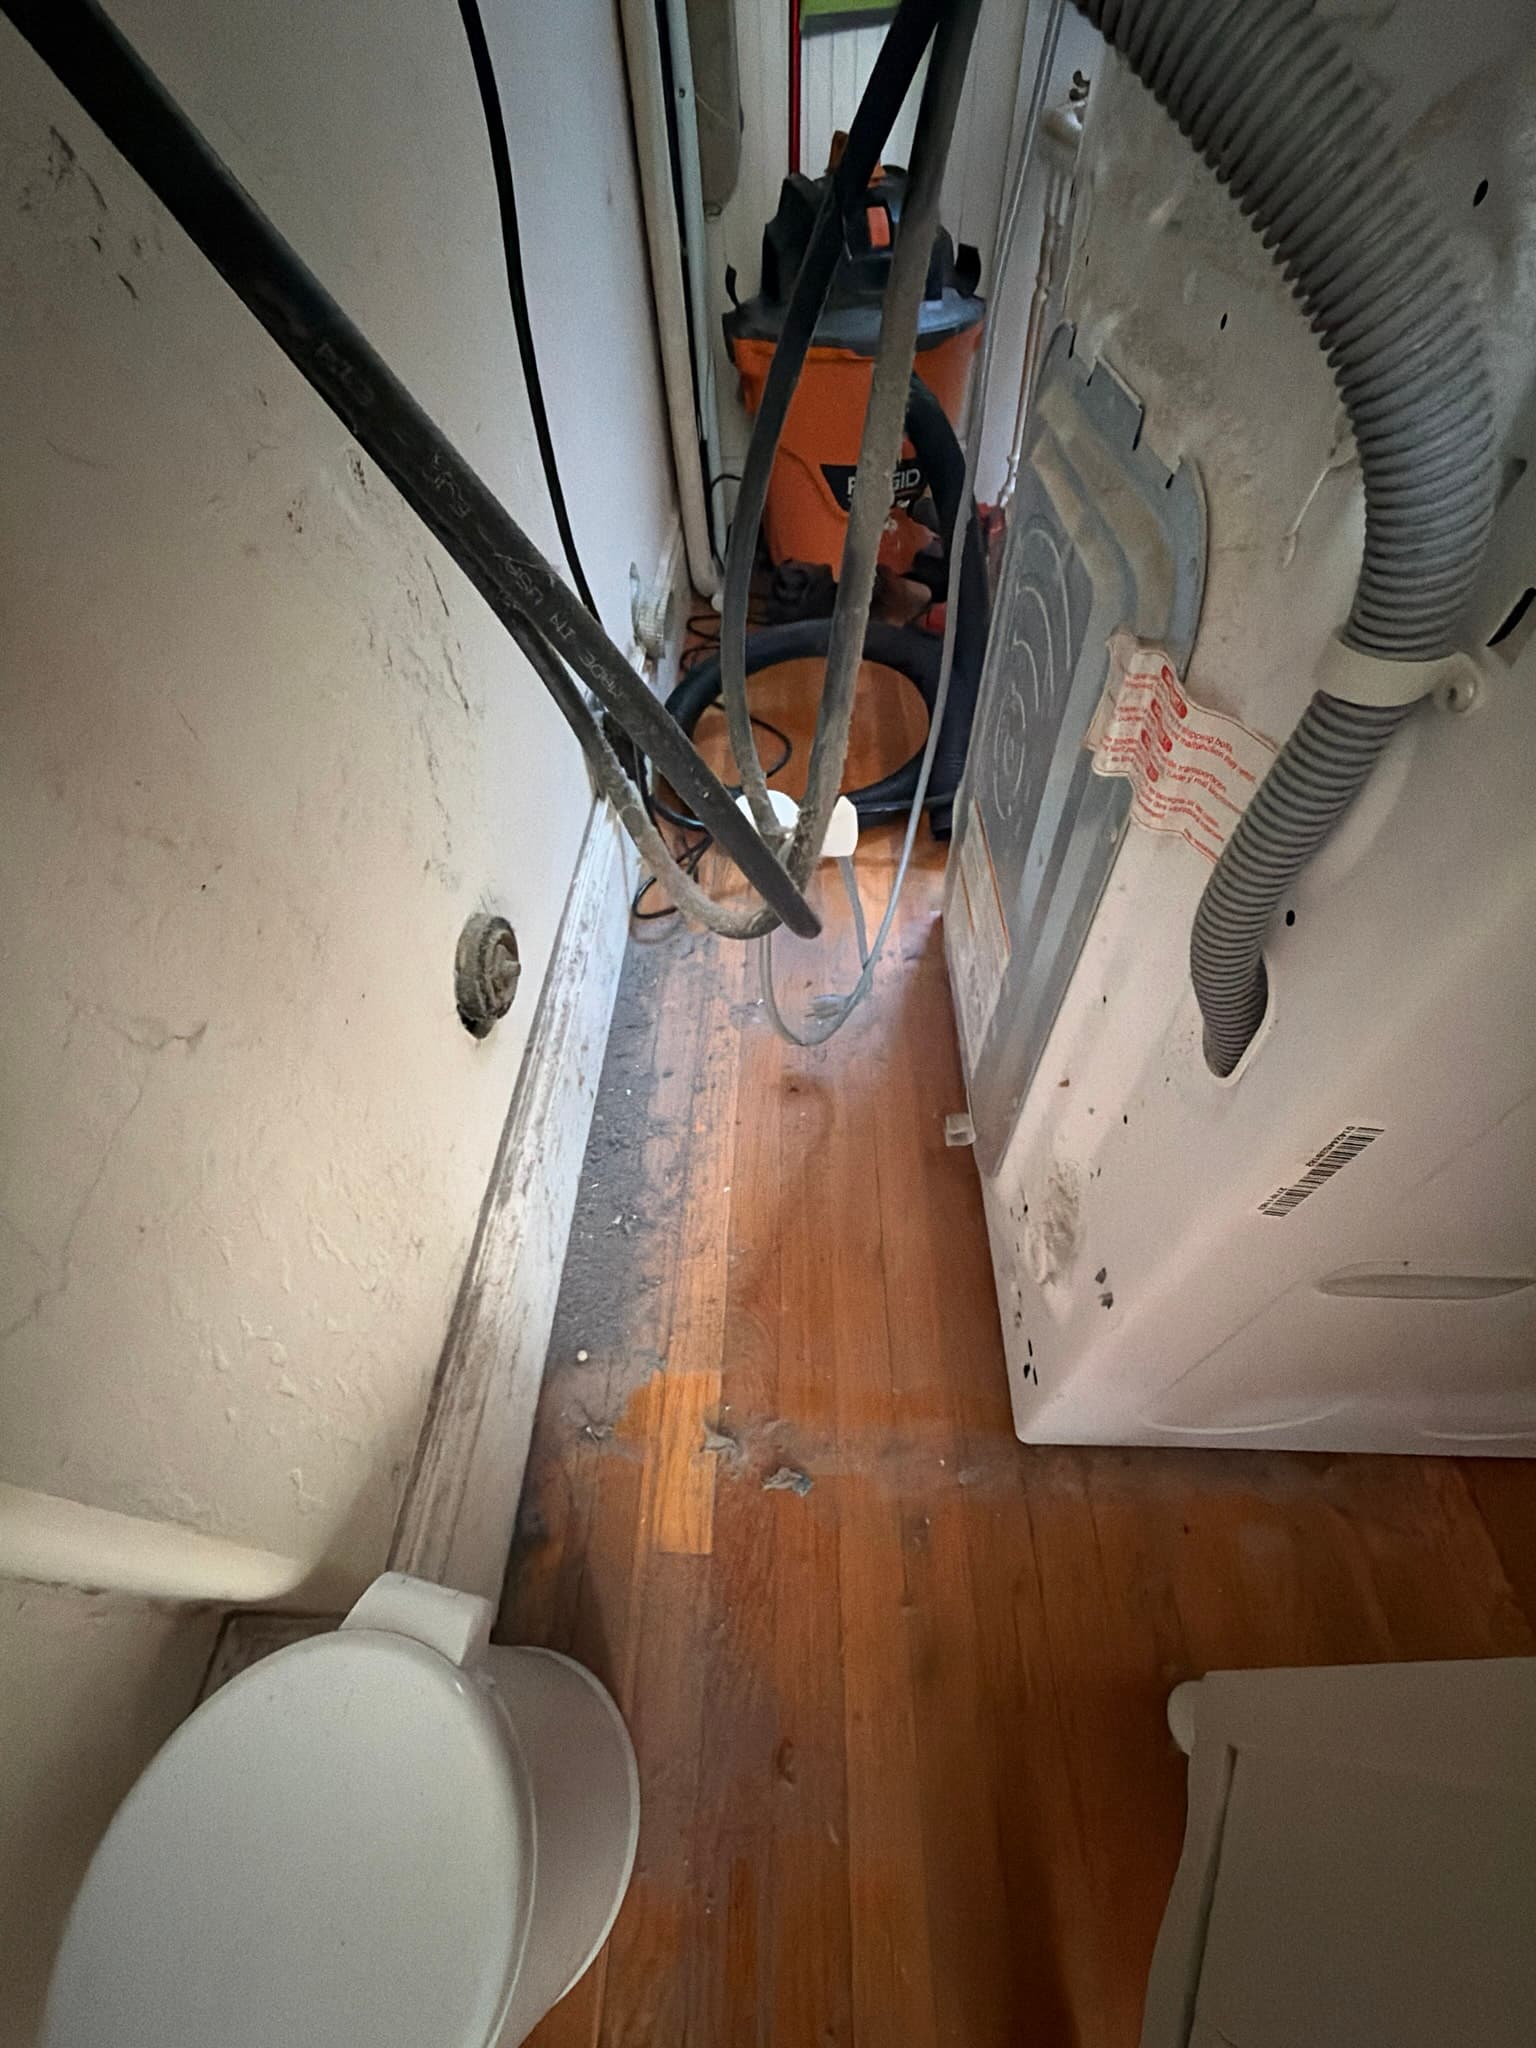
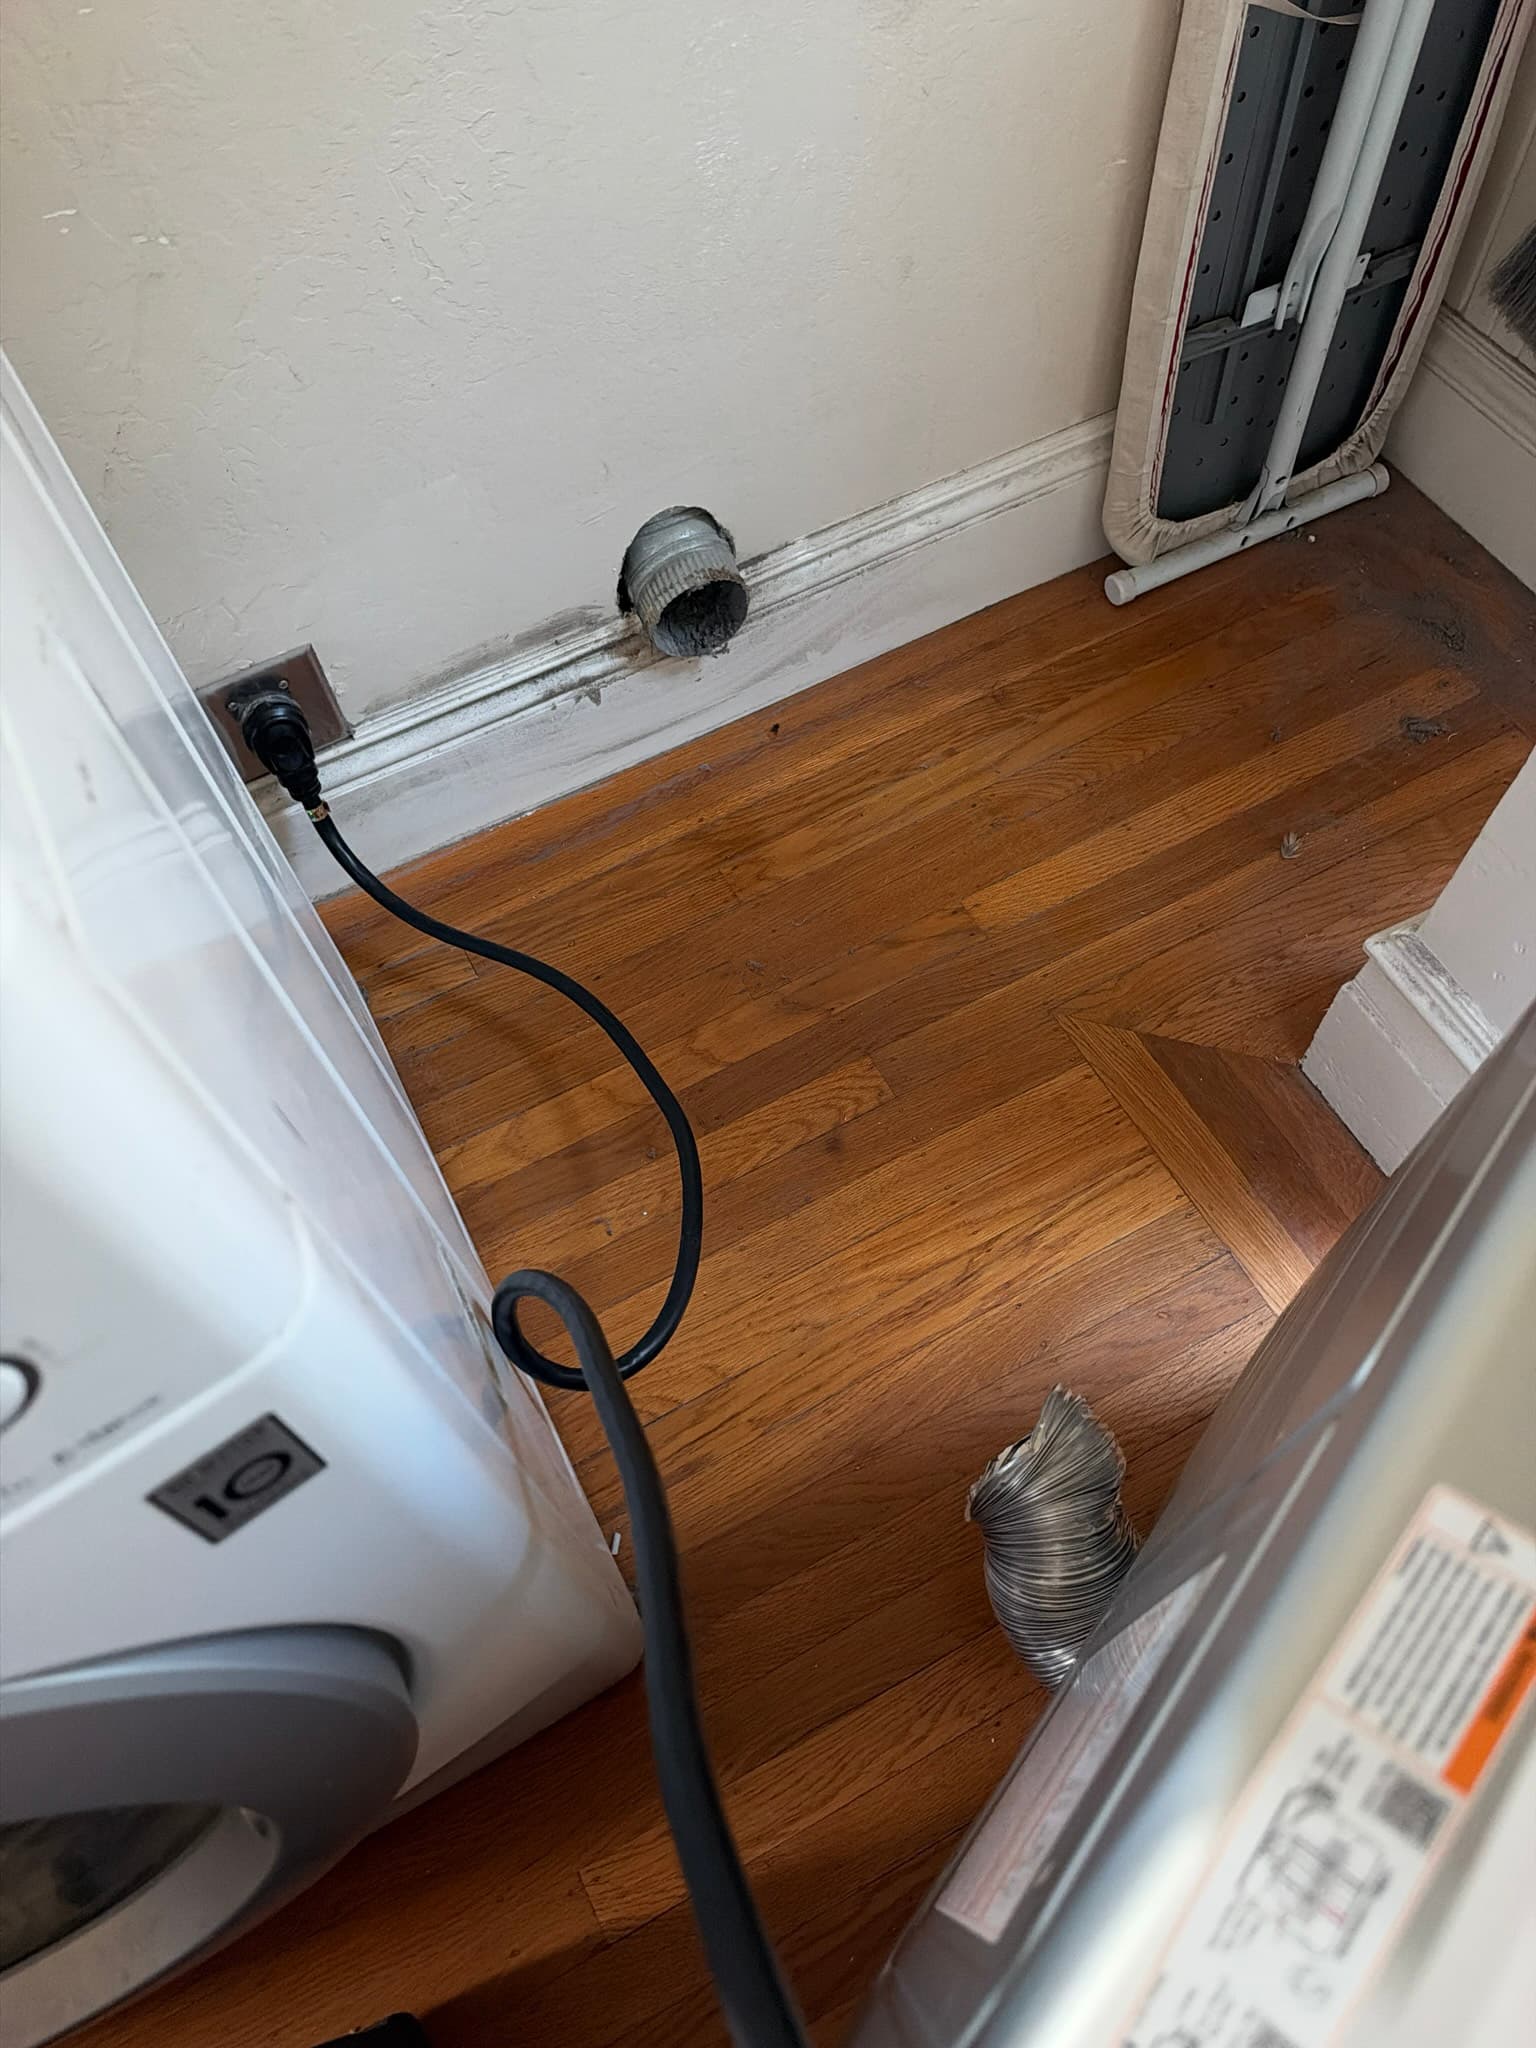
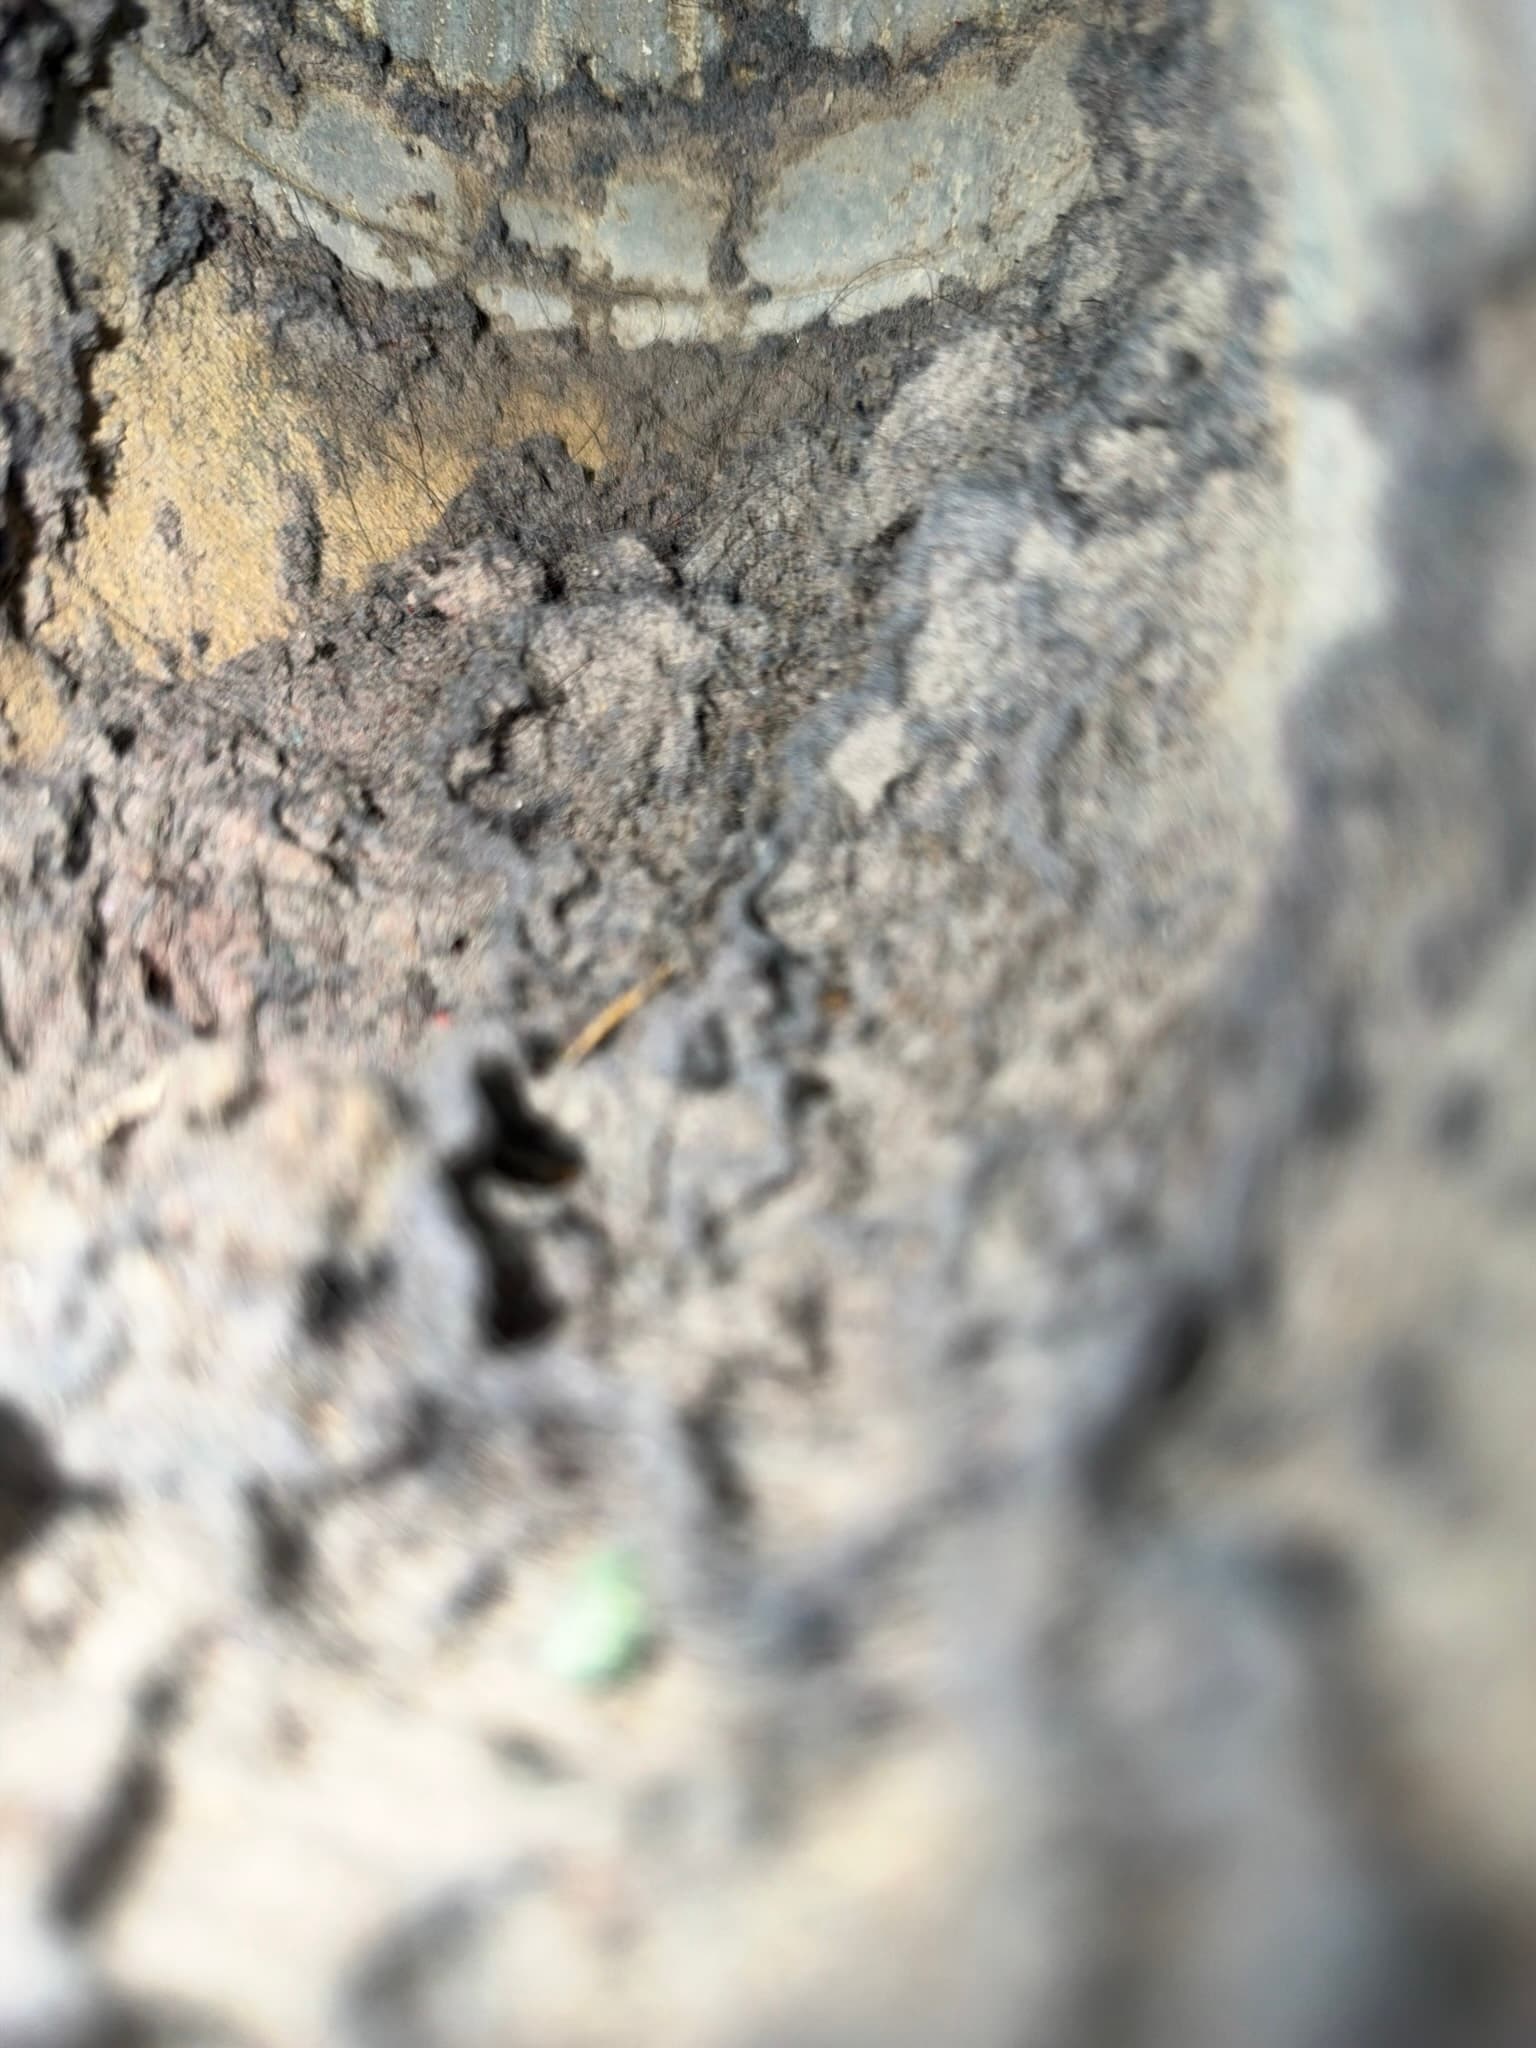
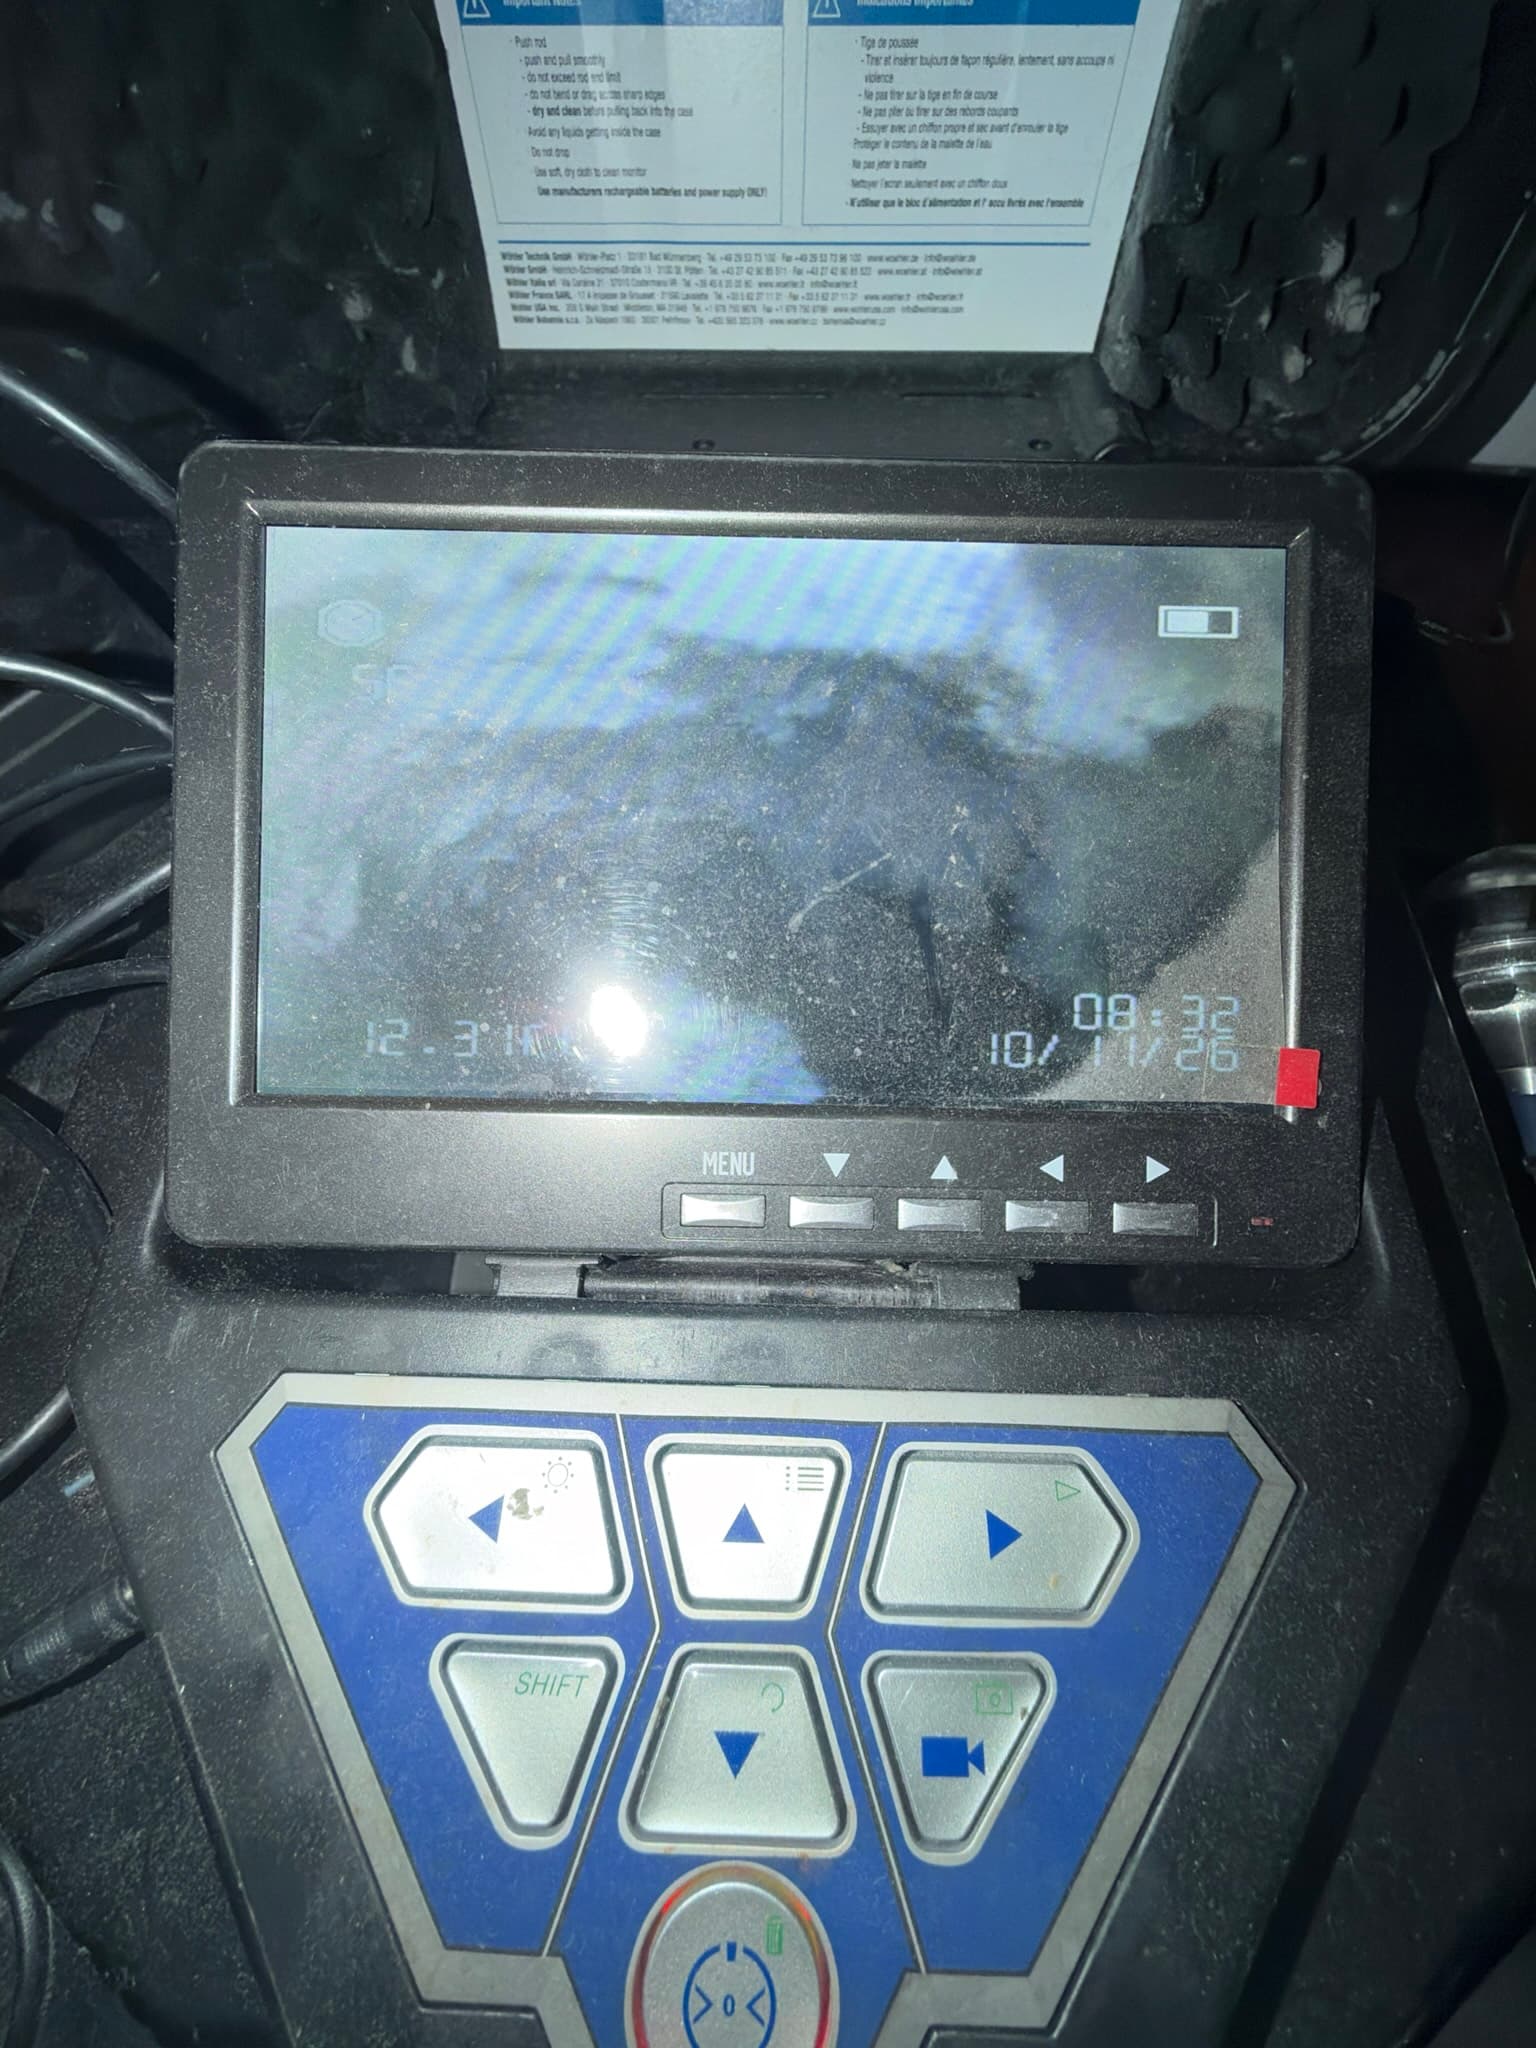
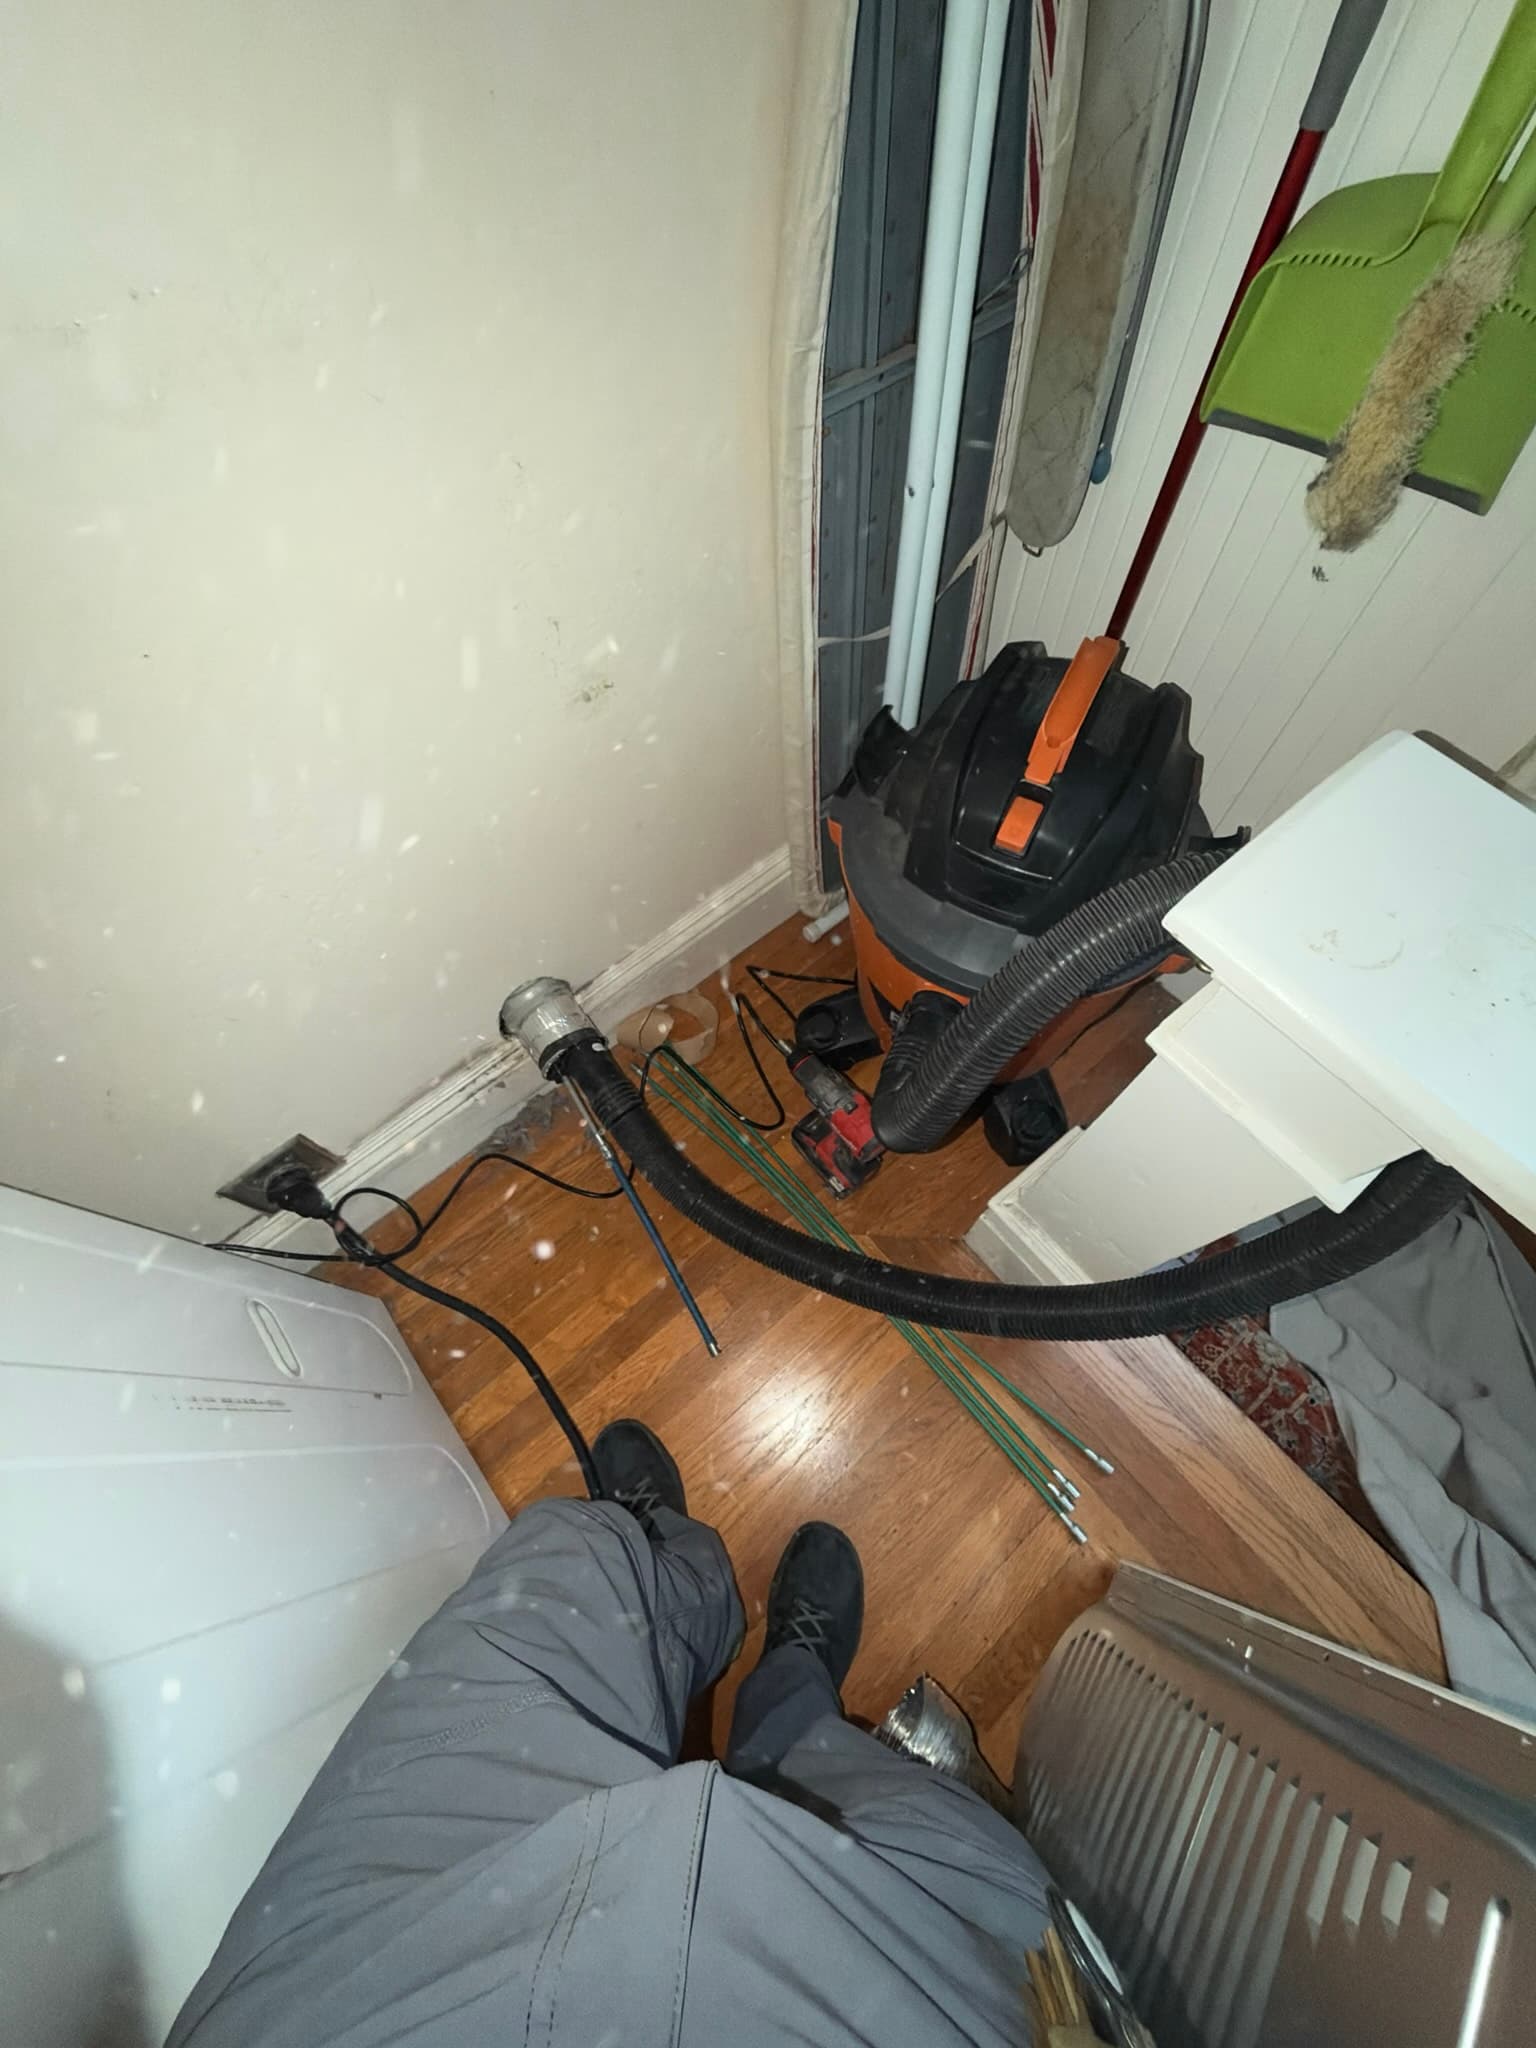
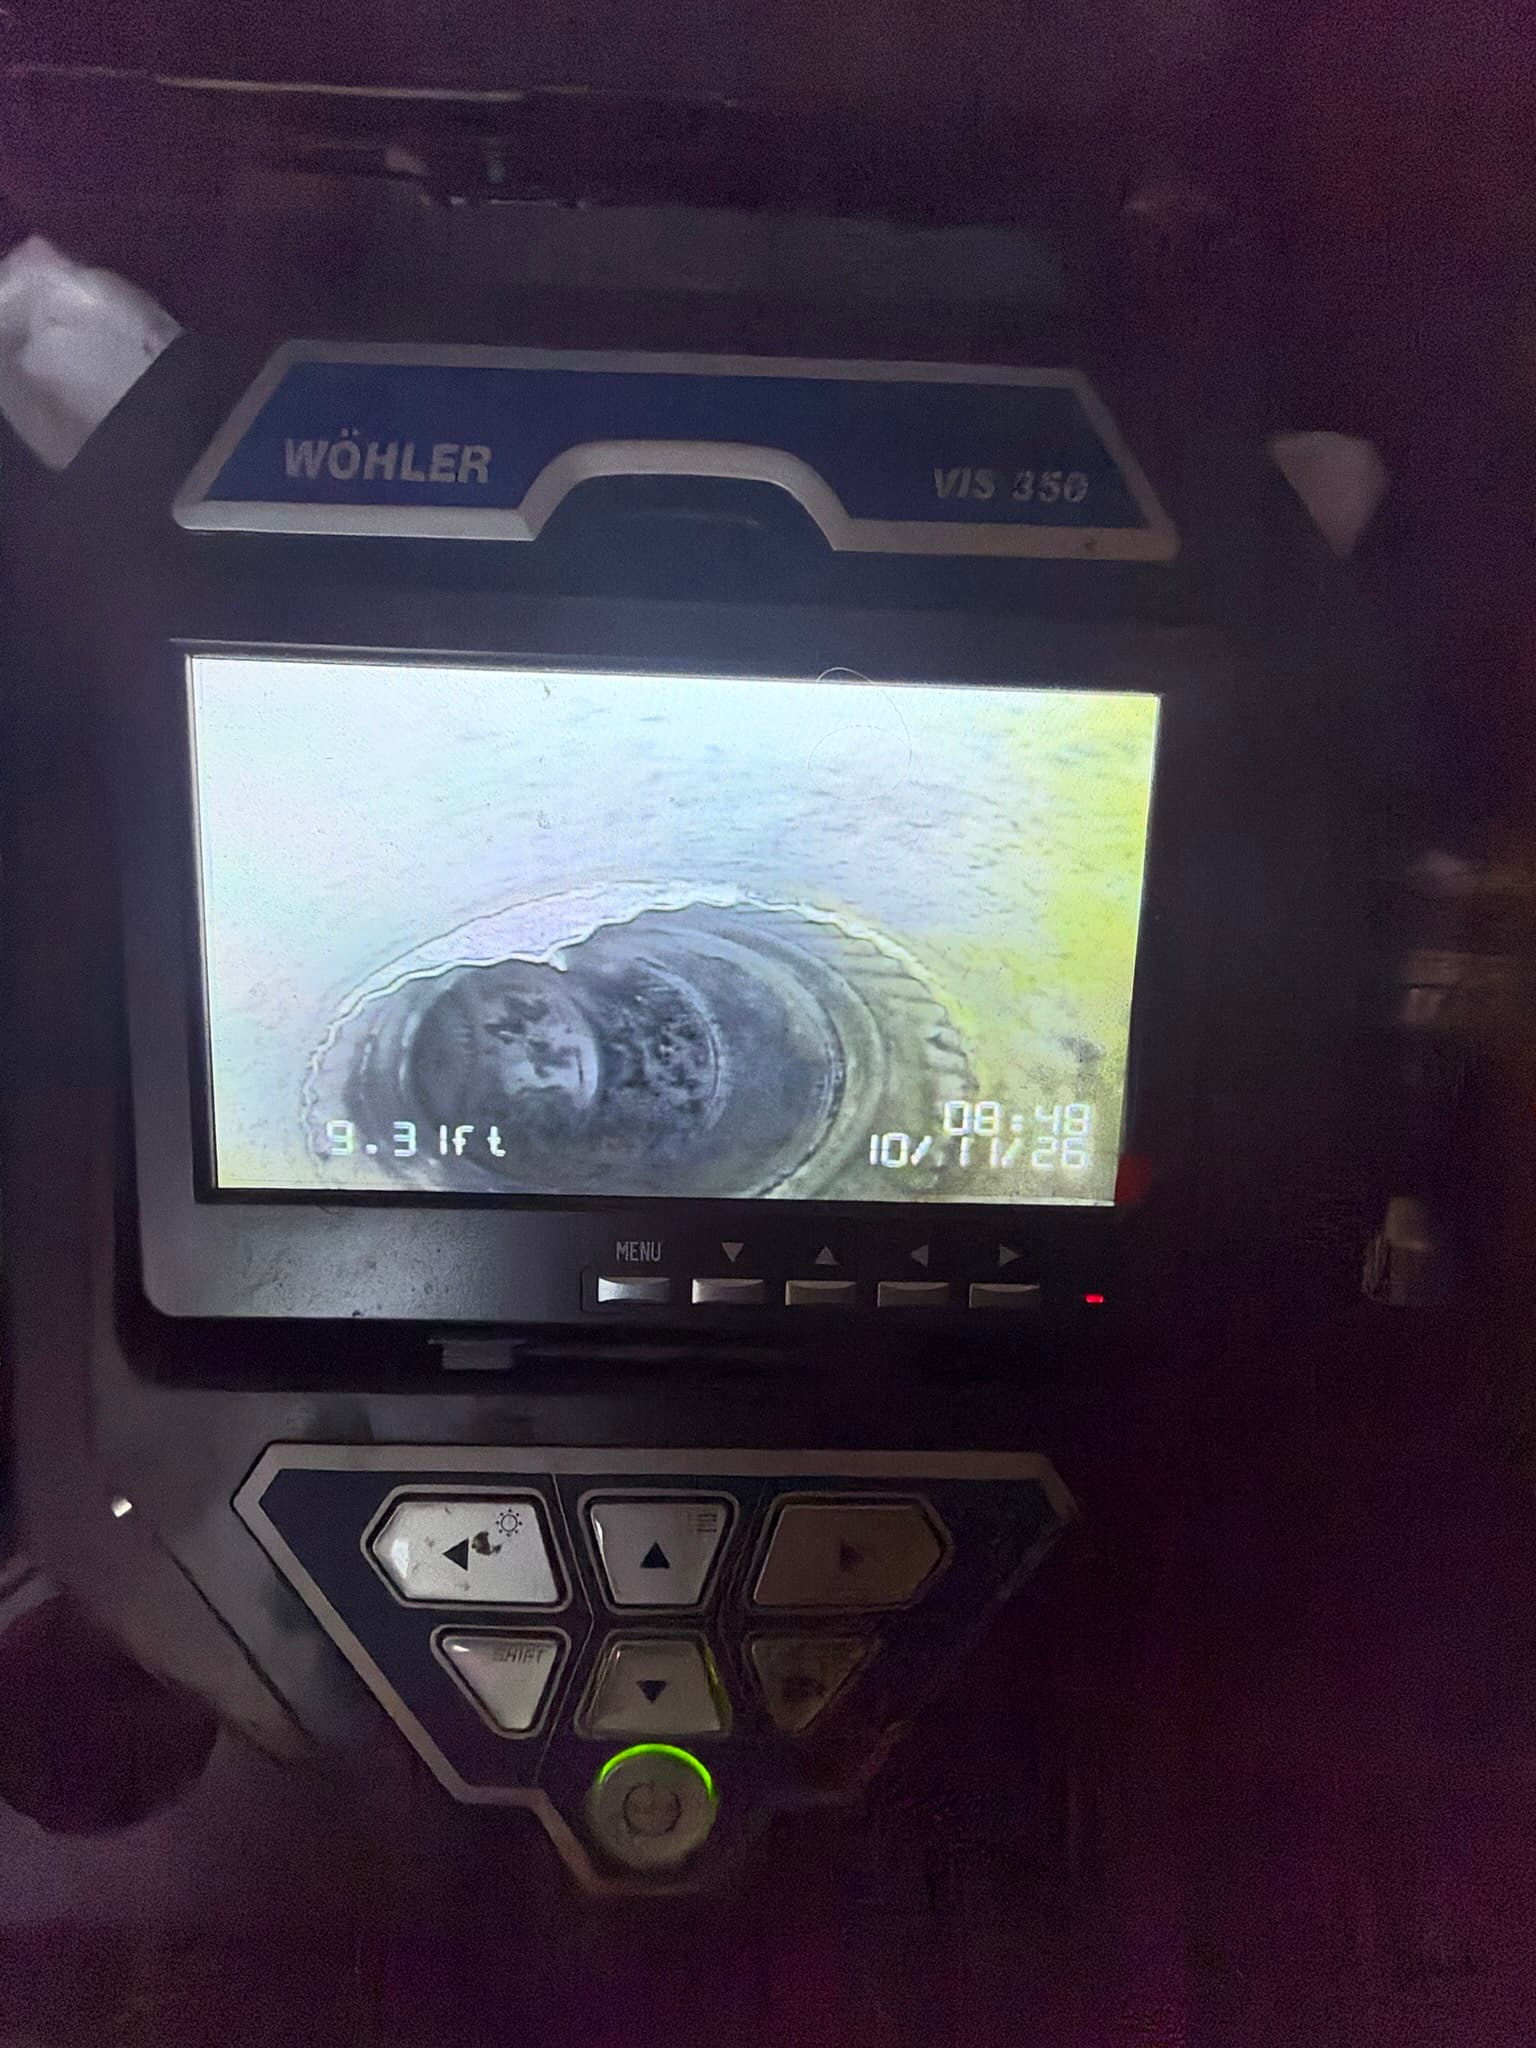
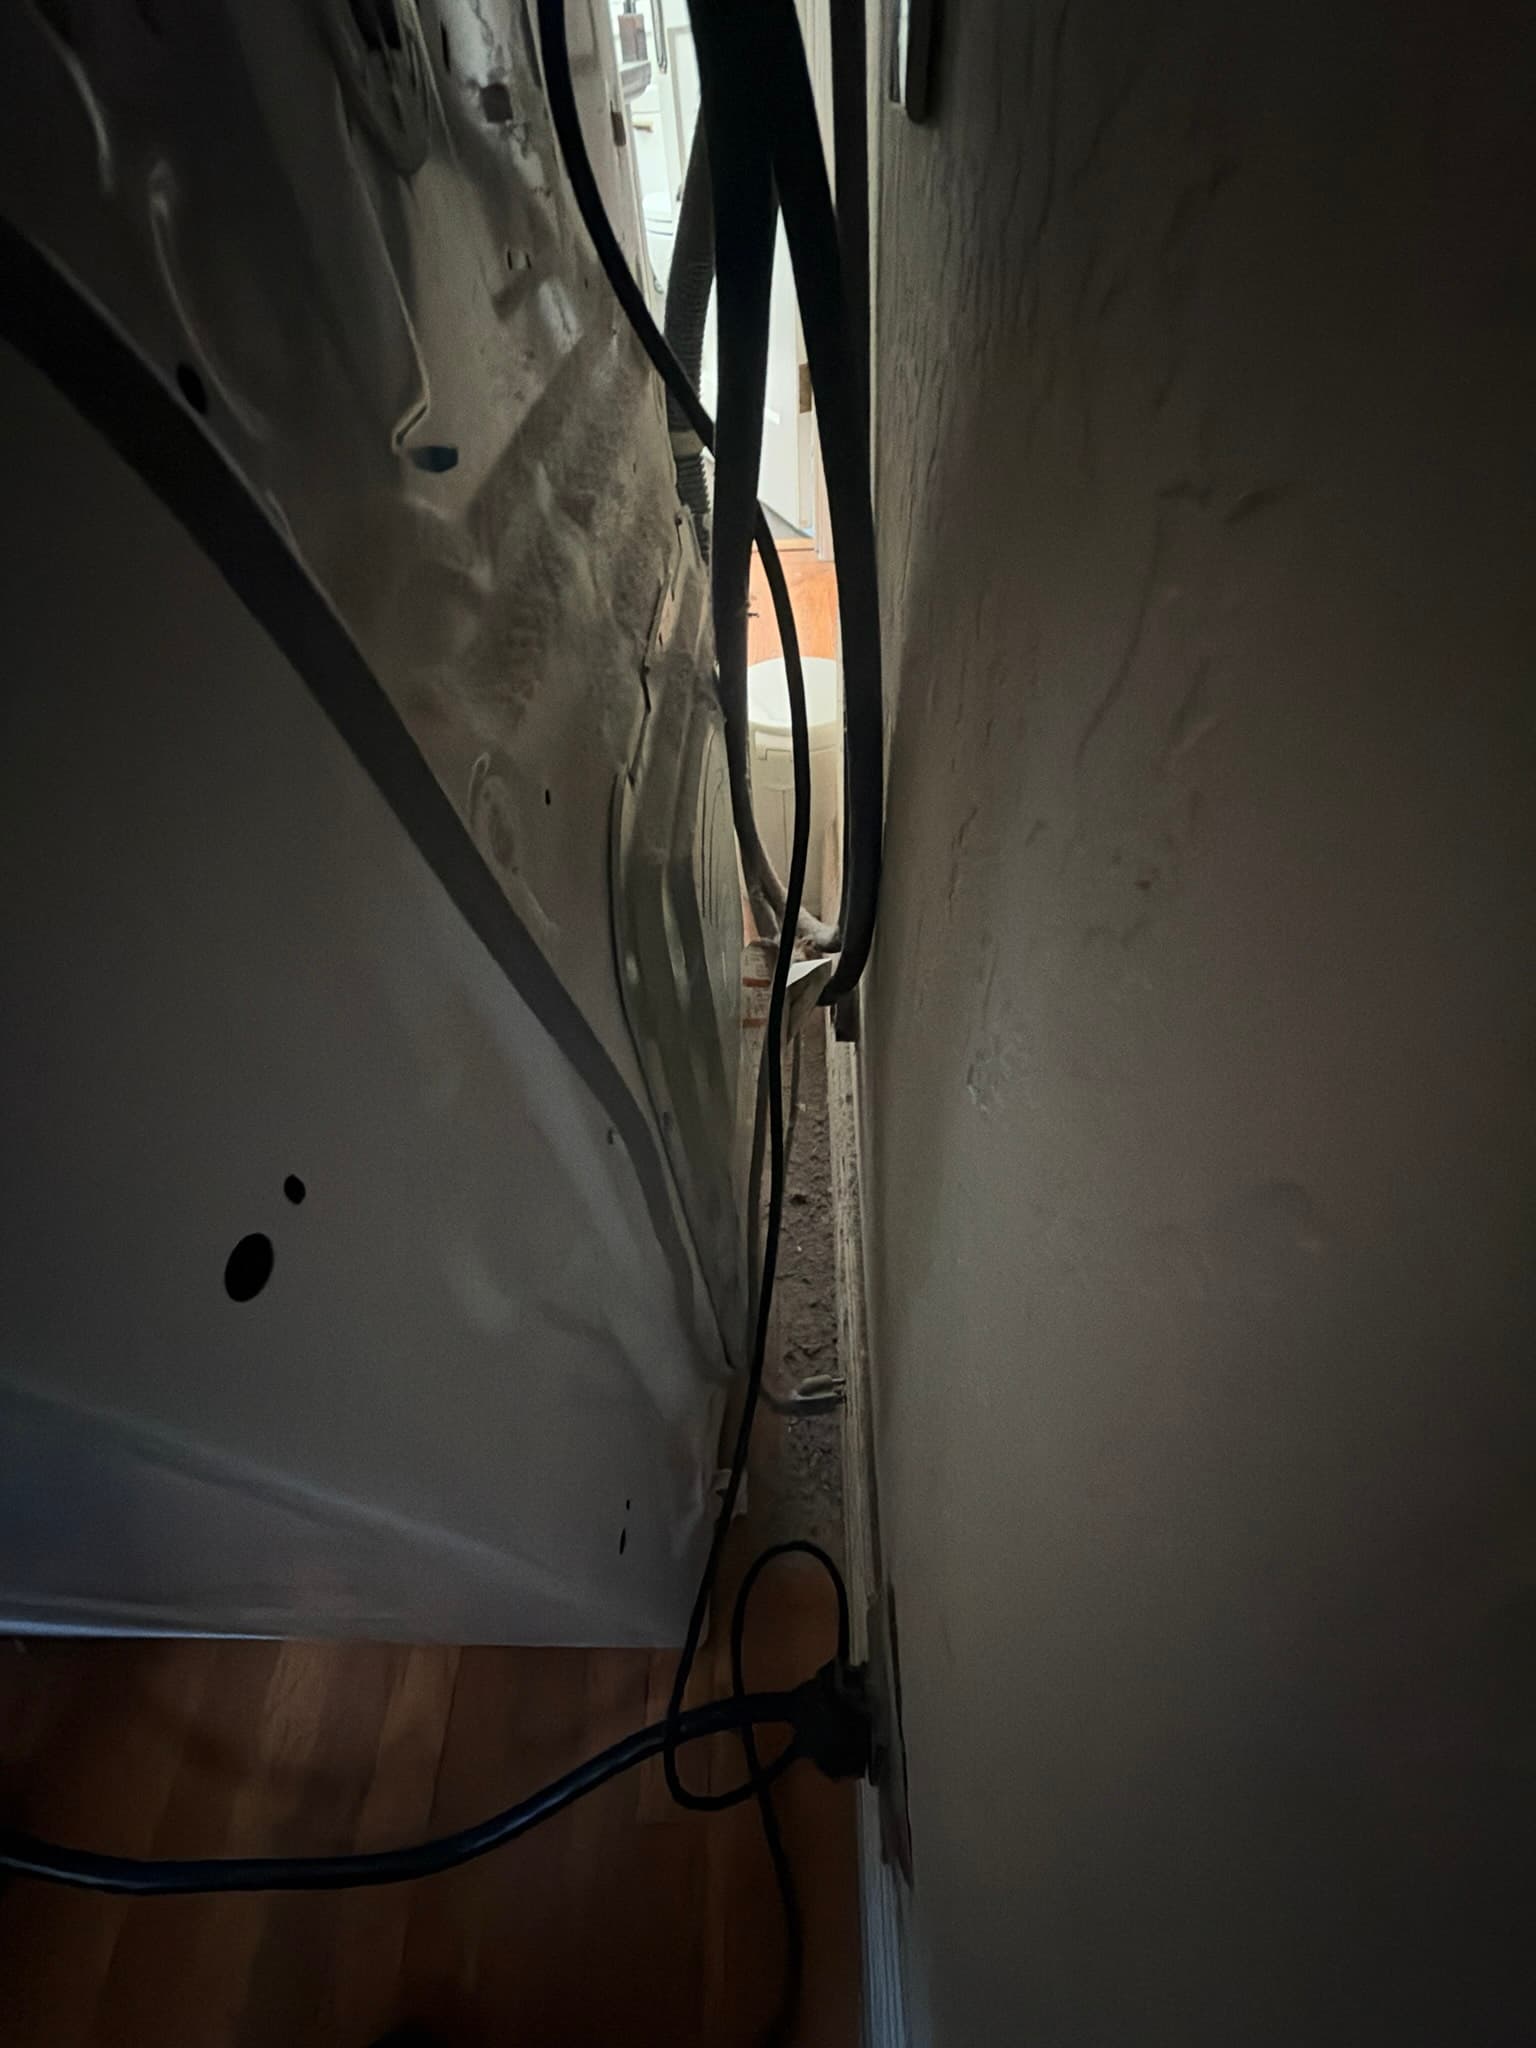
This San Francisco service call began with our standard full-system inspection of the residential dryer exhaust, performed before anything was touched. The dryer was pulled away from the wall to expose the rear exhaust port and the flexible foil transition duct connecting it to the wall opening. Right away, significant lint accumulation was visible along the baseboard, floor, and the edges of the wall duct collar, the kind of buildup that signals the vent has gone well past due for cleaning. A Wöhler VIS 350 inspection camera was fed through the duct to document conditions at depth, and at roughly 9.3 feet into the run the footage showed the metal duct's interior walls coated with dense, dark lint residue. Closer visual inspection of the duct interior confirmed matted, compacted buildup clinging to the walls throughout the visible section, consistent with longstanding accumulation rather than a single season's worth of lint. This level of buildup is a recognized fire risk: the U.S. Fire Administration attributes a large share of the roughly 2,900 annual home dryer fires to failure to clean the vent system, and restricted ducts like this one also force the dryer to run hotter and longer than it should.
What We Did
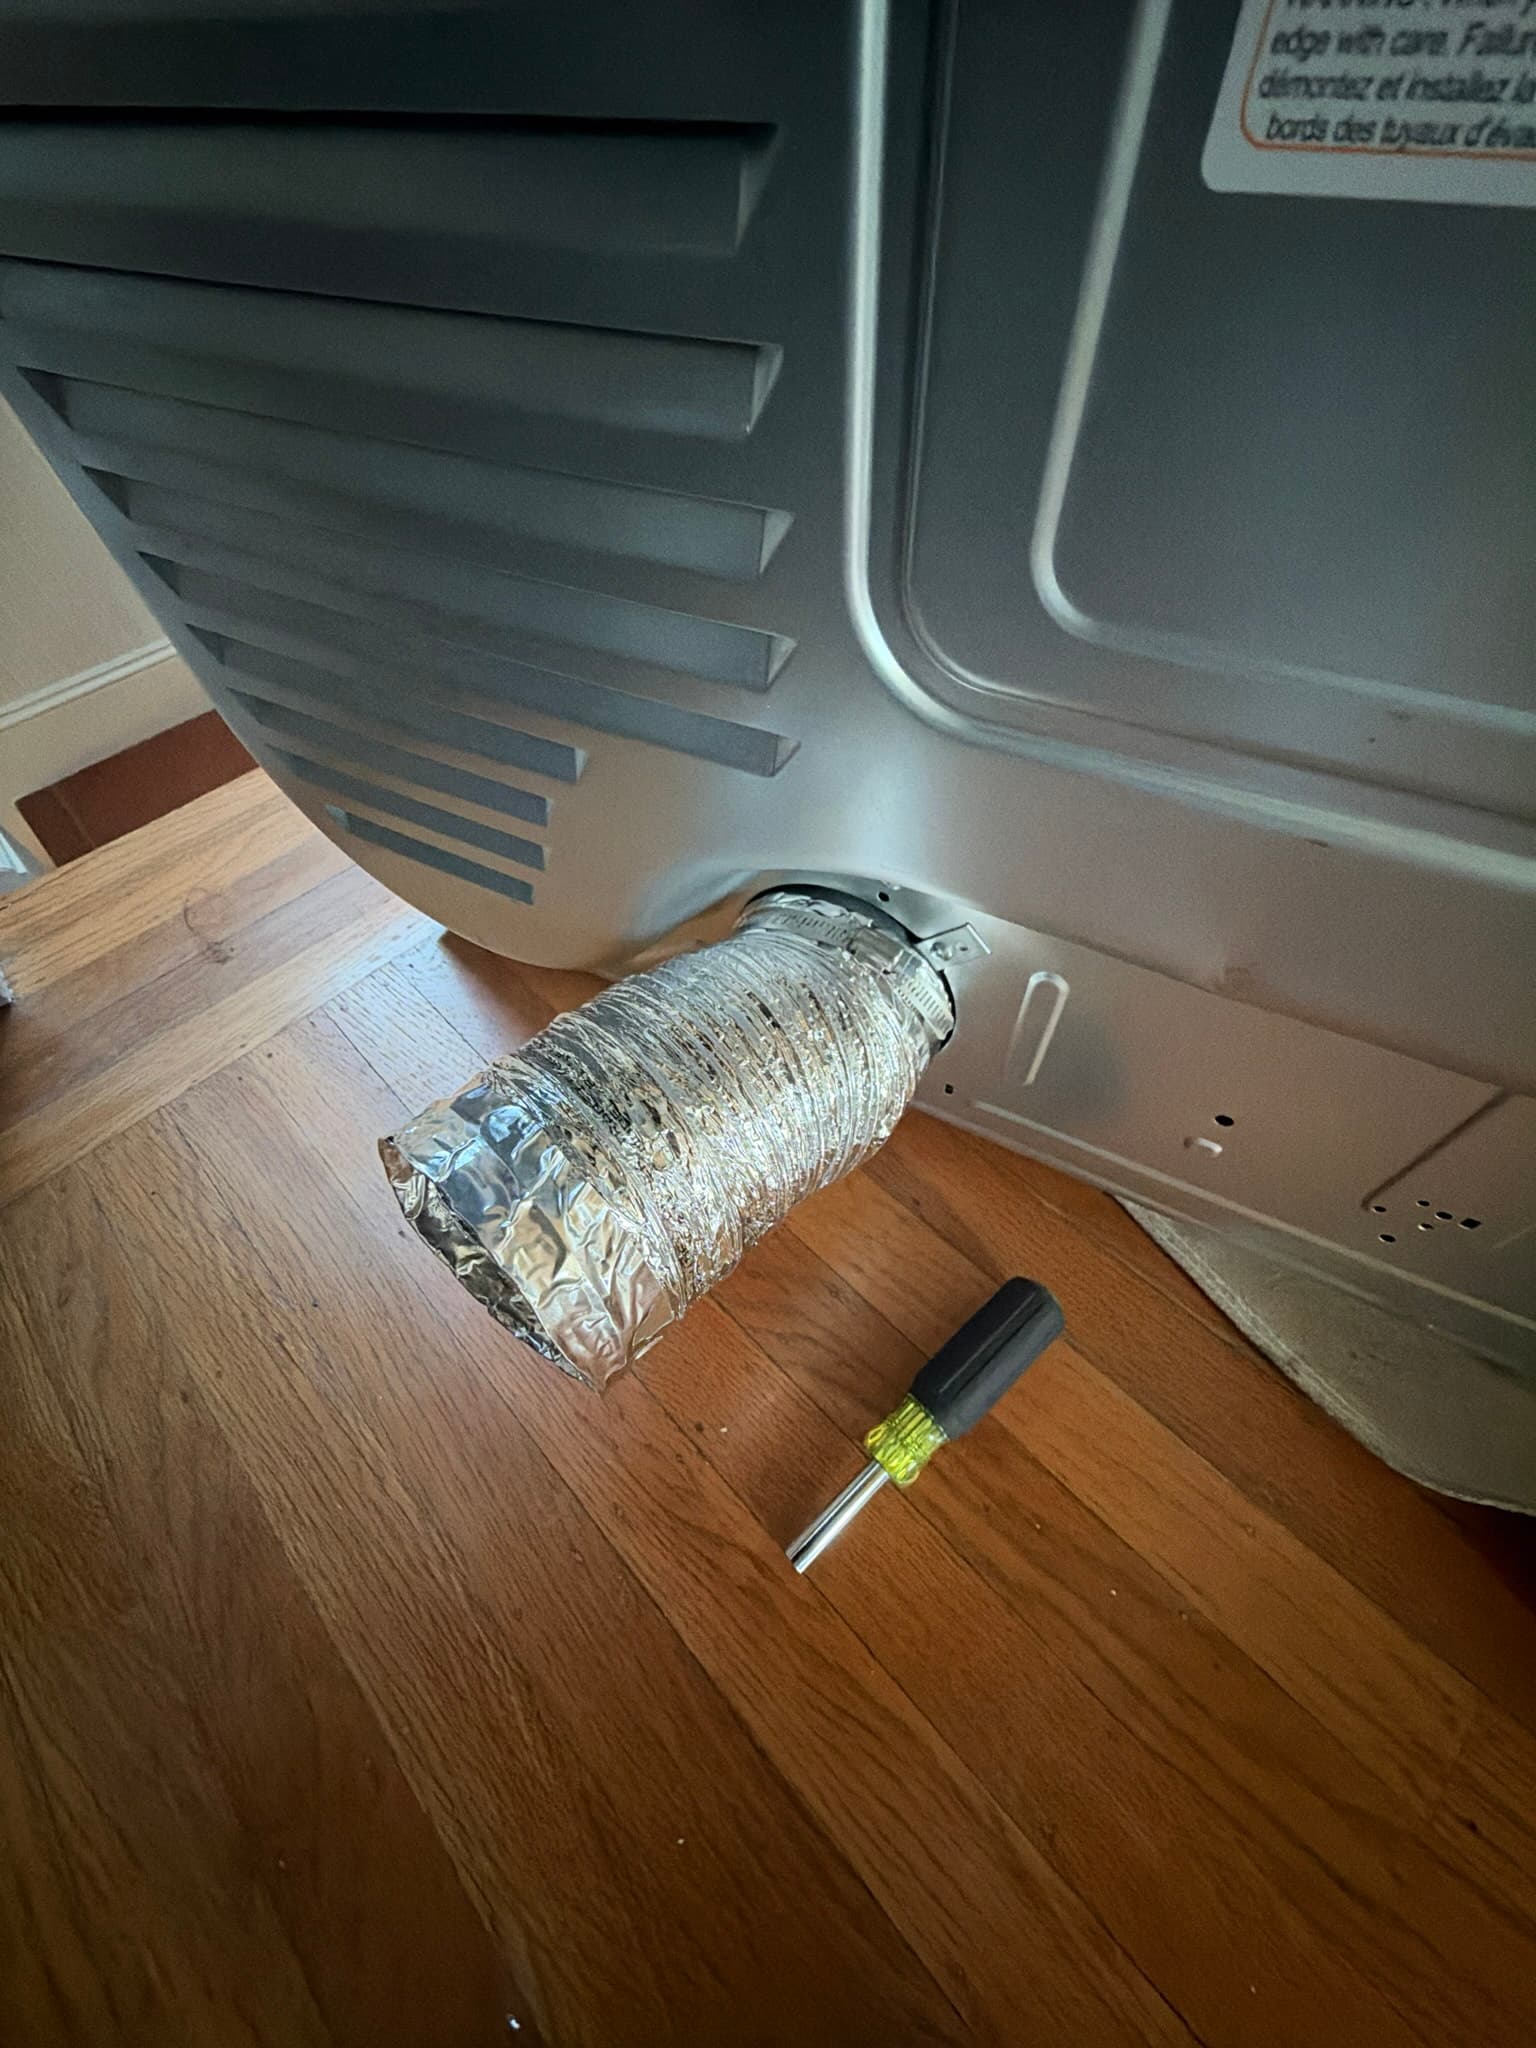
With the condition of the duct confirmed, our technician performed the full residential dryer exhaust cleaning and inspection service for this visit. The dryer was pulled fully away from the wall and the flexible foil transition duct was disconnected at the rear exhaust port to allow complete access to the system. A drill-attachment rotary brush was run the length of the duct, from the dryer connection through to the exterior cap, breaking up the compacted lint coating the duct walls, while a high-powered shop vacuum was run simultaneously to extract loosened lint and debris as the brush advanced. This combination is the only reliable way to clear lint that has bonded to the interior wall of a metal duct rather than sitting loose, since a vacuum alone will not dislodge matted material and a brush alone leaves debris behind in the duct. The technician worked the brush and vacuum through the full run, including the low wall-mounted duct collar near the baseboard where lint residue had accumulated around the opening, and cleared the connection point that had been packed with debris before service.
Verifying the Work
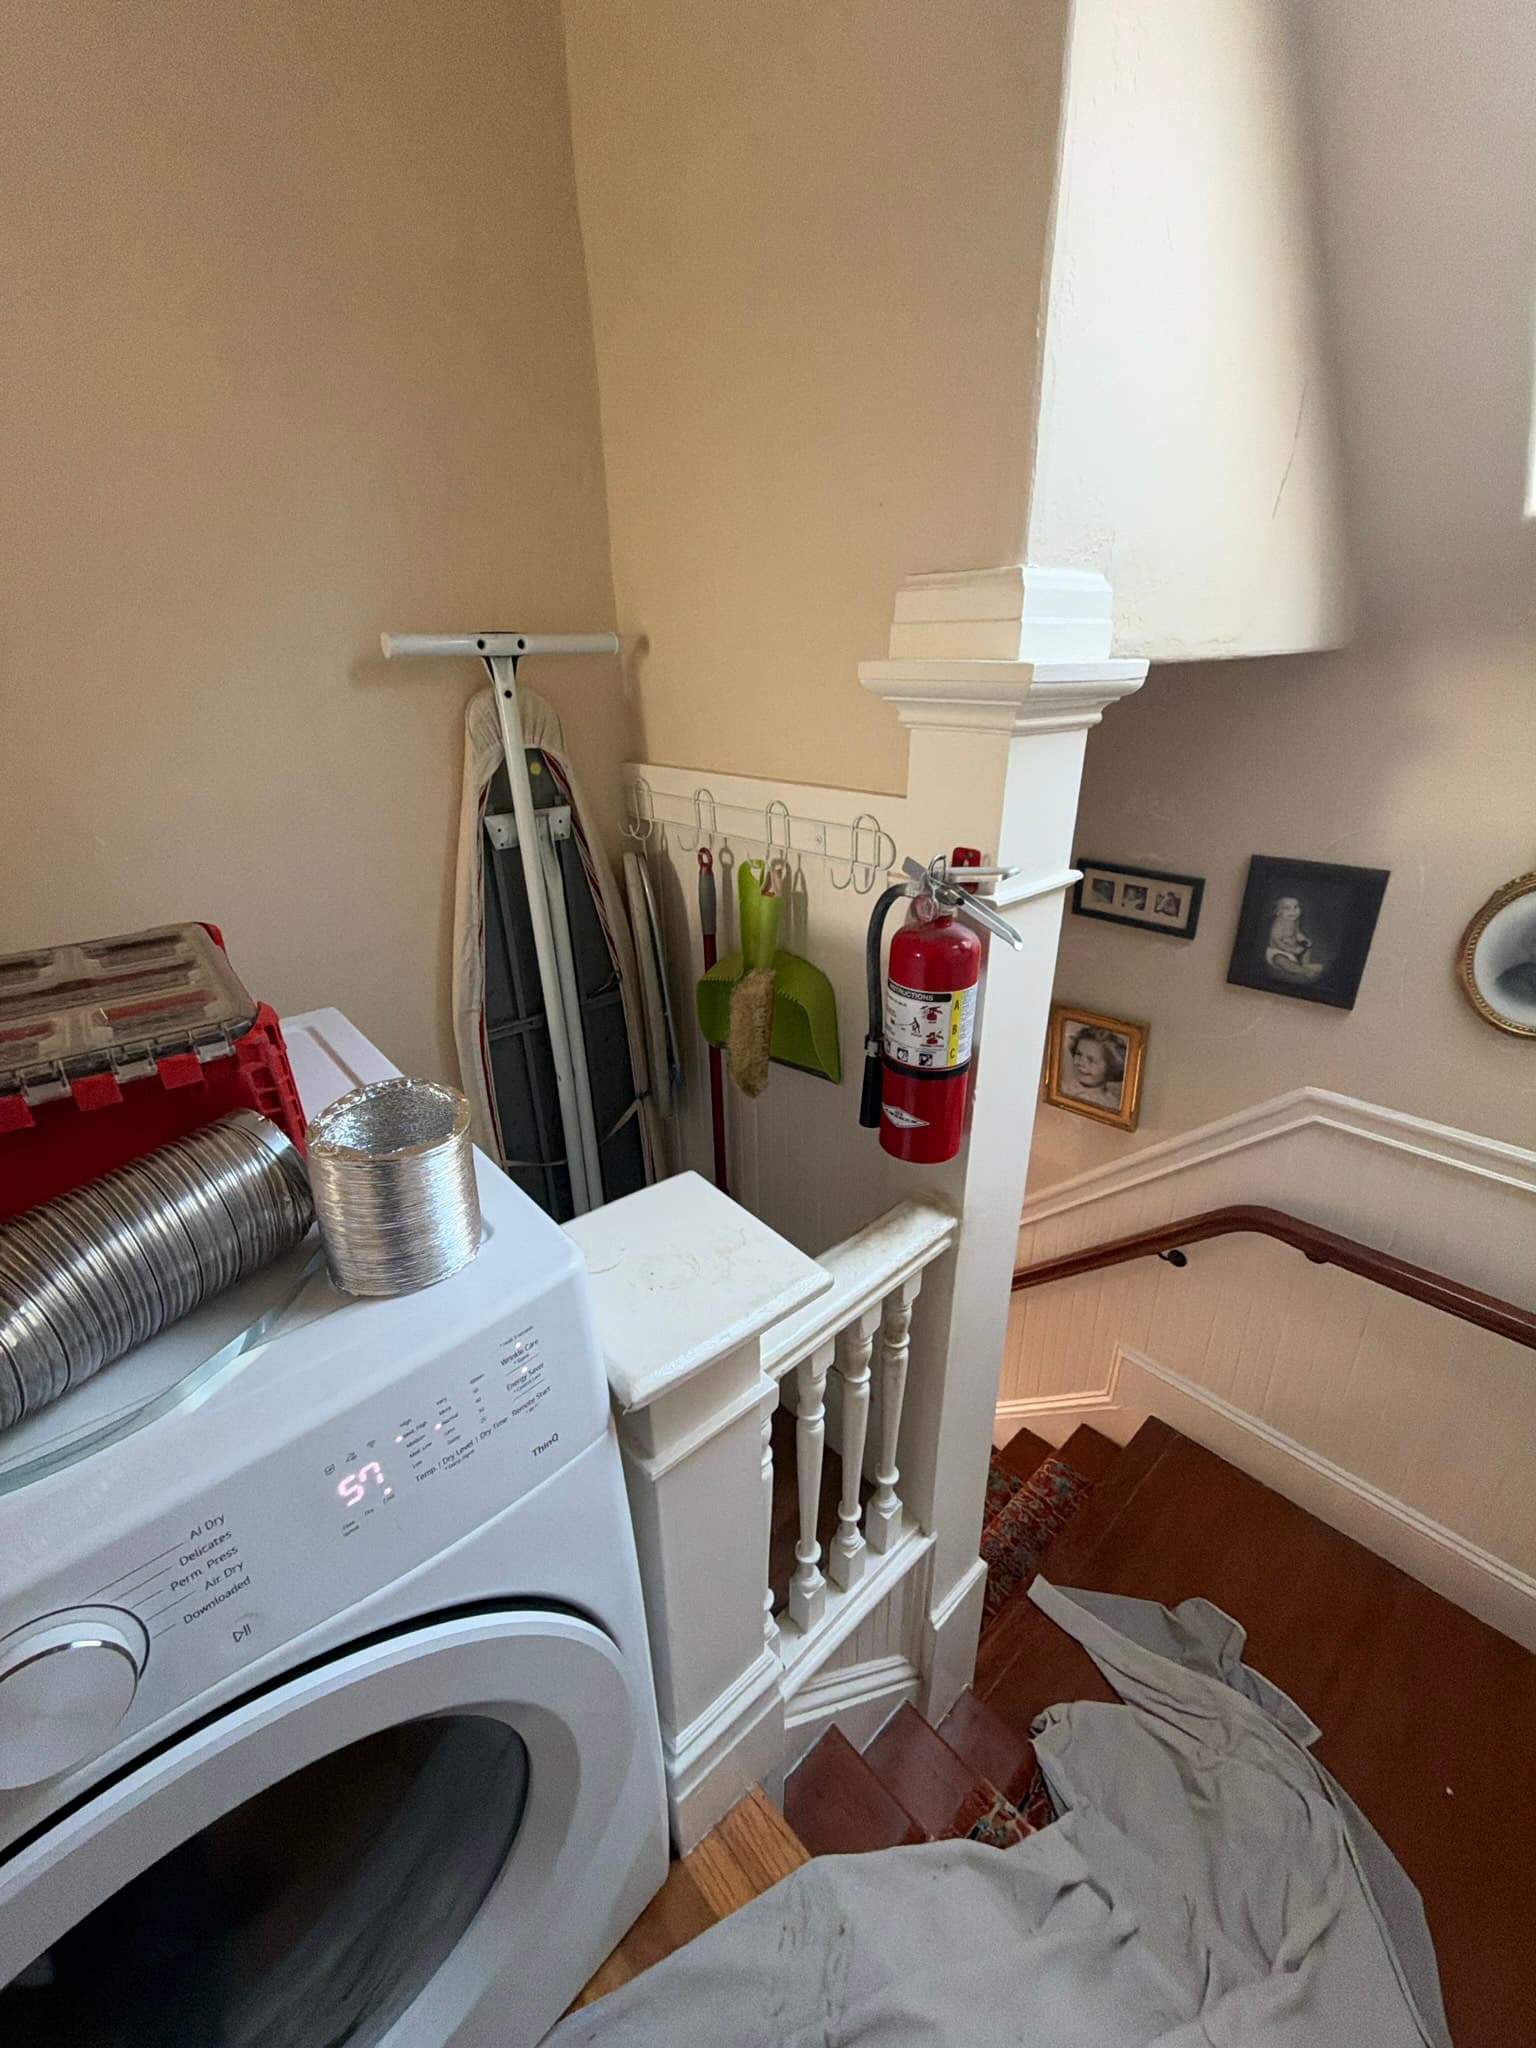
After the mechanical cleaning pass, the technician re-ran the Wöhler inspection camera through the duct to confirm the lint had been cleared from the interior walls rather than just loosened and repositioned. This camera verification step is standard on every job because a visual pass through the duct is the only way to confirm that compacted lint near fittings and seams, the areas most prone to re-accumulation, has actually been removed rather than simply disturbed. The space behind the dryer was vacuumed clean of the lint and dust that had settled on the floor and baseboard during the cleaning process, and the area around the stairway landing where the dryer sits was protected with drop cloths throughout the service to keep the work area tidy. The flexible transition duct was reconnected to the dryer's rear exhaust port and secured with a clamp, and the technician confirmed the connection was properly seated and sealed before sliding the dryer back into position.
Incidental Observation
While working in the laundry alcove, the technician noticed the washing machine's corrugated drain hose was not fully secured in the standpipe and added a zip tie around the connection to prevent the hose from working loose and causing a water leak during the spin cycle. This was a quick safeguard applied while already in the space and not a separate billed repair, but it is worth noting for the homeowner's records since a drain hose that pulls free during operation is a common and easily preventable cause of laundry room water damage.
The Outcome
At the conclusion of the visit, the dryer exhaust path was clear from the dryer's rear port to the wall termination, with the rotary brush and vacuum work verified by camera rather than by visual estimate alone. Clearing lint of this severity restores the duct closer to its full designed cross-section, which allows the dryer to exhaust hot, moist air efficiently instead of pushing against a partially blocked line. For a home in San Francisco's older housing stock, where laundry closets and stairwell landings often mean longer or more awkward duct runs, annual professional cleaning like this is the most effective way to keep drying times short and reduce the fire risk associated with accumulated lint. We recommend scheduling the next inspection and cleaning within twelve months, or sooner if drying cycles start taking noticeably longer than usual.
Project photos
12 photos
What the customer said
“Micheal went above and beyond. He was friendly, considerate, and showed up exactly on time - no time window, there at 8am as promised. He got the job done quickly and even cleaned up all the dust that had accumulated behind the washer. Who does that?? Michael does. Very kind, efficient, and personable. Highly recommend his services. See you again in a few years, Michael!”
Need similar work in San Francisco?
Get a free quote - same-week appointments usually available.