San Francisco · Residential Dryer Exhaust Cleaning Inspection
Dryer Exhaust Cleaning & Inspection in San Francisco (94115)
A full rotary-brush cleaning cleared severe lint buildup from a San Francisco dryer exhaust system, and a new transition duct was installed to restore safe, code-compliant airflow.
Completed October 21, 2026
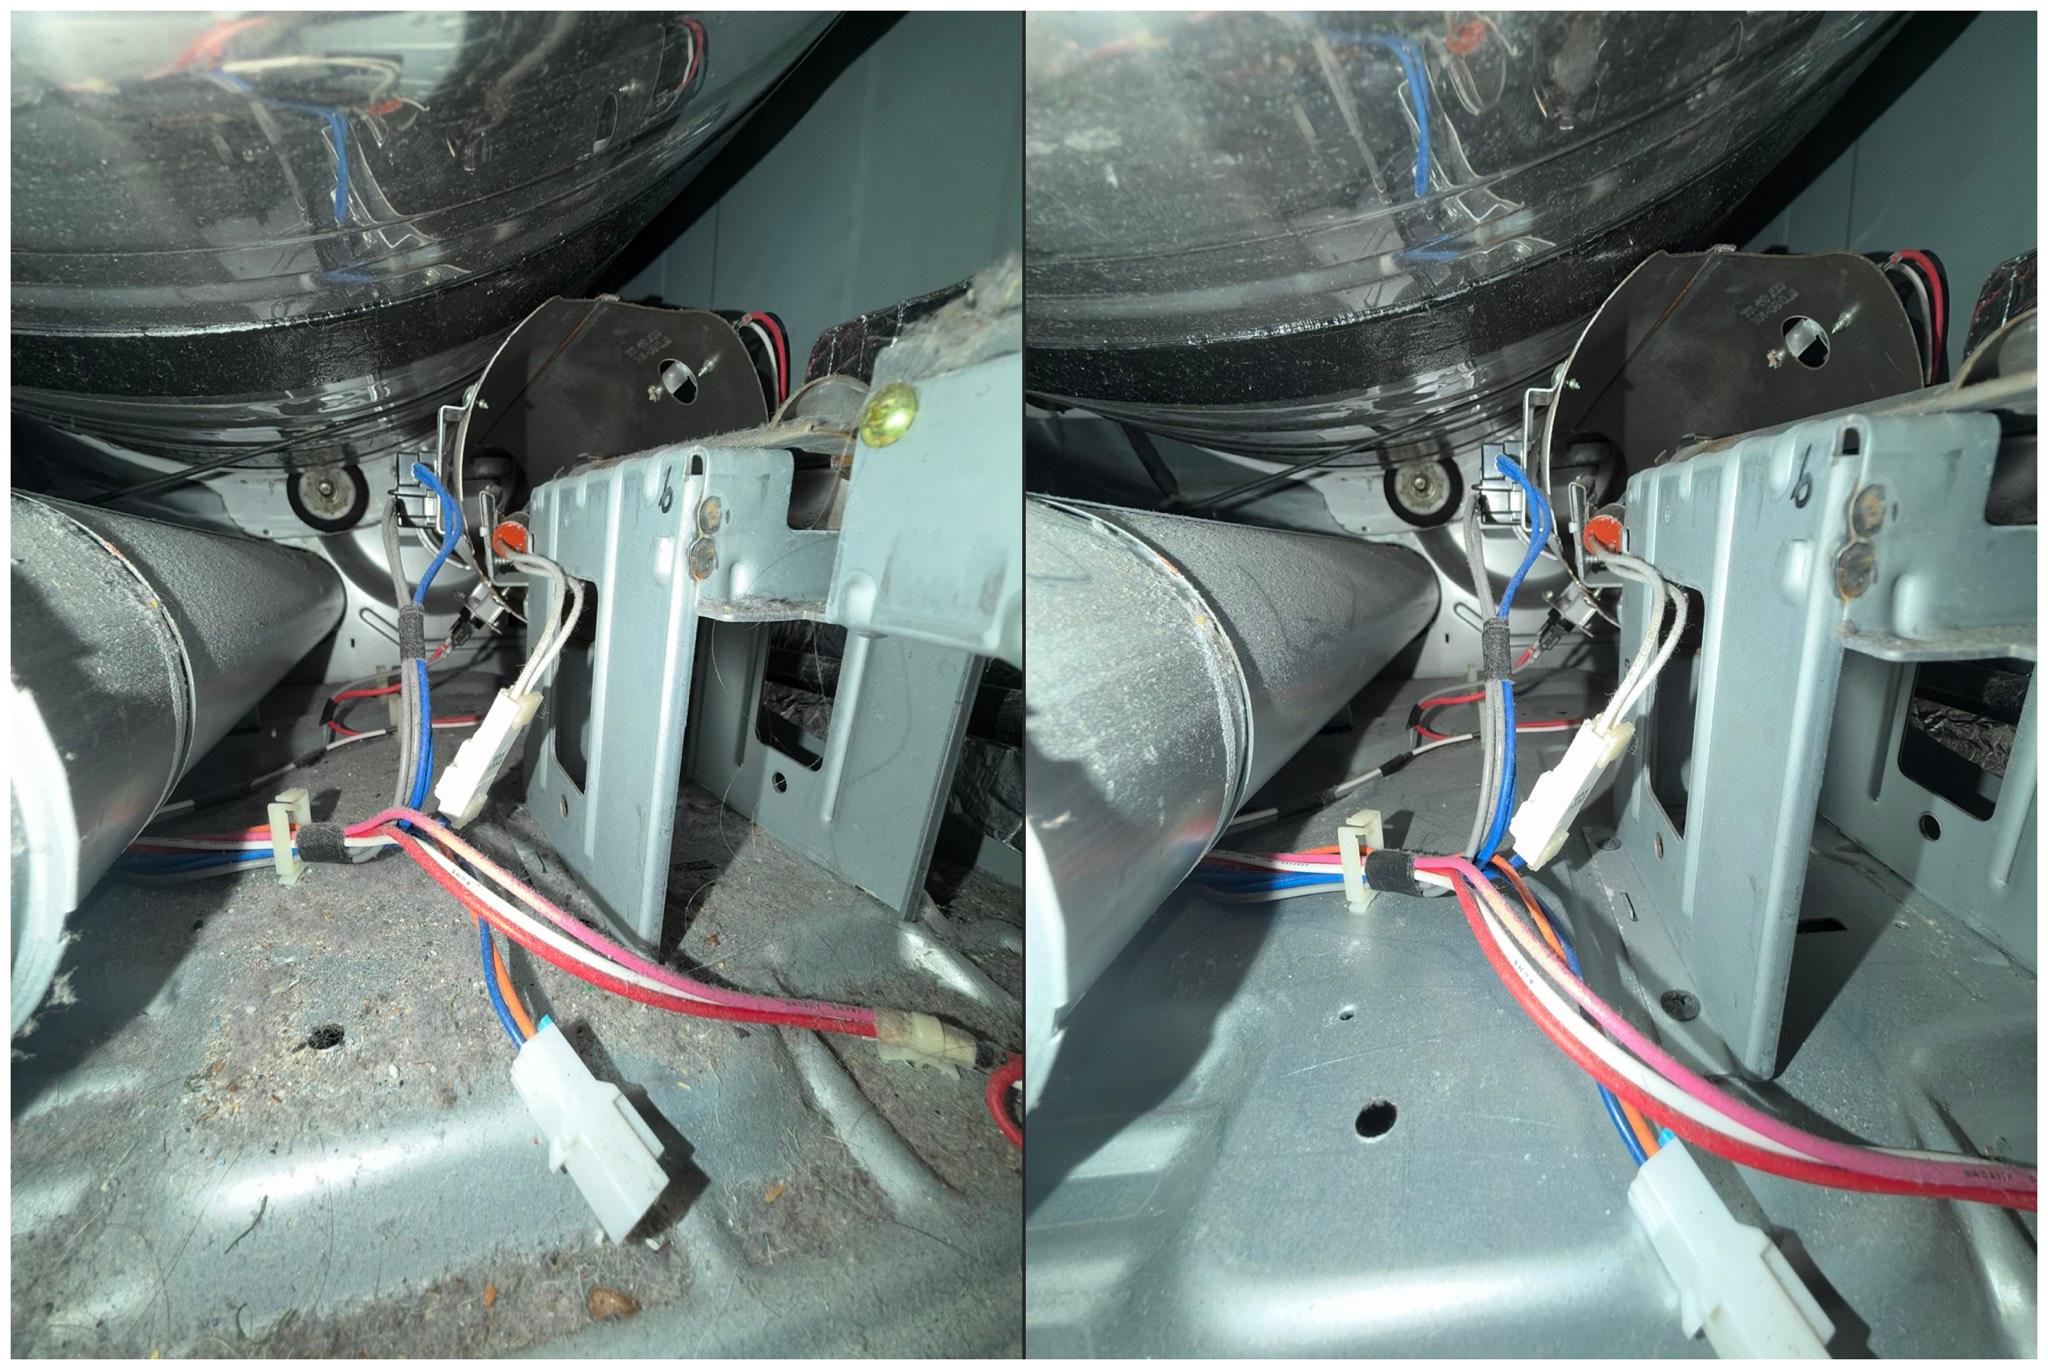
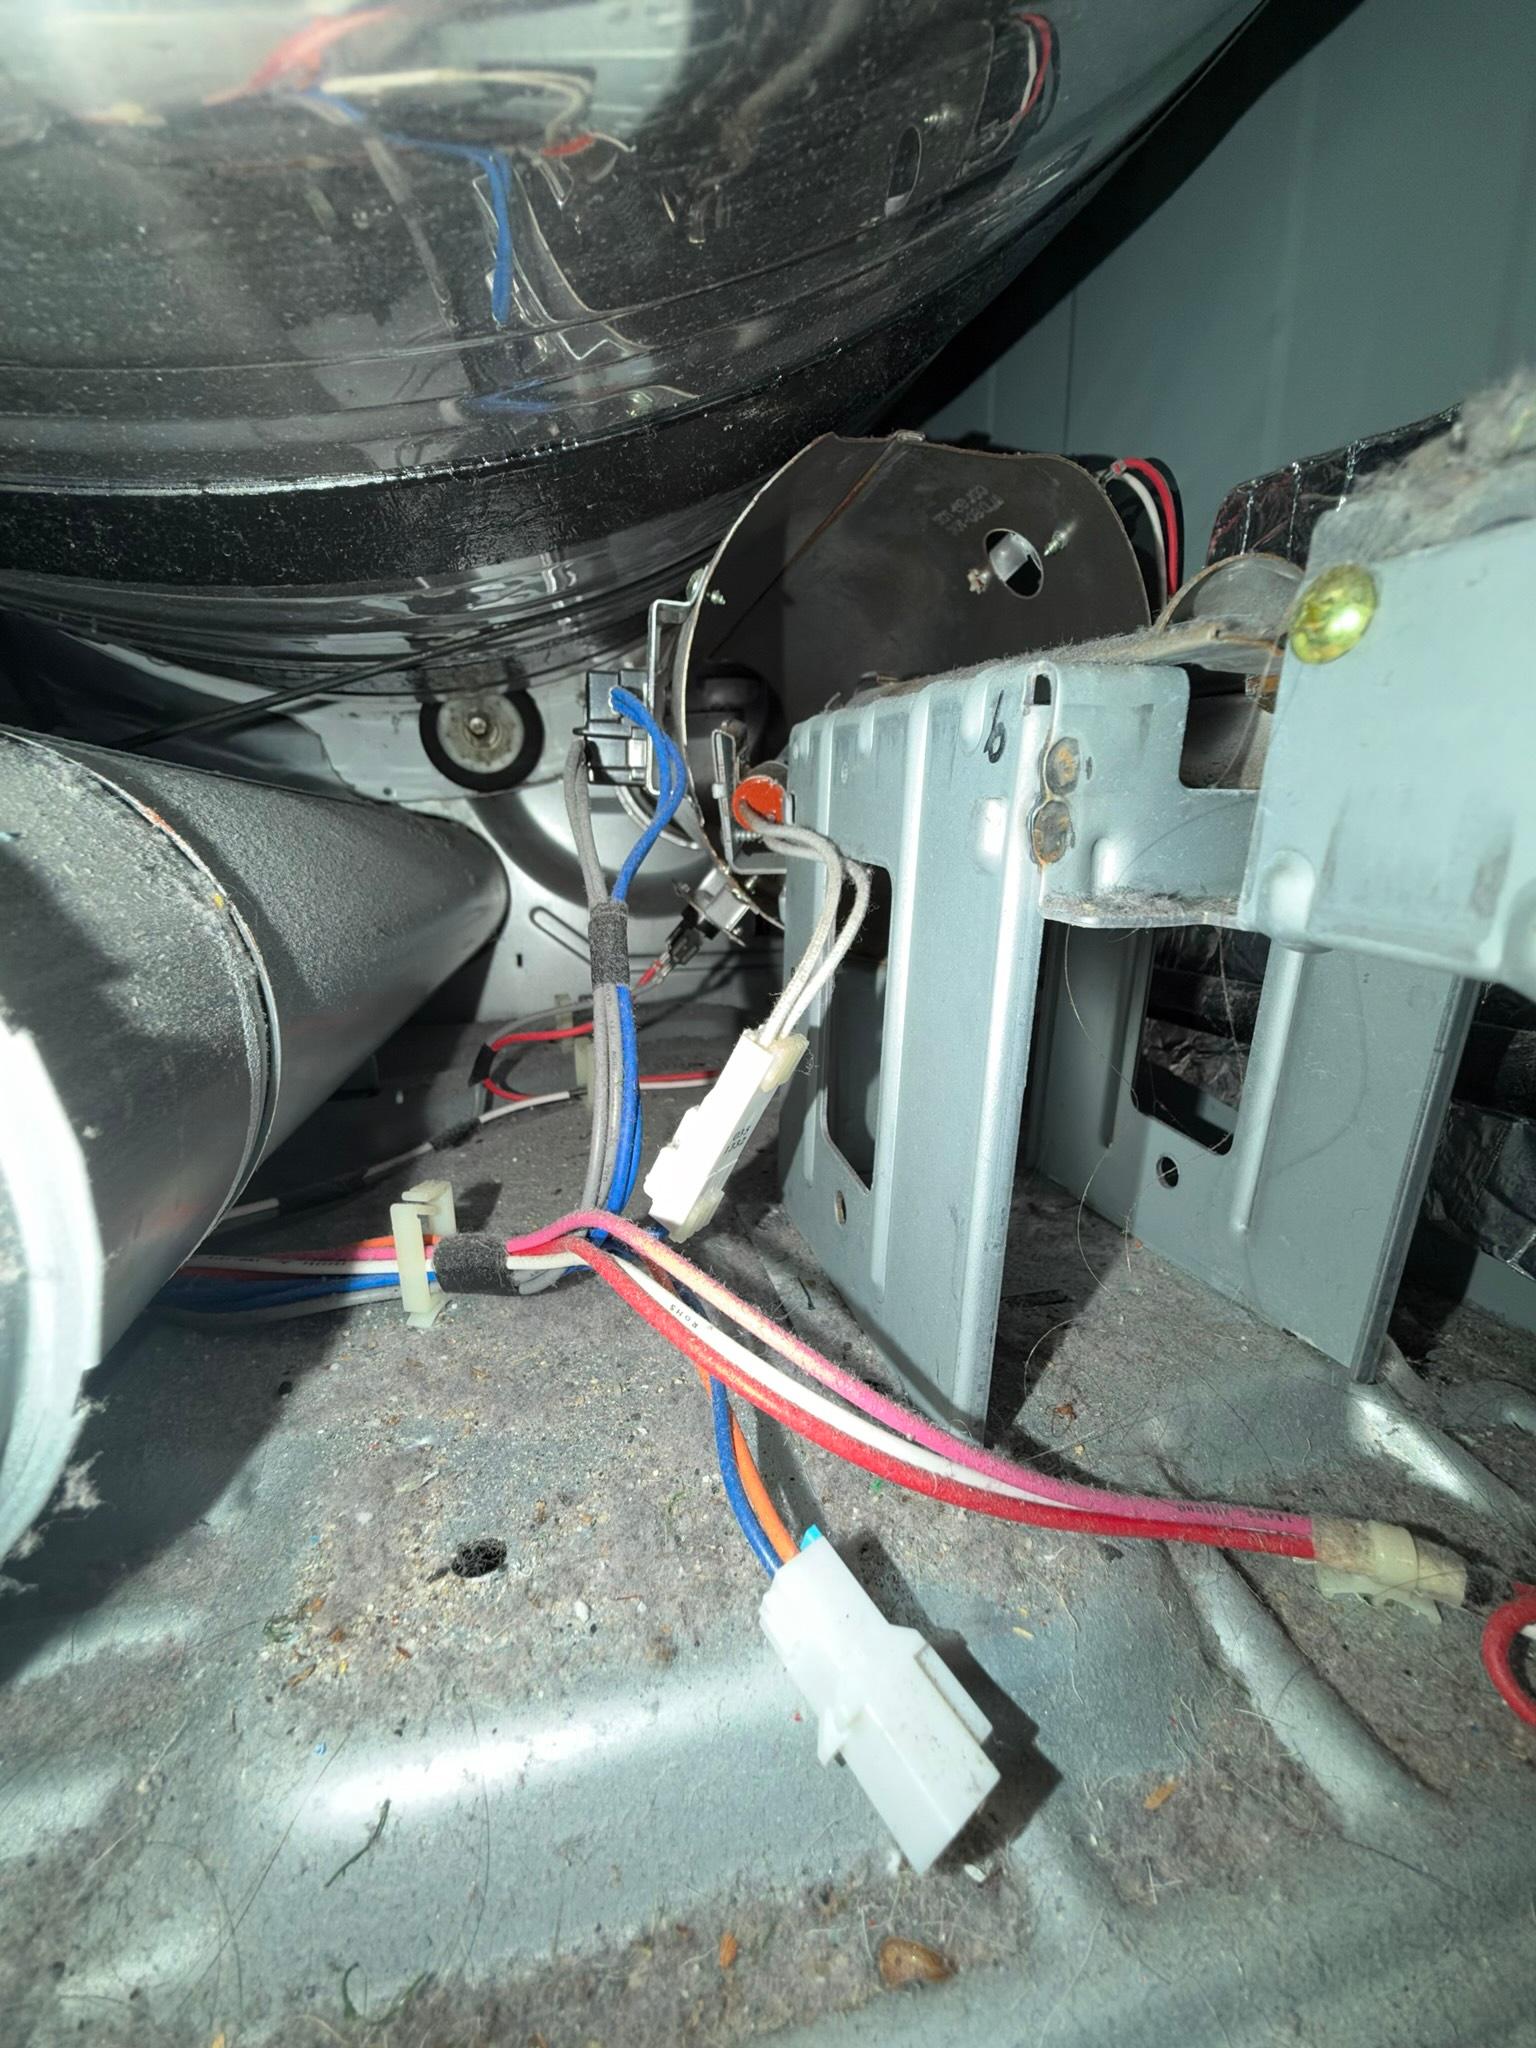
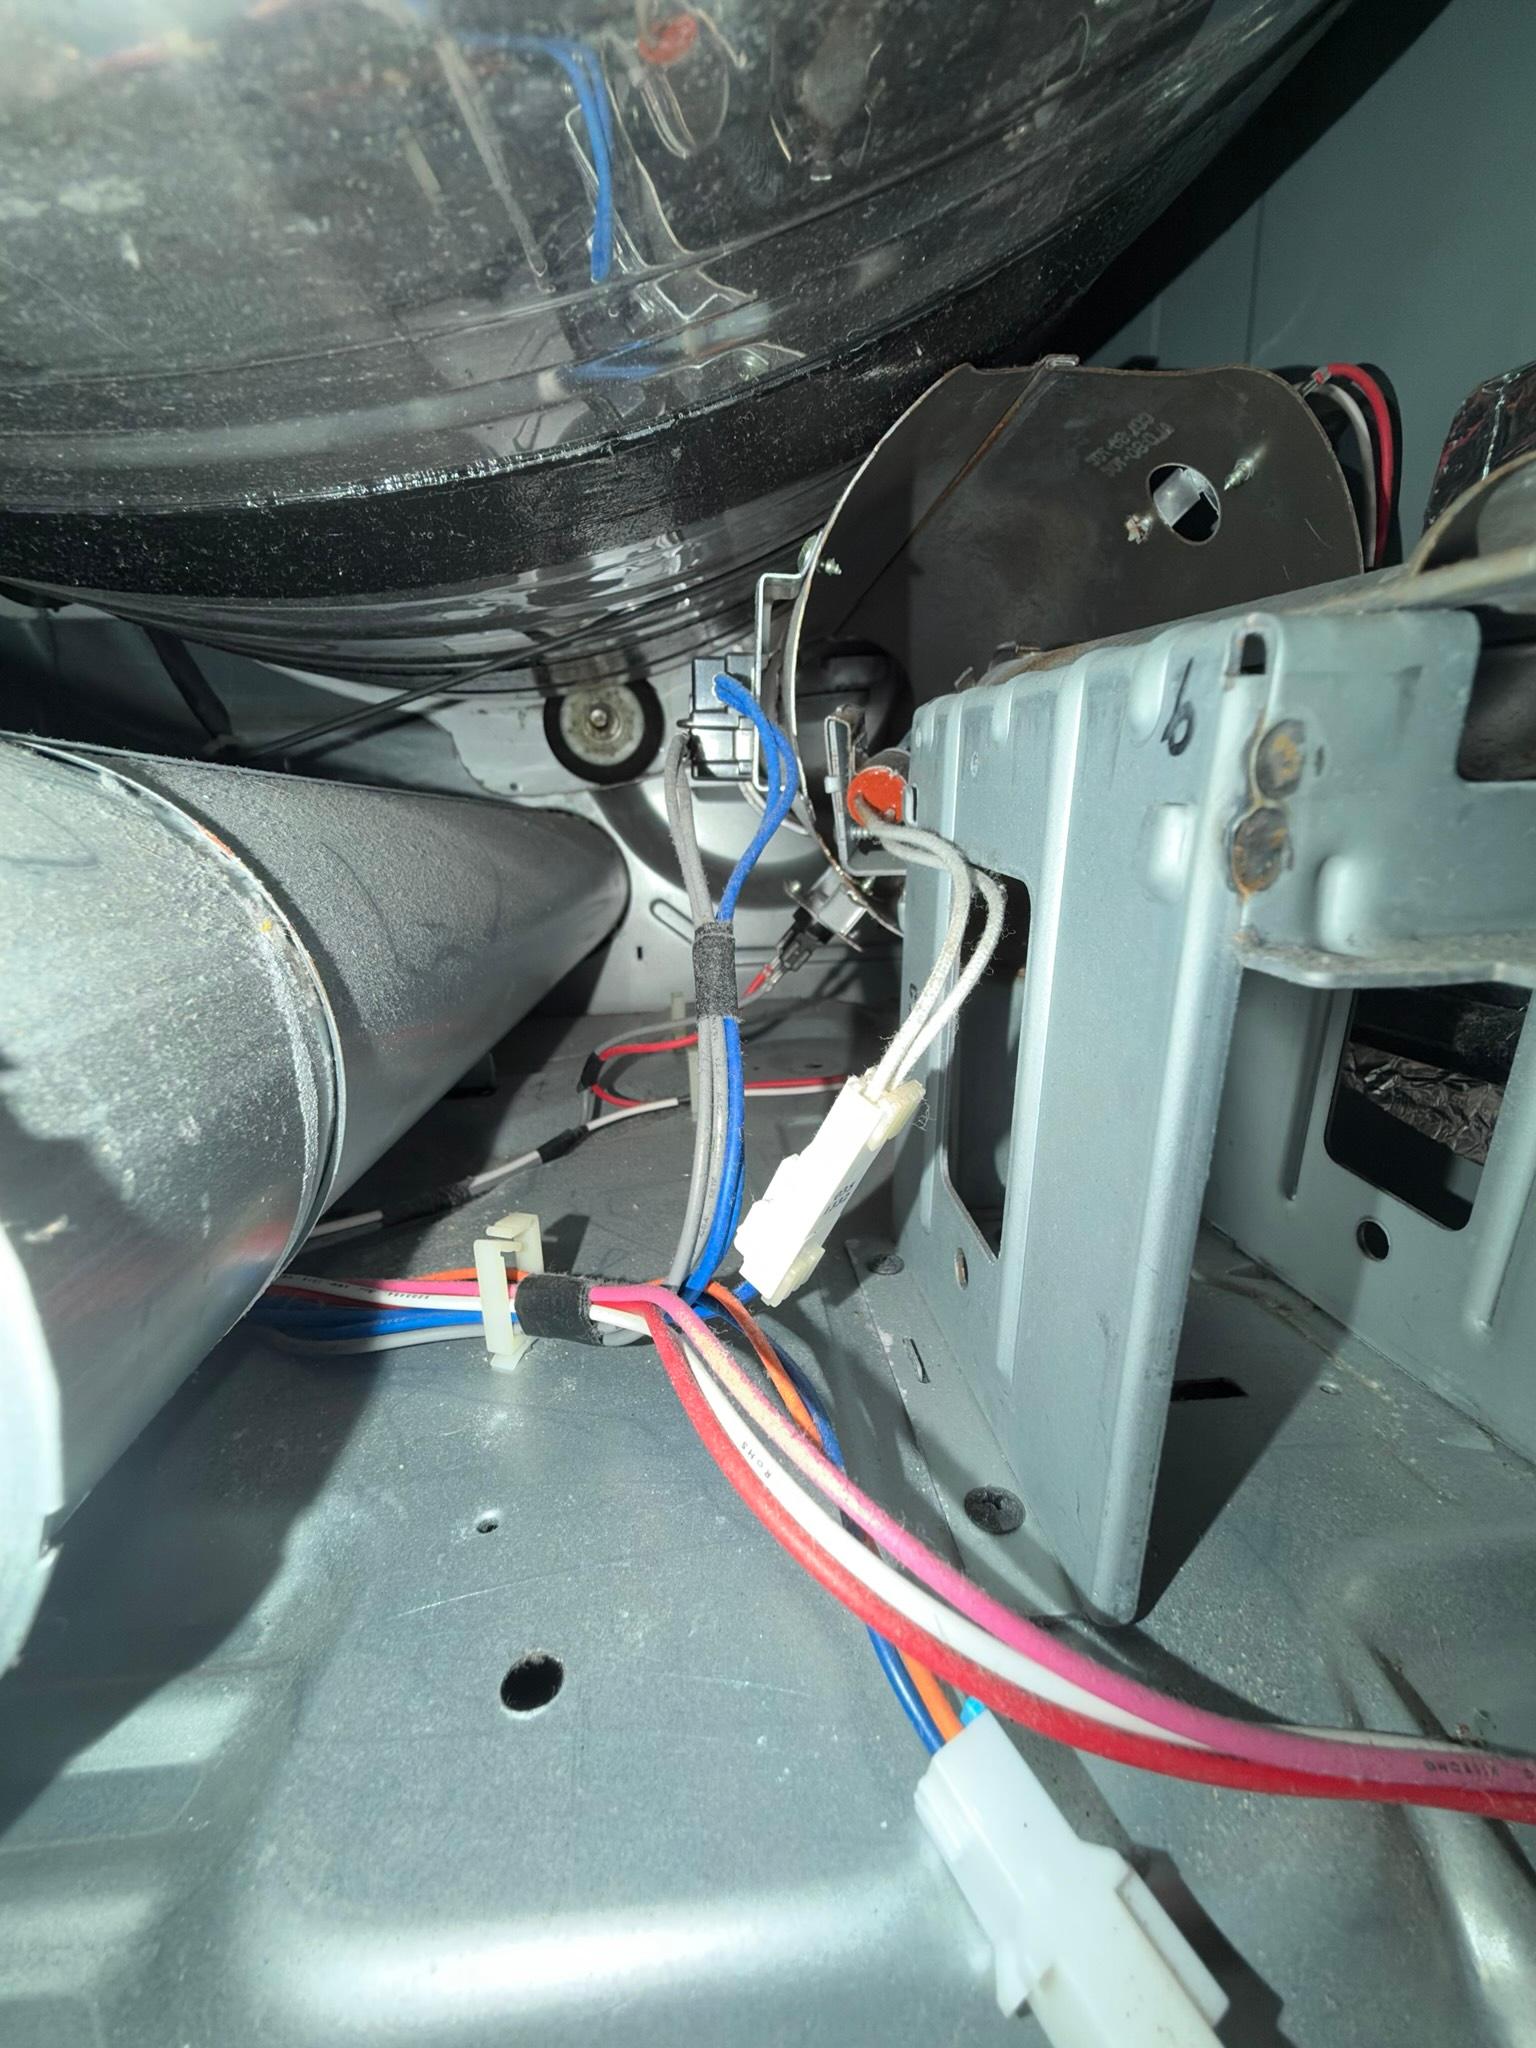
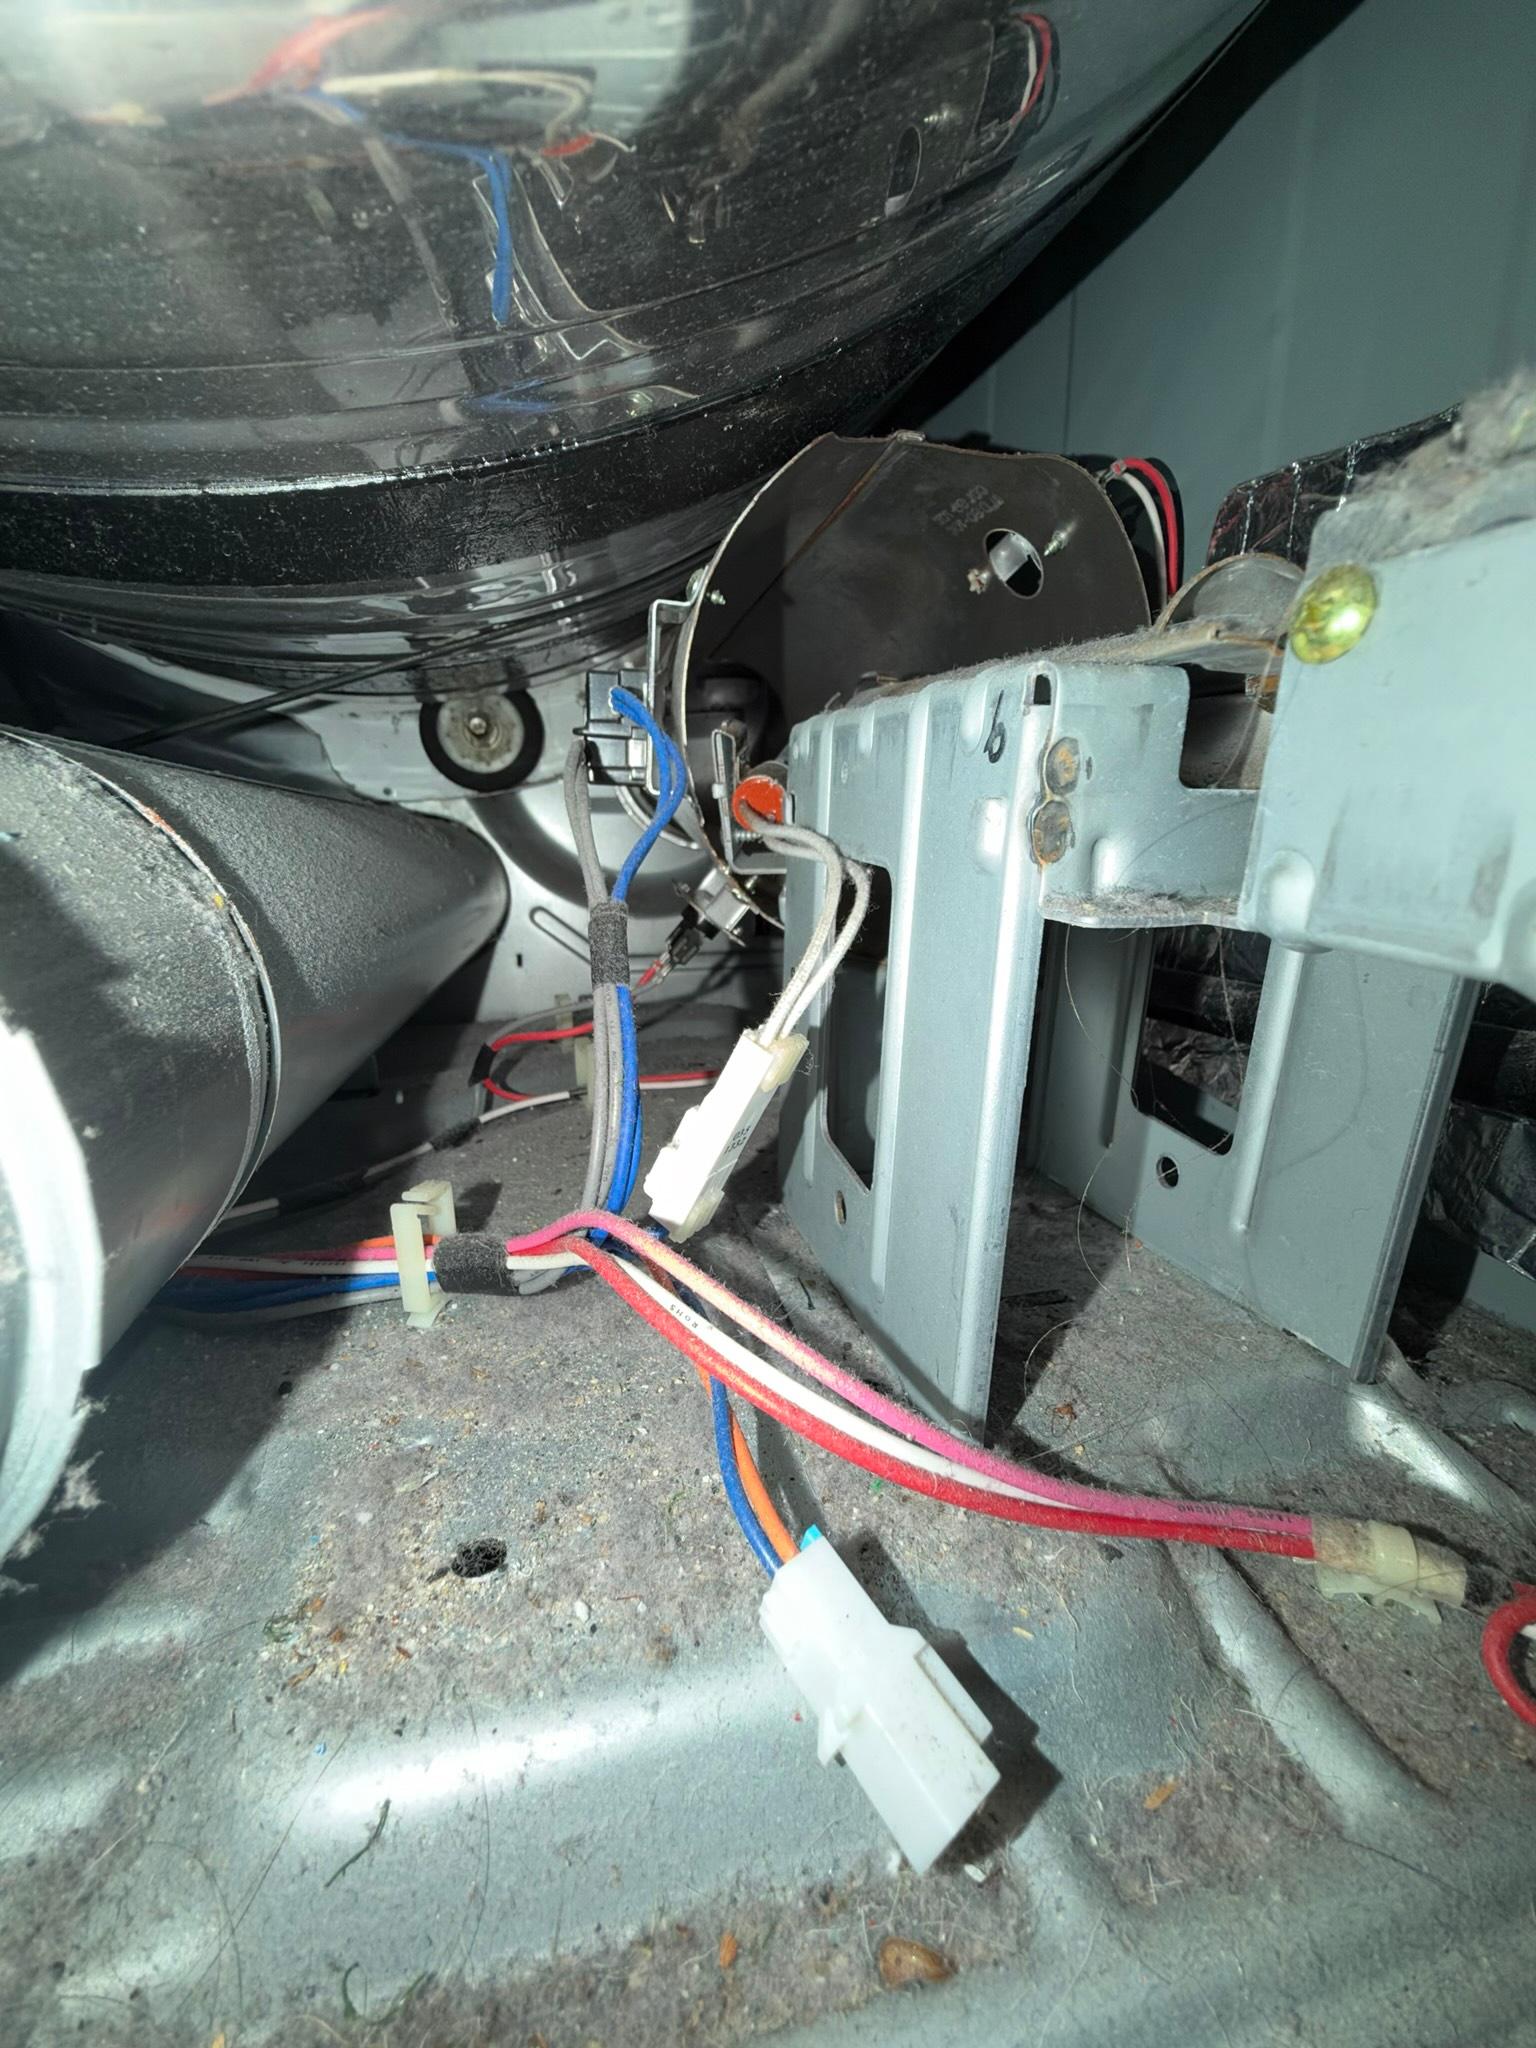
Interior cabinet before cleaning, with heavy lint buildup around the wiring and brackets.
What We Found
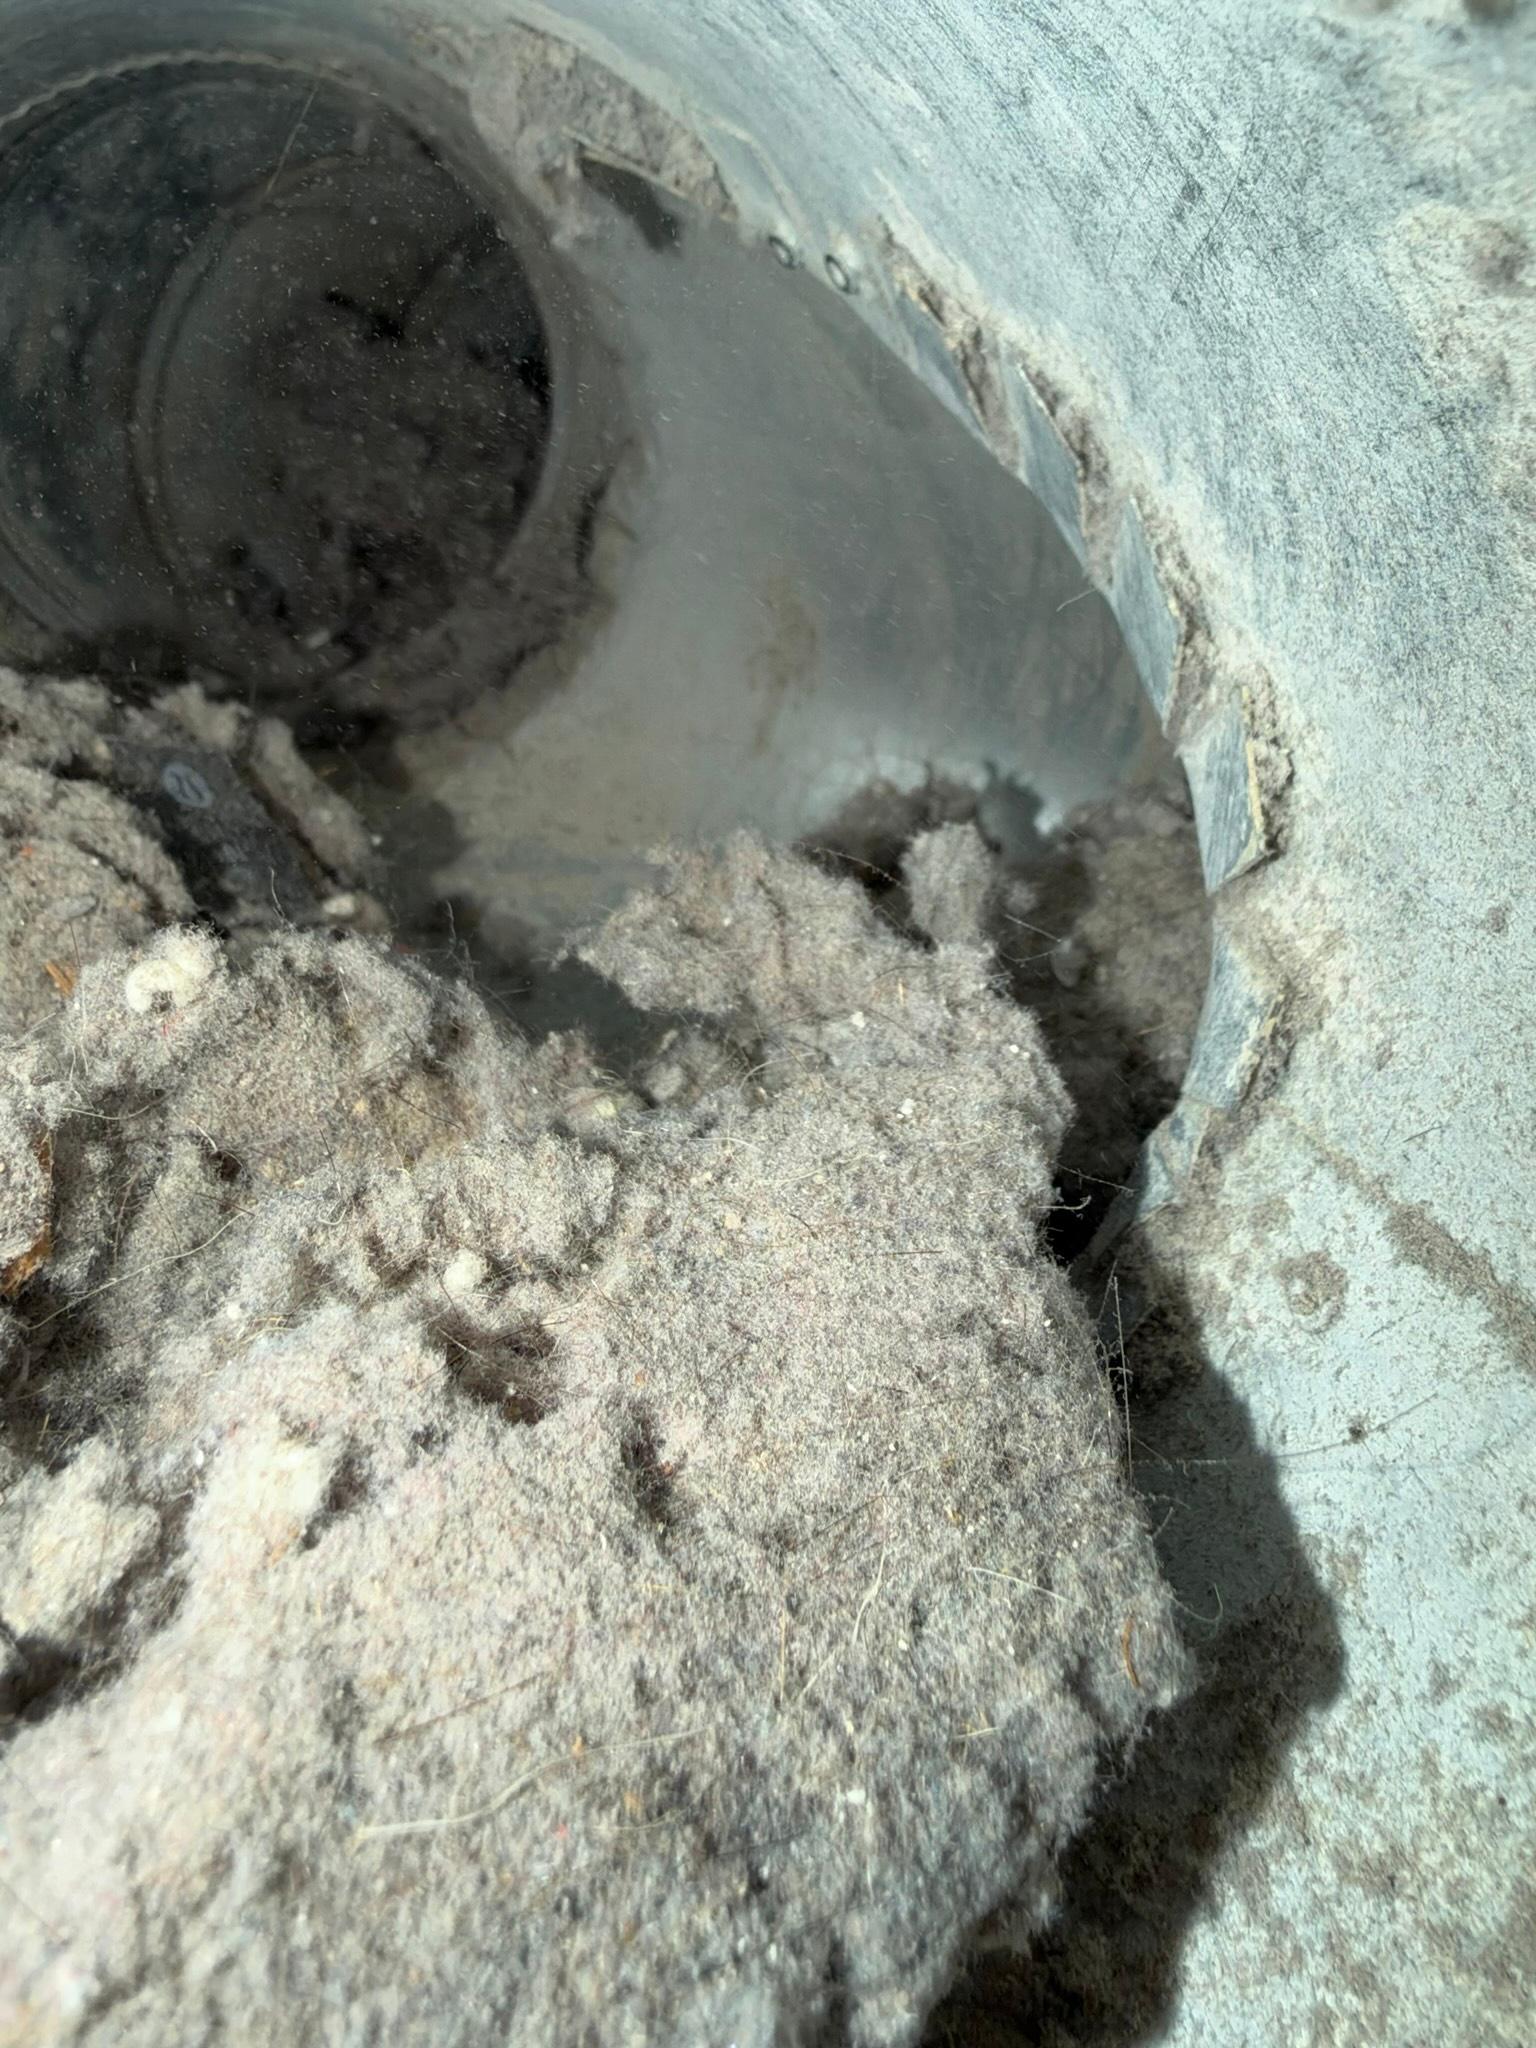
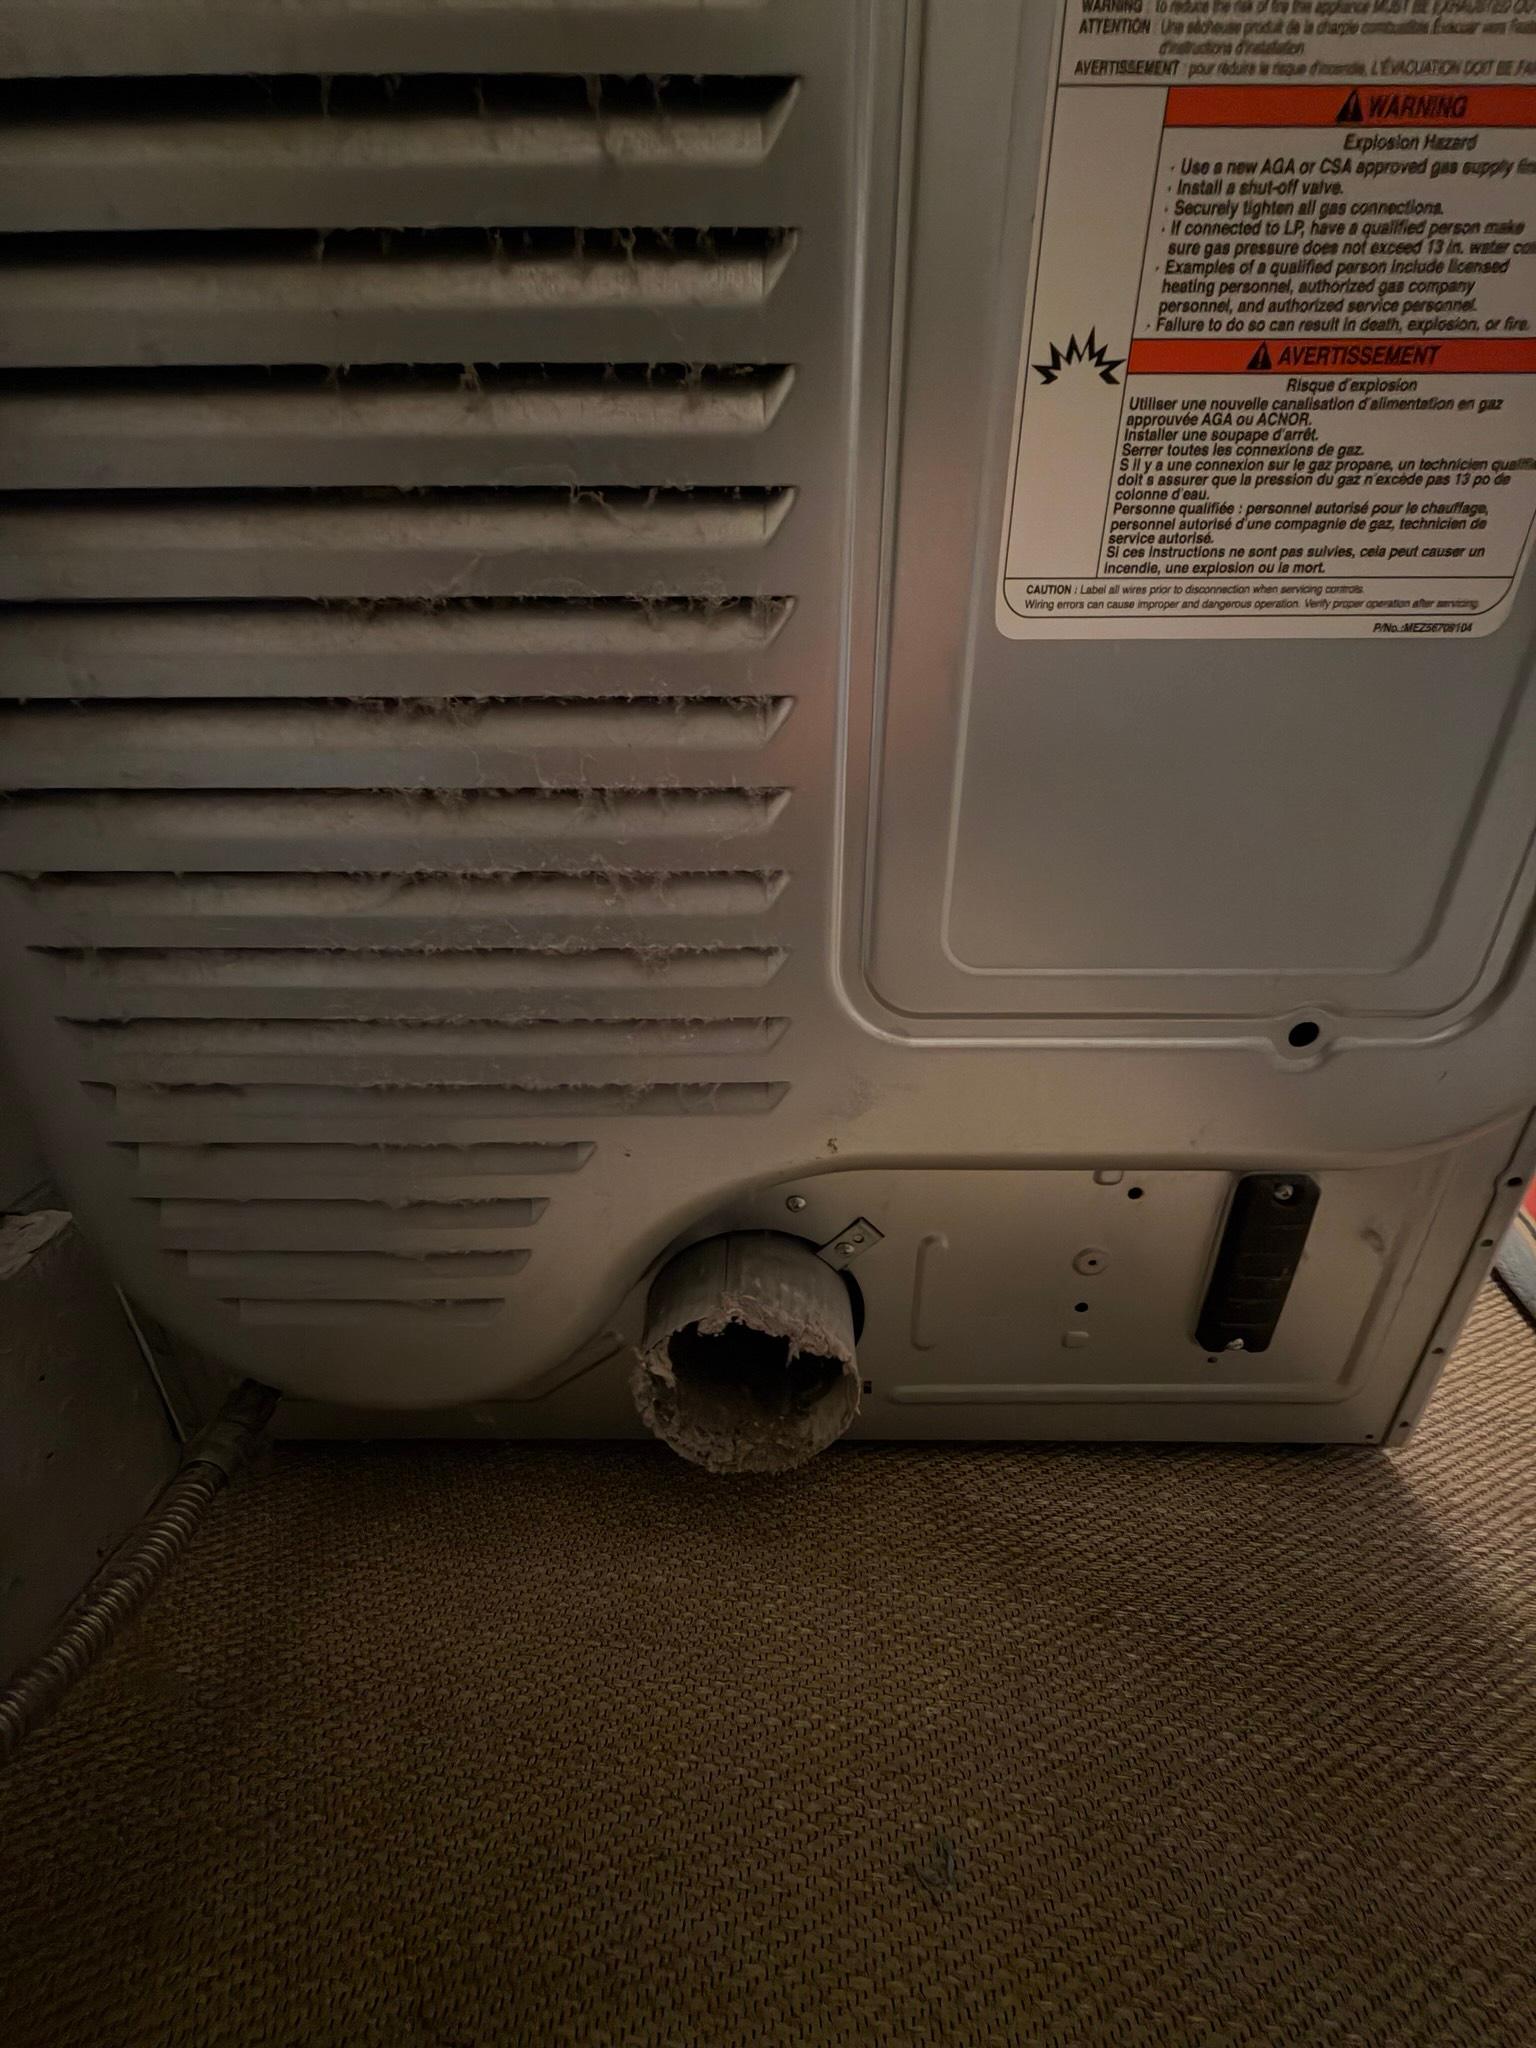
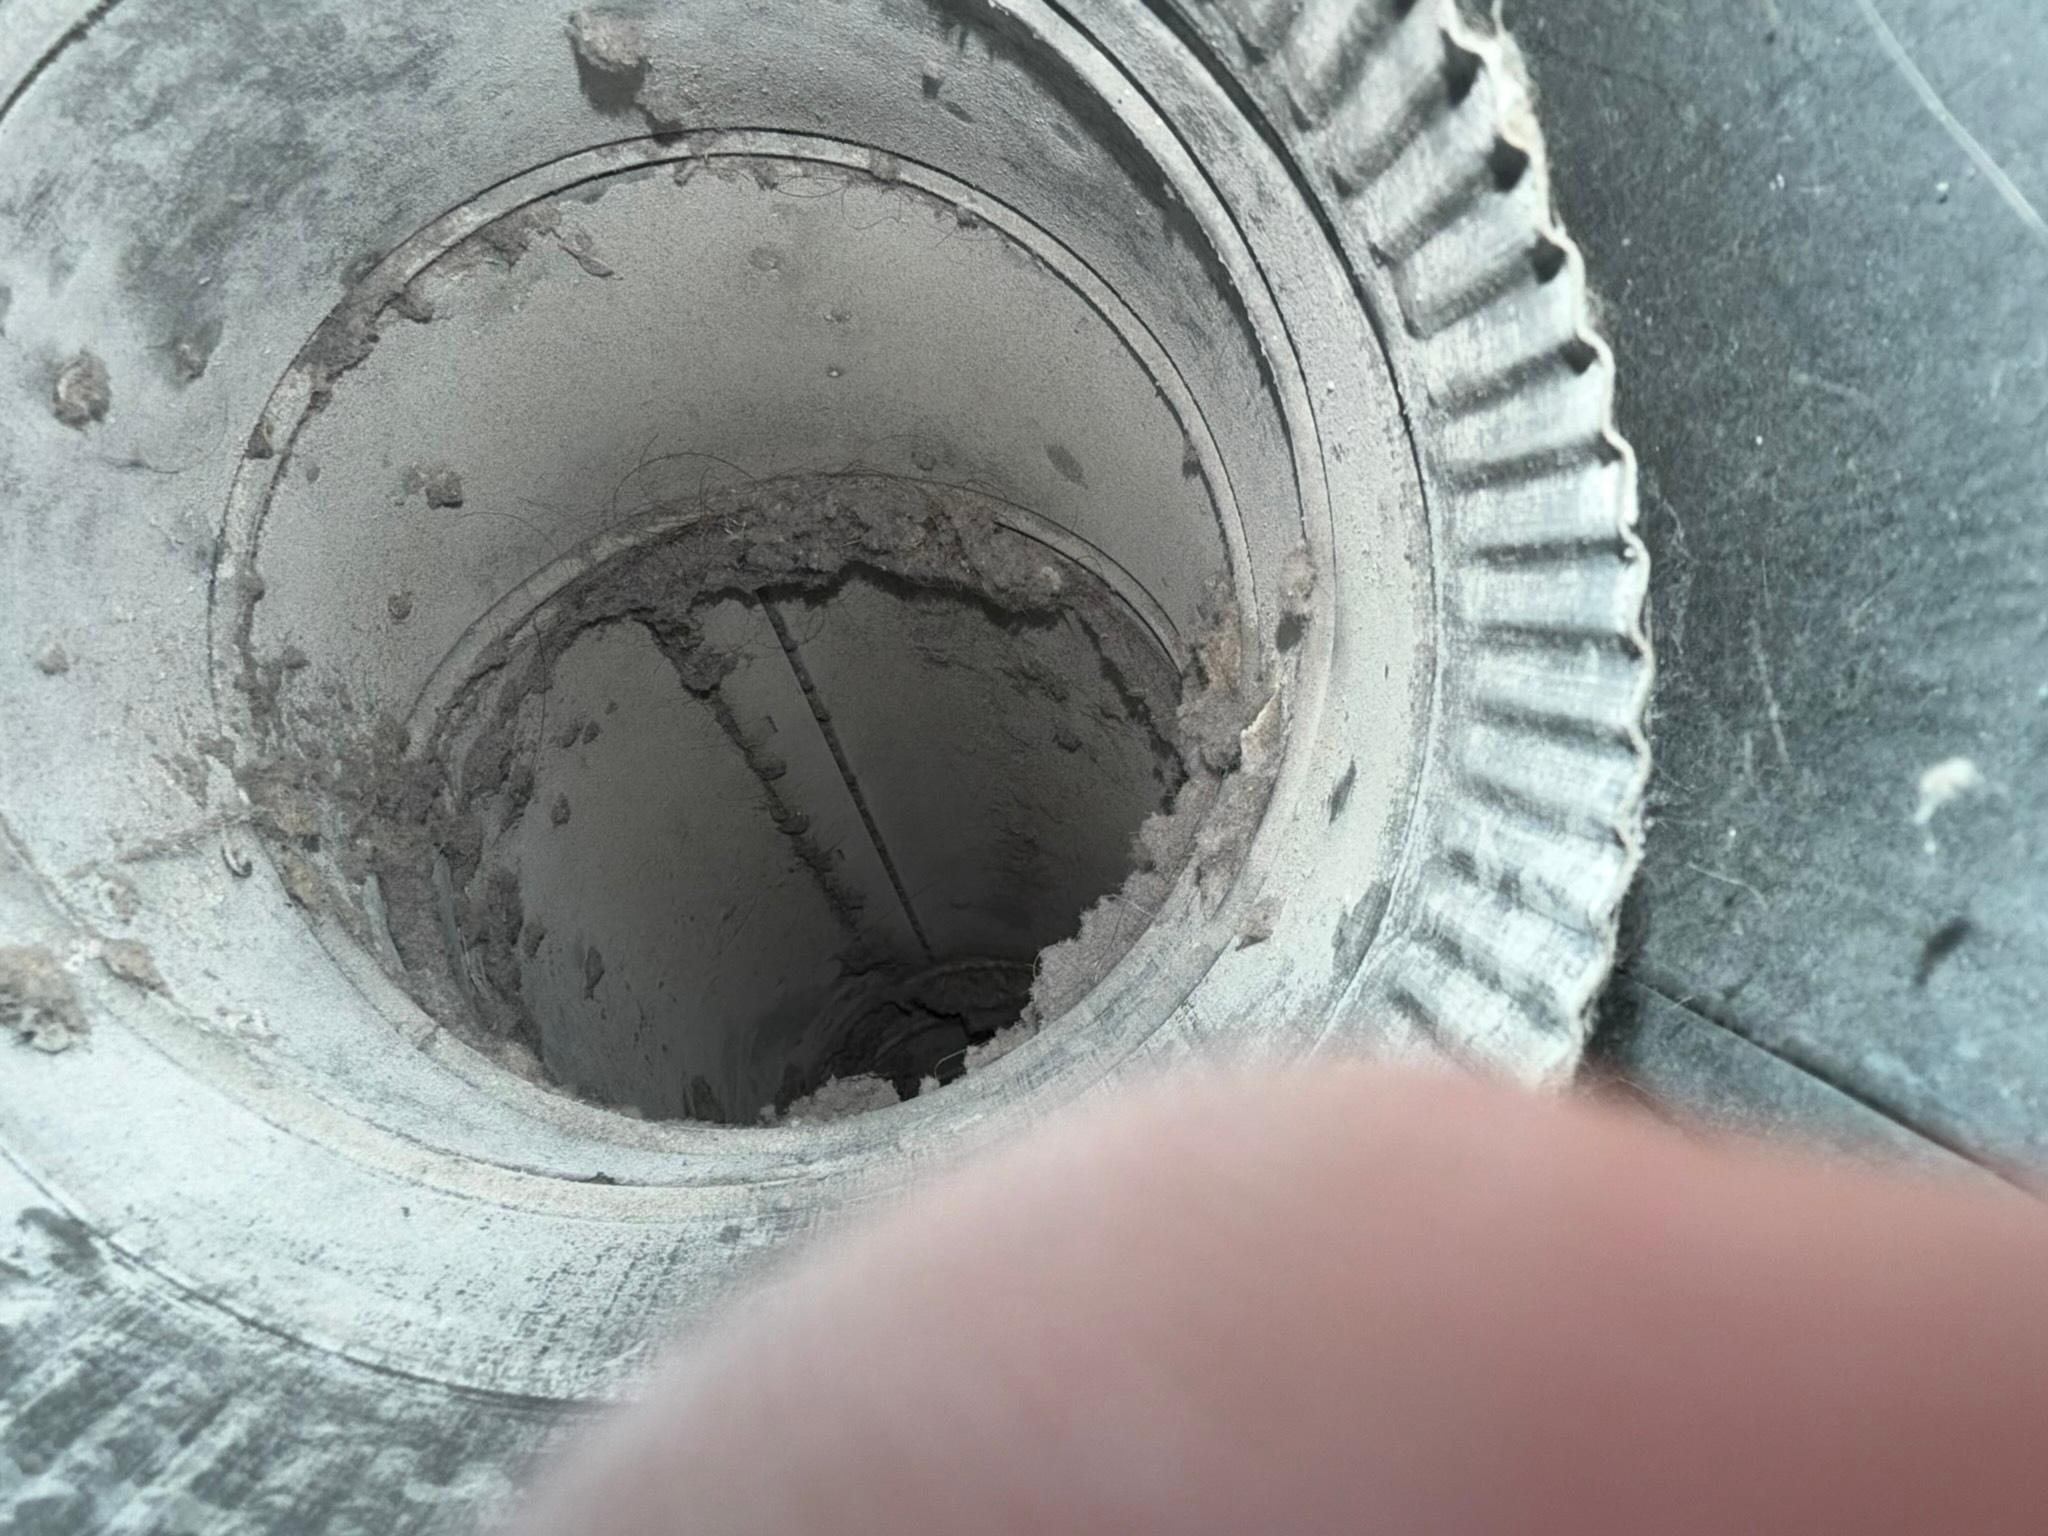
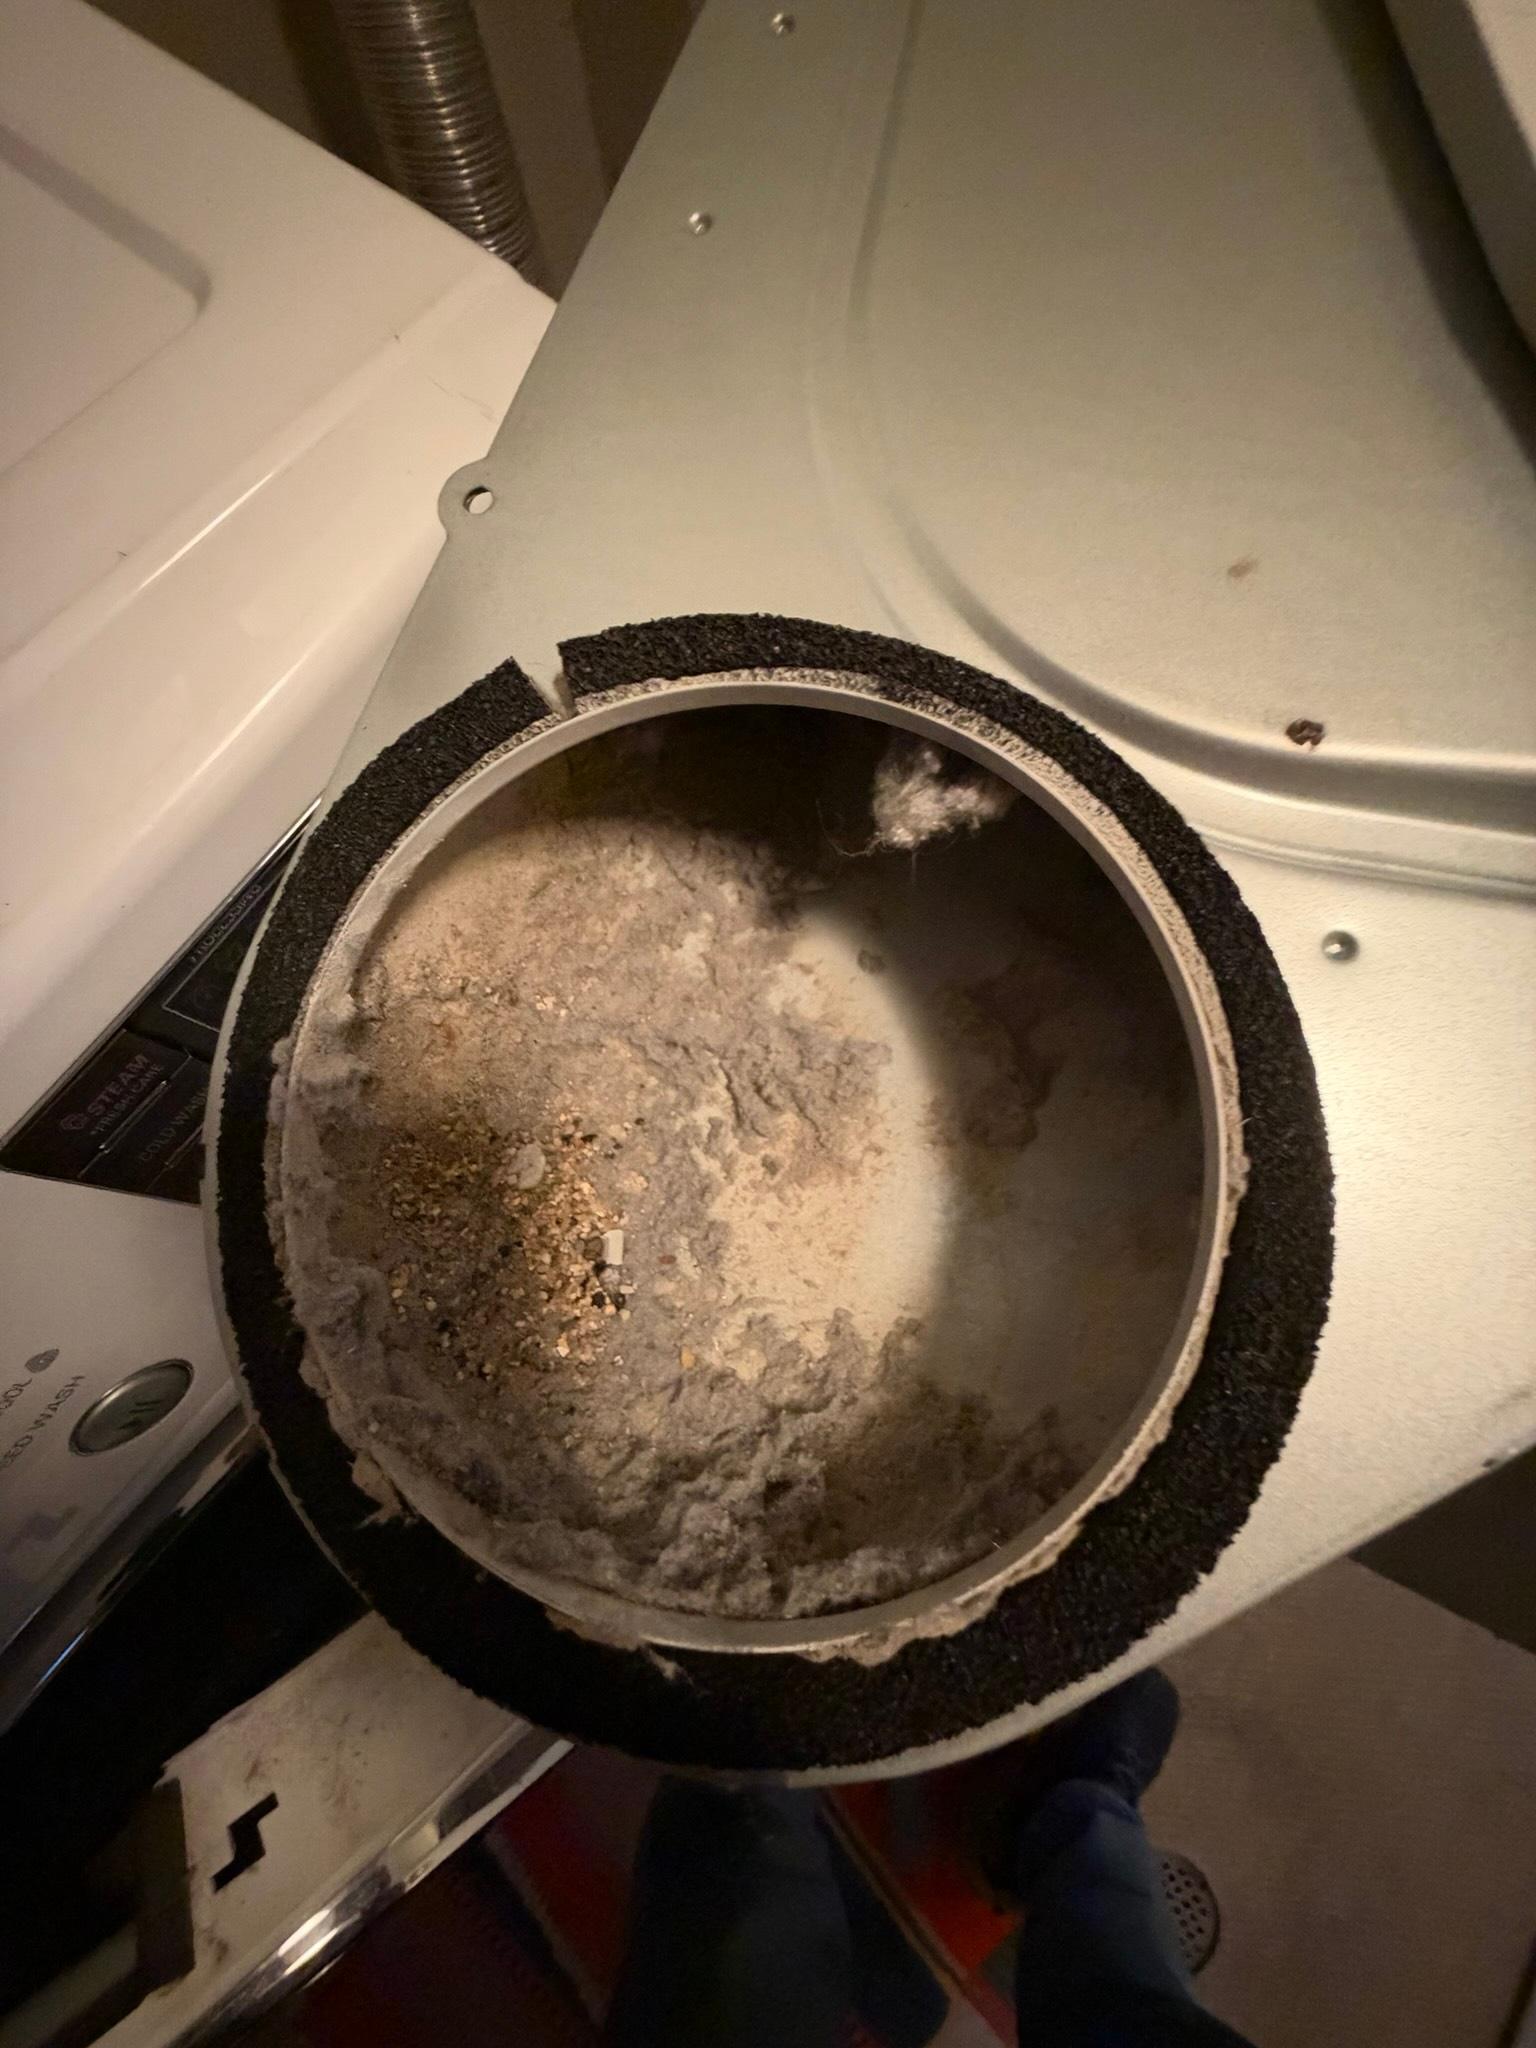
This San Francisco home's dryer exhaust was scheduled for our standard full inspection and cleaning, which covers every inch of the exhaust path from the dryer connection to the exterior termination cap. Once the dryer was pulled out and opened up, it was clear this system had gone a long time without service. The interior cabinet, including the drum exterior, motor wiring harness, blower bracket, and support brackets, was coated in a thick layer of matted lint and dust. At the rear exhaust port, lint was packed solid across the opening, and the foam gasket around the port was torn in one section. Inside the rigid metal duct run, lint had accumulated along the bottom and walls heavily enough to substantially restrict the airflow path, and a section of 4 inch, 26 gauge galvanized snap-lock pipe showed the same compacted buildup clinging to the interior surface.
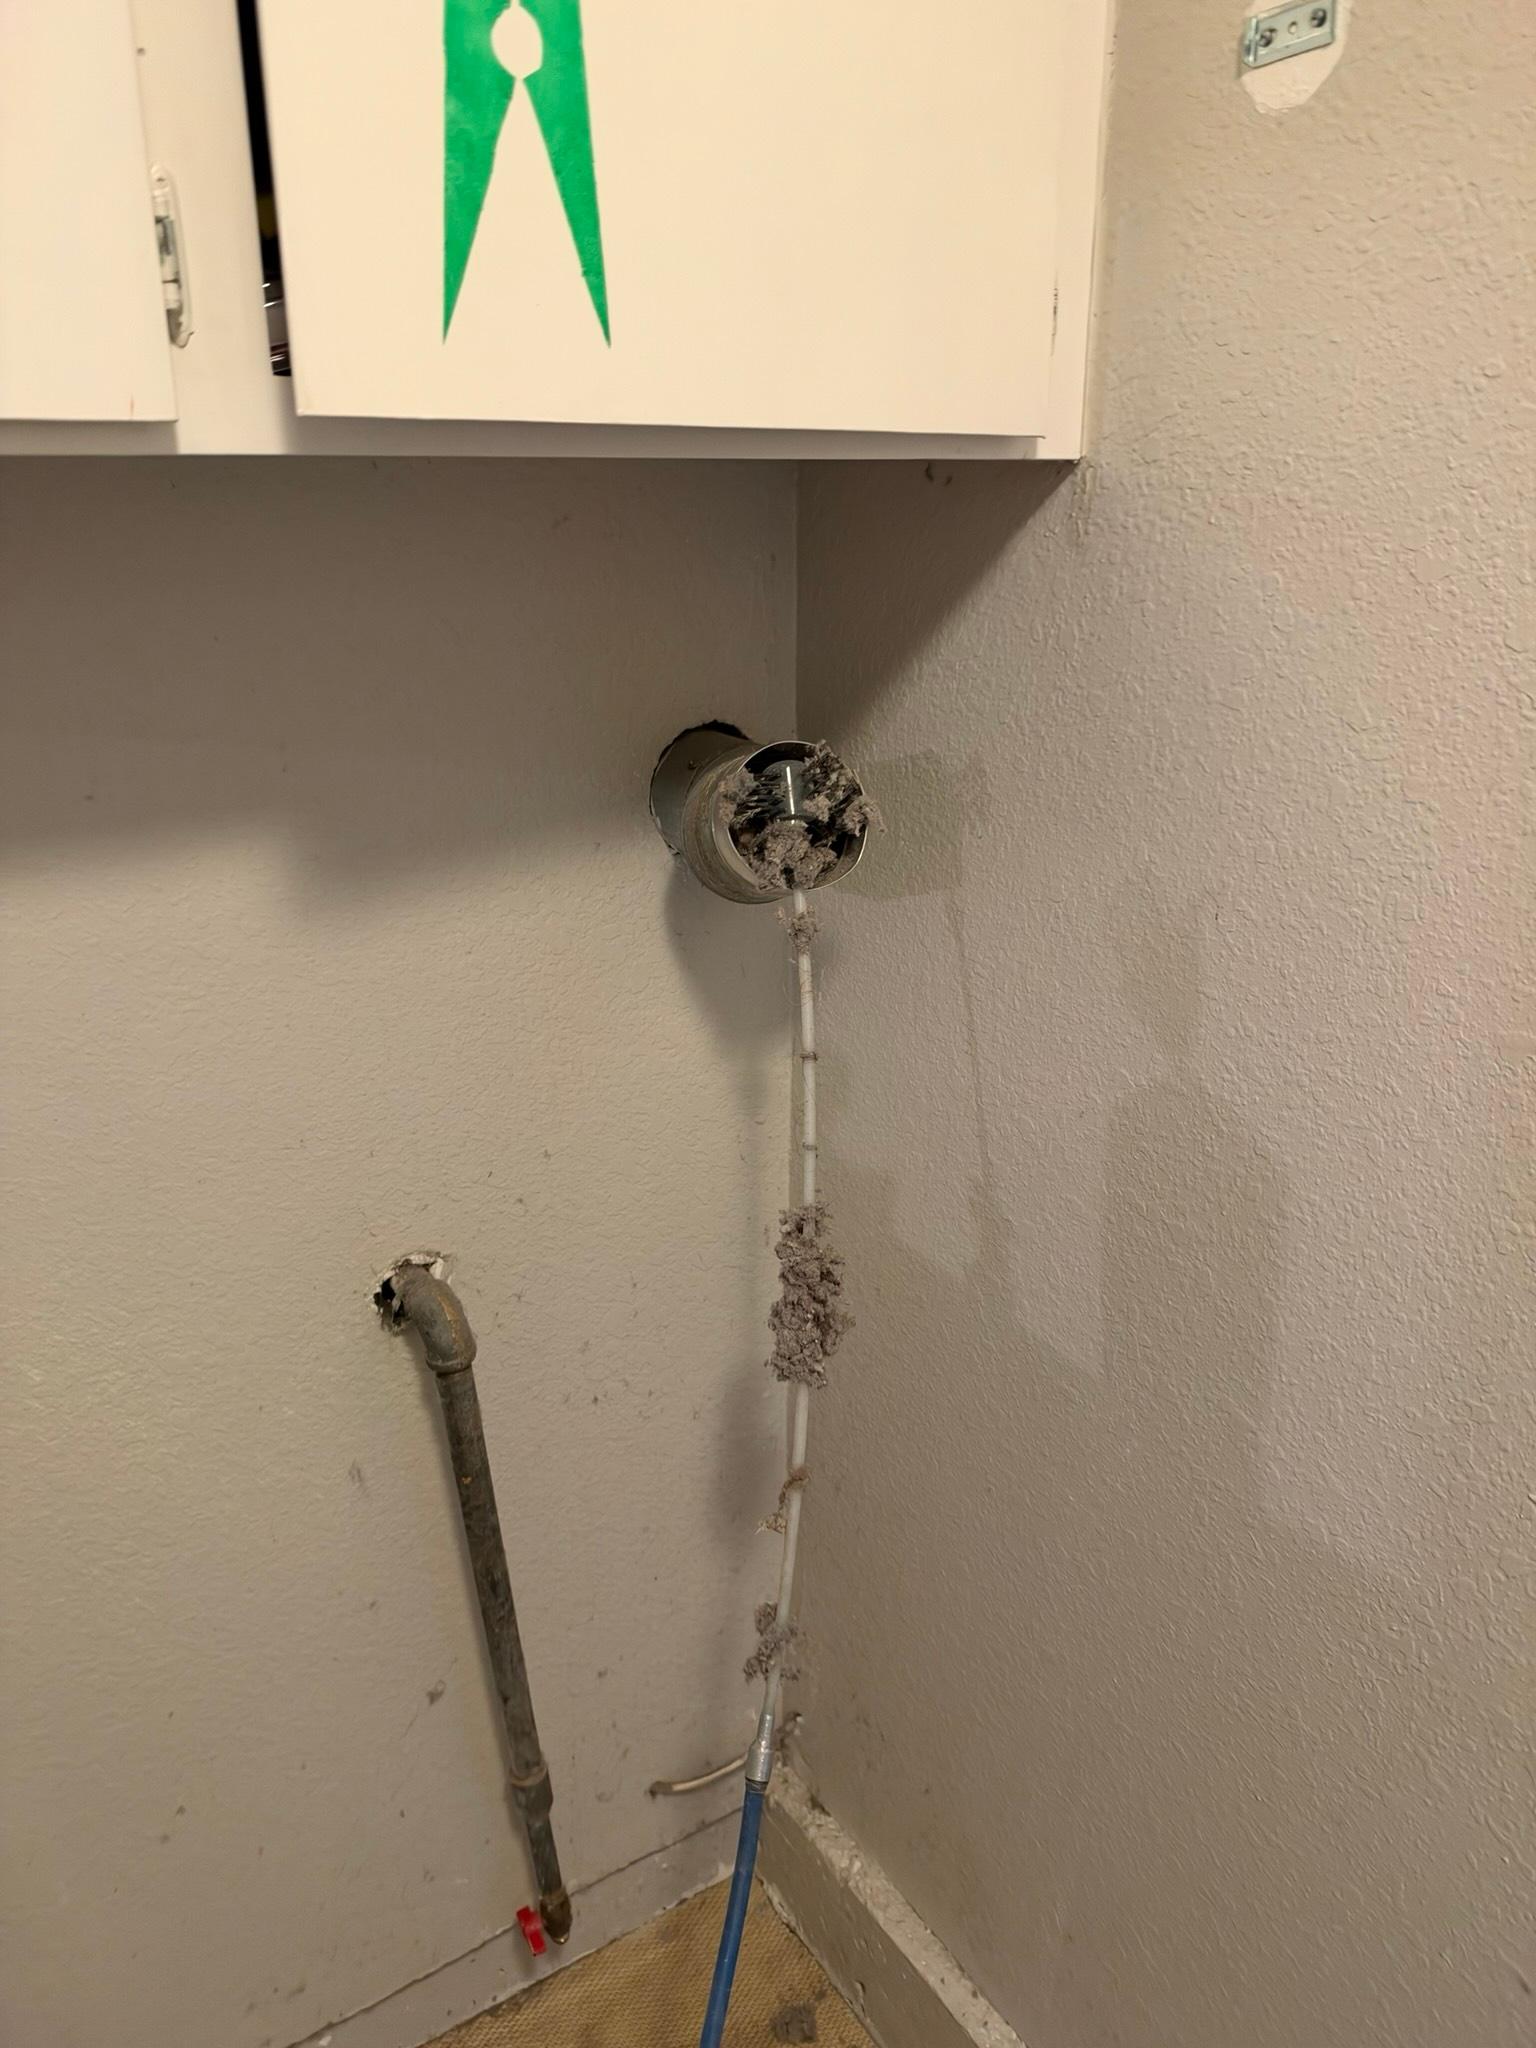
Further down the line, the wall exhaust port behind the dryer was found heavily impacted, with lint packed solid across the duct opening where it exits the wall. In the course of the inspection we also identified a duct sizing mismatch further along the exhaust run, where oversized 24 inch ducting feeds into a 6 inch section. This kind of transition creates a bottleneck that limits airflow regardless of how clean the duct is, and it's a condition that cleaning alone cannot fully correct. We've noted this for the homeowner as a longer-term consideration, since bringing both duct segments up to a matched, properly sized configuration would be the way to resolve it permanently.
What We Did
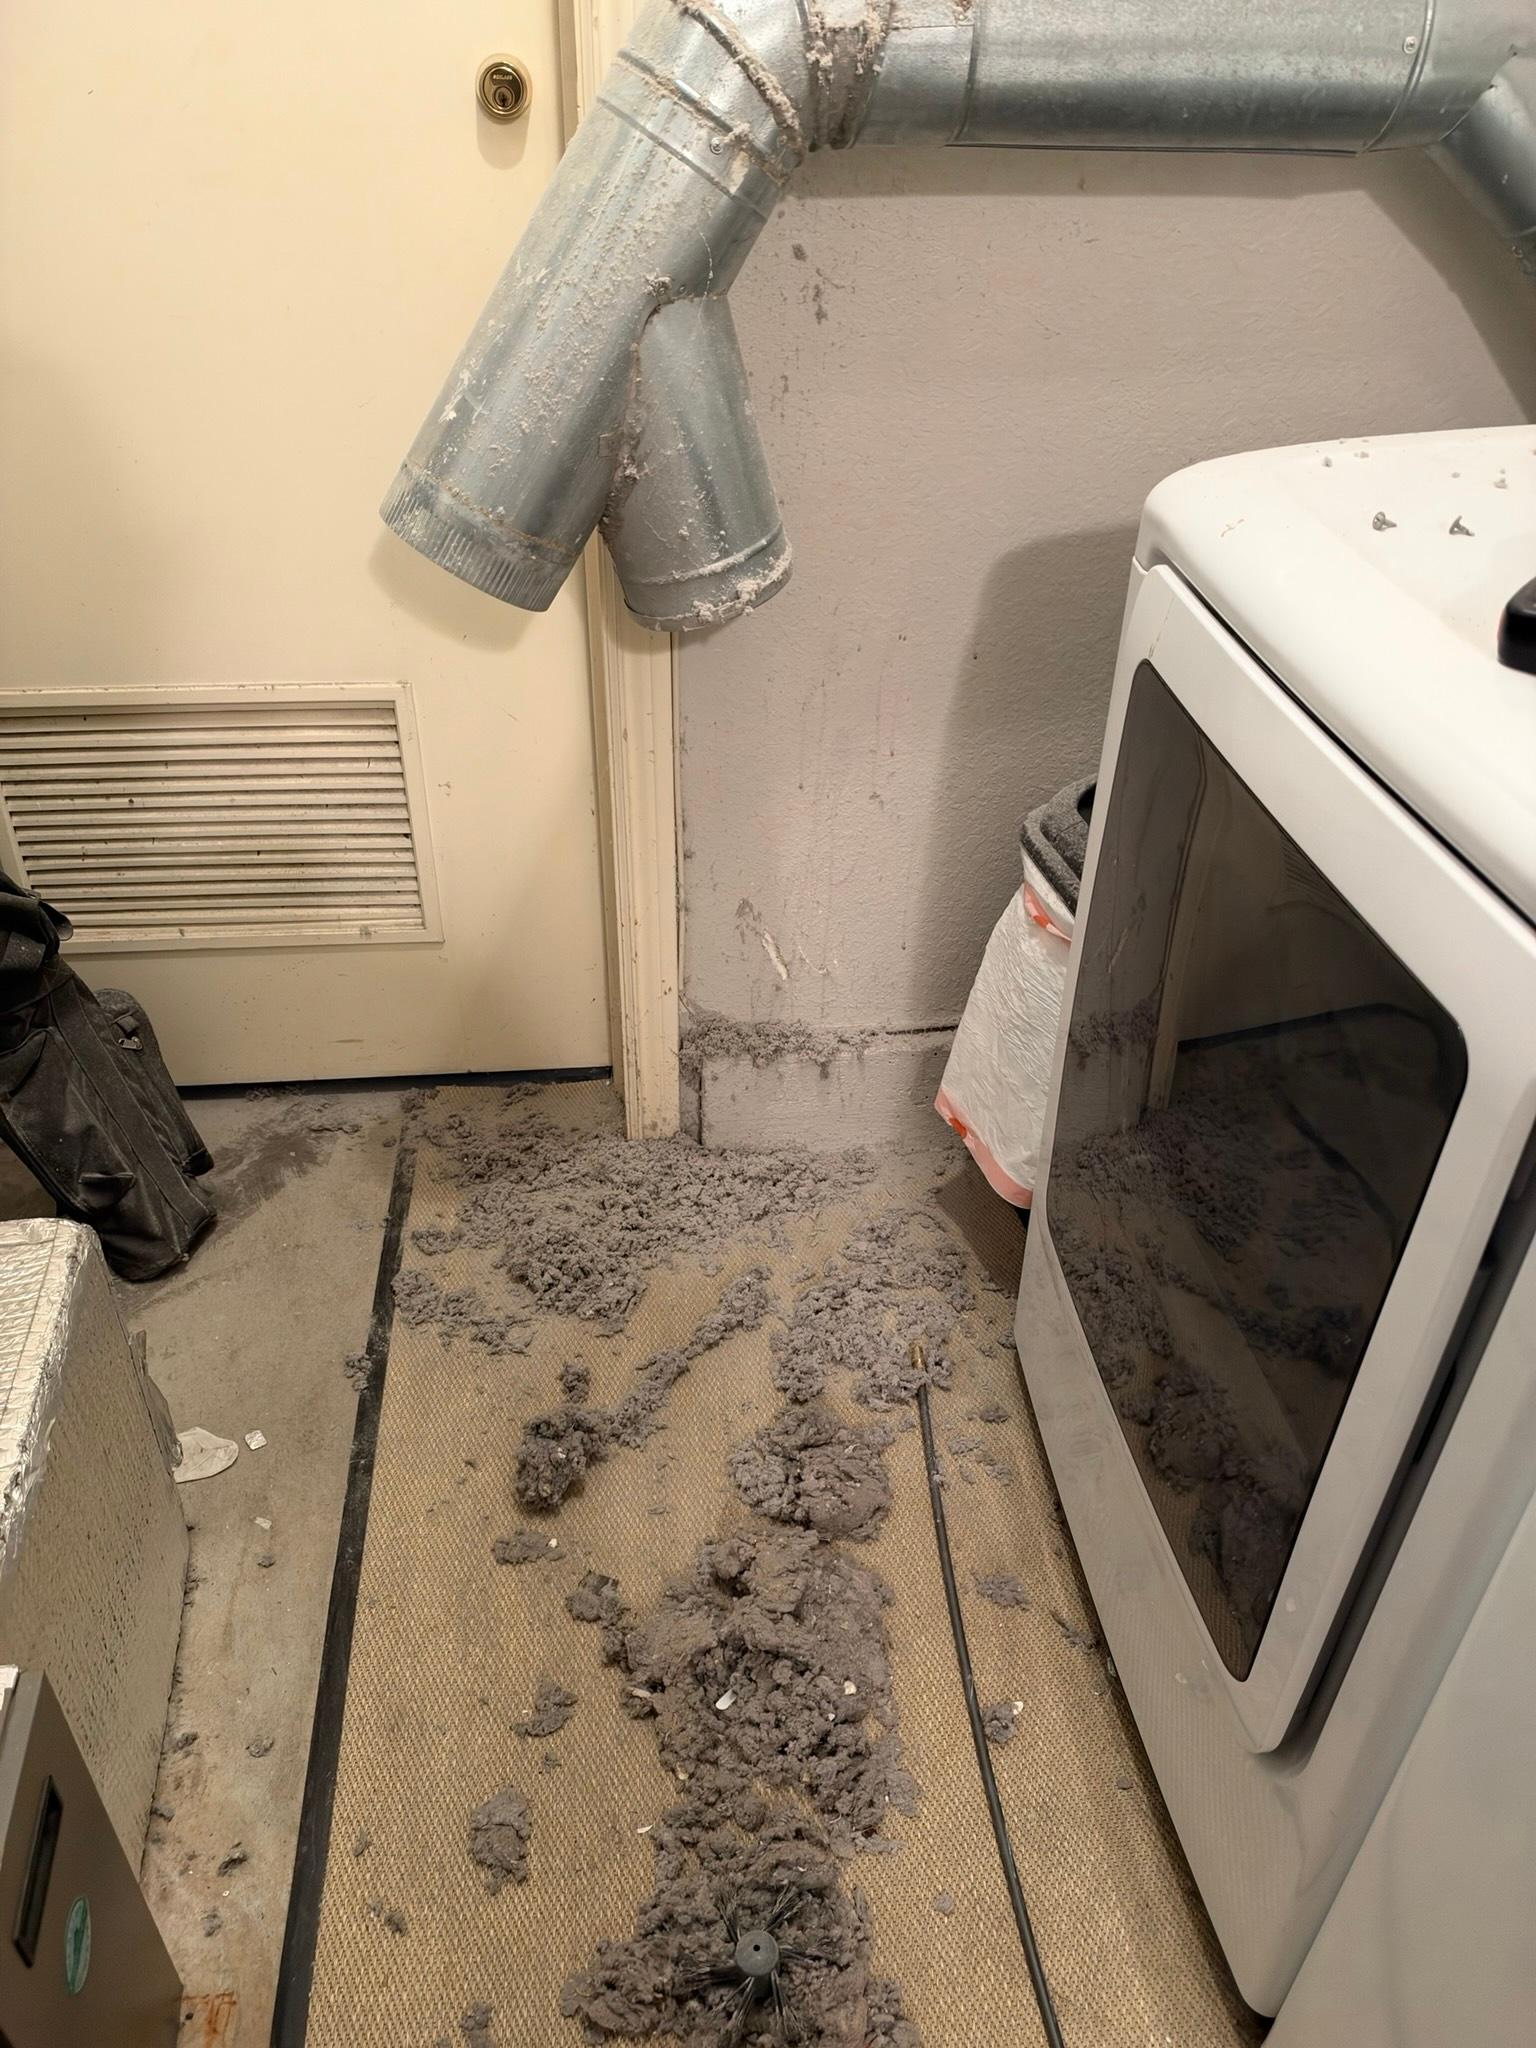
We performed a full dryer cleaning and a complete residential dryer exhaust cleaning and inspection, which included an airflow test followed by a deep cleaning using a drill-attachment rotary brush paired with a high-powered shop vacuum. The rotary brush was run through the entire exhaust path, breaking up the compacted lint lining the rigid duct walls and clearing the packed material at the wall port and exterior connection points. The shop vac extracted the dislodged lint and debris as the brush passed through each section, and heavy clumps of removed lint were visible on the floor and dryer front by the time the pass was complete, confirming the scope of the blockage that had built up in the system.
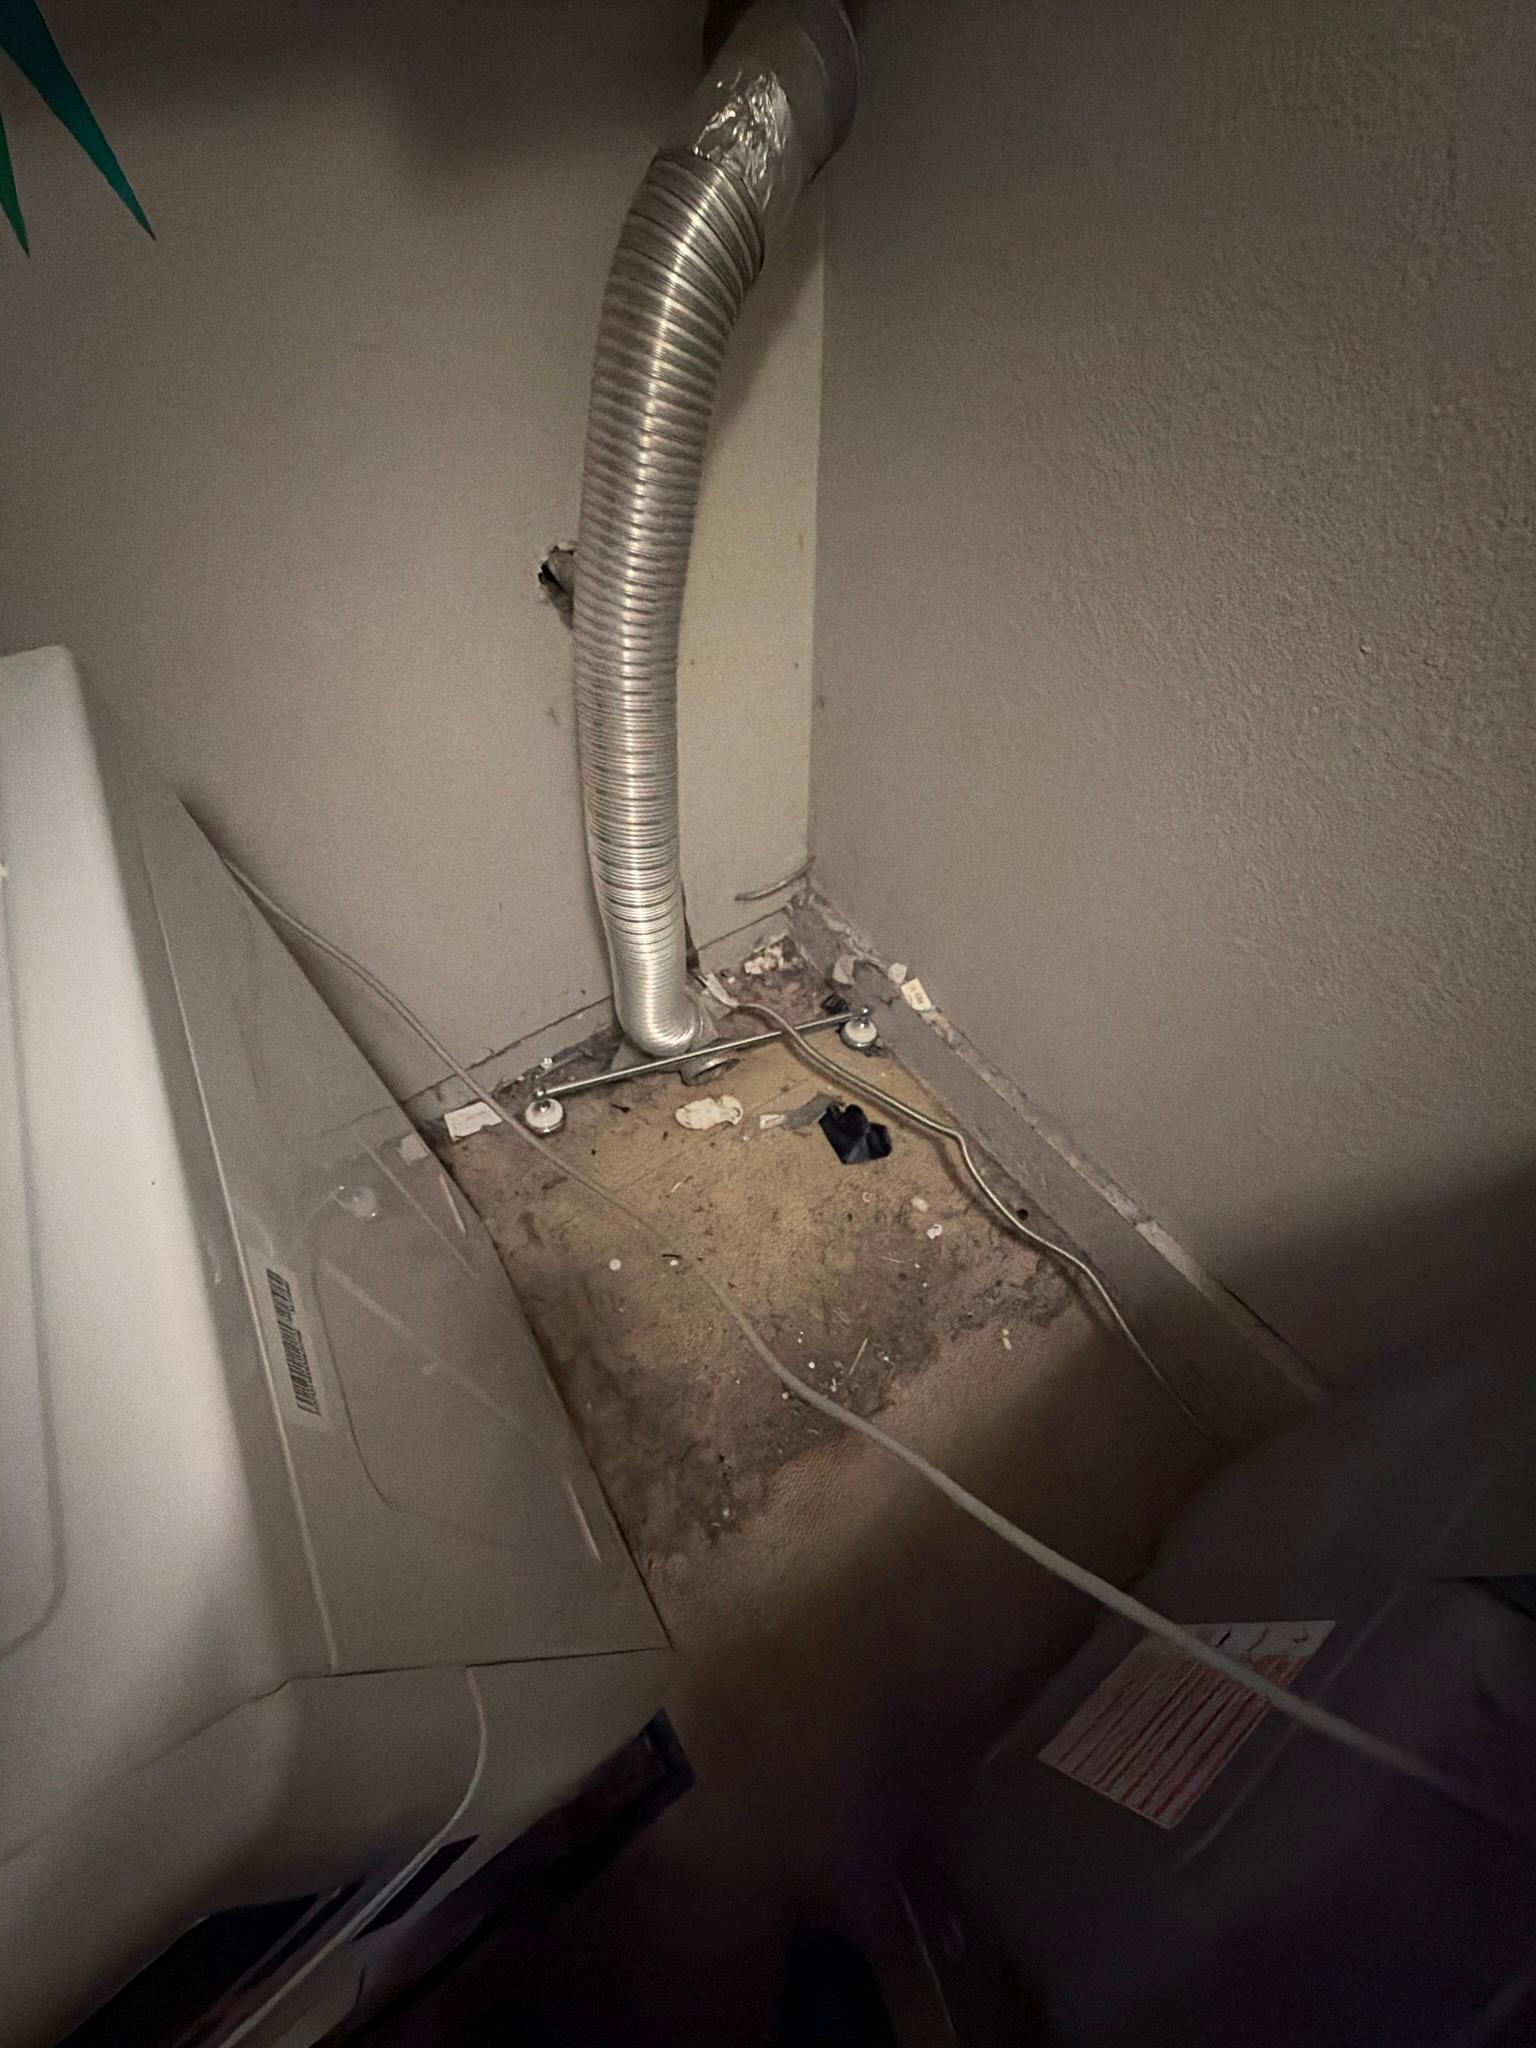
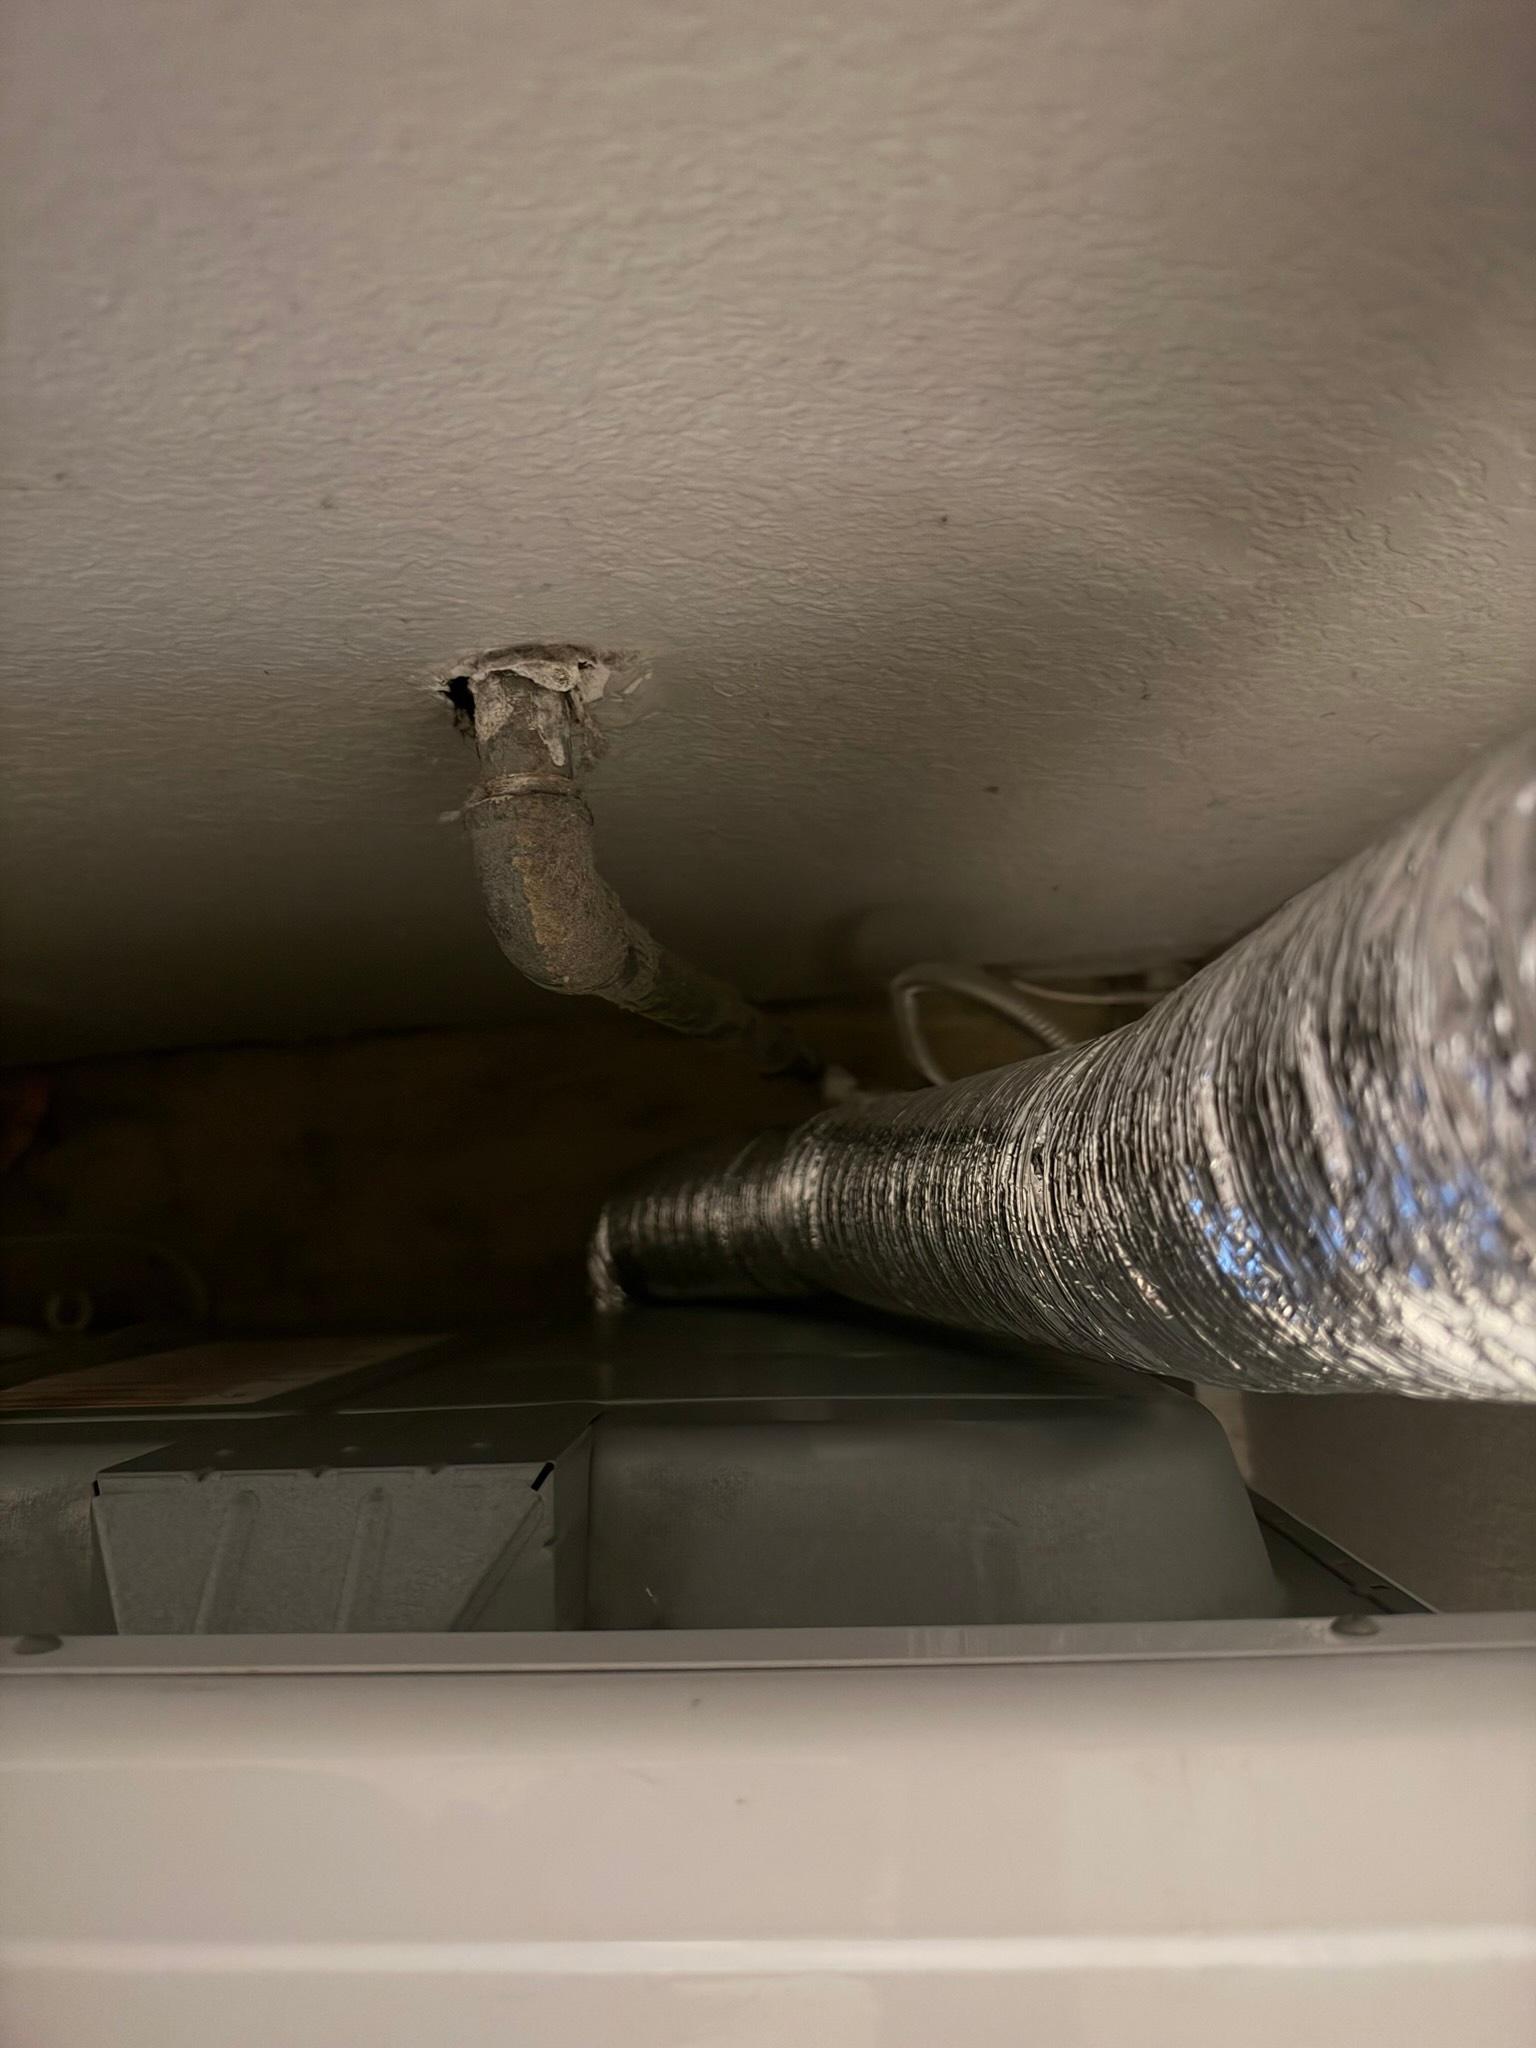
As part of the service, we also replaced the dryer's transition duct. The existing flexible connector was removed and replaced with 4 feet of DryerFlex transition duct, secured at both ends with DryerClamps. This gives the dryer-to-wall connection a properly rated, UL 2158A listed transition section in place of the old material, seated cleanly at the metal takeoff stub running into the ceiling cavity behind the unit. The interior of the dryer cabinet, including the drum exterior, motor housing, and wiring harness area, was also cleaned of the accumulated lint and dust found during the teardown, restoring clear access around the internal components.
The Outcome
After the brush and vacuum pass, the duct run was reassembled and the new transition duct connection was checked for a properly seated, secure fit at the wall takeoff. The exhaust path from the dryer connection through to the point of the sizing transition is now clear of the compacted lint that was restricting airflow, which reduces the fire risk associated with heavy lint accumulation and should bring drying times back down to normal. The homeowner was also made aware of the oversized-to-undersized duct transition found further along the run, since that configuration continues to limit maximum airflow potential even with a clean duct, and is a separate project from today's cleaning and transition duct replacement.
For anyone else in San Francisco's older housing stock, where dryer exhaust runs are often original to the building and rarely serviced, this job is a good reminder of why an annual inspection matters: lint accumulation builds gradually and isn't visible until the dryer is pulled out and the duct opened up. A packed duct like the one found here is consistent with the leading cause of home dryer fires reported by the U.S. Fire Administration, and it's easily preventable with routine cleaning.
Project photos
12 photos
Need similar work in San Francisco?
Get a free quote - same-week appointments usually available.