
Redwood City · Residential Dryer Exhaust Cleaning Inspection
Dryer Exhaust Cleaning & Inspection in Redwood City, CA
A Redwood City home's dryer exhaust system was found severely blocked with compacted lint from the roof cap to the transition duct, prompting a full cleaning, airflow verification, and transition duct replacement.
Completed September 24, 2026
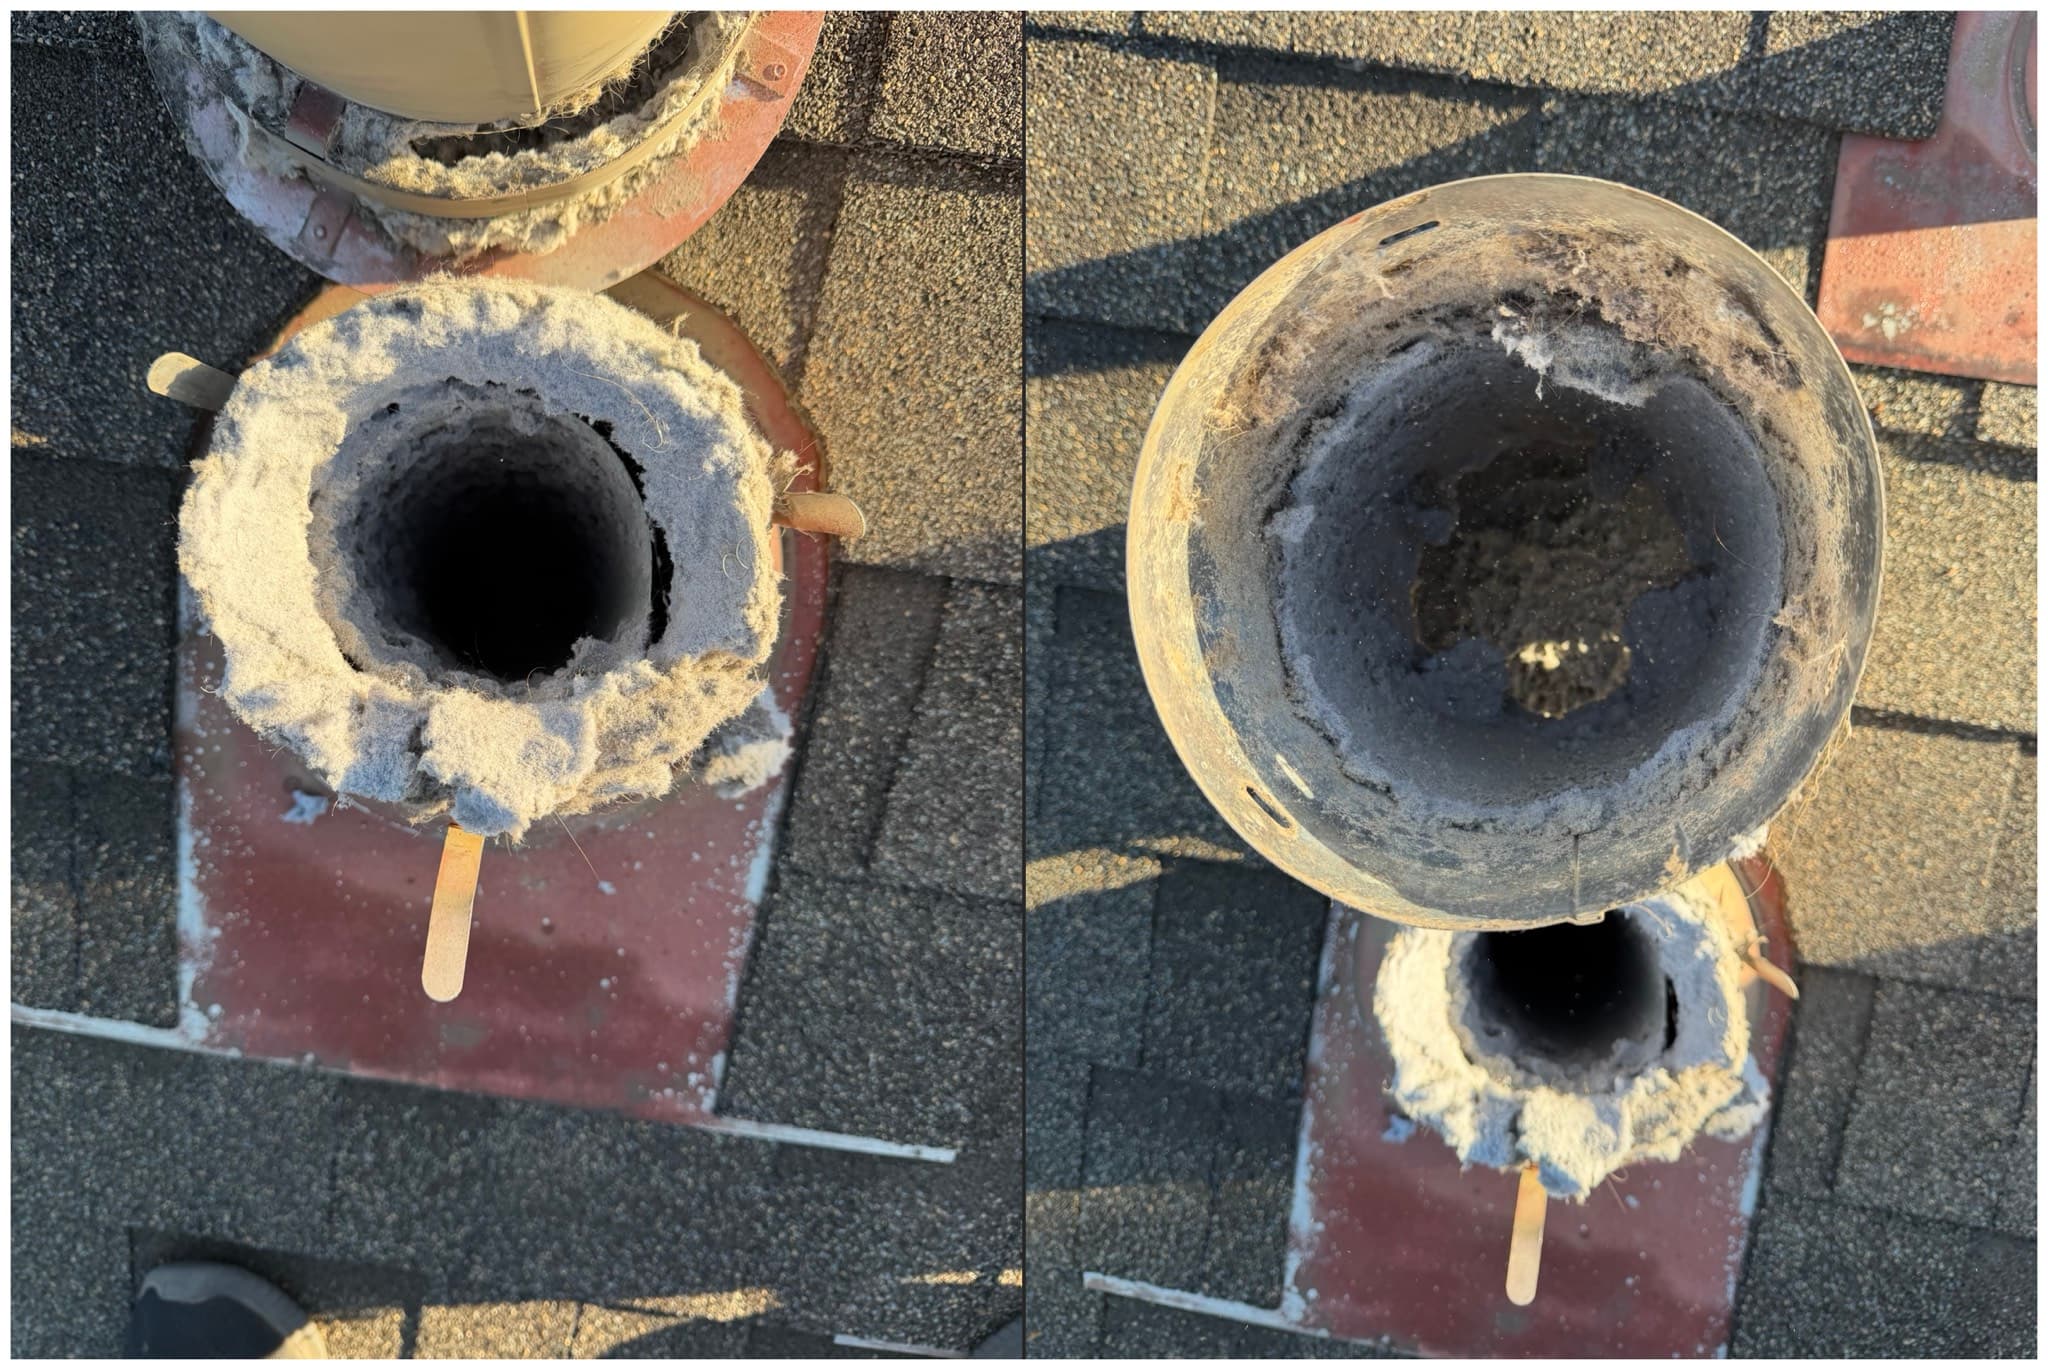
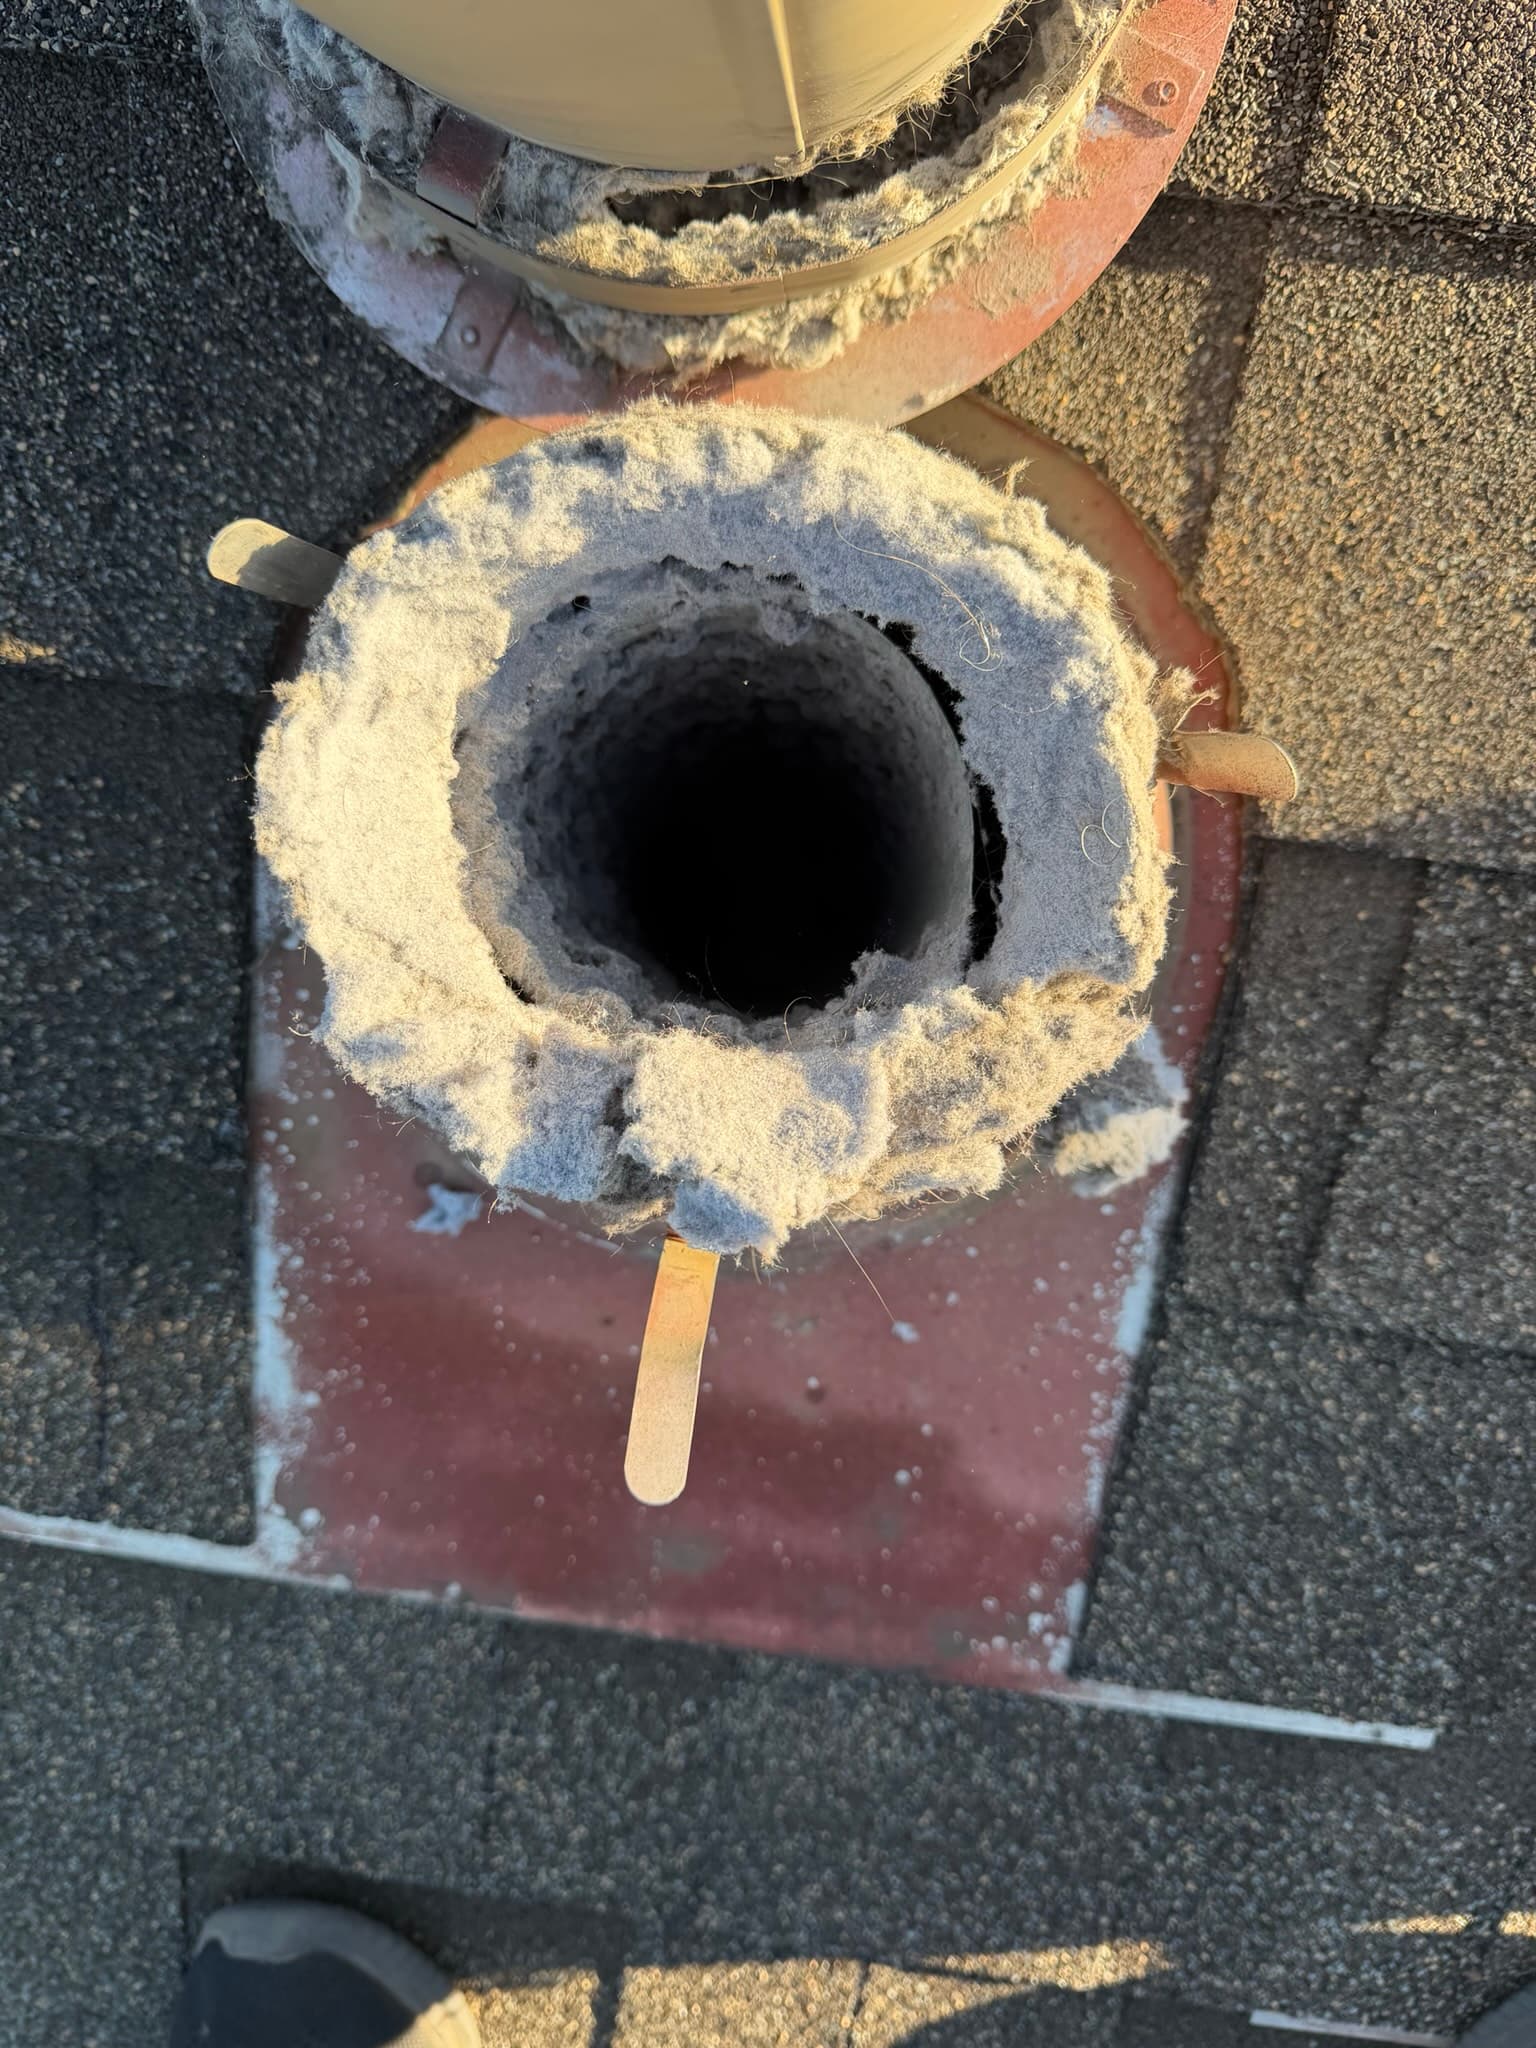
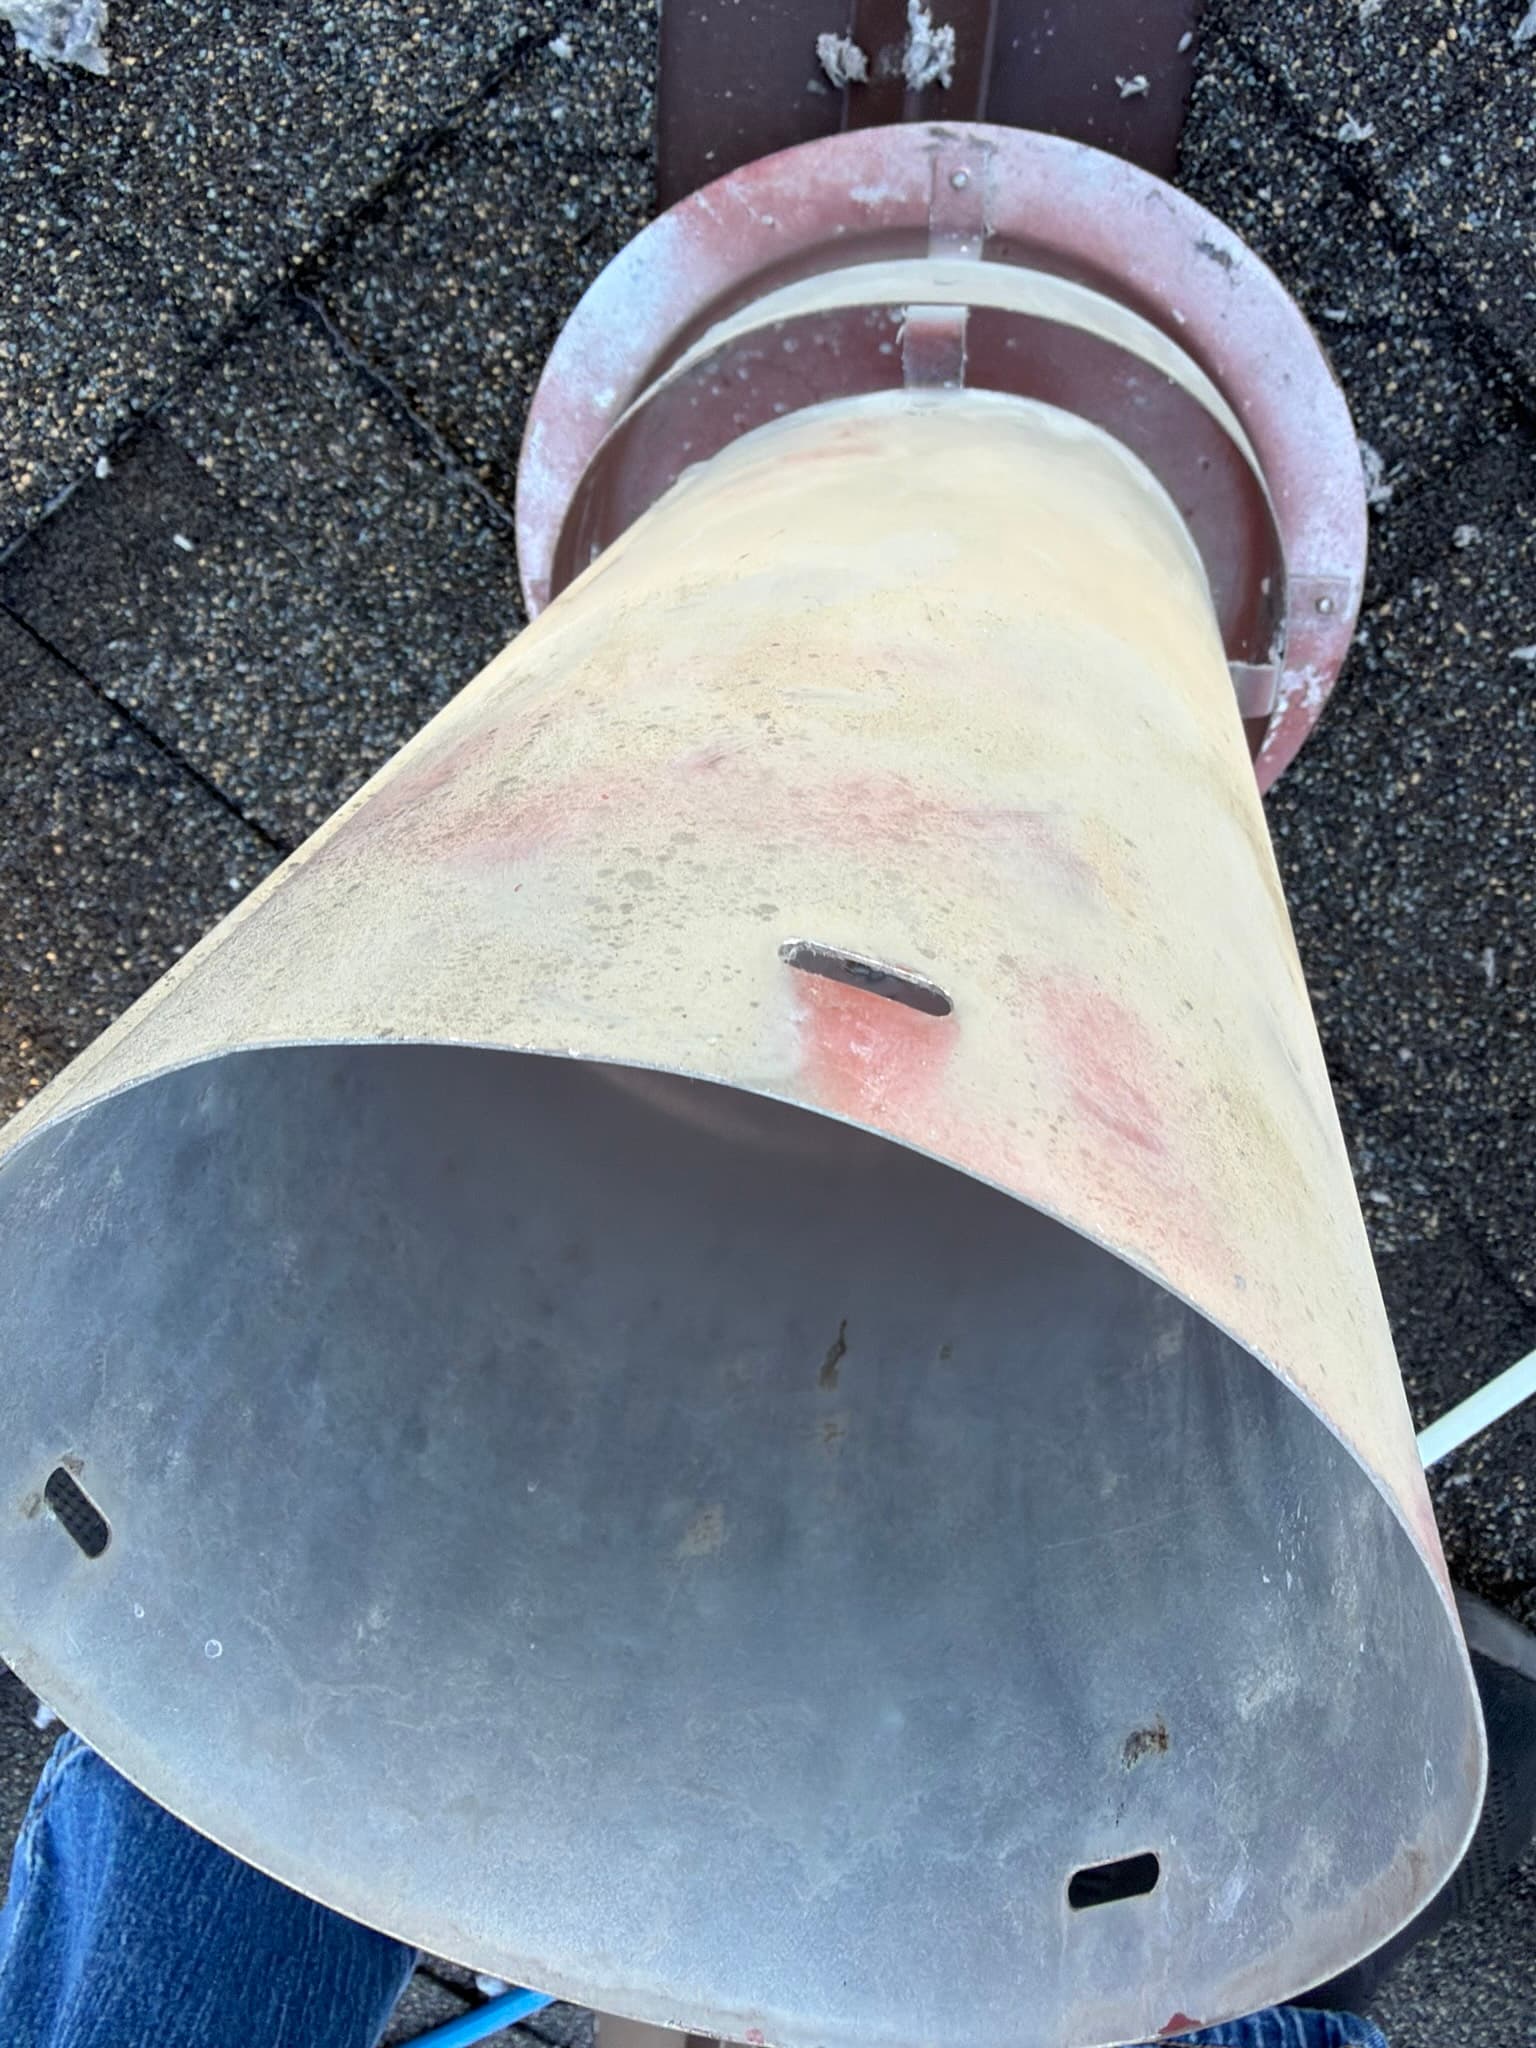
Roof termination before cleaning: lint packed around the vent pipe opening
What We Found
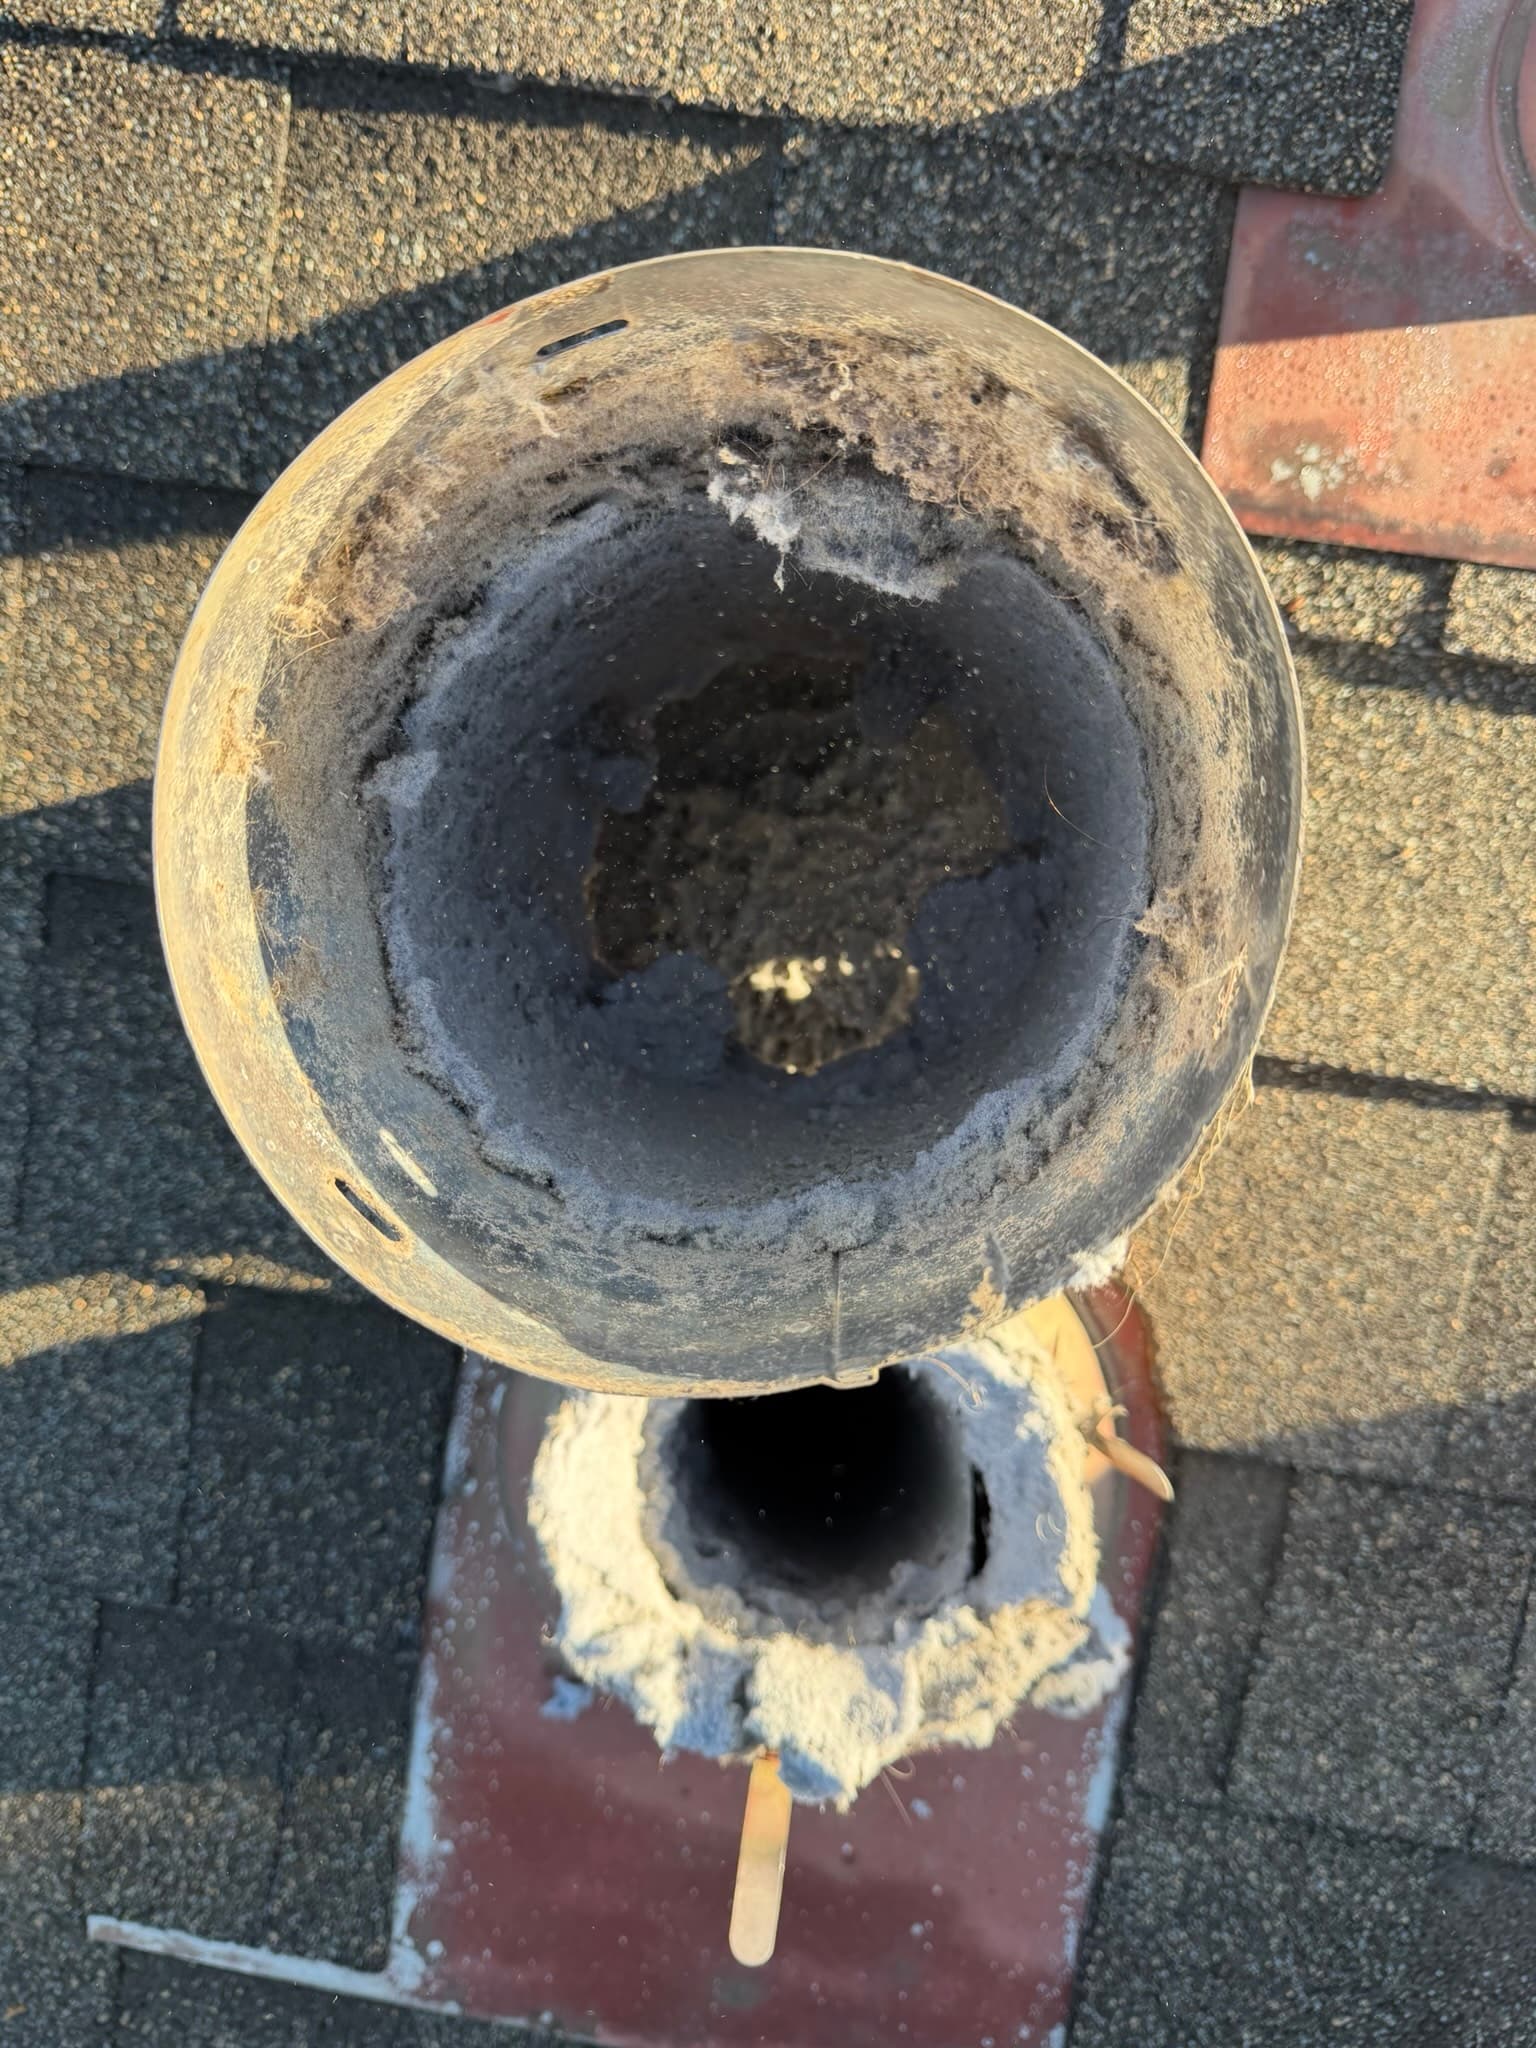
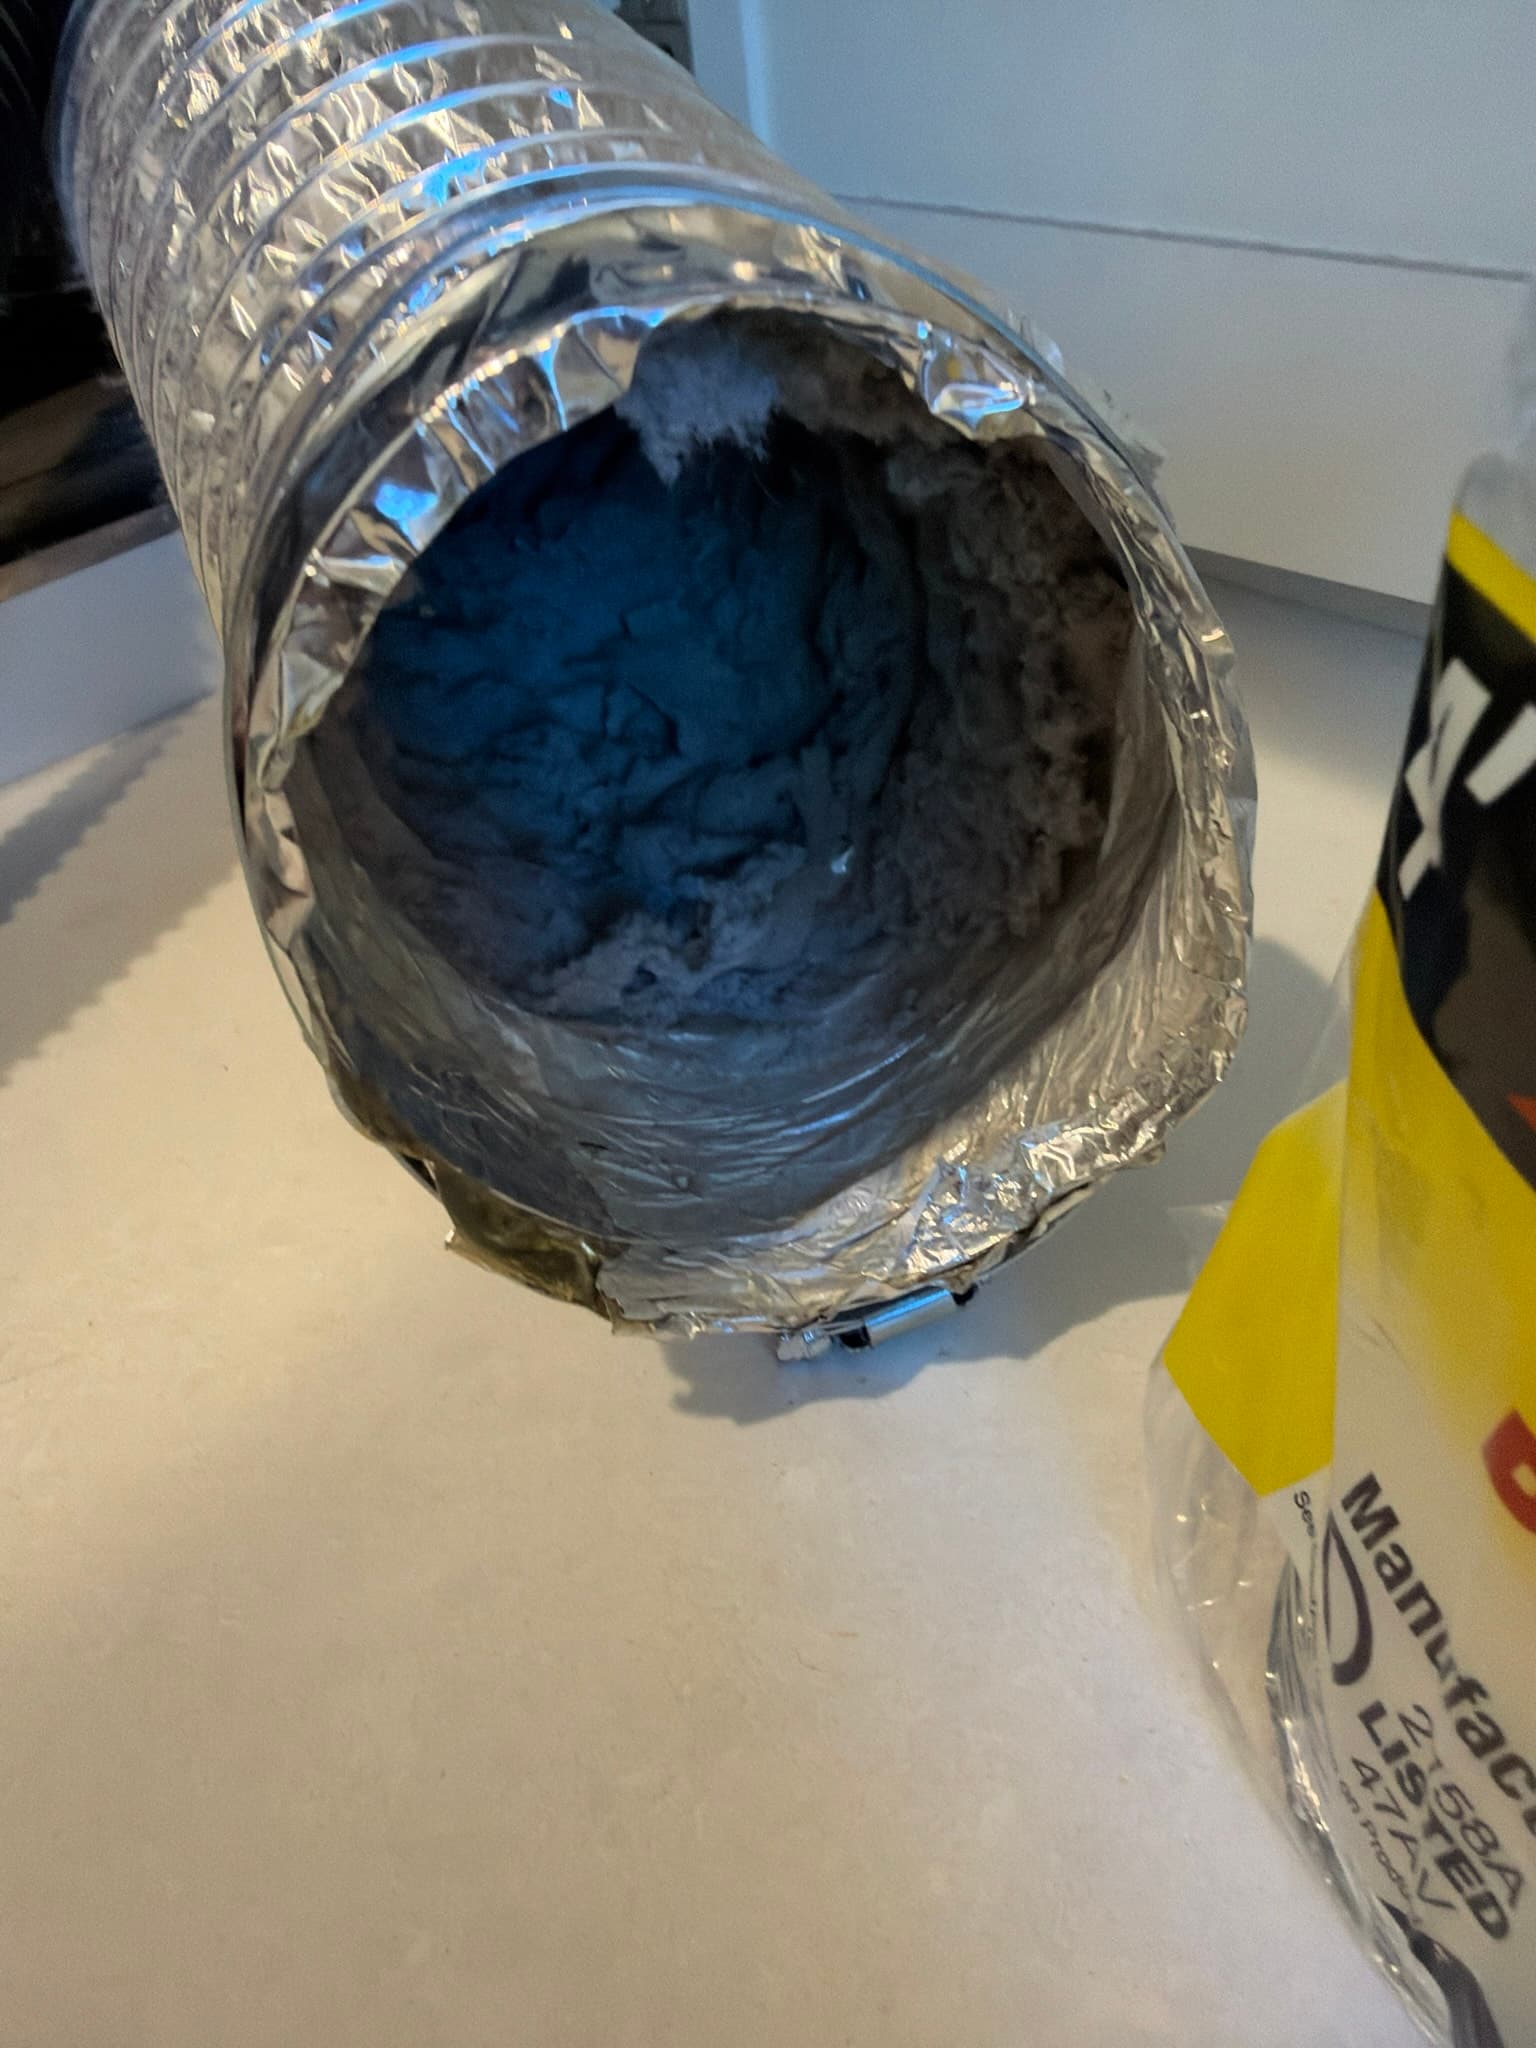
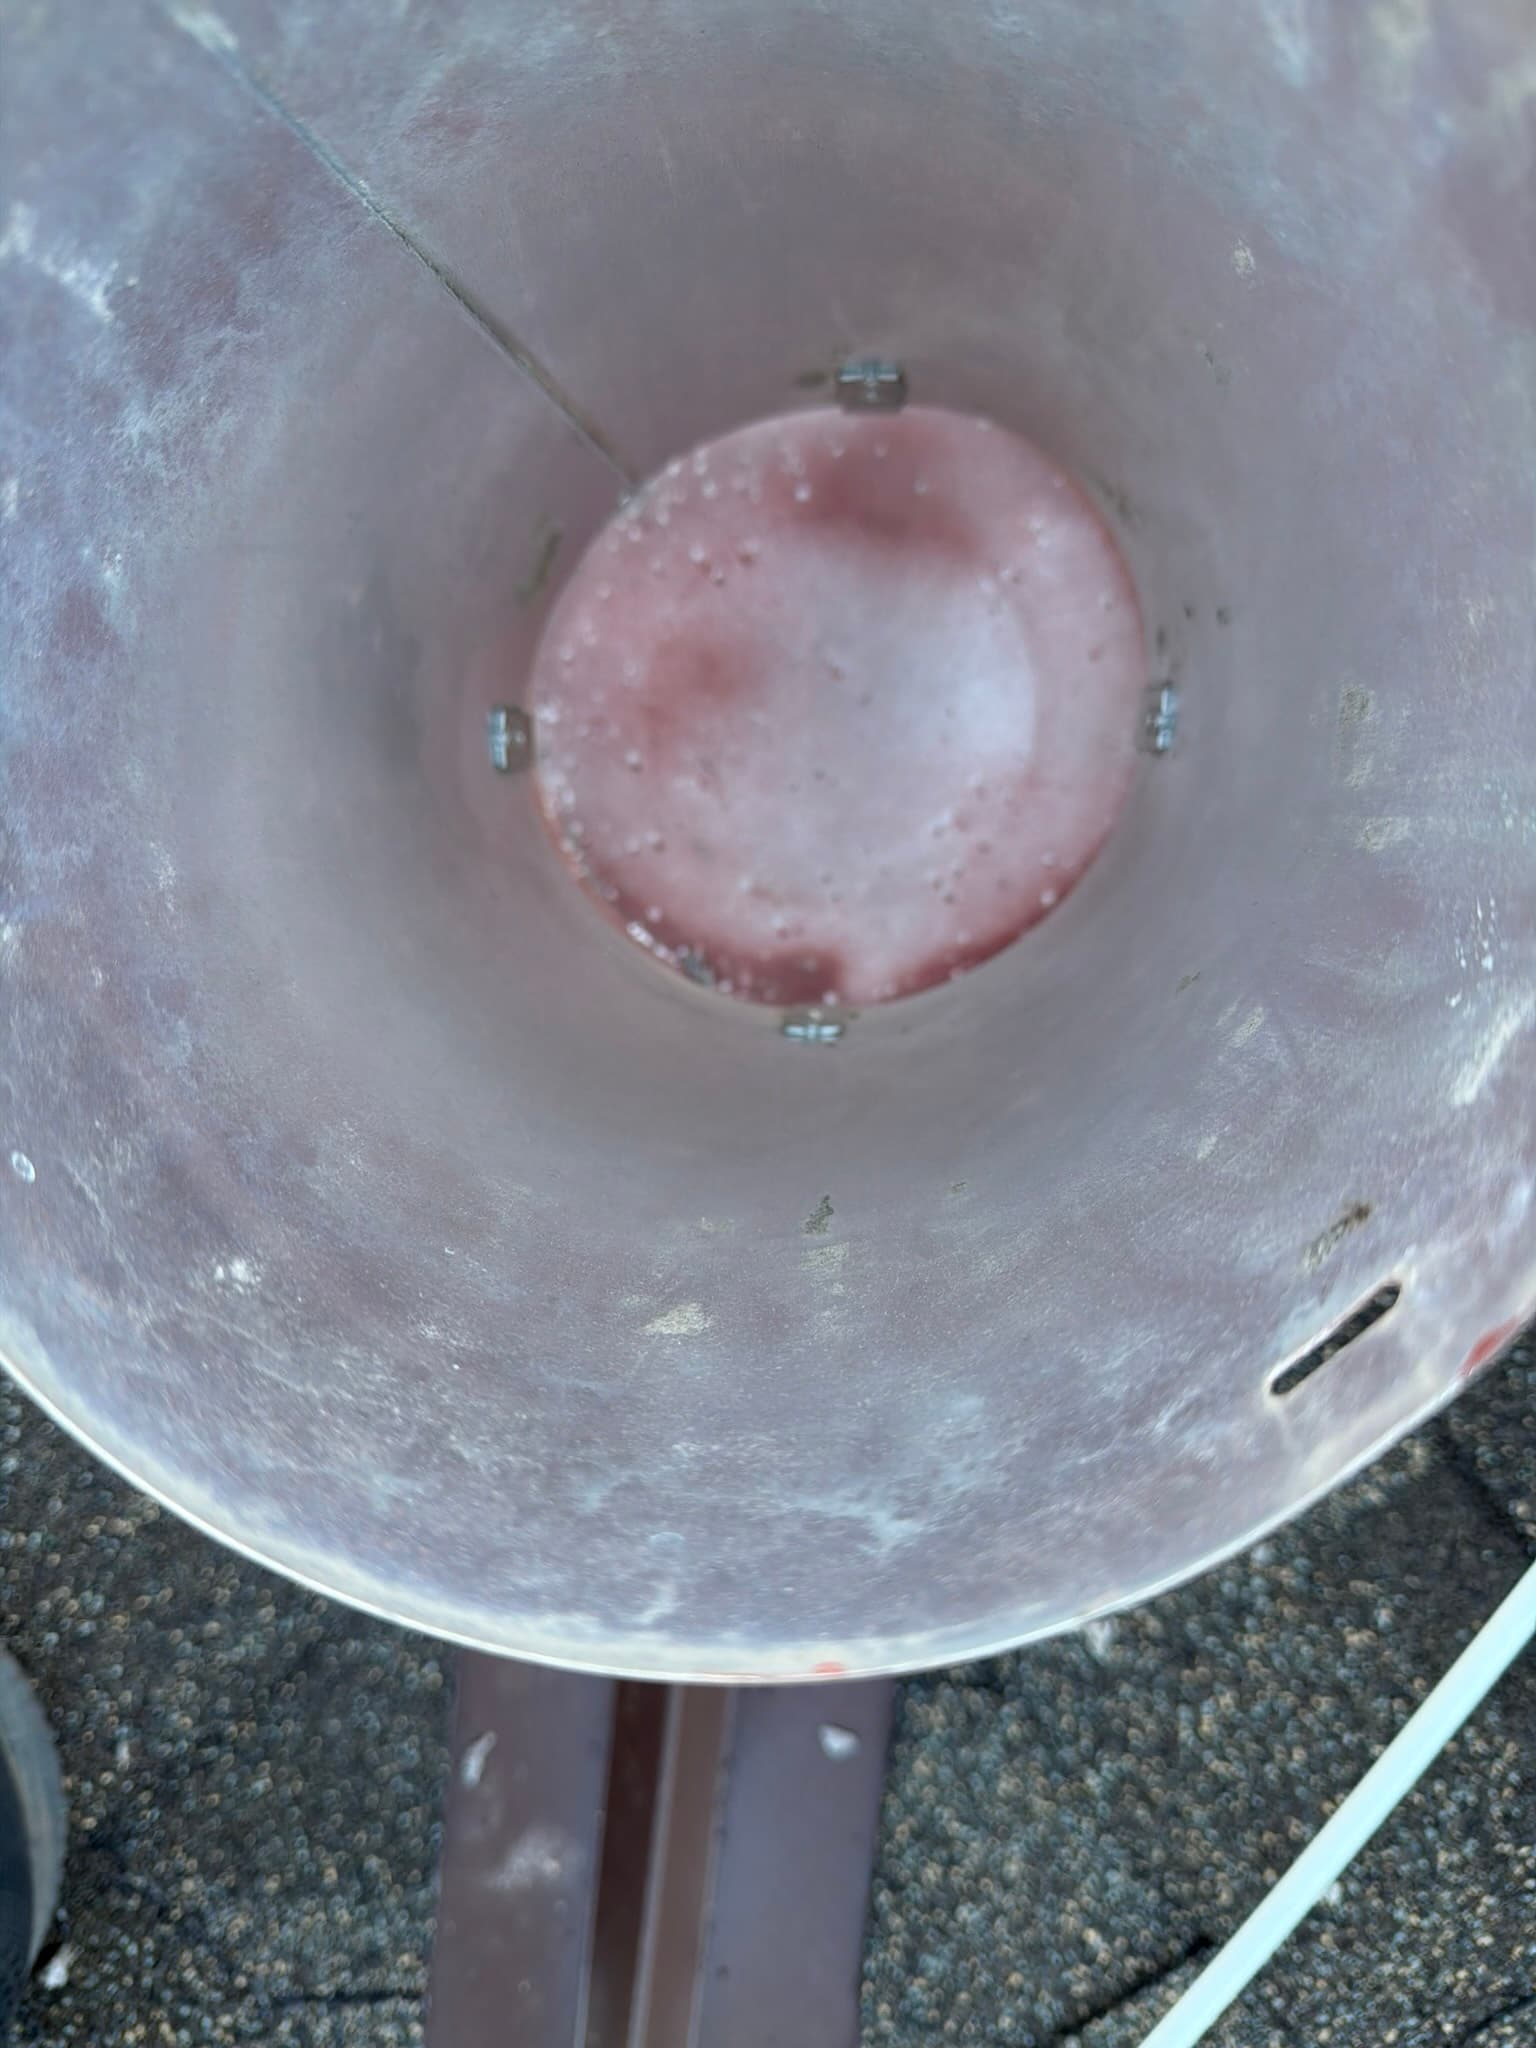
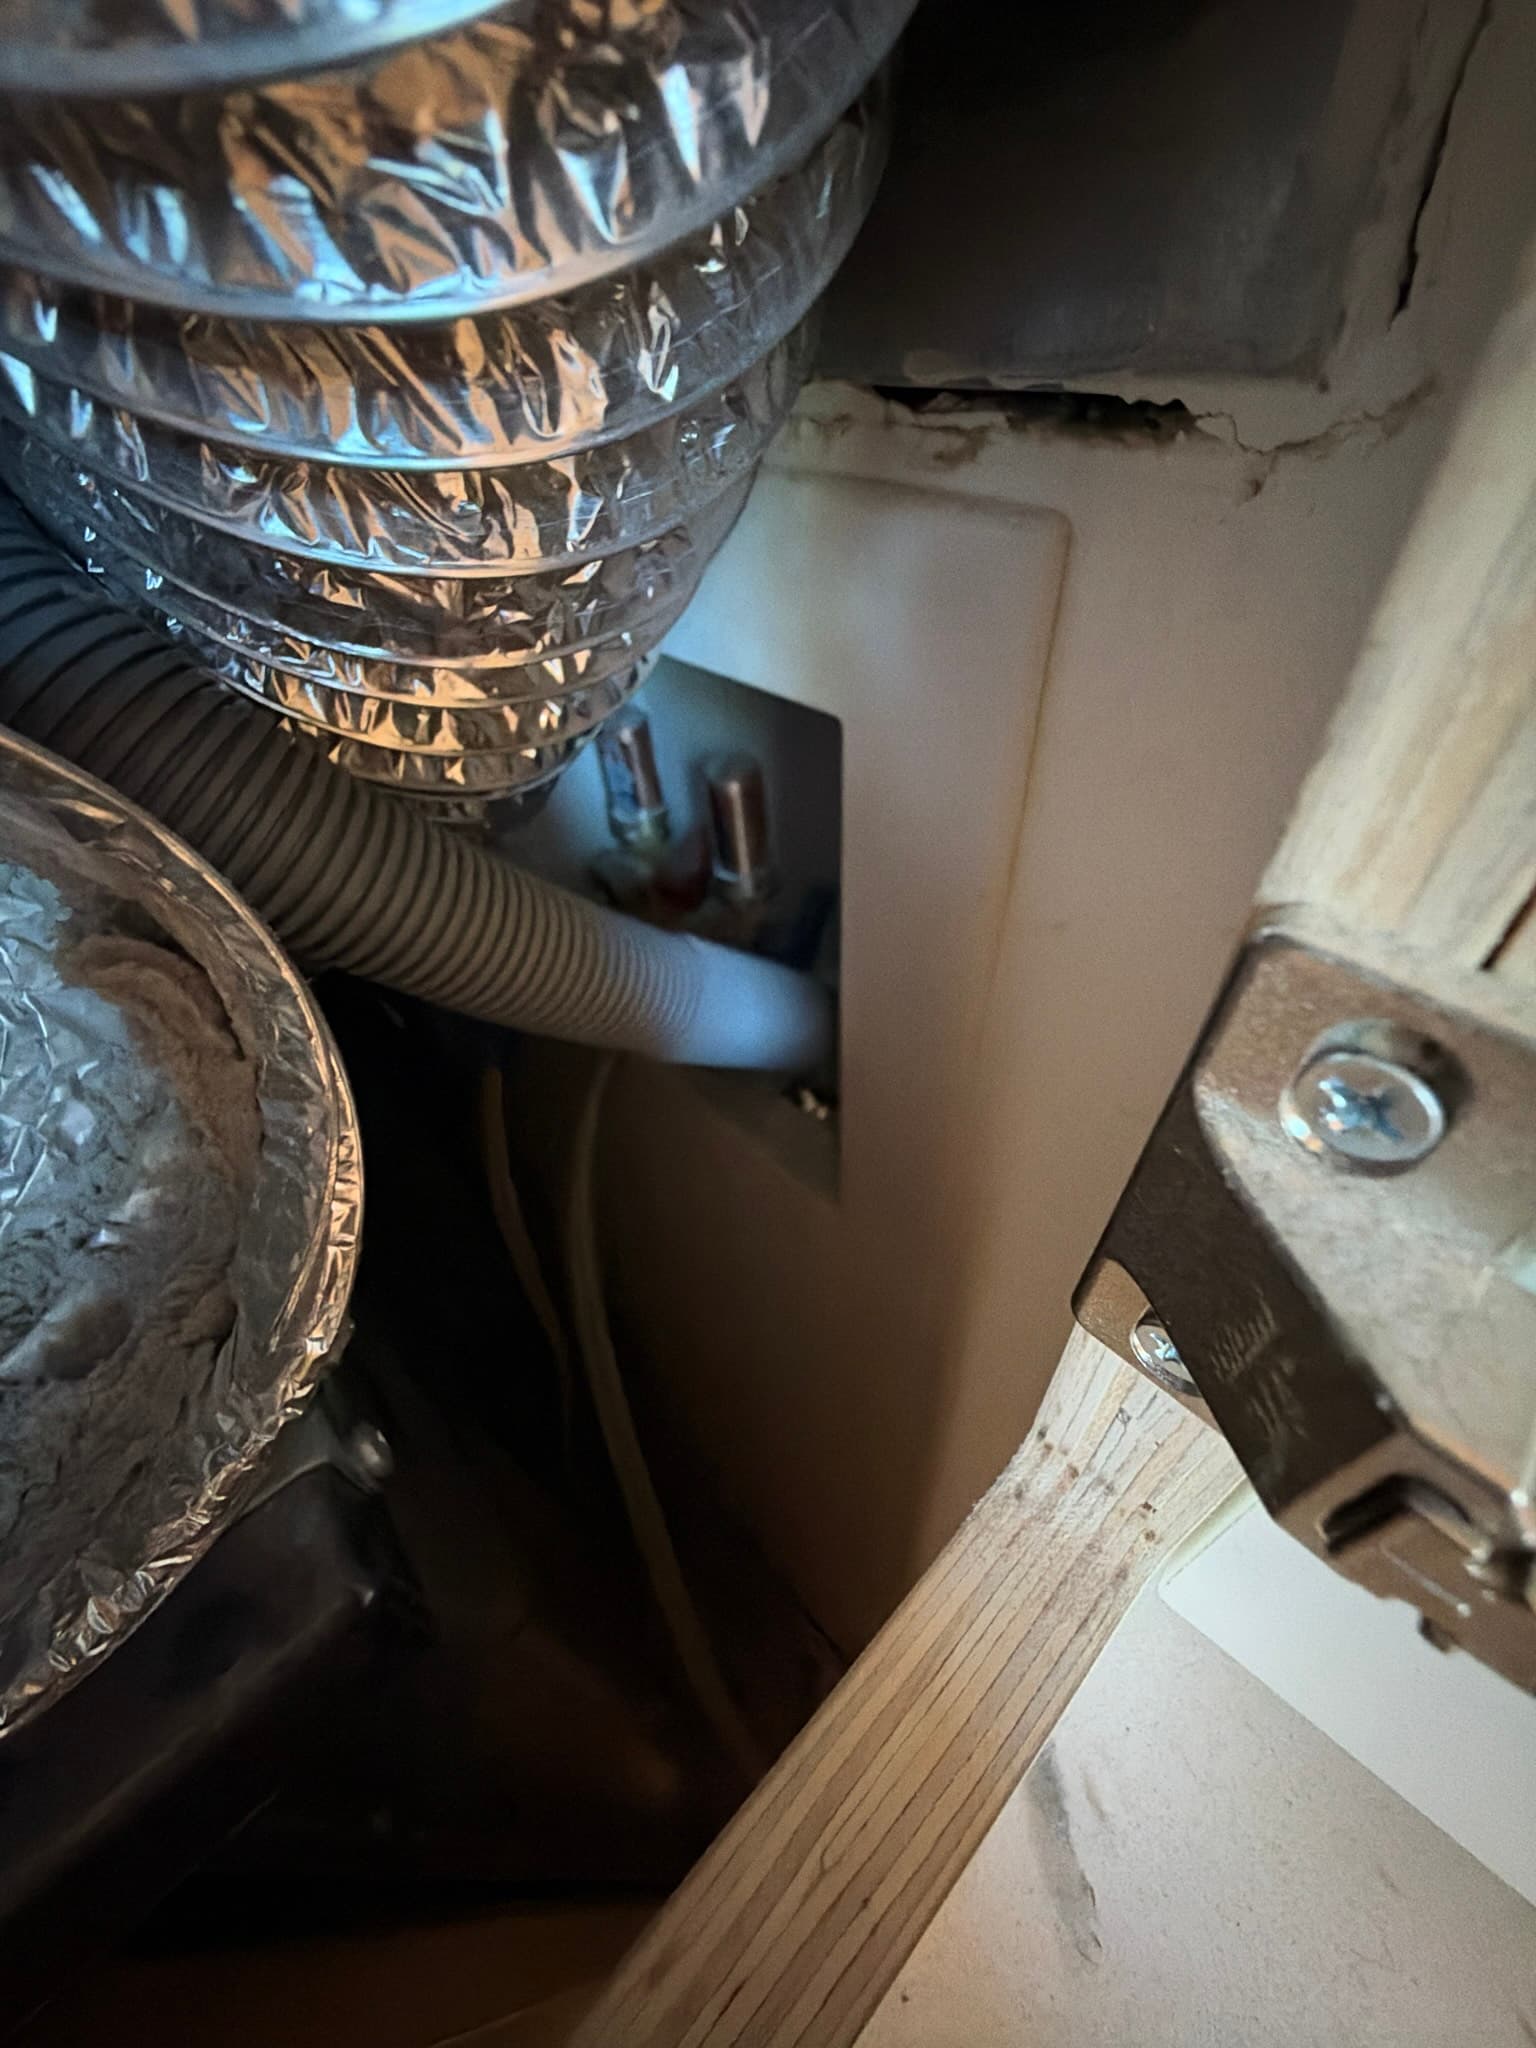
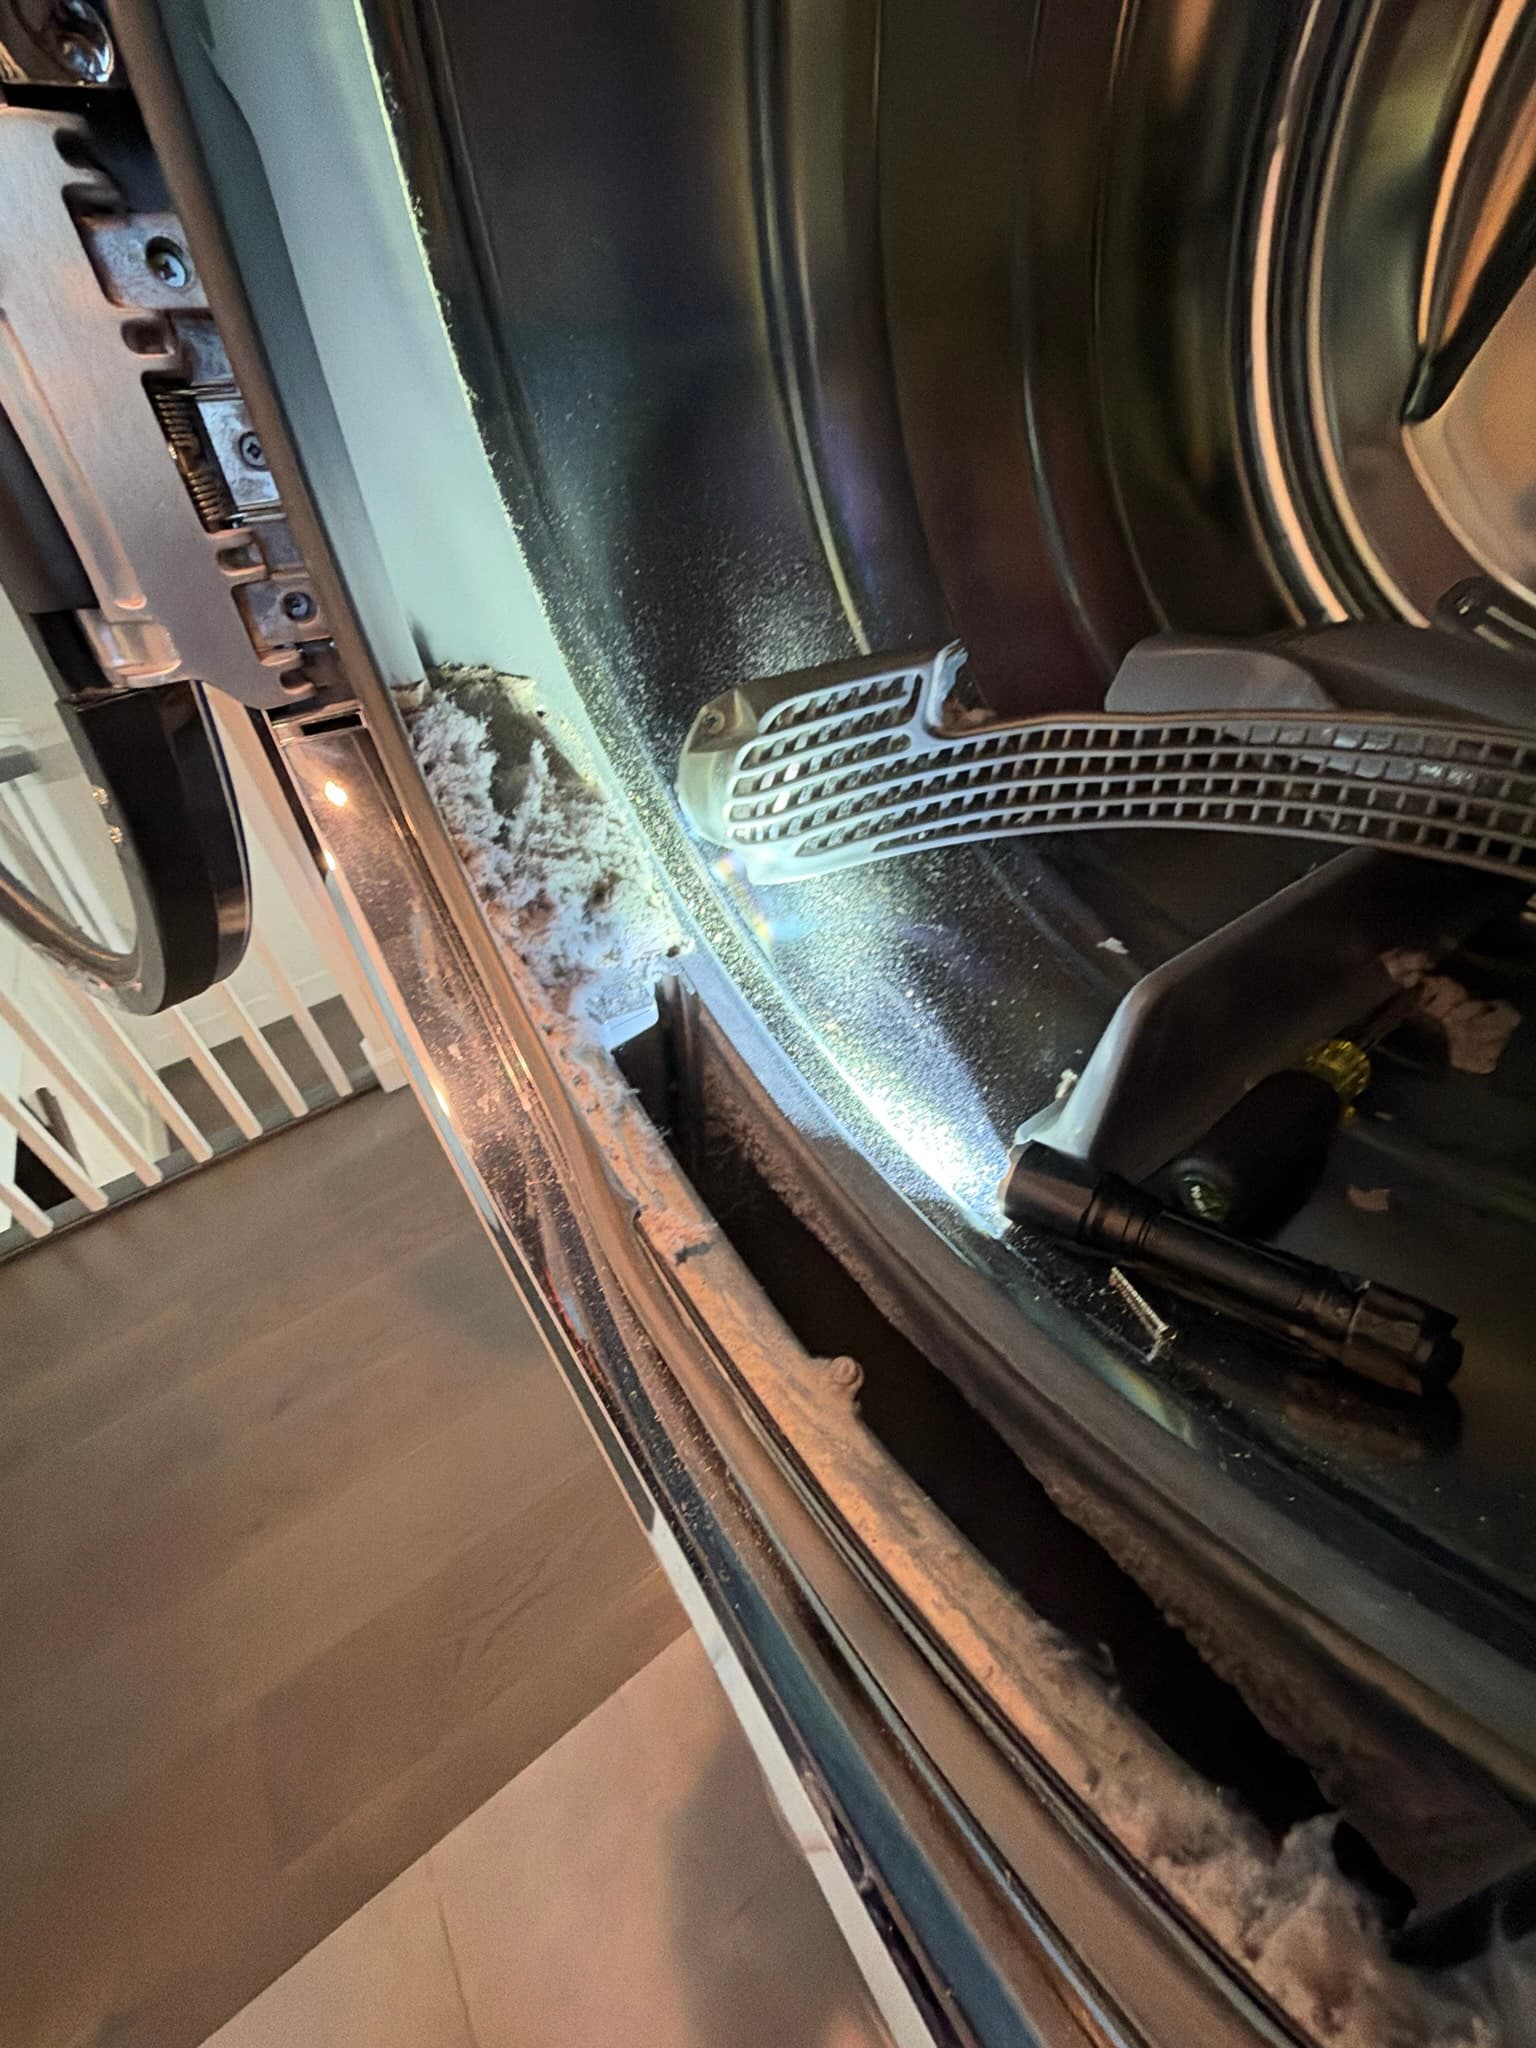
This Redwood City home's dryer exhaust runs from the laundry nook up through the attic space to a roof-mounted termination cap. On arrival, our technician pulled the dryer out from the wall and found the existing transition duct was a foil, semi-rigid flex connector with several flattened, compressed sections pressed tight against the cabinetry in a cramped appliance nook. Once the roof cap was accessed, the picture became clear: the exterior hood was packed with heavy, compacted lint spilling out from beneath the rain cap and matted around the flashing collar, and a downstream joint inside the rigid metal duct run was almost completely obstructed, with only a small gap remaining around the edges of a dense lint plug. Lint residue and streaking coated the duct walls leading up to that blockage. This condition matches what we classify as severe lint accumulation, meaning the duct was more than half occluded, which is consistent with airflow well below the 300+ CFM most dryer manufacturers require and is the leading cause of the roughly 15,000 home dryer fires reported annually by the U.S. Fire Administration. The dryer's internal cabinet also showed lint packed along the seams of the rear vent grille, indicating the buildup extended from the appliance all the way to the roof.
What We Did
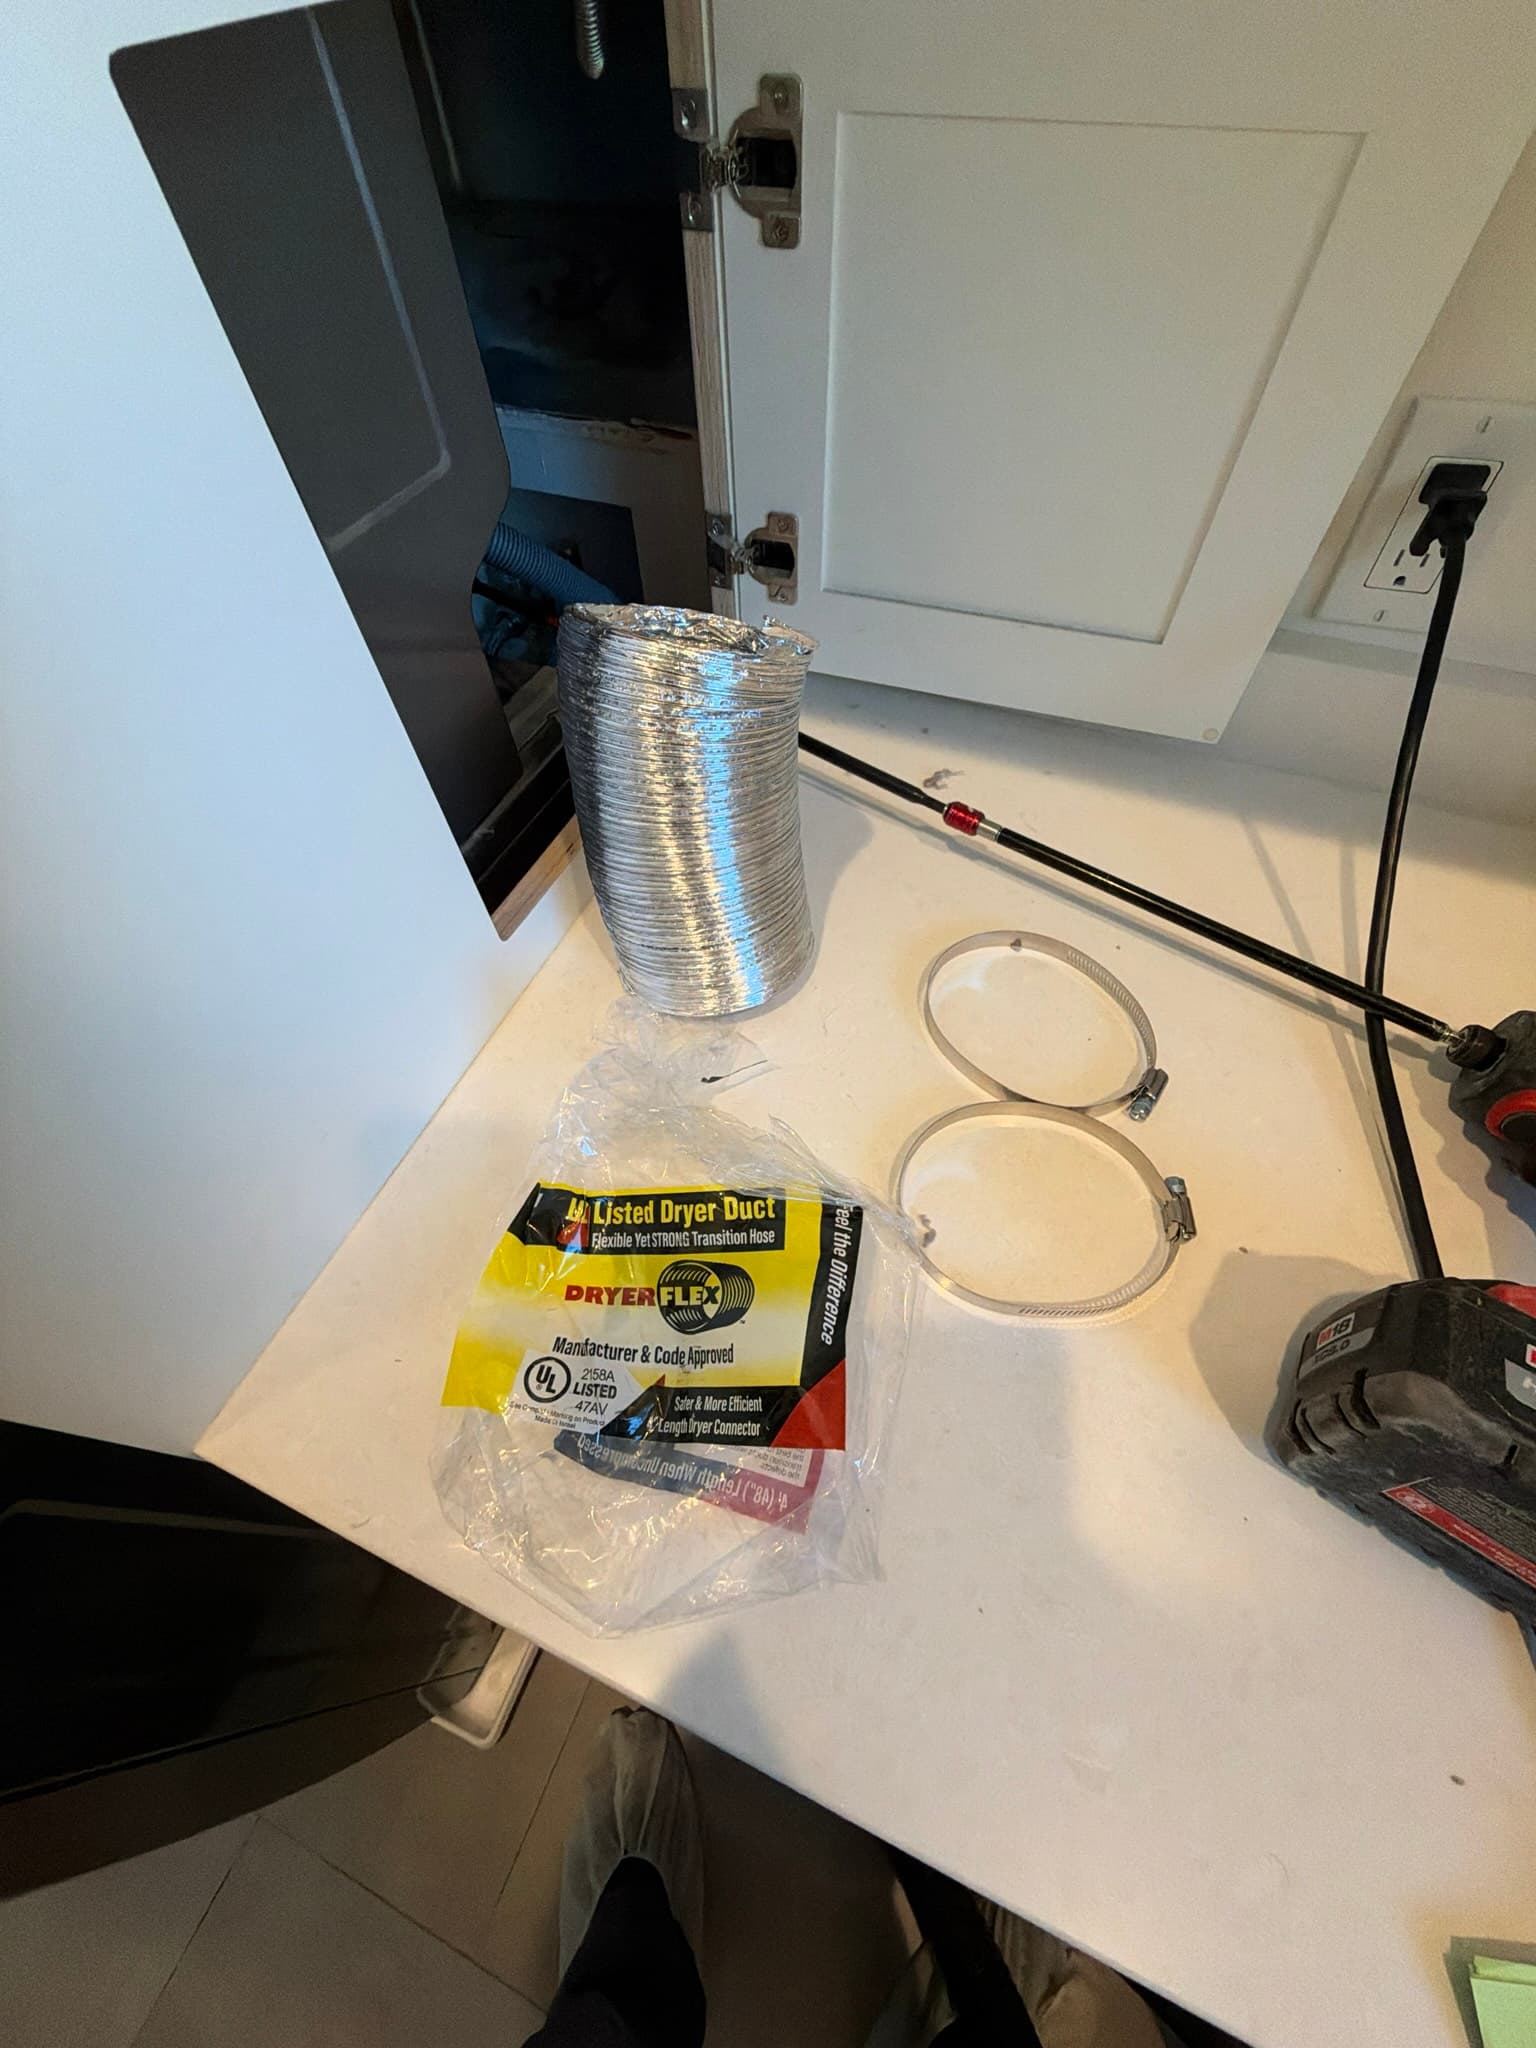
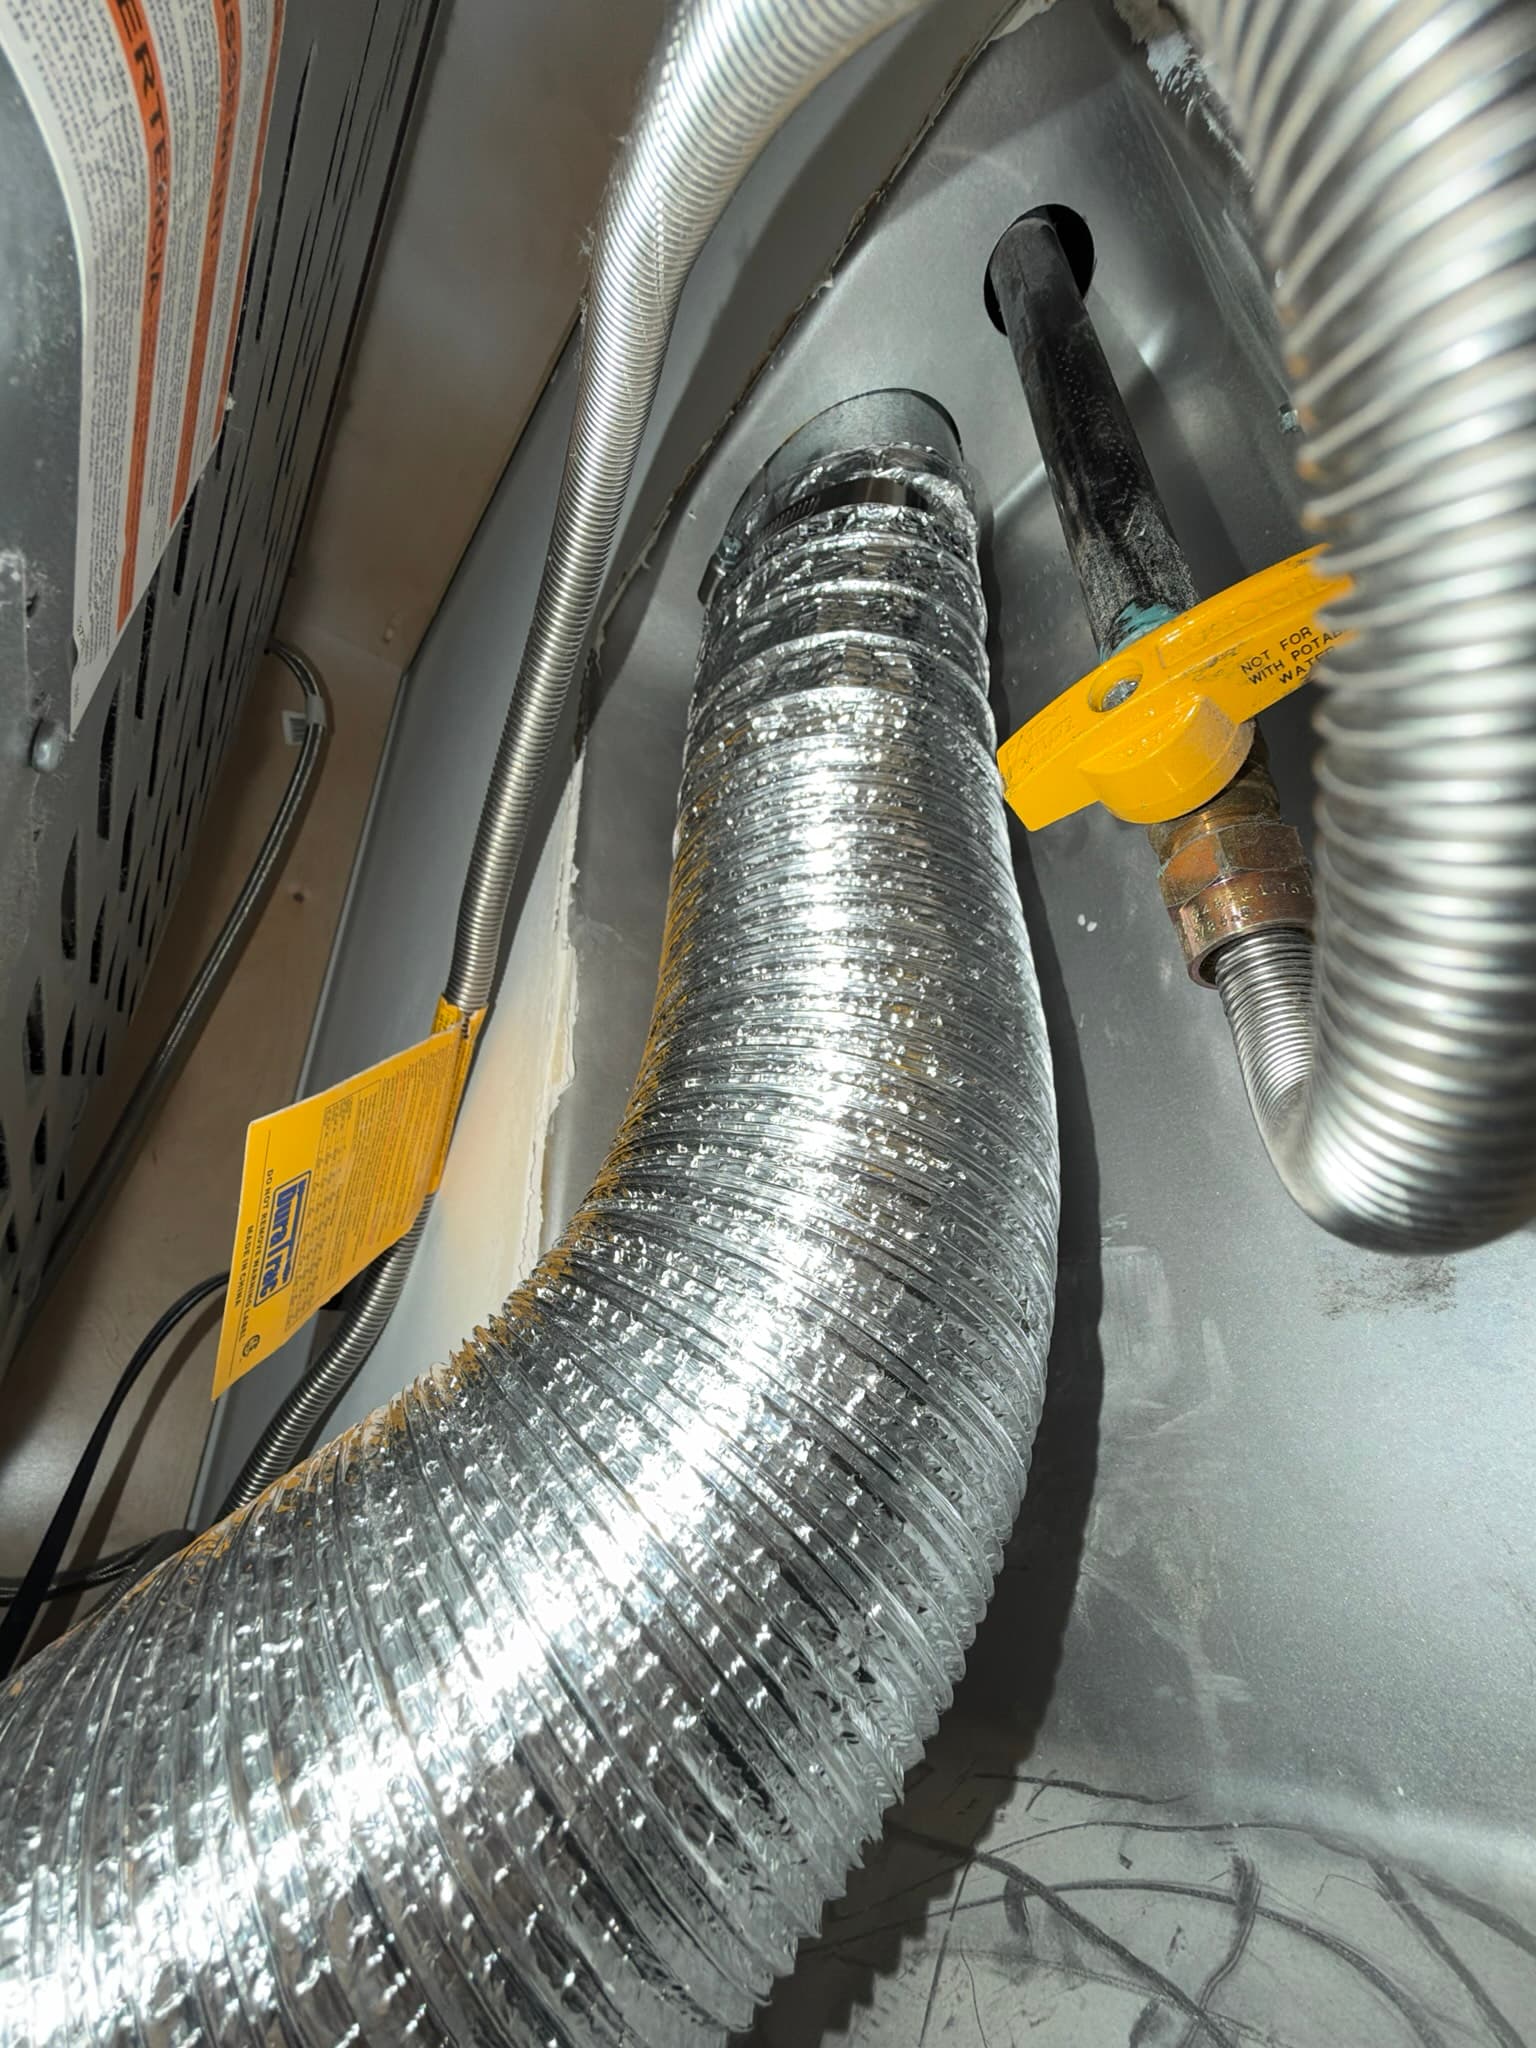
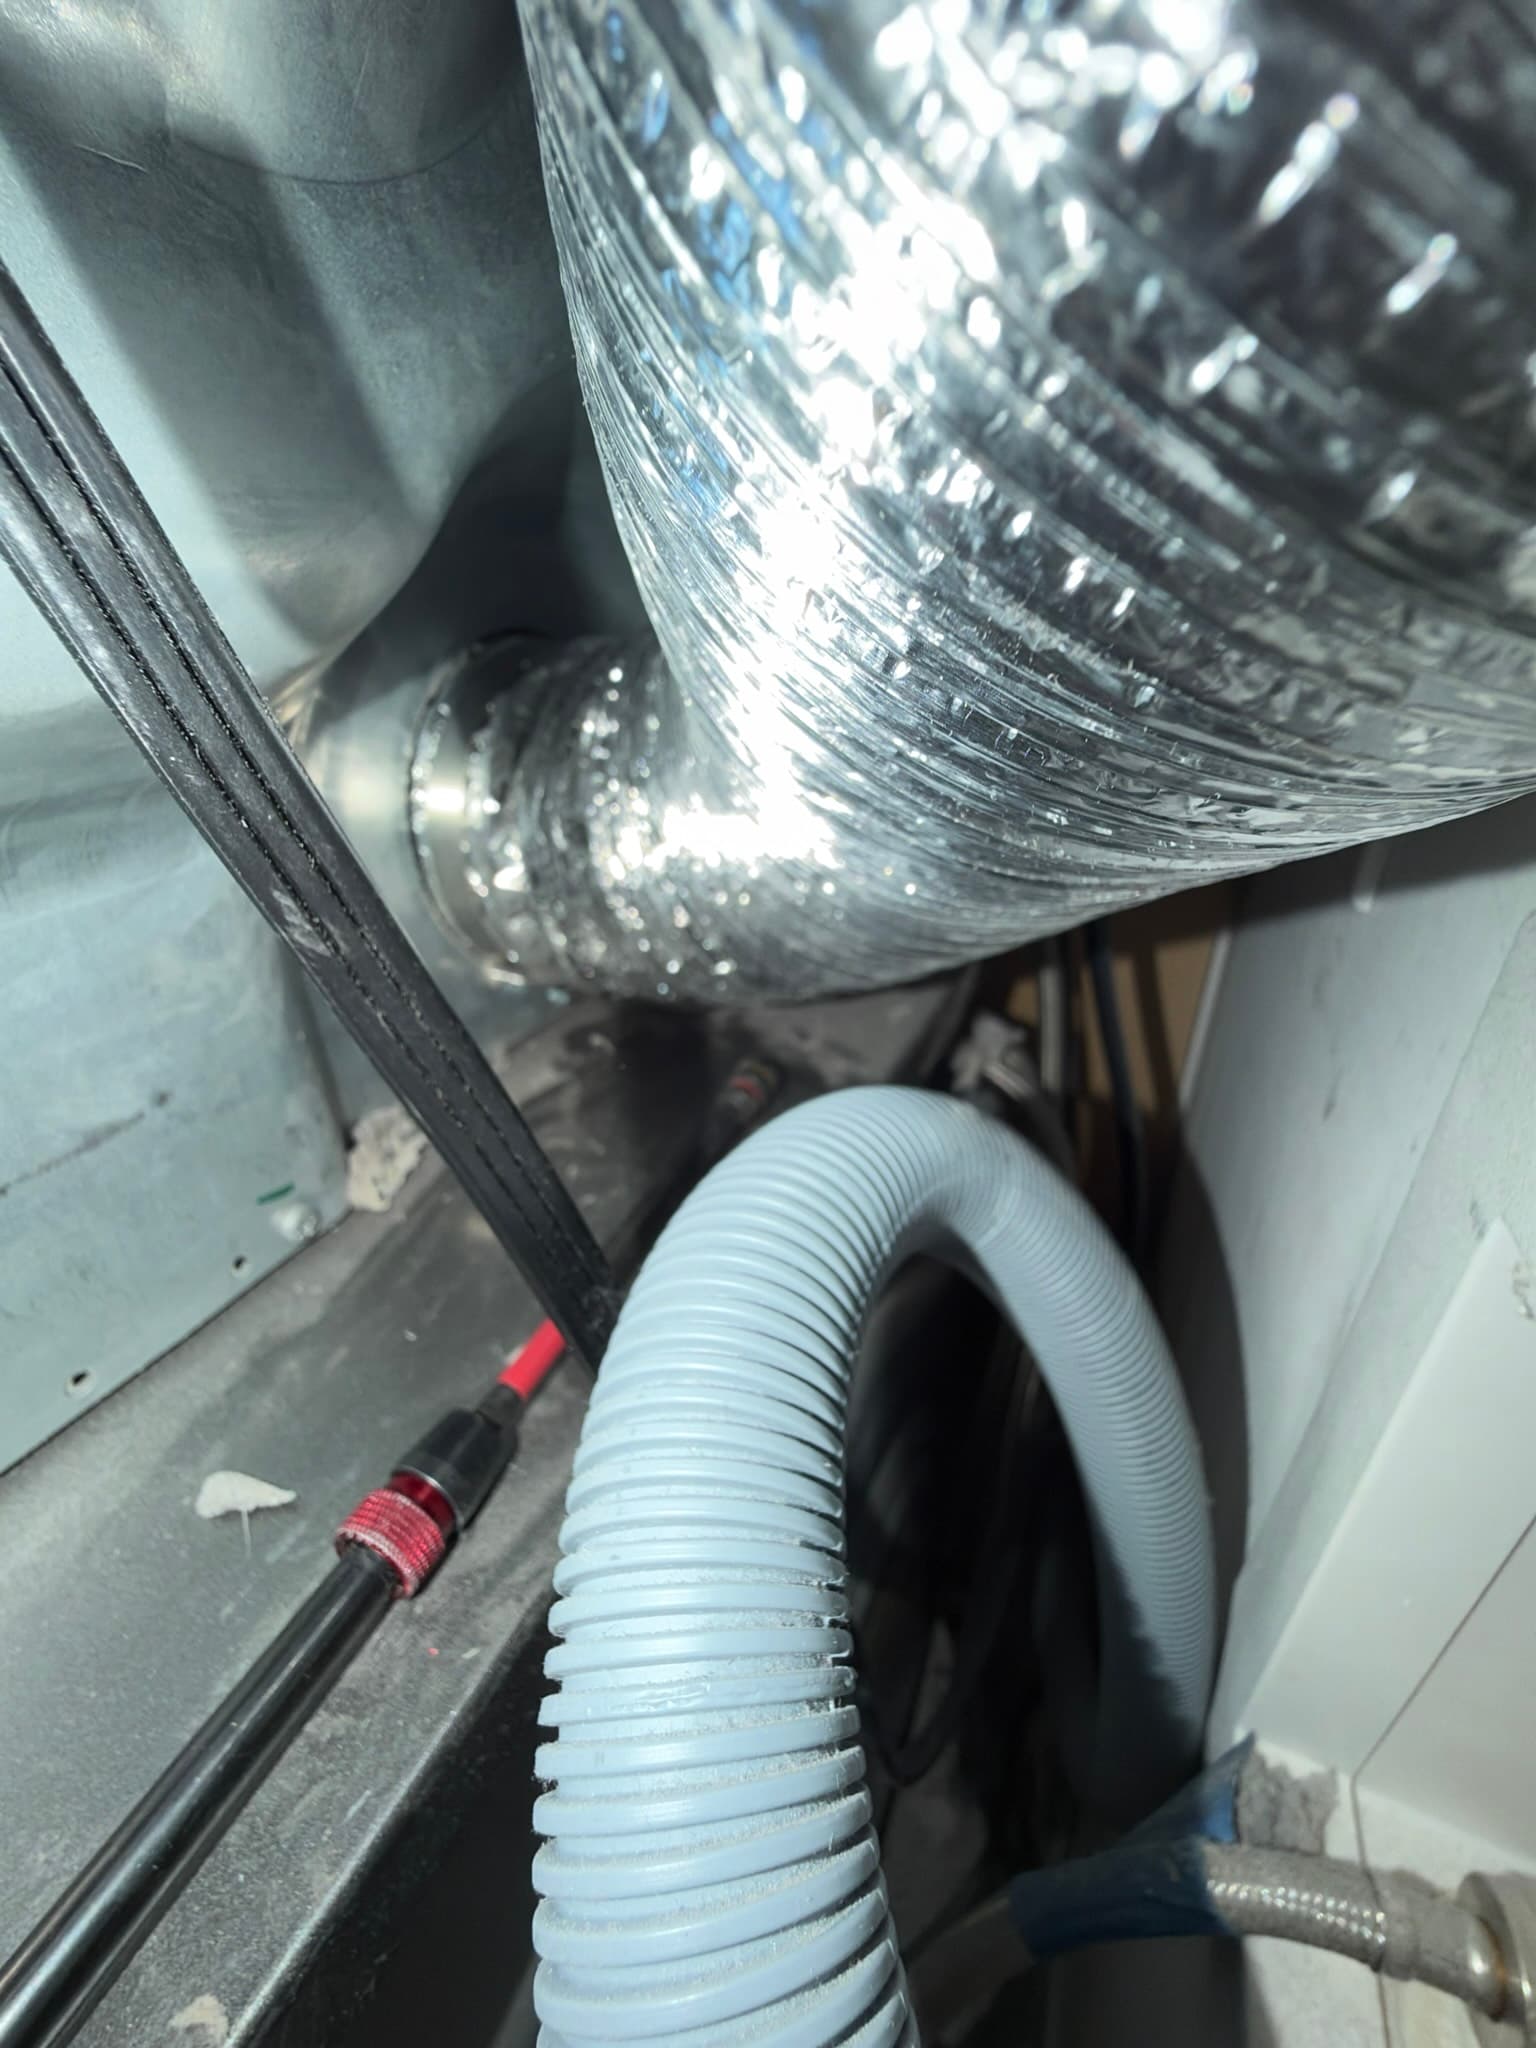
We performed our full Residential Dryer Exhaust Cleaning & Inspection service, which starts with an initial airflow test and visual inspection at both ends of the system. From there, our technician ran a drill-attachment rotary brush through the entire duct run, working from the dryer connection at the appliance nook through the rigid metal duct in the attic space and out to the roof termination, breaking up the compacted lint plug at the obstructed joint and scrubbing the interior walls clean. A high-powered shop vacuum followed the brush pass to capture loosened lint and debris before it could resettle further downstream, including the heavy accumulation matted inside the roof cap housing itself. Because the existing transition duct connecting the dryer to the wall was compressed and showing wear from the tight clearance in the appliance nook, we removed it and installed 4 feet of DryerFlex transition duct along with two worm-gear DryerClamps at each connection. The new transition duct is a single-length, UL 2158A listed product, which is the standard IRC M1502.4.3 requires for this connection, and it was routed to avoid the flattening we found on the original section.
The Outcome
With the rotary brush and vacuum work complete, we re-tested airflow at the roof termination and confirmed the dryer now exhausts freely, with the backdraft damper opening properly under airflow and reseating when the dryer was shut off. A post-cleaning inspection of the roof cap interior showed clear metal surfaces with no remaining lint buildup, a marked change from the heavily caked condition documented before we started. The new DryerFlex transition duct and clamps give this connection a secure, properly sealed joint at both the dryer outlet and the wall fitting, replacing a section that had been pinched down in the tight space behind the appliance. Homeowners in Redwood City with laundry closets or nooks like this one should know that even a well-installed rigid duct system can develop dangerous blockages over time, especially at roof terminations exposed to weather, and that NFPA guidance recommends annual professional inspection to catch buildup before it reaches this level. This visit brought the system back to a clean, freely venting condition and gives the household a documented baseline for future service intervals.
Why This Matters for Your Home
A dryer exhaust system that has gone unmaintained doesn't announce itself until drying times stretch out, the laundry area gets unusually warm, or in the worst case, a fire starts at the lint plug itself. What we found on the roof here, lint packed thickly enough to nearly seal off a duct joint, is exactly the kind of hidden hazard that builds gradually behind walls and roof penetrations where homeowners can't see it. Because this system runs through an attic before terminating at the roof, any restriction compounds quickly: heat and moisture have nowhere to go but back toward the dryer, raising exhaust temperatures at the connection and shortening the life of the appliance itself. Addressing it now, with a full cleaning from the dryer connection to the cap and a proper transition duct in the cramped space behind the unit, resets the system to a safe, code-conforming condition and gives this Redwood City household one less fire risk to worry about heading into the coming year.
Project photos
12 photos
Need similar work in Redwood City?
Get a free quote - same-week appointments usually available.